
Openswan is an open source, user space IPsec implementation available in Red Hat Enterprise Linux 6/7. It employs the key establishment protocol IKE (Internet Key Exchange) v1 and v2, implemented as a user-level daemon. Openswan interfaces with the Linux kernel using netlink to transfer the encryption keys. Packet encryption and decryption that happen in the Linux kernel.
In this article We will be configuring our VPN connectivity with the help of IPSec(A technology used to encrypt traffic at network layer. In other words an entire IP packet is encrypted for security). IPSec is used for authentication as well as encryption of the complete communication that happens between two hosts on the internet. As IPSec works in network layer, traffic generated by all applications are by default encrypted and sent, hence there is no modification required to be done on the existing application to make it compatible with IPSec.
In order for Openswan to create a site-to-site IPsec VPN, joining together two networks, an IPsec tunnel is created between two hosts, which are configured to permit traffic from one or more subnets to pass through. We will be using one such IPSec implementation in Linux for creating a tunnel between two private networks through the internet. There was a project called as Free-Swan, which was the first implementation of IPSec on Linux, but due to some reason, the project did not last long(the last version of free-swan was released at 2004 ). However the same code base was used to continue another IPSec project called OpenSwan. We will be using OpenSwan for making a secure VPN tunnel. Openswan IPSec package is released under GNU GPL licence, and is available for all linux distributions.
Installing Openswan on CentOS 7
Let’s start the process by installing Openswan on your CentOS 7 servers. Usually, you will be managing Site-One only, but based on the requirements, you could be managing both site-One and site-Two.
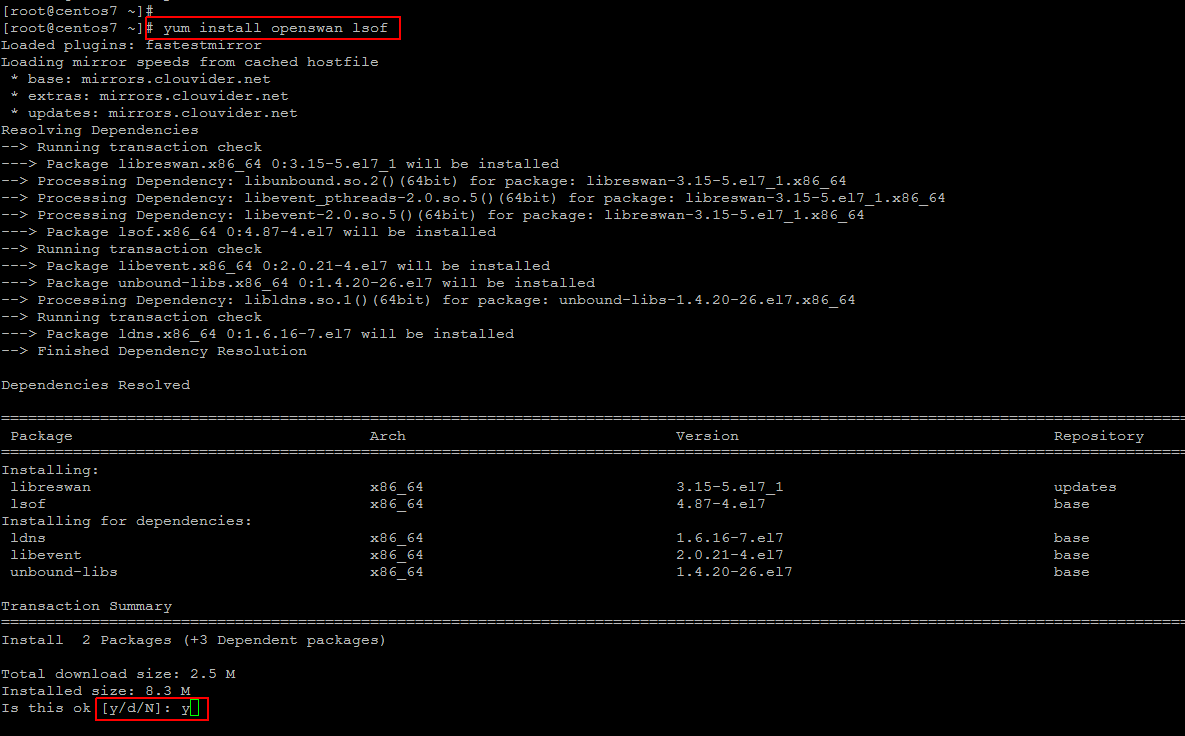
Login to your CentOS 7 server and run the following command on any RHEL based servers to install the package.
[cc] # yum install openswan lsof [/cc]
Preparing VPN Servers
Now we will be interconnecting both networks together, so that the hosts on network One can communicate with hosts on network Two, just like they communicate to any local network.
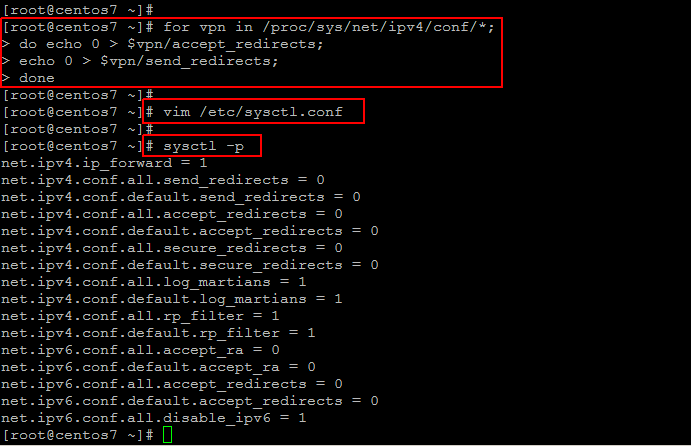
So, after installing Openswan disable VPN redirects, if any, in the server using below commands.
[cc]for vpn in /proc/sys/net/ipv4/conf/*;
do echo 0; $vpn/accept_redirects;
echo 0; $vpn/send_redirects;
done[/cc]
Next, we modify the kernel parameters to allow IP forwarding and disable redirects permanently on both VPN servers.
[cc] vim /etc/sysctl.conf [/cc]
[cc]
net.ipv4.ip_forward = 1
net.ipv4.conf.all.accept_redirects = 0
net.ipv4.conf.all.send_redirects = 0
[/cc]
Save the file and reload ‘/etc/sysctl.conf’ with below command.
[cc]sysctl -p [/cc]
Adding Firewall Rules and Enable NAT
Let’s add some Iptables rule that will modify the source IP address of a packet before that packet is send out. This is very much useful because this helps in modifying the source ip of the packet.
[cc]firewall-cmd –zone=public –add-port=500/udp –permanent [/cc]
[cc]firewall-cmd –zone=public –add-port=4500/tcp –permanent [/cc]
[cc]firewall-cmd –zone=public –add-port=4500/udp –permanent [/cc]
On Site One VPN server enter the below command.
[cc]firewall-cmd –permanent –direct –passthrough ipv4 -t nat -I POSTROUTING -o eth0 -j MASQUERADE -s sit_one_subnet/24 [/cc]
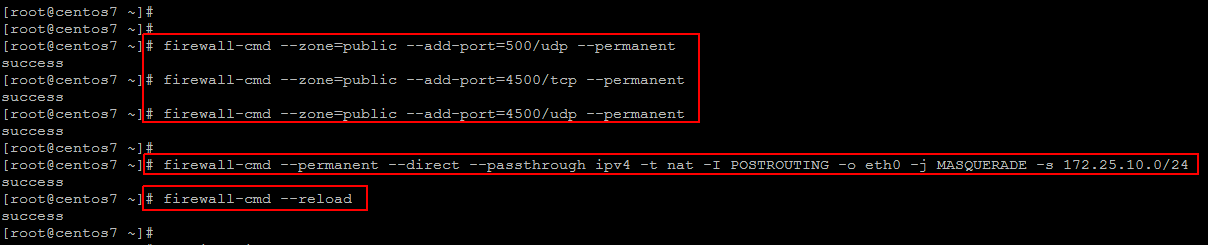
The above command on Site One VPN server will modify the source address of a packet originating from 172.25.10.0/24 network to its own outgoing interface(which will be a public IP address).
On the VPN server on the other side, apply the same above command with the source address of 172.25.11.0/24 (its iternal network)
Openswan IPSec VPN configuration in Linux
Now in this step we need to configure our ‘ipsec.conf’ file of Openswan, where we will mention our remote VPN server public IP, remote subnet, subnet available on the site one etc.
First take the back of original file and then open it using your favorite editor to configure the required parameters.
[cc]cp /etc/ipsec.conf /backup/ipsec.conf.org[/cc]
[cc]vim /etc/ipsec.conf [/cc]
[cc]
## general configuration parameters ##
config setup
plutodebug=all
plutostderrlog=/var/log/pluto.log
protostack=netkey
nat_traversal=yes
virtual_private=%v4:10.0.0.0/8,%v4:192.168.0.0/16,%v4:172.25.0.0/12
## disable opportunistic encryption in Red Hat ##
oe=off
## disable opportunistic encryption in Debian ##
## Note: this is a separate declaration statement ##
include /etc/ipsec.d/examples/no_oe.conf
## connection definition in Red Hat ##
conn demo-connection-redhat
authby=secret
auto=start
ike=3des-md5
## phase 1 ##
keyexchange=ike
## phase 2 ##
phase2=esp
phase2alg=3des-md5
compress=no
pfs=yes
type=tunnel
left=
leftsourceip=
leftsubnet=/netmask
## for direct routing ##
leftsubnet=/32
leftnexthop=%defaultroute
right=
rightsubnet=/netmask
## connection definition in Debian ##
conn demo-connection-debian
authby=secret
auto=start
## phase 1 ##
keyexchange=ike
## phase 2 ##
esp=3des-md5
pfs=yes
type=tunnel
left=
leftsourceip=
leftsubnet=/netmask
## for direct routing ##
leftsubnet=/32
leftnexthop=%defaultroute
right=
rightsubnet=/netmask
[/cc]
Now if this configuration file(/etc/ipsec.conf) is configured properly with all the required fields (left, right, left subnet, right subnet, secret, virtual_private etc), the second file that we need to pay attention to is ‘/etc/ipsec.secrets’ to setup authentication.This can be done in several different ways but we will use pre-shared key, which is added to the file following file.
[cc]vim /etc/ipsec.secrets [/cc]
[cc]
siteA-public-IP siteB-public-IP: PSK “pre-shared-key”
## in case of multiple sites ##
siteA-public-IP siteC-public-IP: PSK “corresponding-pre-shared-key”
[/cc]
Start IPSec Service
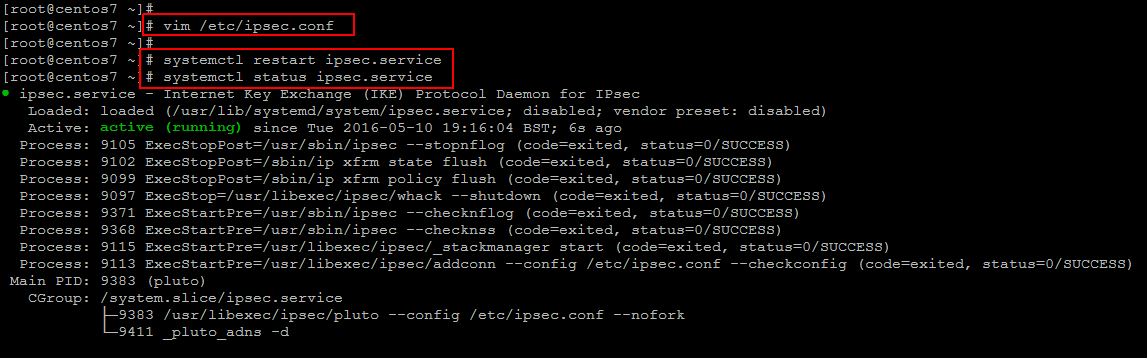
After making required configurations changes, now restart ipsec service on both the servers, to make the tunnel active.
[cc]# systemctl restart ipsec.service[/cc]
[cc]# systemctl status ipsec.service [/cc]
To enable ipsec service for automatically startup, run the following command.
[cc] systemctl enable ipsec.service[/cc]
Now we can try pinging the remote subnet to test the connection status and the server should now be ready to create a site-to-site VPN tunnel. Now we need to add a route which will allow them to reach the other 172.25.11.0/24 network on client machines inside 172.25.10.0/24 .
[cc][root@centos7 ~]route add -net 172.25.10.0/24 gw [/cc]
Similarly, add the same kind of route for reaching to Site One must be added on the clients inside network Site two.
To check your current routes run the below command.
[cc]ip route [/cc]
Further you can check the status of the tunnel using the following useful commands.
[cc]ipsec auto –status [/cc]
You can get the valuable information about your tunnel setup. If your tunnel doesn’t come up, you can also check through the log file ‘/var/log/pluto.log’ which should also contain useful information regarding authentication, key exchanges and information on different phases of the tunnel.
Conclusion
In this article we learned the procedure to create a site-to-site IPsec VPN, joining together two networks, using Openswan. VPN tunneling is mostly useful for its security benefit as large number of the Service providers and private companies design their networks in such a way that vital servers (e.g., database, VoIP, banking servers) are placed in a subnet that is accessible to trusted personnel through a VPN tunnel only. When a secure VPN tunnel is required, IPsec is often a preferred choice because an IPsec VPN tunnel is secured with multiple layers of security. I hope you are good to go with Site to site VPN setup on CentOS 7 with an ease. So don’t not forget to share your thoughts on this.


