
OpenFire is a great open source instant messaging server licensed under the Open Source Apache License that offers great service and also rock-solid performance. This real time collaboration server makes use of the XMPP protocol which is a real-time communication protocol based on XML also known as Jabber.
In this tutorial I will teach you how to install OpenFire on Ubuntu 12.04 LTS Precise Pangolin in very easy to follow steps even for linux beginners.
Install OpenFire On Ubuntu
Before going any further it is very important to have an updated system with the latest packages so open a new terminal (CTRL+ALT+T) and run the following command.
sudo apt-get update
Then run the following command to upgrade all the installed packages.
sudo apt-get upgrade
Now it is time to install a Java runtime engine which is required by OpenFire in order to work. For the purpose of this tutorial we will go with OpenJDK which is available in the the Ubuntu’s default repository so its installation should be very easy. In short words only one command is needed to install it on your server.
sudo apt-get install openjdk-7-jre
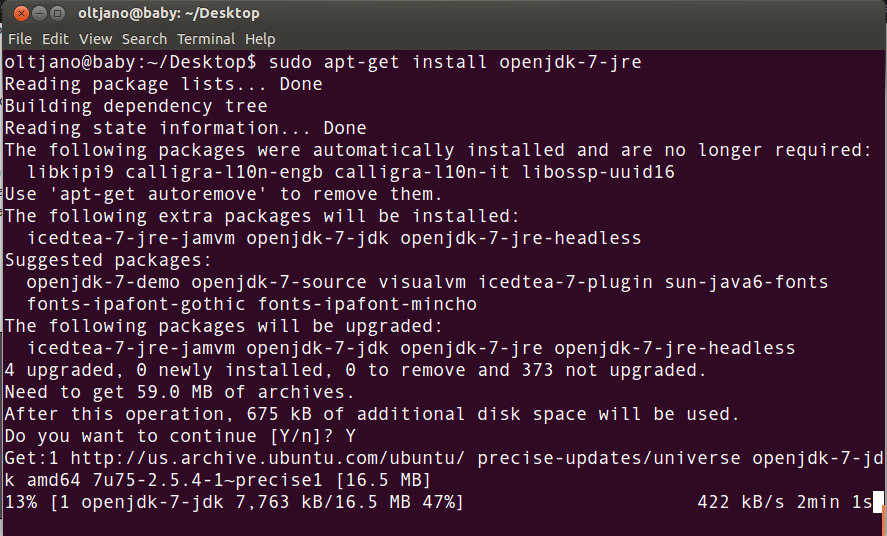
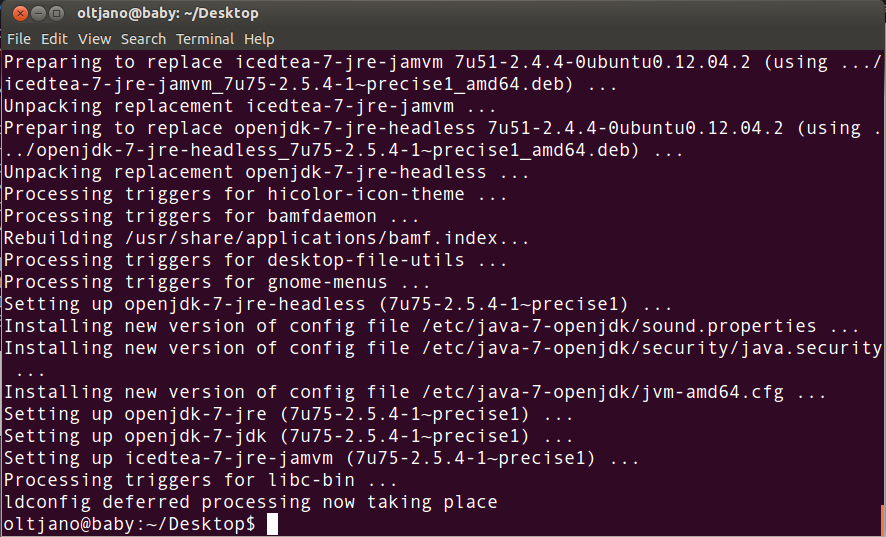
Once the installation is finished it will look like the following.
Then run the following command to remove packages which are no longer required.
sudo apt-get autoremove
Great, but we still have alot of work to do. Now have to download OpenFire. Open a new tab on your terminal and use the wget utility to download the OpenFire server.
wget http://www.igniterealtime.org/downloadServlet?filename=openfire/openfire_3_9_3.tar.gz
Once the file has finished downloading its name will look very ugly so use the command mv to rename it.
mv downloadServlet?filename=openfire%2Fopenfire_3_9_3.tar.gz openfire_3_9_3.tar.gz
Then use the tar utility to unpack the .tar.gz file like shown below.
tar -xvzf openfire_3_9_3.tar.gz
We will use the command mv again but this time to move openfire to the directory /opt.
sudo mv openfire /opt
Now we have to do a simple configuration. cd to /opt/openfire/conf.
cd /opt/openfire/conf
Open the file openfire.xml with your favorite text editor. Mine is vim.
vim openfire.xml
It will look similar to the following.
<?xml version="1.0" encoding="UTF-8"?>
 <!--
 This file stores bootstrap properties needed by Openfire.
 Property names must be in the format: "prop.name.is.blah=value"
 That will be stored as:
 <prop>
 <name>
 <is>
 <blah>value</blah>
 </is>
 </name>
 </prop>

Most properties are stored in the Openfire database. A
 property viewer and editor is included in the admin console.
 -->
 <!-- root element, all properties must be under this element -->
 <jive>
 <adminConsole>
 <!-- Disable either port by setting the value to -1 -->
 <port>9090</port>
 <securePort>9091</securePort>
 </adminConsole>

<locale>en</locale>

<!-- Network settings. By default, Openfire will bind to all network interfaces.
 Alternatively, you can specify a specific network interfaces that the server
 will listen on. For example, 127.0.0.1. This setting is generally only useful
 on multi-homed servers. -->
 <!-->
 <network>
 <interface>127.0.0.1</interface>
 </network>
 -->
 </jive>
Uncomment <network> tag and put your server’s public ip address inside <interface></interface>.
<?xml version="1.0" encoding="UTF-8"?>
 <!--
 This file stores bootstrap properties needed by Openfire.
 Property names must be in the format: "prop.name.is.blah=value"
 That will be stored as:
 <prop>
 <name>
 <is>
 <blah>value</blah>
 </is>
 </name>
 </prop>

Most properties are stored in the Openfire database. A
 property viewer and editor is included in the admin console.
 -->
 <!-- root element, all properties must be under this element -->
 <jive>
 <adminConsole>
 <!-- Disable either port by setting the value to -1 -->
 <port>9090</port>
 <securePort>9091</securePort>
 </adminConsole>

<locale>en</locale>

<!-- Network settings. By default, Openfire will bind to all network interfaces.
 Alternatively, you can specify a specific network interfaces that the server
 will listen on. For example, 127.0.0.1. This setting is generally only useful
 on multi-homed servers. -->

<network>
 <interface>server ip here</interface>
 </network>
</jive>
Start the openfire service by using the following command.
/opt/openfire/bin/openfire start
Now open a new tab on your web browser and visit the http://serverip:9090. Since I am doing everything on my localhost I have to visit the following address.
htp://localhost:9090
After visiting the above address I was introduced to the Setup of openfire.
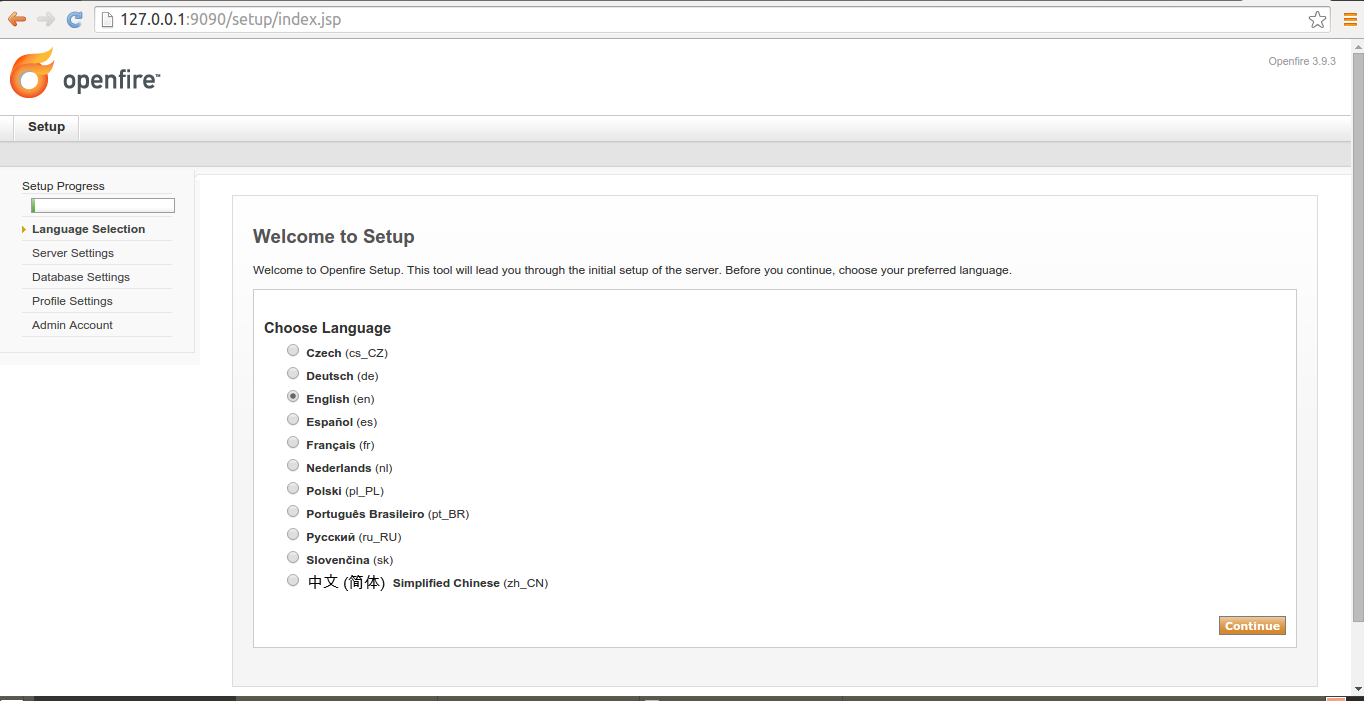
Choose your language and click on Continue.
Then we have to deal with Server Settings.
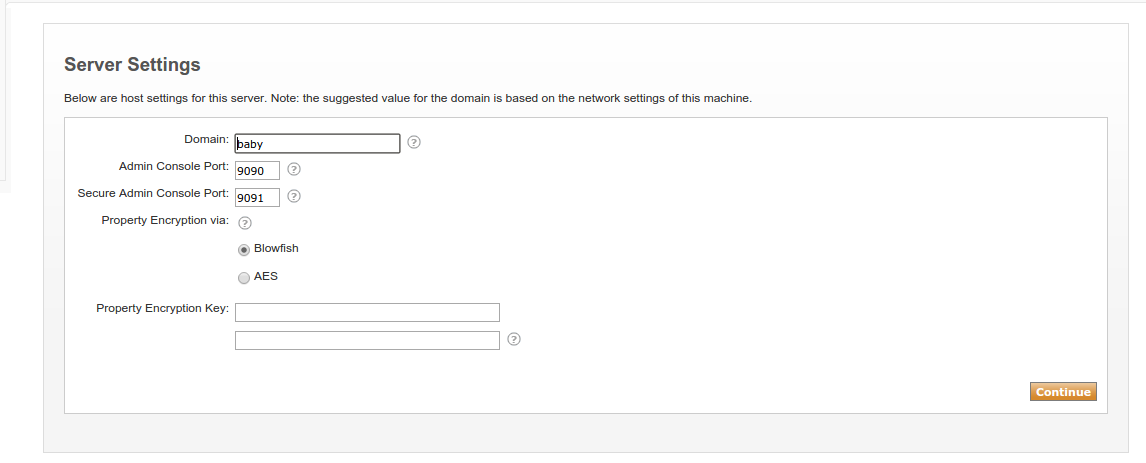
Leave it as default and click on Continue again. Then we have to configure the Database Settings.
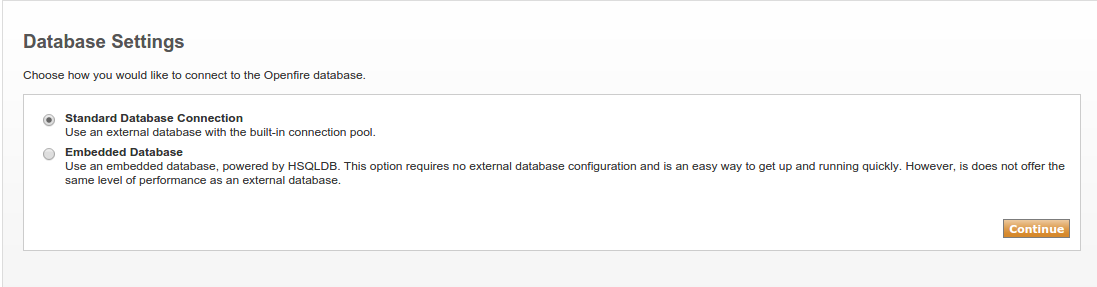
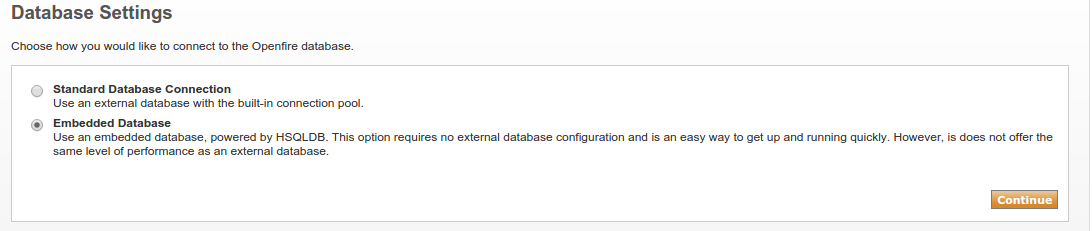
For the purpose of this tutorial I will not use an external database, but an embedded one because it is an easy way to get up and run quickly as there are no configurations to be made at all.
Click on Continue. Then you will be presented to the following Profile Settings.

Leave this one as default and click on Continue.
Create an administrator account.
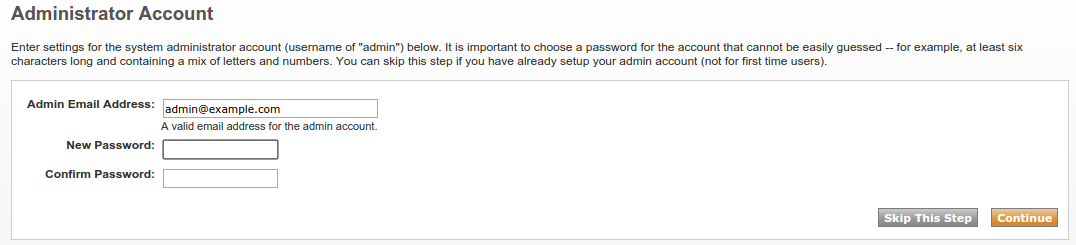
Type a password for your admin account.
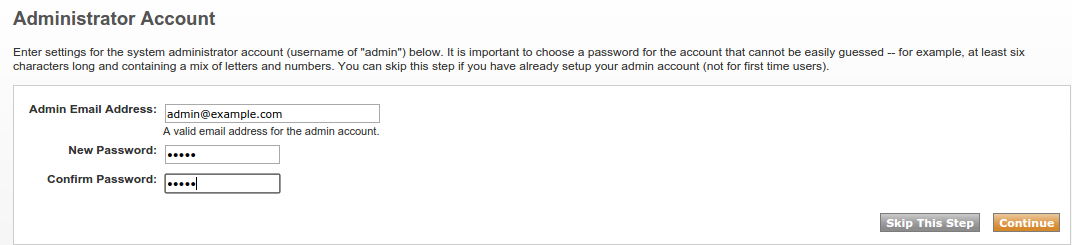
Click on Continue. If everything worked you will get a message that the installation of OpenFire is completed like shown in the following screenshot.
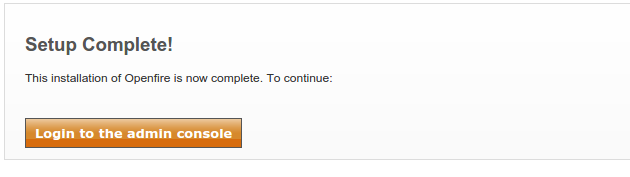
Congratulations! Openfire has been installed.


