
Openfire is a real time collaboration (RTC) server licensed under the Open Source Apache License. It is also known as Jabber. It uses the only widely adopted open protocol for instant messaging, XMPP. The full name of XMPP is Extensible Messaging and Presence Protocol. It is a real-time communication protocol (which includes chat) based on XML. Installation and the management of Openfire is pretty simple.
It should be noted that with Openfire, no chat is possible yet. A client is needed: Openfire cannot be used alone, just like web servers need a browser.
In this tutorial we will see, how to install Openfire in a clean minimal installation of CentOS 7.
First of all we need to install some important tools like vim, wget.
yum install -y vim wget
Download and install Openfire
We have to download the rpm directly to /home from Ignite Real time website.
wget http://download.igniterealtime.org/openfire/openfire-3.9.3-1.i386.rpm
Install it using yum command
yum install -y /home/openfire-3.9.3-1.i386.rpm
Install libraries
yum install -y glibc.i686
Start service after every reboot
chkconfig openfire on
And start the openfire service
systemctl start openfire.service
Update IPtables
firewall-cmd --permanent --zone<span class="o">=</span>public --add-port<span class="o">=</span>9090/tcp

firewall-cmd --permanent --zone<span class="o">=</span>public --add-port<span class="o">=</span>9091/tcp


firewall-cmd --reload
Install PostgreSQL database
For running XMPP we have to setup a Database, We choose postgreSQL which is comes in CentOS 7 by default.
Shoot the following command to install PostgreSQL
yum install -y postgresql postgresql-server postgresql-devel postgresql-libs
Enable PostgreSQL to start after each reboot
systemctl <span class="nb">enable </span>postgresql.service
Initialize directory structure and postgres system database
postgresql-setup initdb
Start the service.
systemctl start postgresql.service
PostgreSQl is now running. Now we need to create a database and a dedicated database user for Openfire.
For full administration access, switch to postgres user.
su postgres
Now we are on postgres shell and we will proceed with database and user creation and will setup the password for the user.
For create new database for openfire, Run the following command
createdb openfire
Run the following command to create the database user for openfire
createuser -P openfire
The ‘-P’ parameter ensures that the shell will explicitly ask for user’s password and you will need to type it in.
Now the user openfire is secured with a password.
We can setup password for administration postgres user by the following command
psql -U postgres -d postgres -c <span class="s2">"ALTER USER postgres WITH PASSWORD 'OUR-CHOSEN-PGSQL-PASSWORD';"</span>
Next, Open /var/lib/pgsql/data/pg_hba.conf in your favorite editor.
vim /var/lib/pgsql/data/pg_hba.conf
Scroll down to the bottom of the file and replace all peer and ident strings with md5 string.
<span class="c"># TYPE  DATABASE    USER        CIDR-ADDRESS          METHOD</span>


<span class="c"># "local" is for Unix domain socket connections only</span>


<span class="nb">local   </span>all         all                               md5


<span class="c"># IPv4 local connections:</span>


host    all         all         127.0.0.1/32          md5


<span class="c"># IPv6 local connections:</span>


host    all         all         ::1/128               md5
Save the file. Press CTRL+Z to go back from postgres shell.
Restart PostgreSQL service
systemctl restart postgresql.service
Now we have finished backend configuration for openfire.
GUI setup
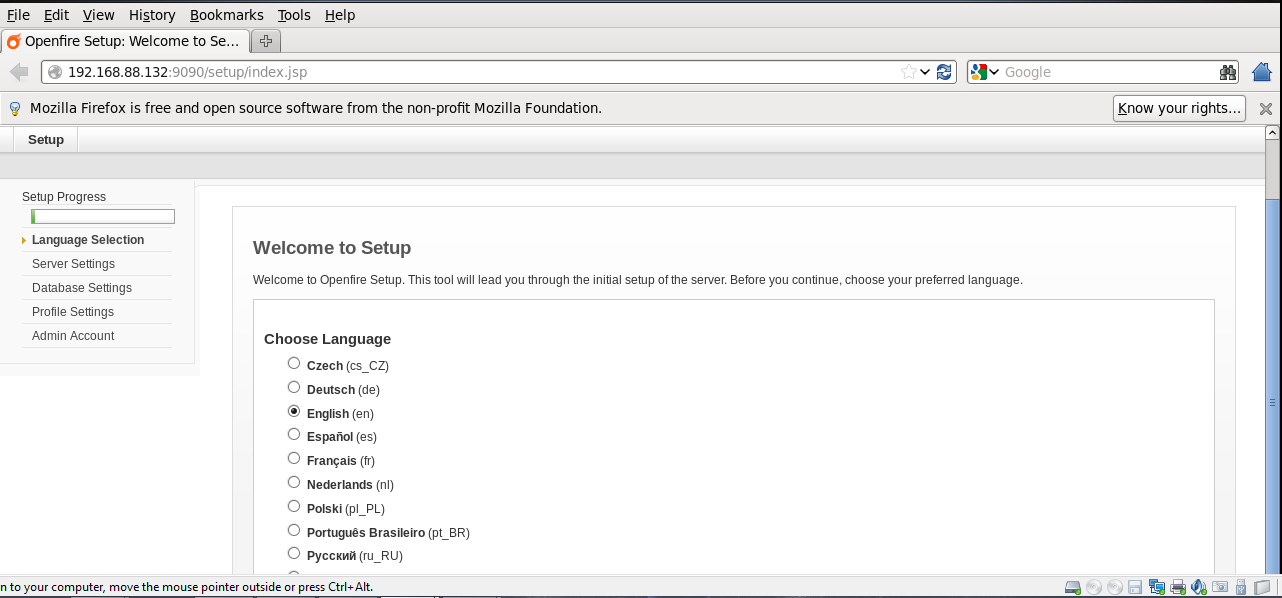
You can access the GUI of Openfire by pointing your browser to the following URL, http://<YOUR-SERVER-IP>:9090
This is the screen that will welcome you. We can choose preferable language and hit continue.
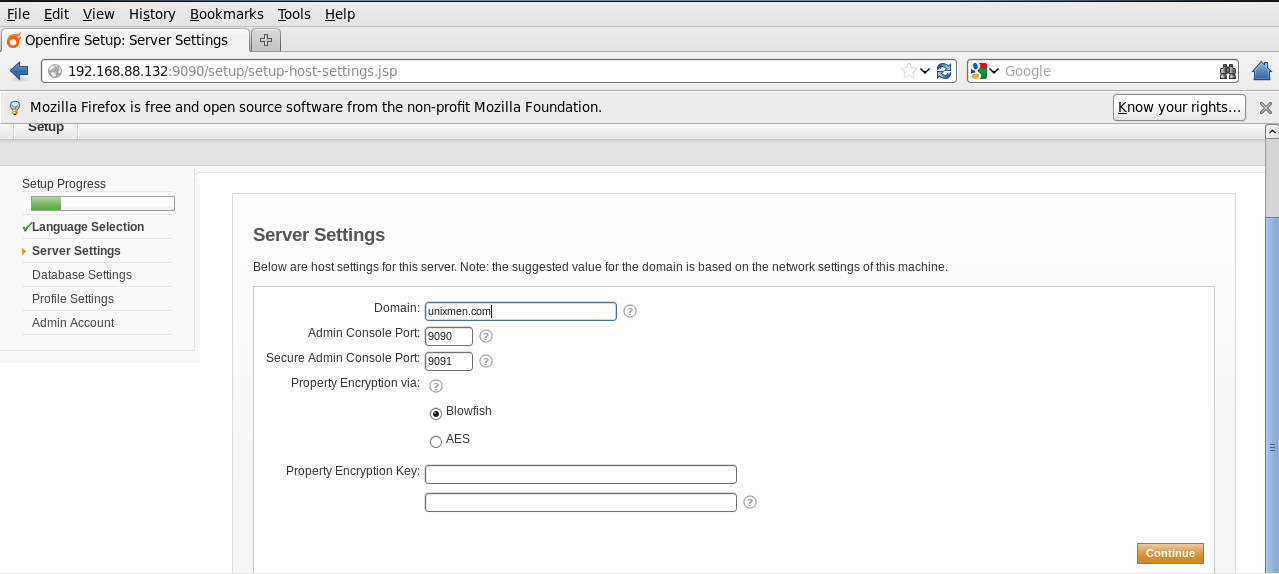
In the next screen you can enter your domain which will be the part of your XMPP id. hit continue.
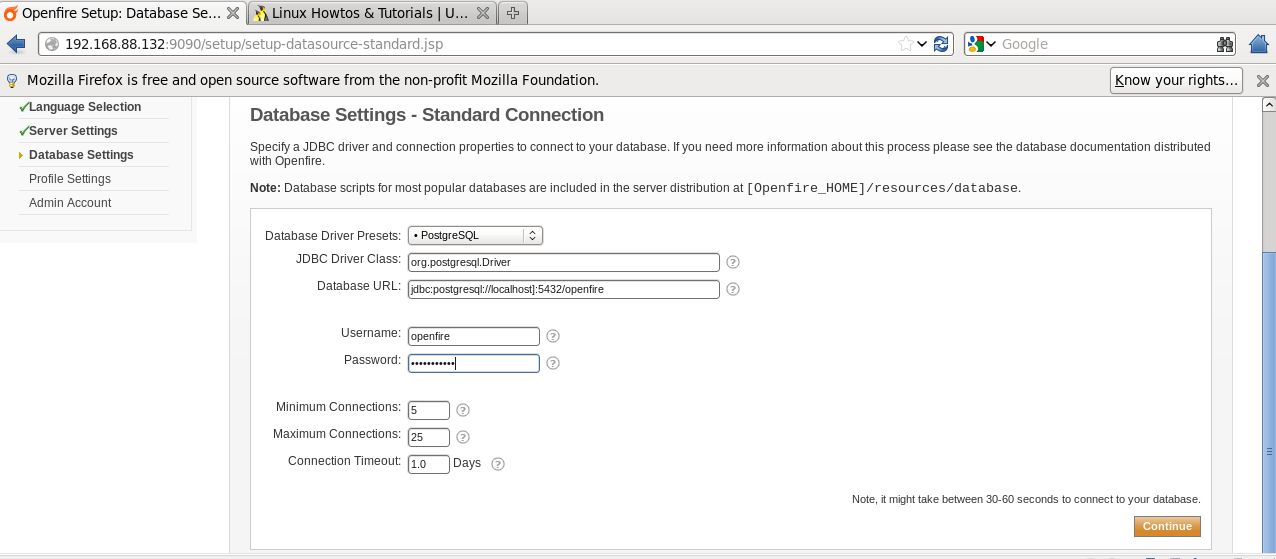
Fill in database settings according to our previous steps when we created openfire user. hit continue.
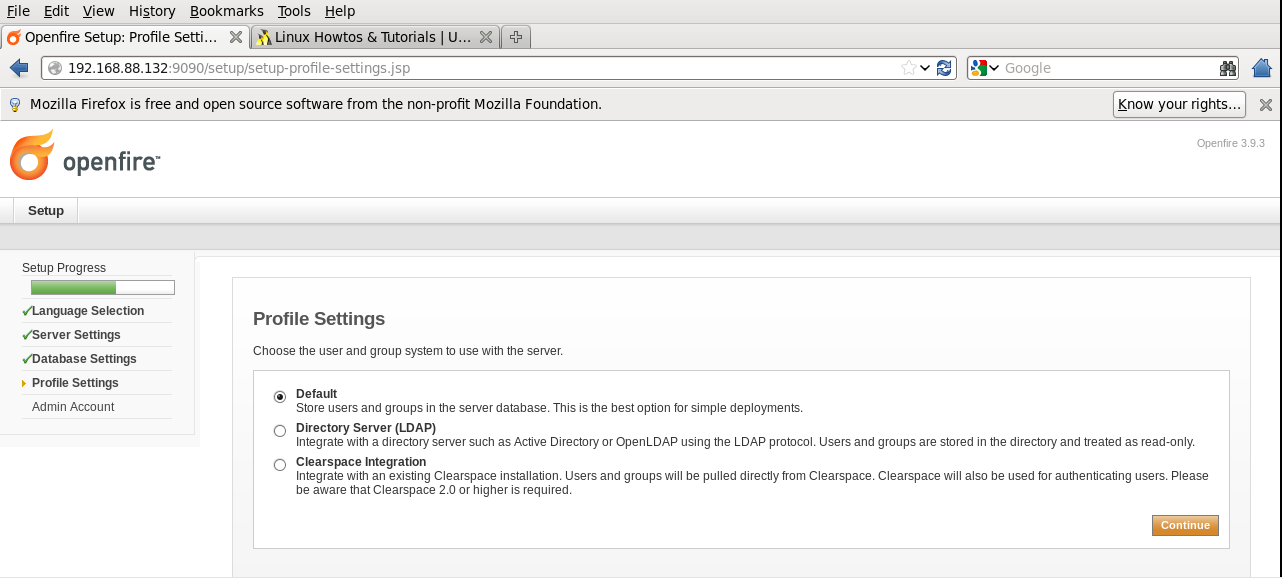
In the next screen, We will choose “Default” option to store users and groups in the server database. hit continue.
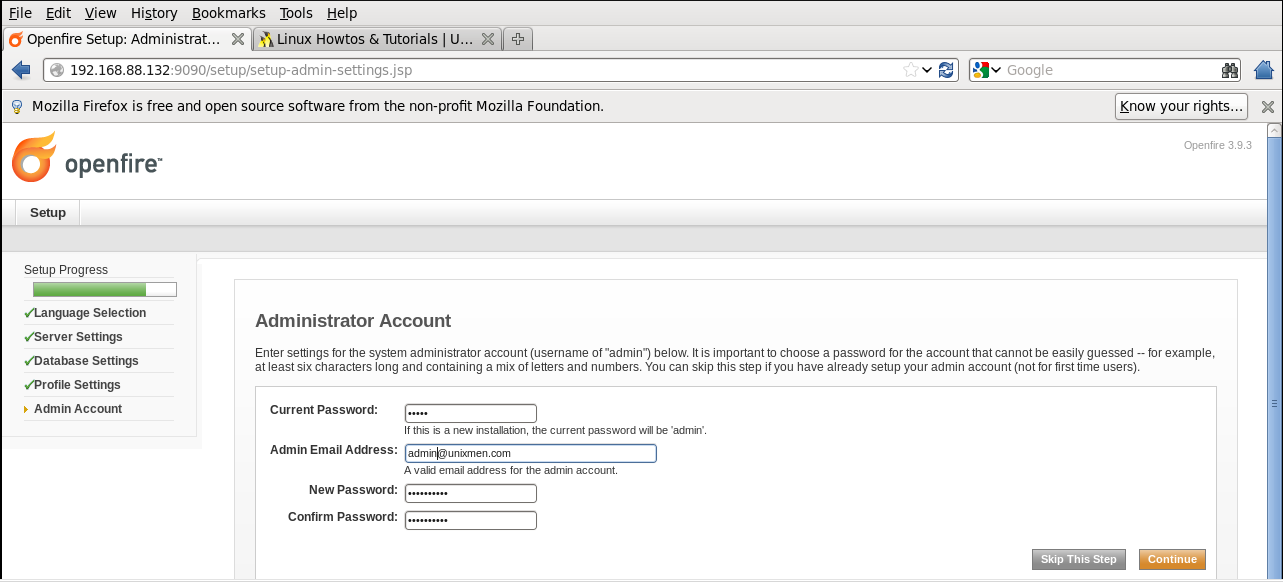
Next screen allows Fill in your email address and set preferred password. hit continue.
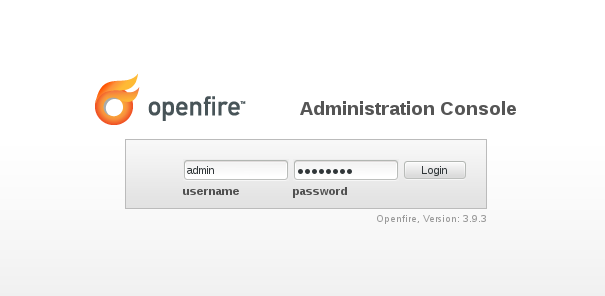
All the steps have been completed successfully. Now we can login with new credentials. (admin / your password)
That’s it!!
See you guys with another articles.


