
NagVis is a visualization addon for the well known network managment system Nagios and Icinga. NagVis can be used to visualize Nagios Data, e.g. to display IT processes like a mail system or a network infrastructure.
We already have shown you how to install icinga on ubuntu in our previous articles. In this how-to let us learn how to install NagVis add-on that can be used to visualize Icinga data details.
Install NagVis On Ubuntu
I assume that you have already installed and configured Icinga and its working well.
First of all, switch to root user, so that we don’t have to put ‘sudo’ in-front of every command:
$ su
Install the following prerequisites:
# apt-get install g++ make libc6-dev php-net-socket php5-sqlite sqlite3 graphviz
Download NagVis
Download the latest version of NagVis here or just the following command to download:
# wget http://sourceforge.net/projects/nagvis/files/NagVis%201.7/nagvis-1.7.9.tar.gz
Extract NagVis tarball with command:
# tar zxvf nagvis-1.7.9.tar.gz
The above command will extract nagvis tarball in your current directory. Change to nagvis directory:
# cd nagvis-1.7.9
and install it with command:
# ./install.sh -p /usr/local/nagvis -b ido2db -u www-data -g www-data -w /etc/apache2/conf.d/ -a y -F
Sample Output:
+------------------------------------------------------------------------------+
| Welcome to NagVis Installer 1.7.9                                            |
+------------------------------------------------------------------------------+
| This script is built to facilitate the NagVis installation and update        |
| procedure for you. The installer has been tested on the following systems:   |
| - Debian, since Etch (4.0)                                                   |
| - Ubuntu, since Hardy (8.04)                                                 |
| - SuSE Linux Enterprise Server 10 and 11                                     |
|                                                                              |
| Similar distributions to the ones mentioned above should work as well.       |
| That (hopefully) includes RedHat, Fedora, CentOS, OpenSuSE                   |
|                                                                              |
| If you experience any problems using these or other distributions, please    |
| report that to the NagVis team.                                              |
+------------------------------------------------------------------------------+
| Do you want to proceed? [y]: <-------- Press Enter
+------------------------------------------------------------------------------+
| Starting installation of NagVis 1.7.9                                        |
+------------------------------------------------------------------------------+
| OS  : Ubuntu 12.10                                                           |
|                                                                              |
+--- Checking for tools -------------------------------------------------------+
| Using packet manager /usr/bin/dpkg                                     found |
|                                                                              |
+--- Checking paths -----------------------------------------------------------+
|                                                                              |
+--- Checking prerequisites ---------------------------------------------------+
|                                                                              |
+--- Checking for existing NagVis ---------------------------------------------+
|                                                                              |
+------------------------------------------------------------------------------+
| Summary                                                                      |
+------------------------------------------------------------------------------+
| NagVis home will be:           /usr/local/nagvis                             |
| Owner of NagVis files will be: www-data                                      |
| Group of NagVis files will be: www-data                                      |
| Path to Apache config dir is:  /etc/apache2/conf.d                           |
| Apache config will be created: yes                                           |
|                                                                              |
| Installation mode:             install                                       |
|                                                                              |
| Do you really want to continue? [y]: <------- Press Enter
+------------------------------------------------------------------------------+
| Starting installation                                                        |
+------------------------------------------------------------------------------+
| Creating directory /usr/local/nagvis...                                done  |
| Creating directory /usr/local/nagvis/var...                            done  |
| Creating directory /usr/local/nagvis/var/tmpl/cache...                 done  |
| Creating directory /usr/local/nagvis/var/tmpl/compile...               done  |
| Creating directory /usr/local/nagvis/share/var...                      done  |
| Copying files to /usr/local/nagvis...                                  done  |
| Creating directory /usr/local/nagvis/etc/profiles...                   done  |
| Creating main configuration file...                                    done  |
|   Adding webserver group to file_group...                              done  |
| Creating web configuration file...                                     done  |
| Setting permissions for web configuration file...                      done  |
|                                                                              |
|                                                                              |
|                                                                              |
+--- Setting permissions... ---------------------------------------------------+
| /usr/local/nagvis/etc/nagvis.ini.php-sample                            done  |
| /usr/local/nagvis/etc                                                  done  |
| /usr/local/nagvis/etc/maps                                             done  |
| /usr/local/nagvis/etc/maps/*                                           done  |
| /usr/local/nagvis/etc/geomap                                           done  |
| /usr/local/nagvis/etc/geomap/*                                         done  |
| /usr/local/nagvis/etc/profiles                                         done  |
| /usr/local/nagvis/share/userfiles/images/maps                          done  |
| /usr/local/nagvis/share/userfiles/images/maps/*                        done  |
| /usr/local/nagvis/share/userfiles/images/shapes                        done  |
| /usr/local/nagvis/share/userfiles/images/shapes/*                      done  |
| /usr/local/nagvis/var                                                  done  |
| /usr/local/nagvis/var/*                                                done  |
| /usr/local/nagvis/var/tmpl                                             done  |
| /usr/local/nagvis/var/tmpl/cache                                       done  |
| /usr/local/nagvis/var/tmpl/compile                                     done  |
| /usr/local/nagvis/share/var                                            done  |
|                                                                              |
+------------------------------------------------------------------------------+
| Installation complete                                                        |
|                                                                              |
| You can safely remove this source directory.                                 |
|                                                                              |
| For later update/upgrade you may use this command to have a faster update:   |
| ./install.sh
|                                                                              |
| What to do next?                                                             |
| - Read the documentation                                                     |
| - Maybe you want to edit the main configuration file?                        |
|   Its location is: /usr/local/nagvis/etc/nagvis.ini.php                      |
| - Configure NagVis via browser                                               |
|   <http://localhost/nagvis/config.php>                                       |
| - Initial admin credentials:                                                 |
|     Username: admin                                                          |
|     Password: admin                                                          |
+------------------------------------------------------------------------------+
NagVis has been installed now. Note down the default admin crdentials of NagVis.
Configure NagVis With IDOUtils
Open the file /usr/local/nagvis/etc/nagvis.ini.php:
# nano /usr/local/nagvis/etc/nagvis.ini.php
Scroll down to ‘Path definitions’ section and uncomment the lines as shown below.
; Path definitions
[paths]
; absolute physical NagVis path
base="/usr/local/nagvis/"
; absolute html NagVis path
htmlbase="/nagvis"
; absolute html NagVis cgi path
htmlcgi="/nagios/cgi-bin"
Scroll down further, you may find the section called ‘Backend definitions’. Comment out the mklivestatus line.
; ----------------------------
; Backend definitions
; ----------------------------

; Example definition of a livestatus backend.
; In this case the backend_id is live_1
; The path /usr/local/nagios/var/rw has to exist
[backend_live_1]
;backendtype="mklivestatus"
Finally set the backend to use Icinga IDOUtils in the configuration file.
[backend_ndomy_1]
; type of backend - MUST be set
backendtype="ndomy"
## Add the following lines ##
dbname="icinga"
dbuser="icinga"
dbpass="icinga"
dbprefix="icinga_"
Save and close the file. Restart apache service to take effect the saved changes.
# /etc/init.d/apache2 restart
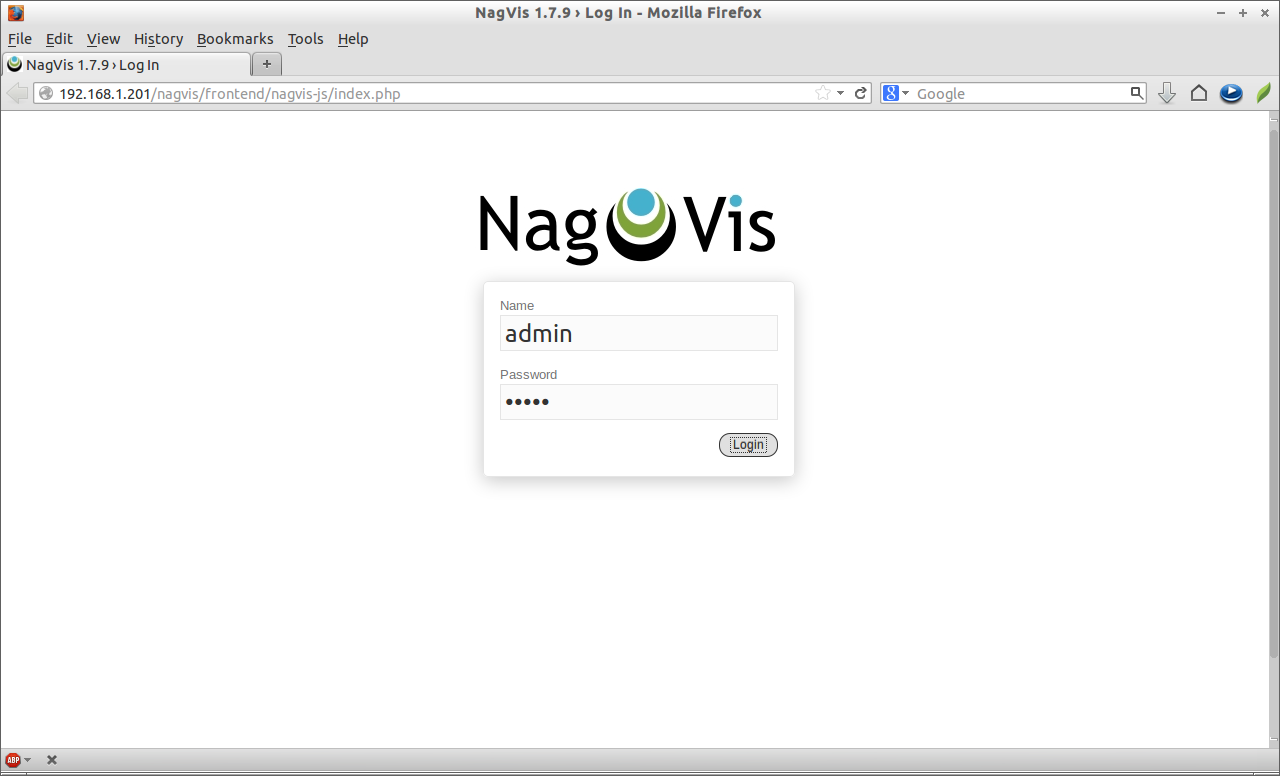
Access NagVis Web Interface
Navigate to http://icinga-ip-address/nagvis from your browser. Enter the username and password for NagVis. The NagVis default username and password are both ‘admin’.
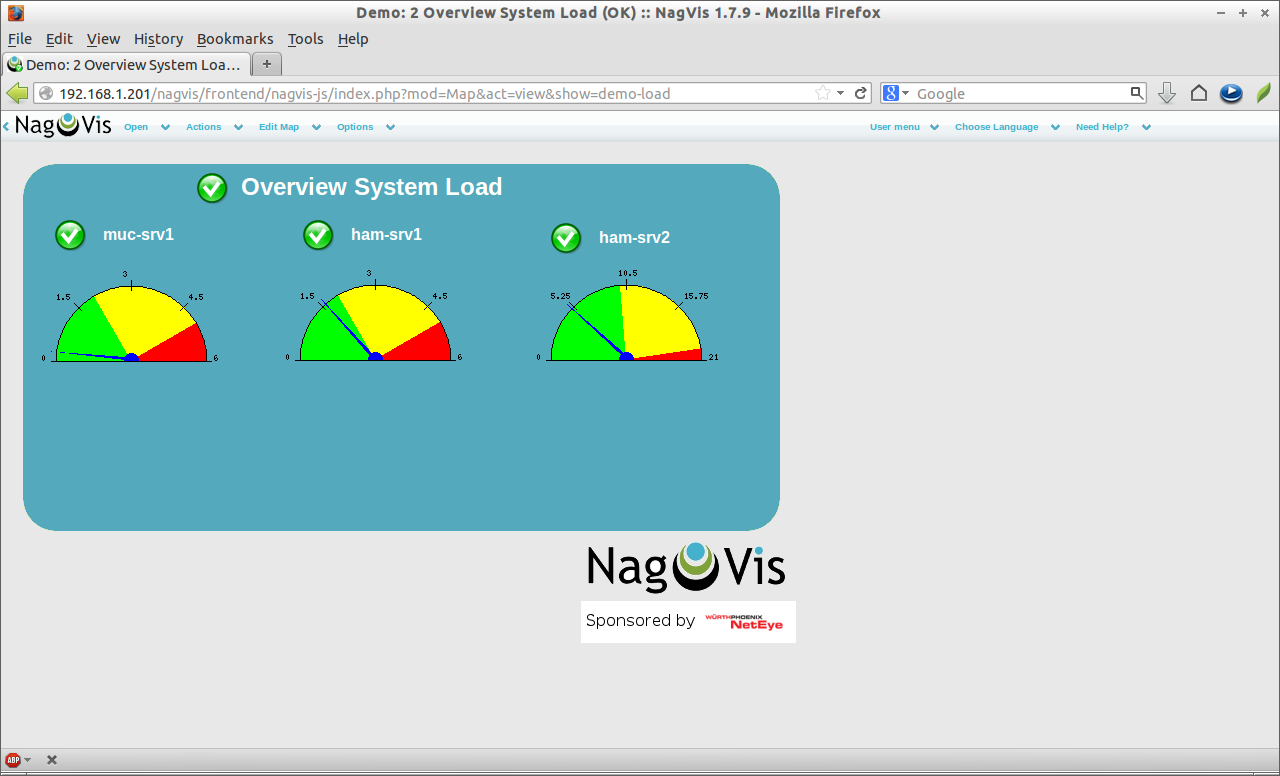
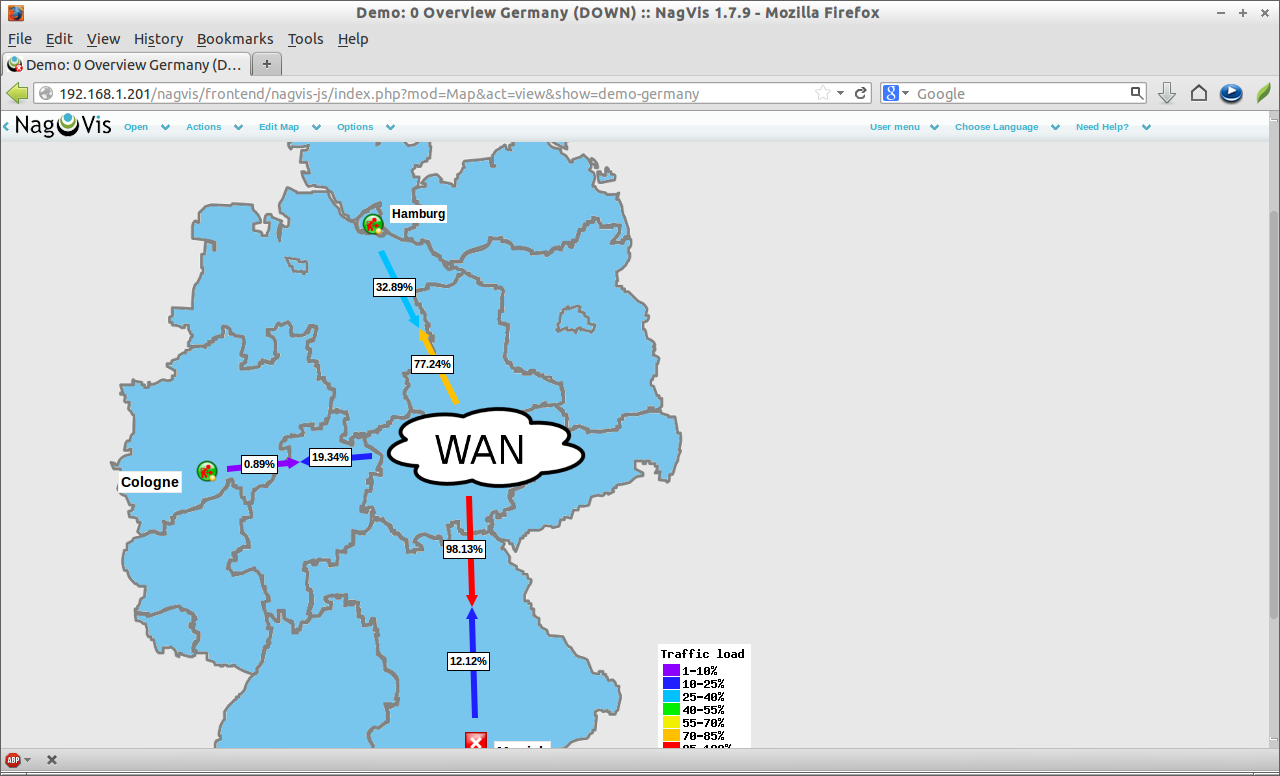
 Demo System Overview Screenshots
 For more information about NagVis installation and configuration, i recommend you to read NagVis Documentation Page.


