
Introduction and Features
Files and directories comparison is the task that is often required, Meld takes this job seriously and is considered one of the best tools to perform comparisons between files, directories, and version control projects.
It’s an excellent tool to have on your machine if you’ve tried using the diff command for the same purpose and found it challenging to make sense of the output.
It is widely used by Linux desktop users and app developers to cater their daily comparison needs. Here are some of the noteworthy features of this application.
- It provides both two and three way comparison of files/folders.
- Due to its “Auto Merge” feature, it makes easier to merge files/folders.
- Easy graphical interface to navigate through differences.
- Support for popular version control systems like Git, Mercurial, Bazaar and SVN.
- It lets you view file versioning status in the control system.
- This awesome application is available in many languages.
- Ability for syntax highlightening and simple file management.
- Support for integration with command line tools like git and mergetool
Installing Meld on Ubuntu/Linux Mint
This tool is built in python and uses GTK +3.12, so in order to use this application, we should have such dependencies/pre-requisits already installed on our linux system. Kindly note that following command will also install Meld on your Ubuntu/Mint system, but it will install old version.
[cc]sudo apt-get install meld[/cc]
In order to install the latest version and get benefit from new features, we will need to perform the installation process manually. Run following command to install dependencies.
[cc]sudo apt-get install intltool itstool gir1.2-gtksource-3.0 libxml2-utils[/cc]
Once the installation is complete, run following Git command to clone the Meld source repository on your Linux system.
[cc]git clone https://git.gnome.org/browse/meld[/cc]
Now go into the cloned directory:
[cc]cd meld[/cc]
Here, run following command to install latest meld version.
[cc]sudo python setup.py install[/cc]
It’s important to verify your meld installation at this stage. To do this, you must run this command:
| dpkg -L meld |
Of course, you could also simply run “meld –version” to verify that the software has been installed. However, the above command checks whether all the files related to the meld package are properly present on your machine.
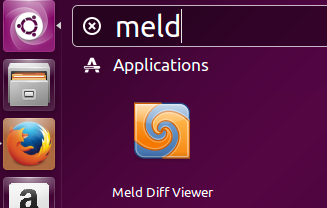
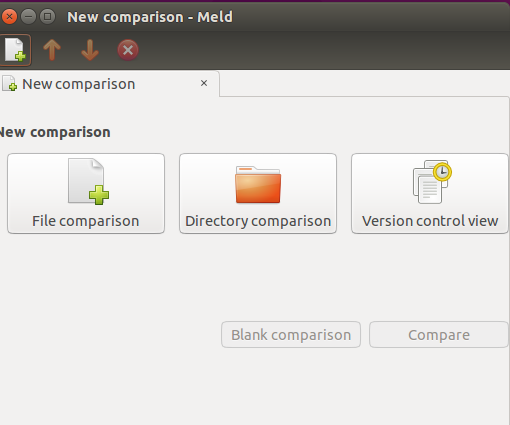
Congratulations, Meld has been installed on your Linux system now. Launch it from Applications menu.
There you go, start comparing and merging files/folders.
Uninstalling Meld from Your Machine
If you decide to remove Meld from your system, here are a few different ways to accomplish this using the apt tool.
For a simple uninstallation, you can run the following command in your Terminal:
| sudo apt-get remove meld |
If you also want to delete all additional files that were installed with Meld (known as dependencies), use this command:
| sudo apt-get remove –auto-remove meld |
To remove Meld along with its configuration files (this ensures no leftover settings remain), input this command:
| sudo apt-get purge meld |
Alternatively, you can also use the following command for a thorough cleanup that removes Meld, its configuration files, and all related dependencies:
| sudo apt-get purge –auto-remove meld |
Conclusion
Meld is a pretty stable and easy to use application; installation process is seamless and internet is full of help regarding the usage of this tool. It is also available for Windows operating system. Thousands of people all around the globe use this application on daily basis.
The output of the diff command can be challenging to decipher even if you use it regularly. The powerful visualization offered by Meld, coupled with its compatibility with Git, makes it an application every Ubuntu user should have, especially if you are a developer.


