
MantisBT or simply called Mantis, is an open source bug tracker, it provides a simple and easy to use web based interface for your application’s bug tracking. It serves as an excellent issue tracking and Project Management tool. The development of this tool started back in 2000 and has been under continuous bug fixes and improvements, in 2012 the development team moved its source code to well known Git repositories. In this article, we will be reviewing the prominent features and installation process of this freeware application on Unbuntu Linux 15.04.
Prominent Features
Mantis is a feature rich bug tracker, here are some of the important features of this opensource application:
- Time tracking and source code integeration
- Issue relationship graph and work flow
- Vast plugin base which extends functionality of Mantis to great extent
- Email and RSS based notification sending features
- Mantis plugins make possible the integeration of other version control Systems
- Full text search and anonymous access
Installing mantis on ubuntu 15.04
Mantis requires following three software components to be installed:
- PHP
- MySQL
- Apache
Installing Pre-requisites
In order to install all of the above mentioned pre-requisites, we will just install LAMP Stack on our ubuntu operating system, it will take care of all required dependencies. Launch your terminal and run following command to install LAMP.
[cc]sudo apt-get install lamp-server^[/cc]
During the installation process, you should see pop up for setting the MYSQL root password, note down the password you set here, as it will be used later when installing Mantis.
Once the installation of LAMP is complete, run following command to start apache service.
[cc]sudo /etc/init.d/apache2 start[/cc]
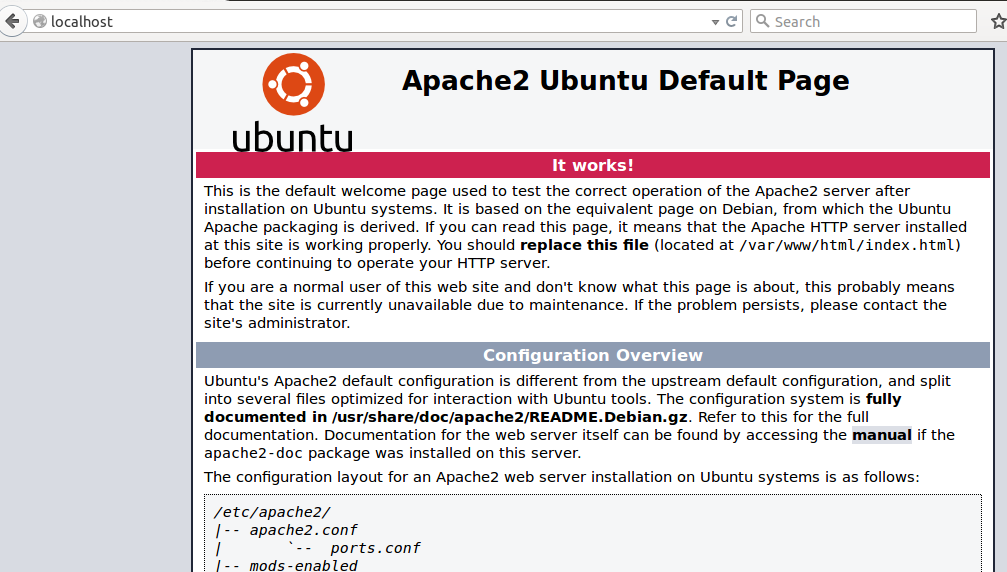
Now launch your browser and load http://localhost there. You shoul see apache welcome page here.
Alright, we are ready to start the installation of MantisBT. Download the latest version of Mantis using your favorite browser.

As soon as the download process is complete, move the downloaded file to apache document root by running the following command.
[cc]sudo mv mantisbt-1.2.19.zip /var/www/html/[/cc]
Now change your working directory to Apache Doc root.
[cc]cd /var/www/html/[/cc]
Unzip the downloaded Mantis archieve by running the following command.
[cc]sudo unzip mantisbt-1.2.19.zip[/cc]
Now rename the extracted directory to something more meaningful.
[cc]sudo mv mantisbt-1.2.19 mantisbt[/cc]
There we go, Load your browser and launch http://localhost/mantisbt/admin/install.php now. It should show a page as show below:
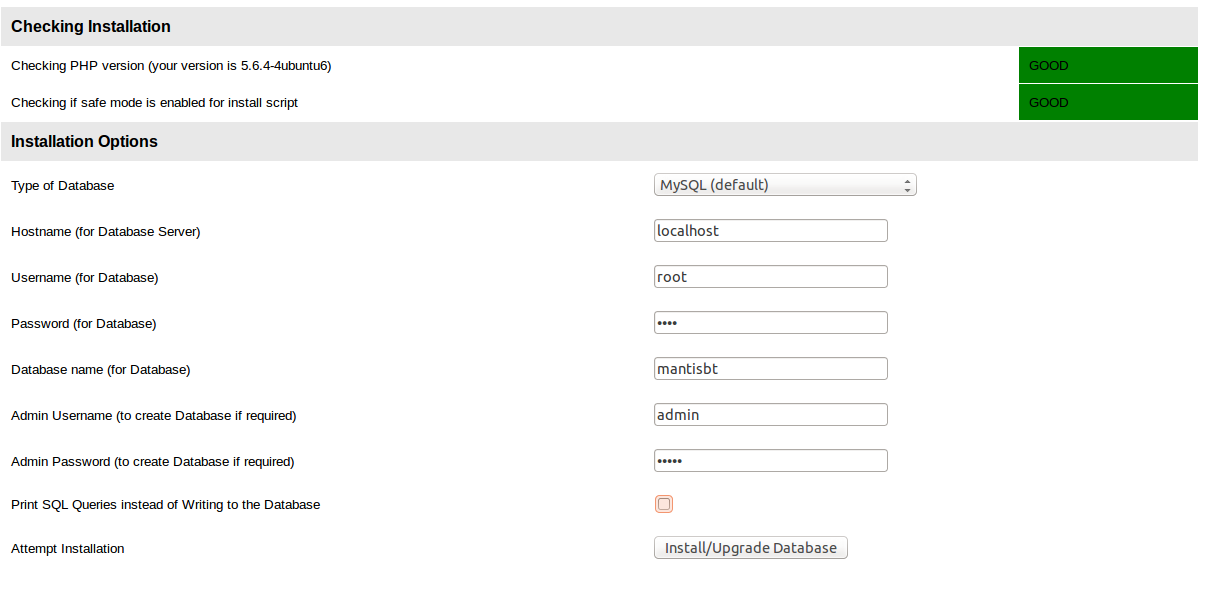
Here specify your mysql login credentials, and the database name you want to give for new MantisBT intall. Please note that the installer will create database itself. Just specify the required details and hit “Install/Upgrade database” option.
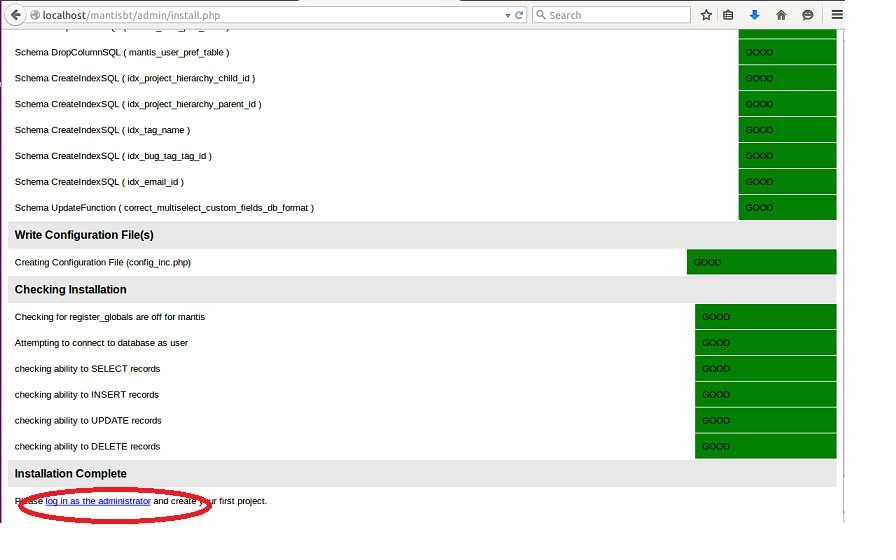
It will take a bit to verify all required setting and create database and peform other required configuration, once done, it will present you with following page. Congratulations – mantis has been installed. From here click “Login as Administrator” option.
Here is main login prompt for Mantis, default logins for any fresh Mantis install are.
[cc]username: administrator
password: root[/cc]
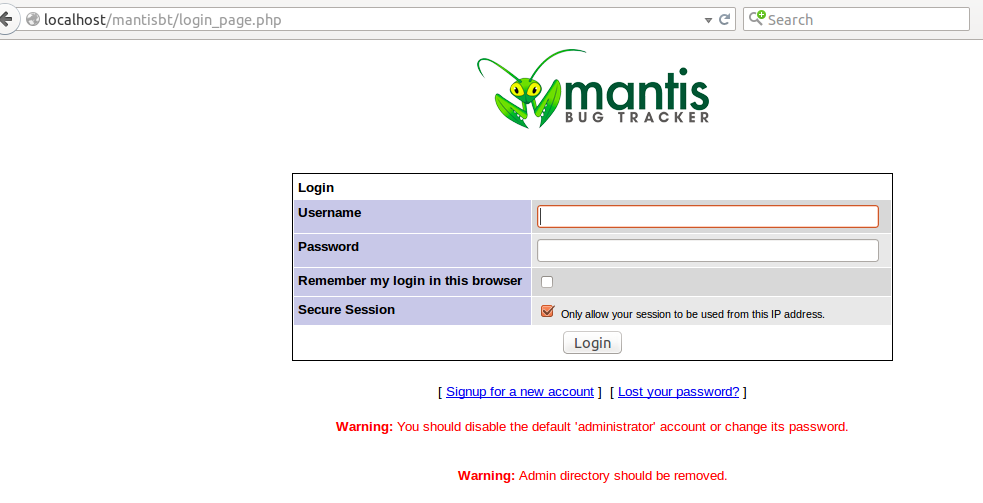
Login with above mentioned credentials and starting managing your projects 🙂

Conclusion
Mantis is an easy to configure Bug tracker, it offers all basic features of your issue tracking or project management needs. Give it a try now, do let us know in case of questions/comments, have a good weekend ahead 🙂


