Introduction
Magento is an open source e-Commerce Merchant software that you can use to build a on-line show case of your own, it was founded by eBay, and it is available as Enterprise and Community addition.
In this tutorial, we will see how to setup this shopping cart solution with Ubuntu 15.04.
Requirements:
Magento Will require a Linux Distro with minimum 4 GB RAM, 500 GB Hard Drive, 1 Eth0 and Internet Connection.
Database: Mysql 5.6
Web Server: Apache/Nginx
PHP: 5.4/5.5
Installation
Switch to root user with command:
sudo su
Install the following packages:
apt-get Install required php toolkit apt-get install php5 libapache2-mod-php5 php5-mcrypt php5-common php5-cli php5-ldap php5-gd php5-mysql php5-tidy php5-xmlrpc php5-curl
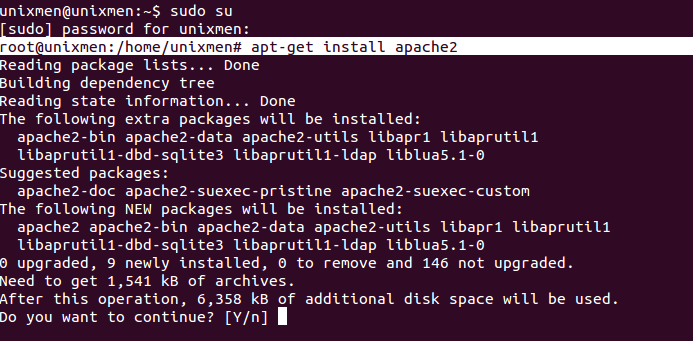
Install apache
apt-get install apache2
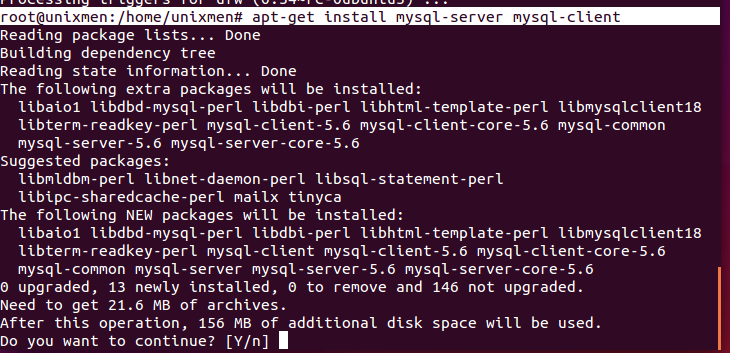
Install mysql-server with mysql-client
apt-get install mysql-server mysql-client
In our scenario mysql root password will be “P@ssw0rd”.
Edit apache configuration file as per requirement:
vim /etc/apache2/sites-available/000-default.conf
Sample output:
# The ServerName directive sets the request scheme, hostname and port that
# the server uses to identify itself. This is used when creating
# redirection URLs. In the context of virtual hosts, the ServerName
# specifies what hostname must appear in the request's Host: header to
# match this virtual host. For the default virtual host (this file) this
# value is not decisive as it is used as a last resort host regardless.
# However, you must set it for any further virtual host explicitly.
#ServerName www.example.com

ServerAdmin webmaster@localhost
DocumentRoot /var/www/html

# Available loglevels: trace8, ..., trace1, debug, info, notice, warn,
# error, crit, alert, emerg.
# It is also possible to configure the loglevel for particular
# modules, e.g.
#LogLevel info ssl:warn

ErrorLog ${APACHE_LOG_DIR}/error.log
CustomLog ${APACHE_LOG_DIR}/access.log combined

# For most configuration files from conf-available/, which are
# enabled or disabled at a global level, it is possible to
# include a line for only one particular virtual host. For example the
# following line enables the CGI configuration for this host only
# after it has been globally disabled with "a2disconf".
#Include conf-available/serve-cgi-bin.conf
Add the following section to apache server configuration file:
        <Directory /var/www/>
        Options Indexes FollowSymLinks MultiViews
        AllowOverride All
        Order allow,deny
        allow from all
        </Directory>
Change the memory status of Apache Server.
vim /etc/php5/apache2/php.ini
change memory limit from 128M to 512M
memory_limit = 512M
Start apache web services.
/etc/init.d/apache2 start
Now, configure your mysql database for magento:
mysql -u root -p
Create a database named as magento.
mysql>CREATE DATABASE magento;
Create a user named “magentouser”
mysql>CREATE USER magentouser@localhost IDENTIFIED BY 'user_password';
This newly created user “magentouser” must have all privileges of “magento” database:
mysql> GRANT ALL ON magento.* TO magentouser@localhost;
Download Magento:
wget http://www.magentocommerce.com/downloads/assets/1.9.0.1/magento-1.9.0.1.zip
Unzip this magento.x.x.zip and copy all of the contents to /var/www/html.
unzip magento-1.9.0.1.zip
cp -Rrfv magento/* /var/www/html/
Now, change the permissions accordingly.
chown -R www-data:www-data /var/www/html/
Change file permissions, as required.
chmod -R 755 /var/www/html
Restart apache and mysql services.
/etc/init.d/apache2 restart
/etc/init.d/mysql restart
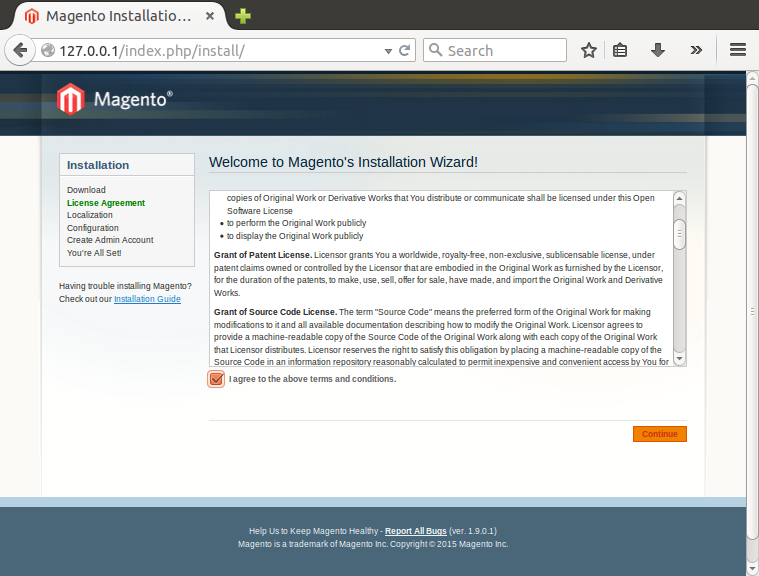
Now, every thing is fine let’s start installation of Magento.Open browser and type: http://127.0.0.1/index.php/install
Select I agree and click next.
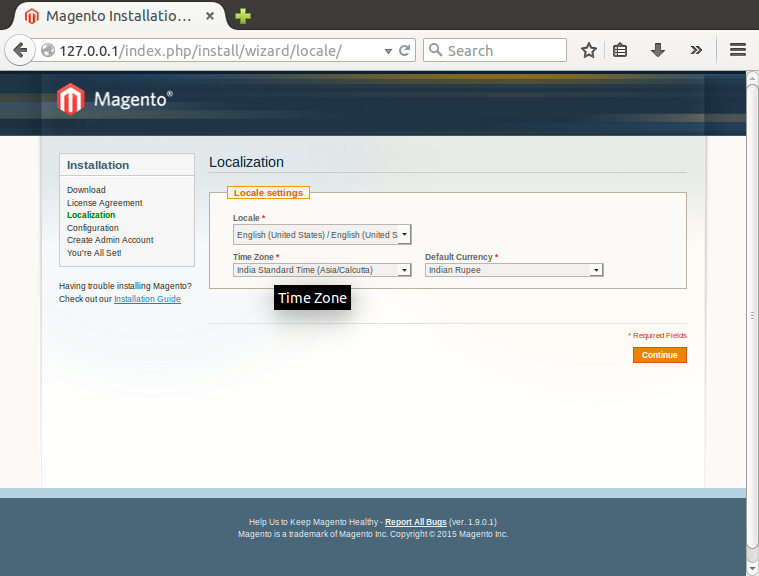
Provide your Time Zone, Currency and Default Language.
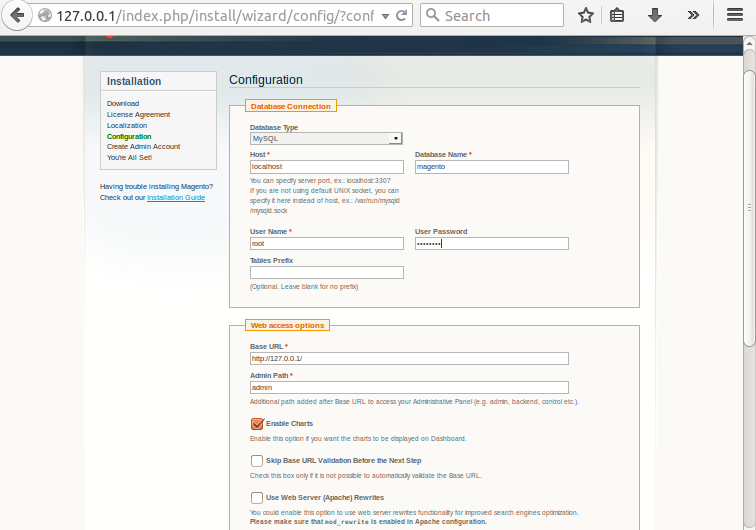
Provide your Database credentials, click next.
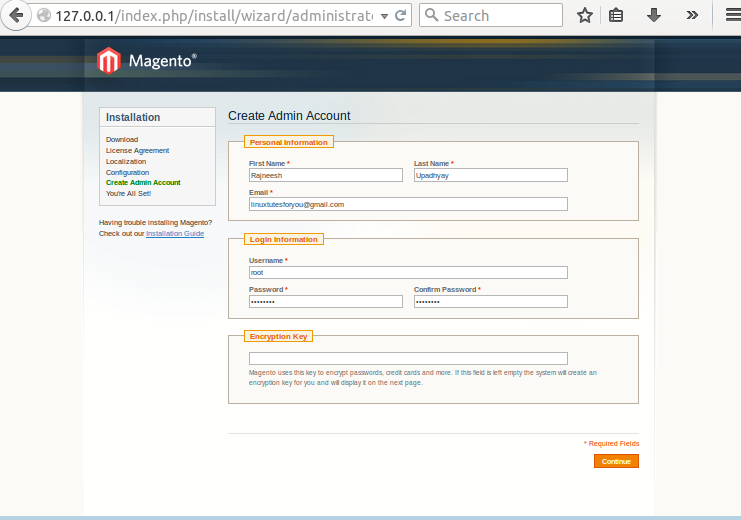
Create Admin account and provide email and other details.
You will see a you are set massage on next screen, you are done at this step.
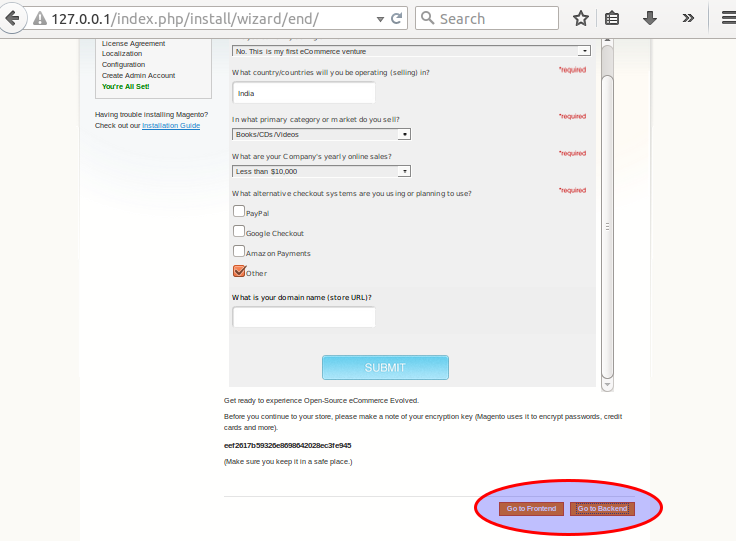
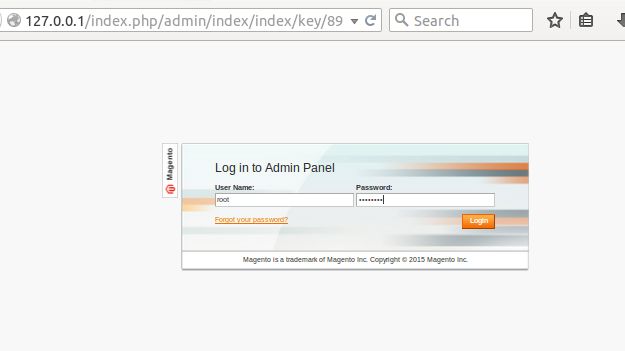
Click to ‘Backend’ this is the admin panel of This e-commerce shopping cart.
We will login in our scenario with username ‘root’ and password ‘P@ssw0rd’
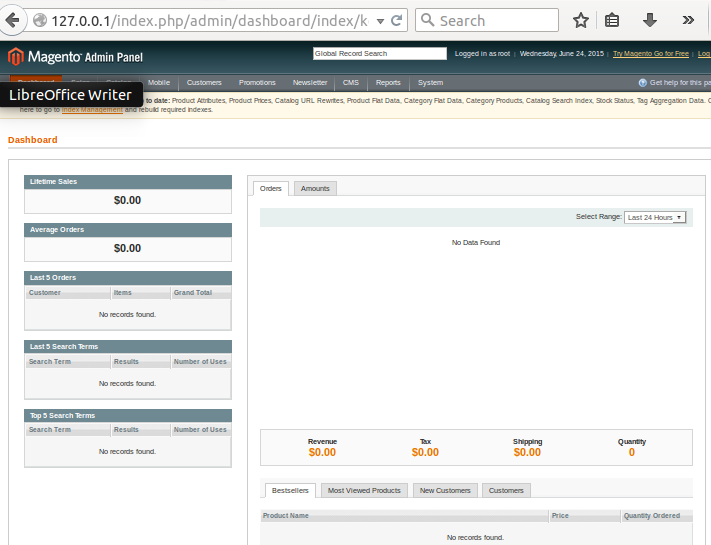
The Admin panel is visible after logging in.
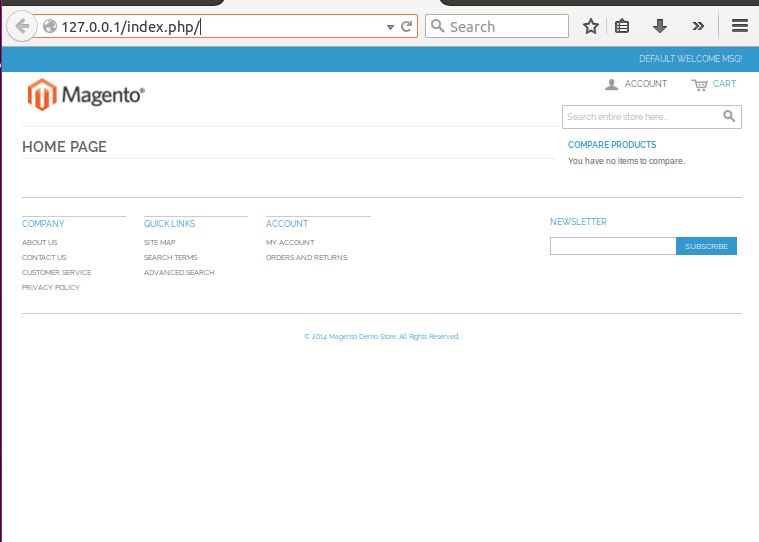
But, when you will click to the Frontend tab, that will show how your shopping cart will look like.
That’s it.
Have Fun!


