
KVM (Kernel Based Virtual Machine) is a free virtualization tool which lets you create virtual machines on your host operating system. It works on all Linux distributions where CPU has virtualization support enabled. KVM based virtualization is bit different from hypervisor based virtualization (Xen, HyperV) as it does not need any specific kernel to be installed. All you need is a standard Linux kernel and you can start creating virtual machines using KVM tool. KVM supports Full Virtualization technique, in which every virtual machine operates as an independent box, being unaware of the architecture and existence of host operating system. Let’s see how we can install and configure KVM on Ubuntu Linux 15.04.
Checking If your system’s CPU supports hardware virtualization
First of all make sure that your Linux system’s CPU supports hardware virtualization. Launch your system terminal and run following command.
[cc] egrep “svm|vmx” /proc/cpuinfo [/cc]
If your CPU has hardware support enabled, it should output as shown below (you might be seeing a bit different output, just make sure you have “vmx” included ).
[cc] flags : fpu ss ht tm pbe syscall nx rdtscp vme de pse tsc msr pae mce cx8 apic sep mtrr pge mca cmov pat pse36 clflush dts acpi mmx fxsr sse sse2 vmx est tm2 ssse3 vpid [/cc]
If vmx option is not available, you need to reboot your system and enable it from BIOS.
Installing KVM
Once your CPU has hardware virtualization support enabled, run following command to install KVM and its related/dependent packages.
[cc] sudo apt-get install qemu-kvm qemu virt-manager virt-viewer libvirt-bin bridge-utils [/cc]
Grab a cup of coffee and sit back relax, it should take few minutes to complete, depending on your network speed.
Enabling Bridg Networking
Frequently, you will need to access your virtual machines from outside networks. In order to successful do this, you should have Bridging enabled in your network configuration. Launch your system terminal and backup network configuration file.
[cc] sudo cp /etc/network/interfaces /etc/network/interfaces-original [/cc]
Now edit your /etc/network/interfaces file in Gedit text editor by running the following command.
[cc] sudo gedit /etc/network/interfaces [/cc]
Append following lines to this file (Make sure to replace correct IPs and gateway Information according to your own network configuration).
[cc] # Enabing Bridge networking br0 interface
auto br0
iface br0 inet static
address 192.168.1.10
network 192.168.1.0
netmask 255.255.255.0
broadcast 192.168.1.255
gateway 192.168.1.1
dns-nameservers 8.8.8.8
bridge_ports eth0
bridge_stp off [/cc]
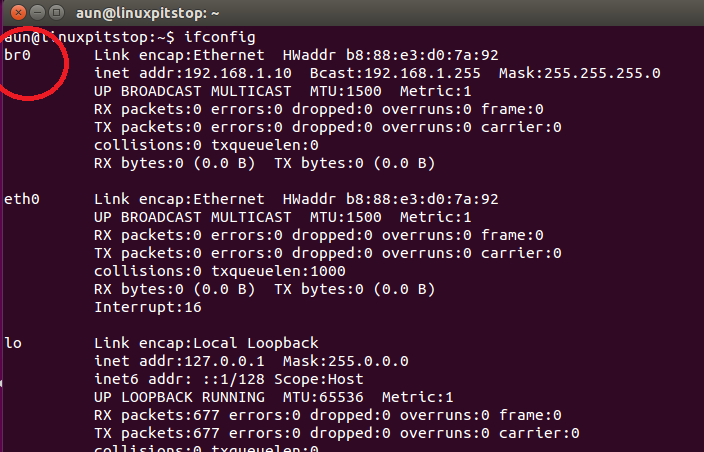
Reboot your system and once it is back online, run following command on your terminal to verify that Bridging has been enabled.
[cc] ifconfig [/cc]
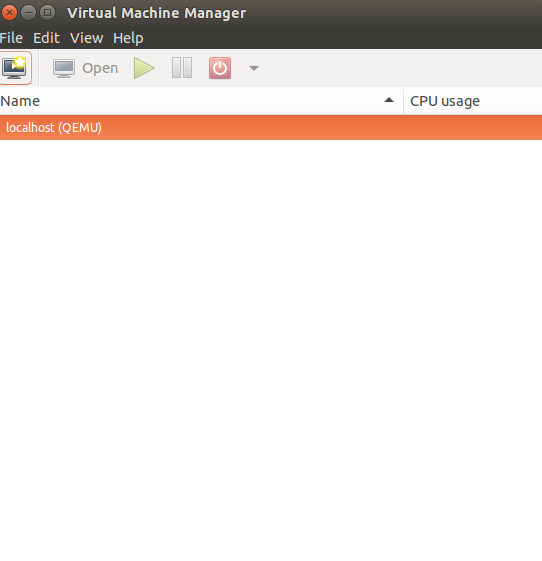
Launching KVM Virtualization Manager
Congratulations, our Ubuntu system is all set for creating virtual machines now. Run following command on the terminal to launch KVM virtualization manager.
[cc] sudo virt-manager [/cc]
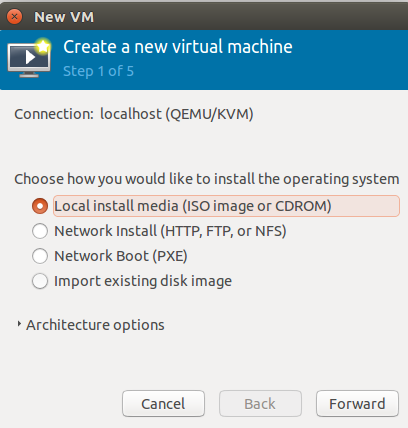
Click File >> “Create a new virtual machine” option to start the “New VM” wizard.
Conclusion
KVM based virtualization is a widely adopted technique due to its simplicity and ease of use. You don’t need to purchase any subscription for creating virtual machines. Create unlimited number of virtual machines using this technique and manage your infrastructure using a graphical interface.


