
JBoss web and application server (Currently known as WildFly) is a set of fully integrated components to host Java based application. It is composition of world’s renowned web and application servers; Apache and Tomact. It is being developed under the umbrella of RedHat corporation and has gained massive popularity for hosting Java applications. It is a secure, stable and enterprise ready application server and comprises of the strengths of Apache web server. JBOSS application server was renamed to WildFly to avoid some confusion; JBOSS community and Redhat JBOSS product line will still continue to use old name.
It is developed in Java and is highly stable, mature and feature rich application server. The project was started in 1999 and was originally known as EJB-OSS (Enterprise Java Bean Open Source Software). It is design to meet the needs of high scale applications and supports advanced features like Clustering, Deployment APIs, Distributed caching, Failover setups, Load Balancing and Management Extensions.
Installing JBOSS Application Server (WildFly) on Ubuntu 15.04
It is developed in JAVA so we must have Java installed on our system before we attempt to run WildFly. Run following command on your system terminal to install java.
[cc] sudo apt-get install openjdk-7-jdk [/cc]
First of all download JBOSS Aplication Server/WildFly from following URL.
Download JBOSS Aplication Server (WildFly)
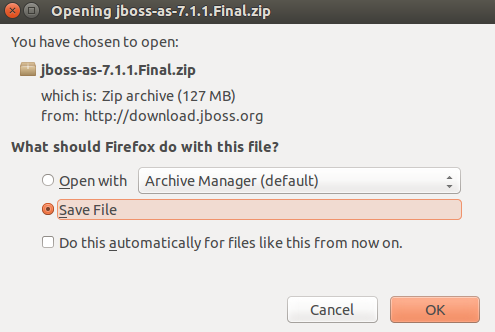
Once the download process is complete, launch your system terminal and go to the download location. Here extract the downloaded file by running the following command:
[cc]sudo unzip jboss-as-7.1.1.Final.zip [/cc]
Now move the extracted directory to /usr/local/share/ with some proper name.
[cc] sudo mv jboss-as-7.1.1.Final /usr/local/share/jboss [/cc]
We will need to create user for the web management of our JBOSS instance. Go to the “bin” directory inside JBoss folder.
[cc] cd /usr/local/share/jboss/bin [/cc]
Here run “add-user.sh” script to add user for the management of your installation.
[cc] sudo ./add-user.sh [/cc]
This is how it outputs, specify “a” here to create “Management User”.

It will prompt name and password for the new user.

Let’s start JBOSS Application Server now, run following command to start it.
[cc] sudo ./standalone.sh [/cc]
By default, it will listen to the localhost and port 9990. If you have public IPs attached to your Linux system or have more than one IPs configured, you can specify JBoss to listen to some particular IP by using the following command (Replace “YourIP” with your actual IP address).
[cc] ./standalone.sh -Djboss.bind.address=YourIP -Djboss.bind.address.management=YourIP& [/cc]
Have you noticed & sign at the end of both command ? it will let your JBoss process running in the background even if you close the terminal window.
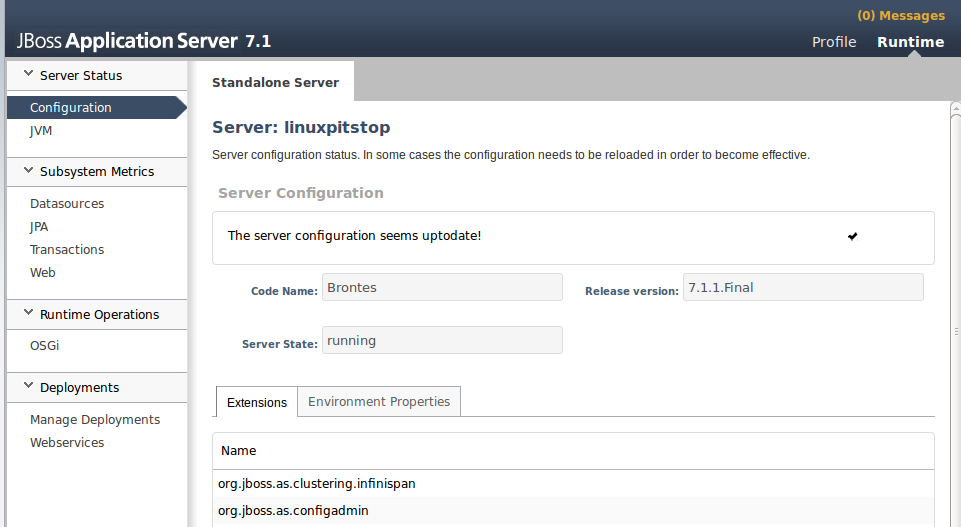
Launch your browser and load http://localhost:9990 to display JBOSS Application Server web management interface.

Login with the username and password we created earlier, here is your feature rich management interface, start deploying your Java based applications now.
Conclusion
It is quite popular, easy to configure and use Application server. It is highly customizable and designed to run smoothly under high load. It can handle applications of all sizes and complexity. A large percentage of java developers trust it for their application’s deployment and testing.


