
Sentora is a free to download and use web hosting control panel developed for Linux, UNIX and BSD based servers or computers.
Sentora is a fully featured, free hosting control panel that can help you easily manage your server through its user friendly interface. It is easy to install and includes all the software you will need to manage multiple websites and clients on a single server.
Sentora is a free to download and use web hosting control panel developed for Linux, UNIX and BSD based servers or computers.
Sentora is designed primarily to install and work with the following software packages out of the box:
- Apache HTTPd
- PHP
- ProFTPd
- MySQL/MariaDB
- Postfix
- Dovecot
In this tutorial, we will demonstrate how to install Sentora in a Ubuntu server.
Features
Sentora has many features like:
- Multi-client environment: Sentora is designed to host and manage multiple clients on a single server, this is known as a ‘shared’ hosting environment. Each client can login and manage their web hosting via a fully customizable control panel.
- Quota management: Sentora enables the user to create and manage any number of services such as mailboxes and domains, provides the tools to enable you to set quotas on both bandwidth and creation of services.
- Resellers: Sentora provides the ability for you to offer ‘reseller’ accounts enabling your clients to resell your hosting in a ‘white-label’ environment.
Requirements
In this article we assume that you have made a fresh install for Ubuntu server and you are the root user. If you are not, prepend sudo to all shell commands or temporarily become a user with root privileges with sudo -s.
Sentora Installation
The first step to do is to download the script that will allow to install Sentora easily under you server.
So connect to your server over SSH with your root user. Then issue the following commands:
# cd /root/
# wget http://sentora.org/install
# chmod +x install
# ./install
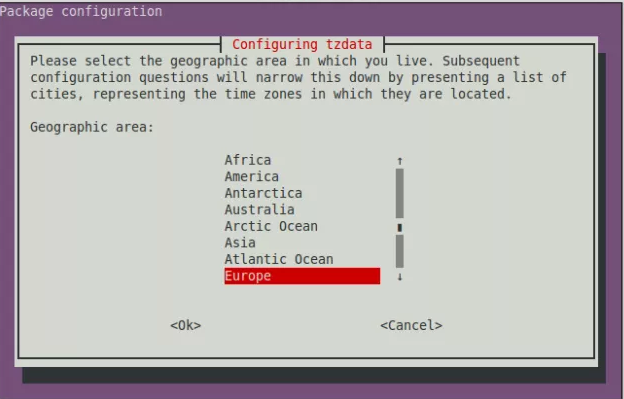
This will start up the installer. You will be asked to choose your geographic area and then the city or region the server timezone should be set in.
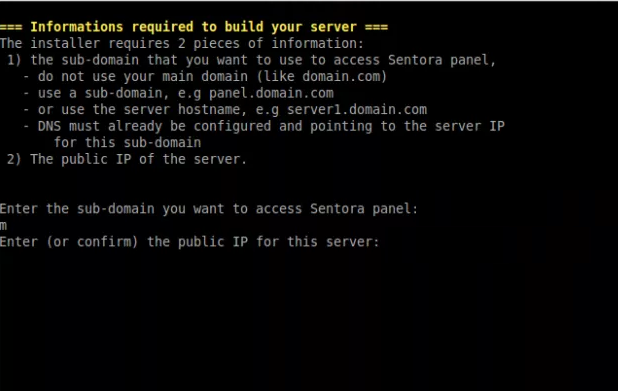
After selecting your time zone, you will be asked also to enter a domain anme and a ip address to access your control panel from your web browser.
Now the installation process will start. It may take some time. you need to be patient as it installs the necessary components onto your server.
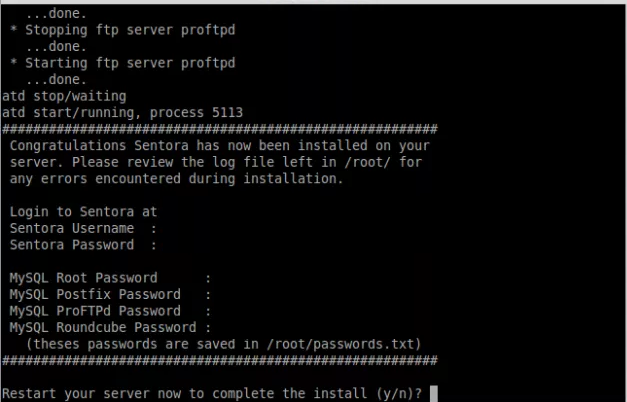
All password information will be written in the following file:
/root/passwords.txt
Now you will be prompted to reboot your server to complete the installation. Then you can manage your server using your Sentora control panel.
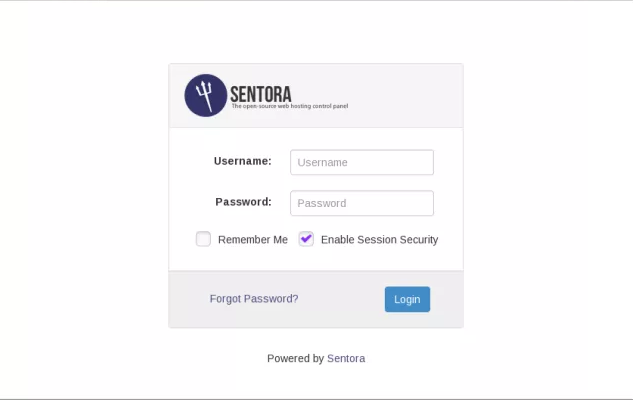
You will see the sentora login screen:
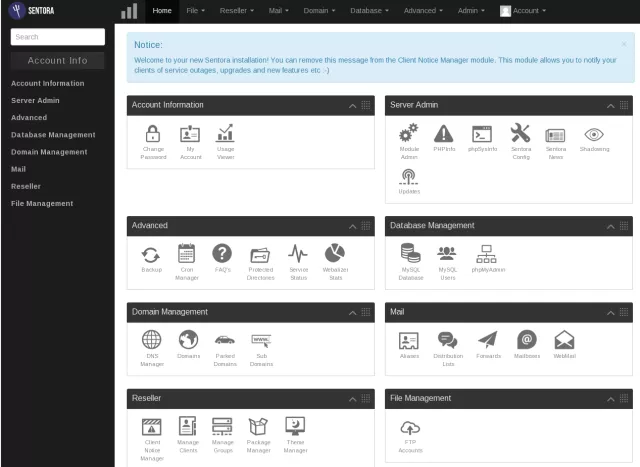
Once logged you will see the administrative control panel of your Sentora:
Now that you have the Sentora control panel set up on your server, for more information you can check Sentora website and also you can spend some time to take a look around your new control panel.


