
Today, we will learn and walk through how we can install and configure arno iptables on OpenSUSE 42.1 Linux distribution to secure it. This is mostly related to security hardening of your server so that your server stay safe in teams of security. A good System Administrator must secure his Linux driven servers. Right? There are many ways we can secure our servers. Setting up a good solid firewall is an essential mendatory step for securing any modern operating system according to your needs. I will show you how you can install & configure your Arno iptables on OpenSUSE 42.1 servers.
Let’s begin then.
What is iptables?
First, we need to know what is iptables. Iptables is an application that allows a user to configure the firewall security tables provided by the Linux kernel firewall and the chains so that a user can add / remove firewall rules to it accordingly to meet his / her requirements. Iptables uses different kernel modules (implemented as different Netfilter modules) and different protocols so that user can take the best out of it. As for example, iptables is used for IPv4 ( IP version 4/32 bit ) and ip6tables for IPv6 ( IP version 6/64 bit ). Normally, iptables rules are configured by System Administrator. You must have root privileges to execute iptables rules. On openSUSE 42.1 Linux system, iptables can be found as preinstalled on /usr/sbin/iptables location. Every iptables rules are directly handled by the Linux Kernel itself and it is known as kernel duty. Whatever GUI tools or other security tools you are using to configure your server’s firewall security, at the end of the day, it is converted into iptables rules and supplied to the kernel to perform the operation.Linux Kernel uses the Netfilter framework so that it can provide various networking-related operations which can be performed by using iptables. We will not cover those though.Previously, ipchains was used in most of the Linux distributions for the same purpose. But, now a days, every Linux Kernel comes with iptables instead of ipchains.
Iptables requires elevated privileges to operate and must be executed by user root, otherwise it fails to function.
You can call it as the basics of Firewall in Linux in general. Iptables is a rules driven firewall system and is normally available pre-installed on most Linux systems for controlling the incoming and outgoing packets based on rules criteria. By-default, iptables runs without any rules or policies so we can create, add, edit rules to it according to our needs.
What is Arno iptables?
So question is what is Arno iptables then. Correct? It’s a single & multi-homed firewall script along with DSL/ADSL support. It is written by Arno van Amersfoort and dedicated to his father. This program is a free software and available under GNU General Public License agreement. This is the github link for the project. For more details, you can visit the author’s website as well.
It’s a very secure stateful filtering firewall which also supports Masquerading (NAT) and SNAT. To learn about all the features, please visit this link. Another thing is like, it may feels uncomfortable for the System Admins for writing all the rules in hand manually one by one and one after another for those thousands of different rules that needs to be written on iptables for secure your server. One can also make mistakes for not writing the rules correctly or the way it should be write to take action taken by iptables. In such cases Arno Iptables can play a great role to help. It provides an interactive wizard interface / window ( Sort of Graphical User Interface ) in sequence to collect information from you and then it complies it back in iptables format to execute those rules.
Why OpenSUSE?
OpenSUSE is a very famous Linux distribution. It is widely used by System Admins now a days and too good for development purpose and for production environment. You can install this on your Laptop and enjoy the beauty of OpenSUSE. Beyond the distribution, the openSUSE Project provides a web portal for community involvement. It is built for software developers and system administrators, also has a user-friendly desktop, and feature-rich server environment. It has both KDE & GNOME Desktop environment.
Install & configure Arno iptables
Now, I will show you how you can install Arno iptables on your OpenSUSE 42.1 Linux Server.
Here, the server that I am using has two interfaces. Which means, I have two wired LAN / NIC ( With RJ 45 port ) card already installed and IP address has been already assigned to those interfaces for my server. One will be the external interface and one will be the internal interfaces. This two interfaces are normally known as eth0 & eth1. Eth0 & Eth1 are the aliases of these two interfaces. Internal stands for this card is connected to the LAN part and external stands for the WAN part which is normally connects to internet. Your server may have only one interface and in that case, depending on your requirements you need to configure Arno iptables.
Open a terminal on your Linux and issue the following command to download arno iptables.
sudo wget http://rocky.eld.leidenuniv.nl/arno-iptables-firewall/arno-iptables-firewall_2.0.1f.tar.gz
This will download the latest source code for a stable release of Arno iptables in a tar archive file format.
Let’s extract the files from the tar archive file by using the following command in the terminal.
sudo tar -zxvf arno-iptables-firewall_2.0.1f.tar.gz
This will extract all the files from the tar archive in a folder named “arno-iptables-firewall_2.0.1f”. Now change directory to the folder named “arno-iptables-firewall_2.0.1f”.
Type the following in the terminal to install it.
./install.sh
You will see something like this.
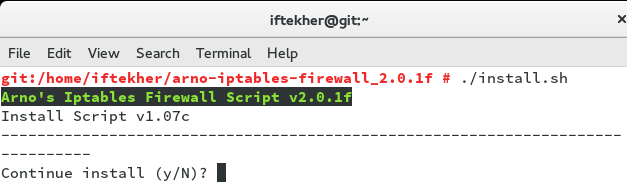
While installing arno iptables, it will show you a window like following with a Yes / No options.
Hit Y to continue.
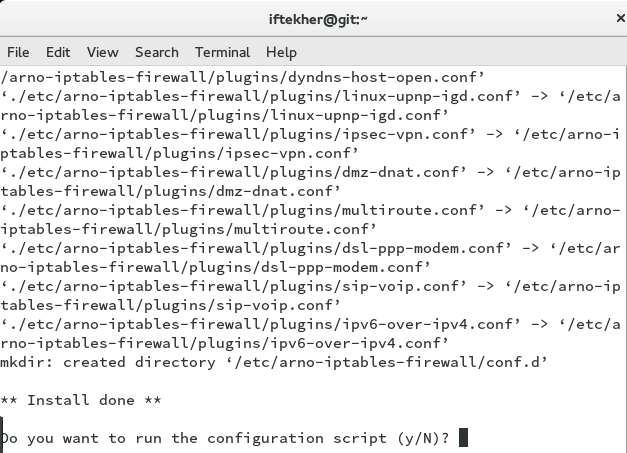
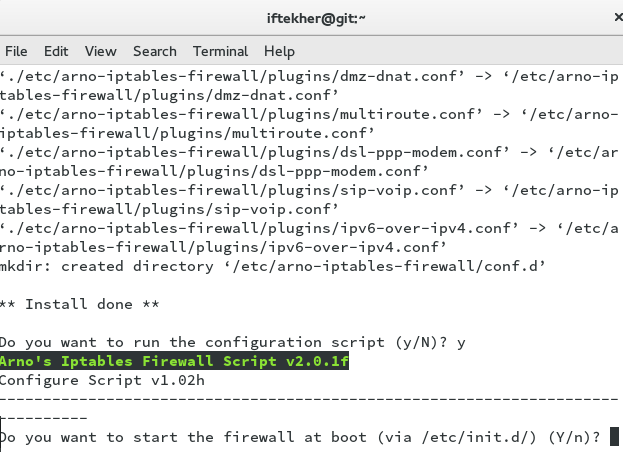
Now, you will see something like below image. Hit Y to continue to set Arno iptables to start automatically whenever your server reboots or started on boot time.
Hit Y again for the verbose mode prompt.
For the next prompt which will ask you,
“Do you want me to help you setup a basic configuration (Y/n)?“, hit Y.
This time, it will ask for your WAN interface name by showing
“What is your external (aka. internet) interface (multiple interfaces should be comma separated)?” prompt.
Enter your WAN or external internet NIC / LAN card alias name. Normally, this should be eth0 if you configure your sever like that way.
And then it will asks whether external interface gets IP address from DHCP protocol or not by showing following prompt.
Does your external interface get its IP through DHCP (y/N)?
Normally, in such scenario, IP address is assigned manually and not by DHCP. So, hit N to continue.
Now, it will ask you whether do you have IPv6 protocols or not like below prompt.
Do you want to enable IPv6 support (Y/n)?
Depending on your IP version protocol, choose Y or N. I am selecting N as I have IP version 4.
For “Do you want to be pingable from the internet (y/N)?” prompt
If you want to enable ICMP echo PING for your server so that your server can be pinged from out side of the world, hit Y. If not then hit N. I am selecting Y over here.
For “Which TCP ports do you want to allow from the internet? (eg. 22=SSH, 80=HTTP, etc.) (comma separate multiple ports)?”
Type your TCP ports numeric values number one by one separated by a comma for your external WAN interface. Make sure you don’t add unnecessary ports which can cause security thread for you later on.
For “Which UDP ports do you want to allow from the internet? (eg. 53=DNS, etc.) (comma separate multiple ports)?”
Type your UDP ports numeric values number one by one separated by a comma for your external WAN interface.
We are done with our External or WAN interface.
Now, it’s time to configure our Internal or LAN interface.
Now, you will encounter an prompt like this one.
Do you have an internal(aka LAN) interface that you want to setup (y/N)?
Hit Y to continue for Internal or LAN interface.
Type eth1 for the prompt “What is your internal (aka. LAN) interface (multiple interfaces should be comma separated)?”
It will asks all the similar prompts for eth1 as well or LAN interface. Hit Y or N accordingly. Enter those TCP and UDP ports number accordingly.
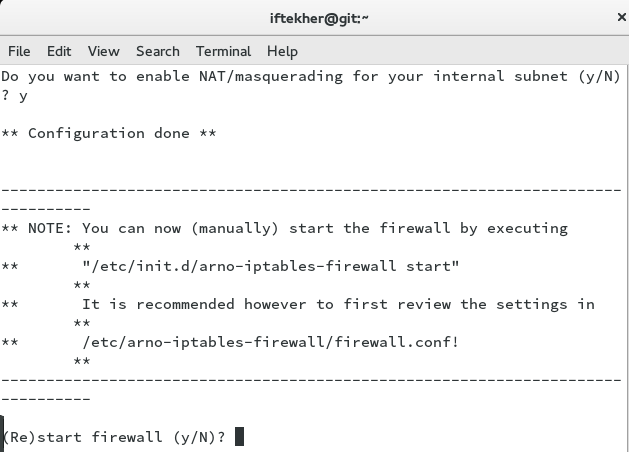
Once, you are done with that, you will see that Arno iptables is prompting you for it’s own restart. Hit Y to continue.
Once you hit Y, you will see lot of text echoing on your screen and you will see that Arno iptables is applying your rules onto the firewall just like below image.
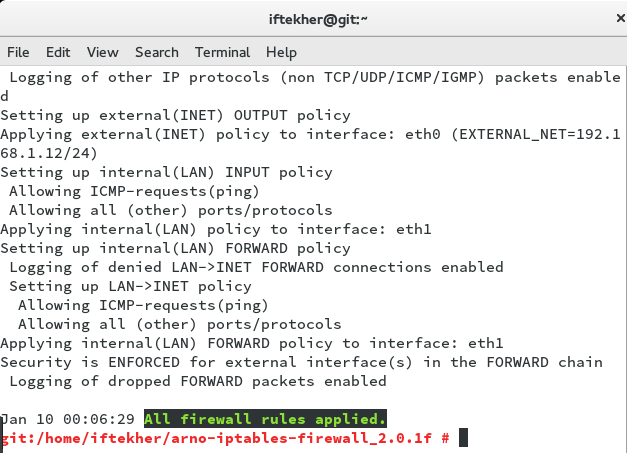
Here, you can see that “All firewall rules applied” text indicating that your prompt answered had been translated into equivalent firewall rules and applied as well.
Knowing More
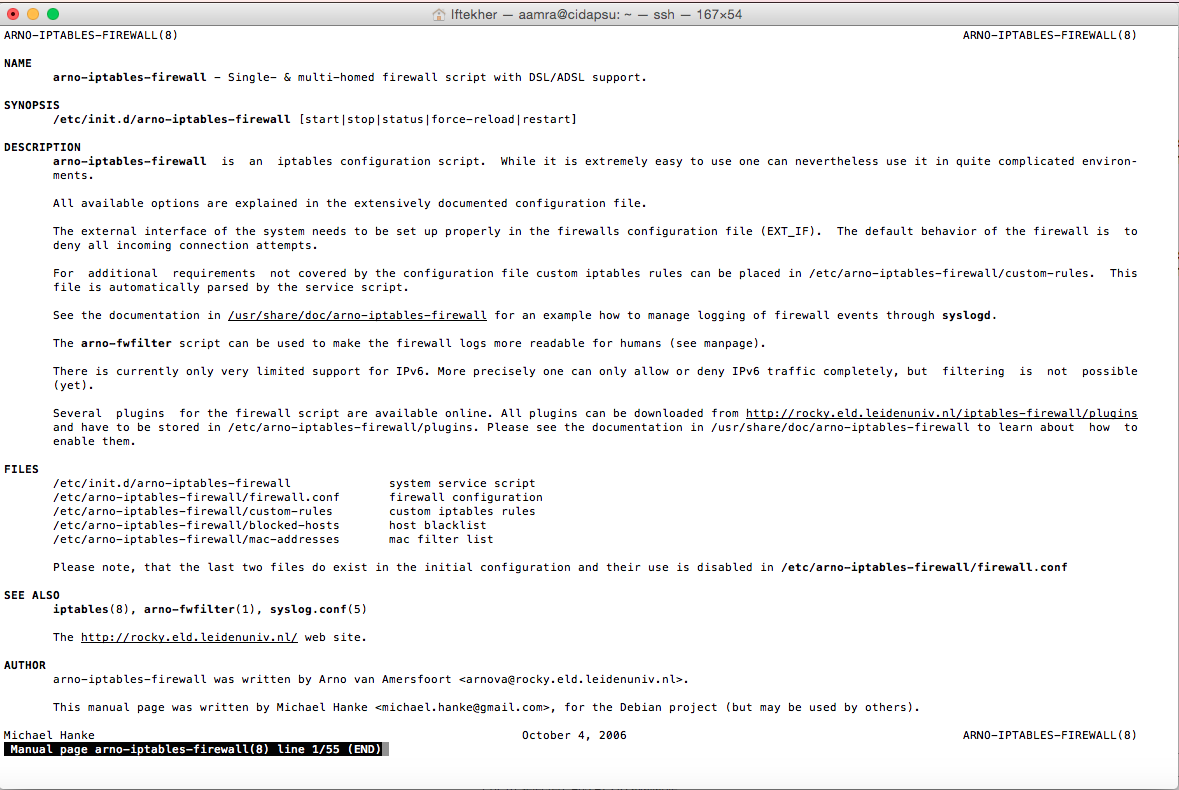
To know more about arno iptables, issue the following command in the terminal so that you can read the manual file.
sudo man man arno-iptables-firewall
After issuing the above command, you will see something like below image.
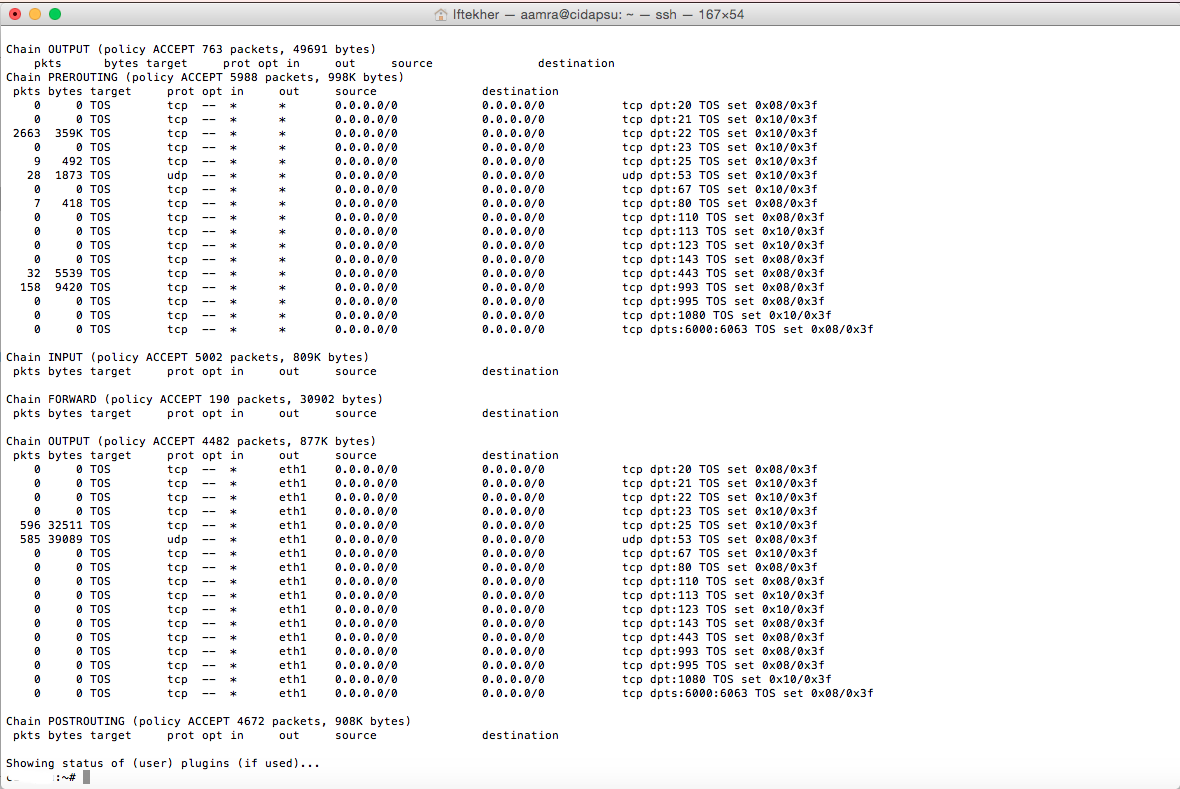
Now, issue the below command in the terminal to know the status of the arno firewall.
sudo /etc/init.d/arno-iptables-firewall status
This will show the rules and policies available on the arno firewall just like below image.
Editing configuration files
You can edit the firewall config file as well. To do so, use your favorite file editor to edit the below file. I am using vim as my editor.
vim /etc/arno-iptables-firewall/firewall.conf
If you want to add more custom rules, please use the following command to edit the custom rule file so that you can add more rules to it.
vim /etc/arno-iptables-firewall/custom-rules
If you want to block host, edit the following file.
vim /etc/arno-iptables-firewall/blocked-hosts
That’s all for today. I hope this will help you to build your own firewall by using Arno iptables.


