
Yeah, we all are excited to hear the news of the release of Chromixium final stable version 1.0 that is now available to download. Chromixium is one of the best combinations of Chrome OS & Ubuntu that is free to download now & forever. It is an Open source operating system that is designed in a unique way mixing the features & looks of Chrome OS and retaining the redundancy & power of Ubuntu Linux, so in short we can say it’s the mixture of Chrome OS & Ubuntu with a beautiful name Chromixium 🙂
Features
Let’s learn about some of the prominent features of this operating system
- It has the functionality of both Chrome OS & Ubuntu which makes it ultra beautiful & powerful as well.
- It is open source, free & always will be.
- Supports all kind of applications for work like Skype, Office or play and much more.
- Can be installed easily & independently or alongside with Windows & Linux with the help of CD, Live DVD or a USB stick.
- It is secure having automatic security updates.
- Supports a no. of languages like German, French etc.
- Having Hardware support for a variety of desktops, laptops other network devices.
Installation
Like any other Linux distribution, the installation of Chromixium is also very easy & simple. Download the ISO image and burn it onto a DVD or a USB flash drive to install it on your system or if you want to test and try it out, the best way is to create a Virtual Machine on Virtualbox and then install it & use it without any hazards.
So here we are going to install it on the hard disk using Virtual box. Please follow the given steps with me:
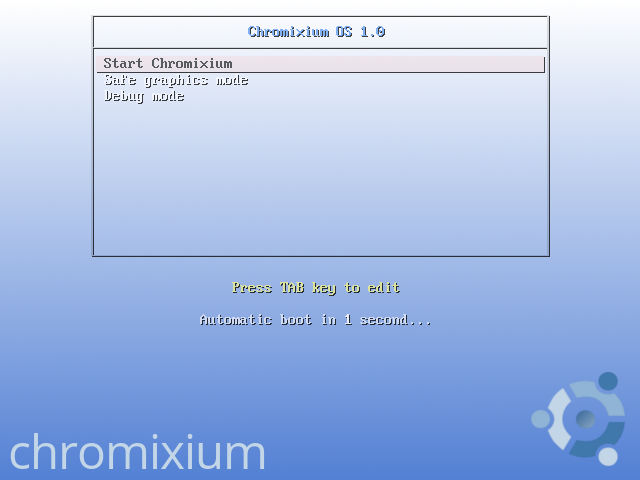
1. Assuming you have created a VM for Chromixium giving it suitable RAM & disk space, boot the machine.
2. You can also use your system now, giving the password as “user”

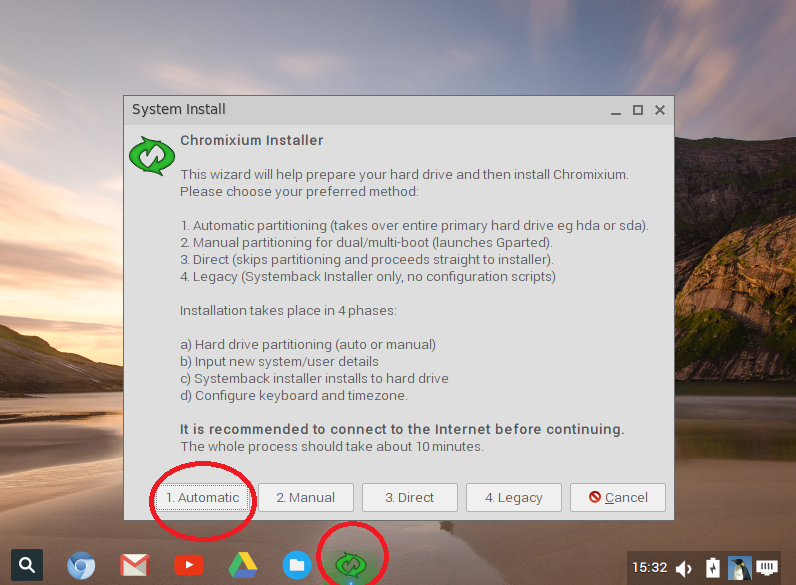
3. Click the Green icon that is encircled red to proceed with the wizard of installing Chromixium on hard disk and select the Automatic option.
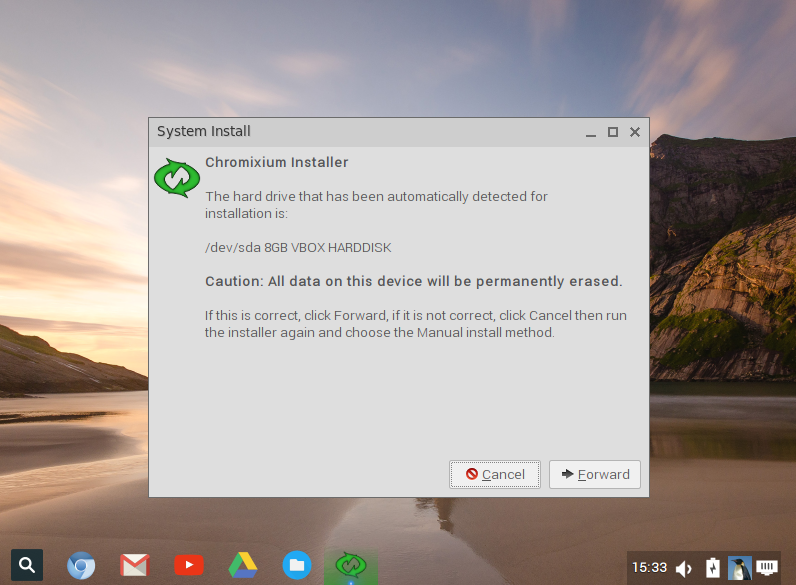
4. After giving the password as “user”, hard disk will be detected where the OS would be required to install.
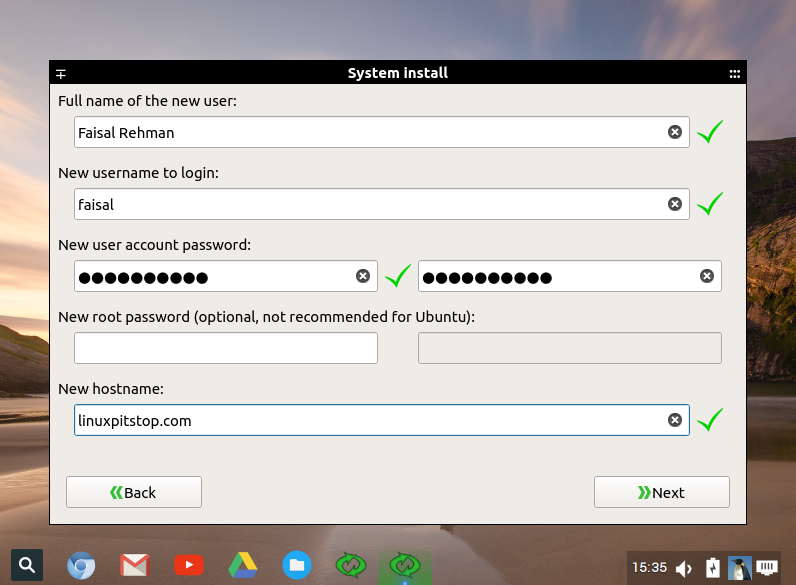
5. Please click on “I agree” on terms to proceed, give below your new account details.
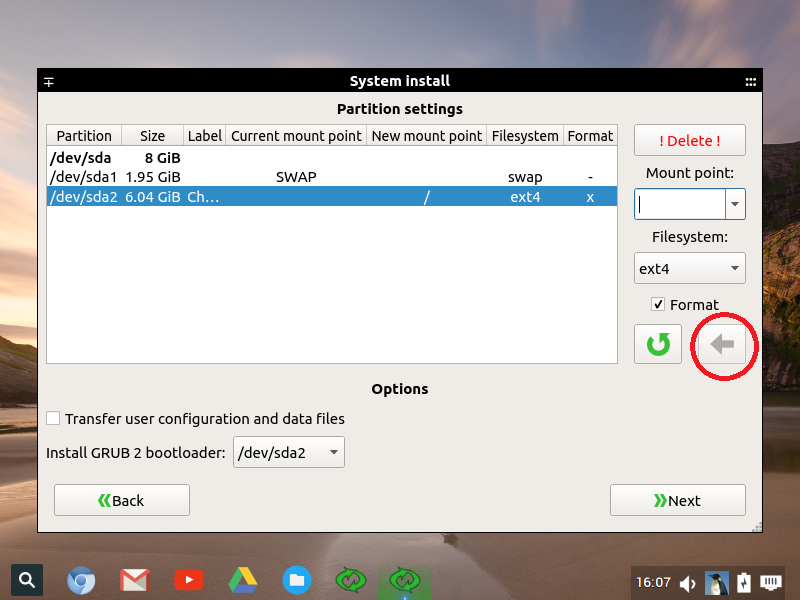
6. Here the very important part comes, select the mount point as /, choose the last partition in the list /dev/sda2/, click the red circled Green Arrow[Not showing green here as I have already clicked :)] & proceed to Next.
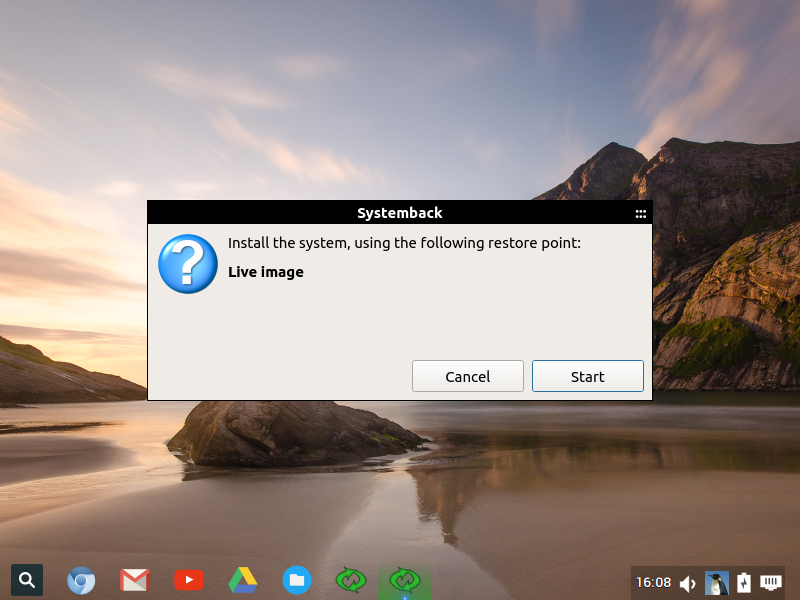
7. We are almost near, please click the start button now.
8. Installation would be getting started, please wait until it gets completed.
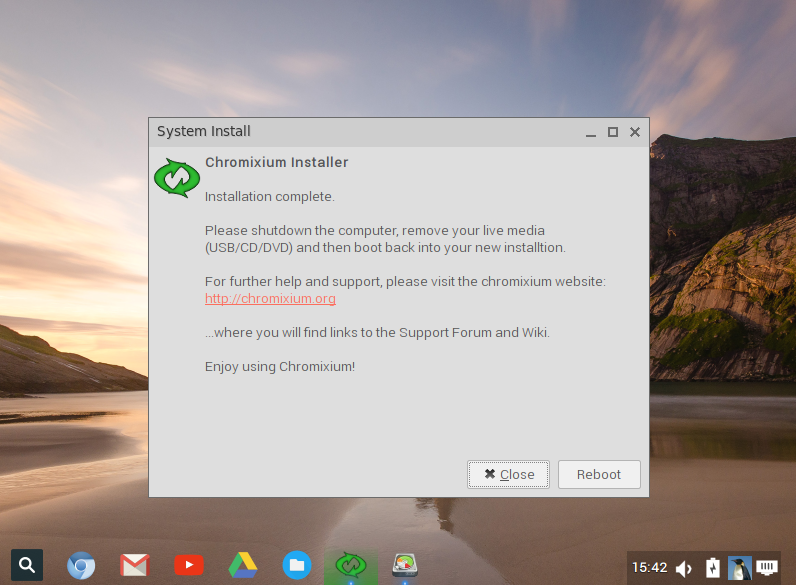
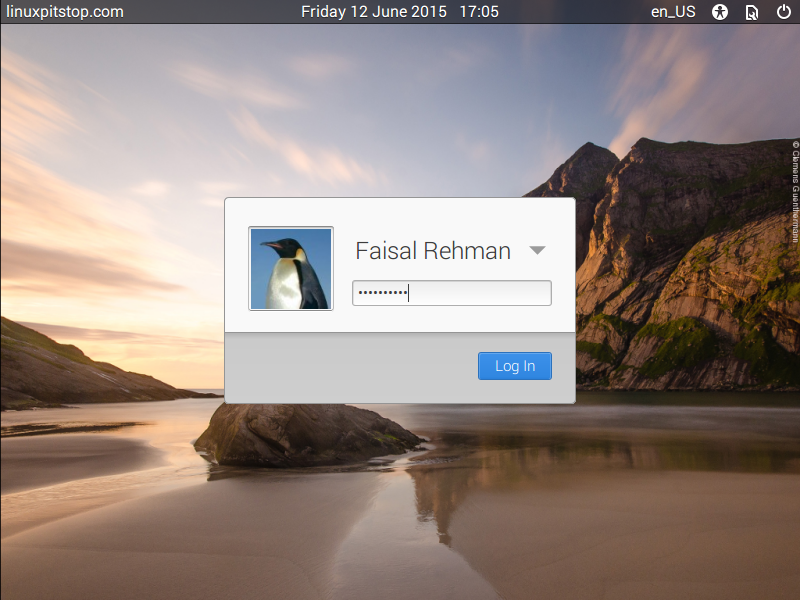
9. Please reboot the system, the Chromixium is installed & ready to use 🙂
Chromixium is very flexible & can be customized being open source, most of the google products are pre-installed on it. The best way, as I have told you is to install and test on a VM using any visualization tool, you should try it 🙂


