
Cacti is an open source web based network monitoring tool front-end for the data logging tool called RRDtool. It’s allow users to check the services at an interval of time and resulting in the graph format. For more information about Cacti refer the official website.
The object of this article is to guide you how to install and setup Cacti on Ubuntu 14.04.
Before installing cacti you need to make sure to install all dependencies.
1 – Lamp server
First step is to install Lamp server (Apache, Mysql, PHP)
sudo apt-get install apache2 mysql-server php5 libapache2-mod-php5
2 – RRDtools
A useful open source tool for storage and retrieval of time series data.
sudo apt-get -y install rrdtool
3 – SNMP and SNMPd
If you want to monitor the localhost where cacti is installed you need to install and configure the service snmpd.
sudo apt-get -y install snmp snmpd
Now after installing all dependencies we start the installation of cacti.
4 – Cacti and Spine
If you want a faster way to poll servers for information than the default php script cmd.php, you need to install cacti-spine.
sudo apt-get -y install cacti cacti-spine
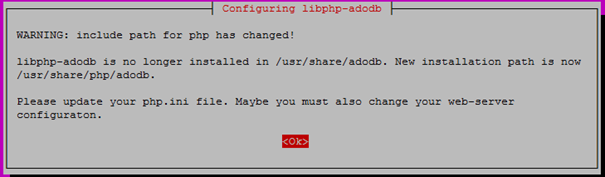
Popup message will appear like this just select OK and move on.
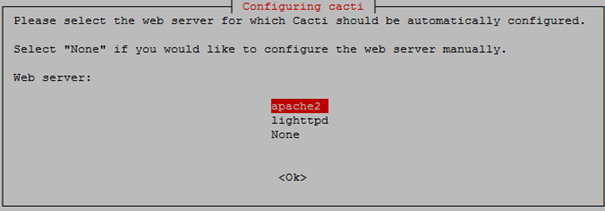
Now it will ask you for a webserver that you will use it, we choose Apache2 since that’s what we installed in the dependencies.
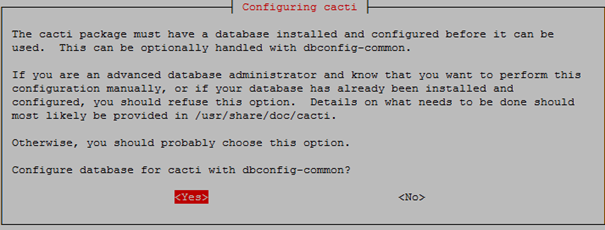
Next it will ask to configure the Cacti database, select Yes.
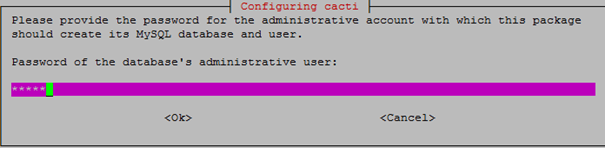
Now it will ask for your root password of MySQL database.
Before we start the web configuration part, we need to start the snmpd service.
sudo /etc/init.d/snmpd start
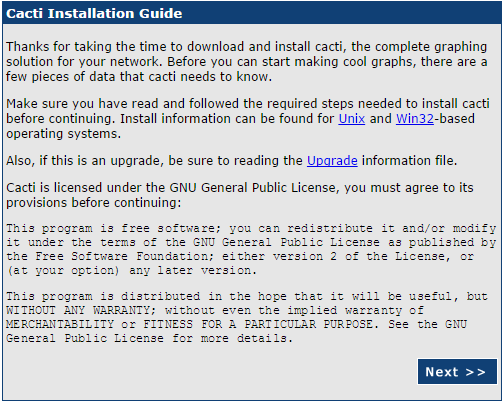
Now you can access http://ip-of-you-server/cacti after installation, the first login, the default account and password are “admin”.
Click Next.
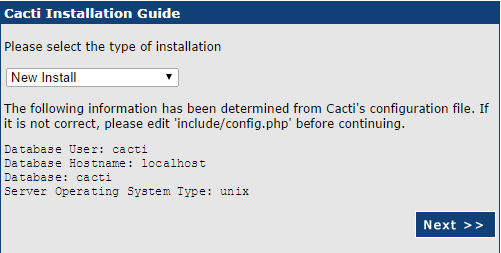
Select new install and click Next
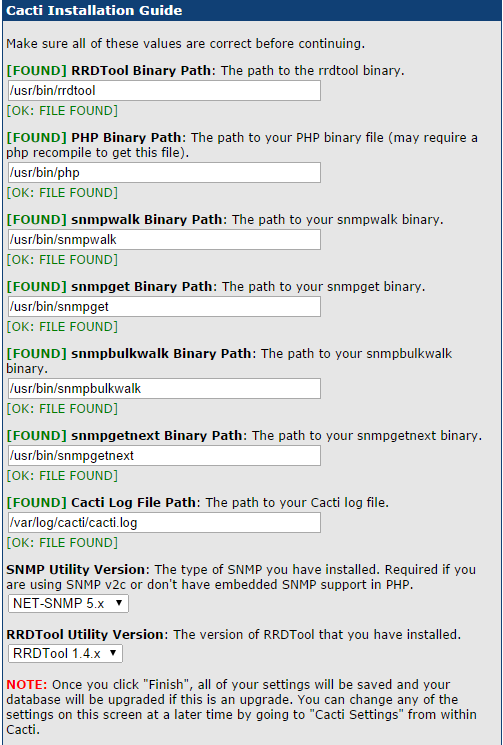
If everything is green, which it should be if you followed all the steps, click Next.
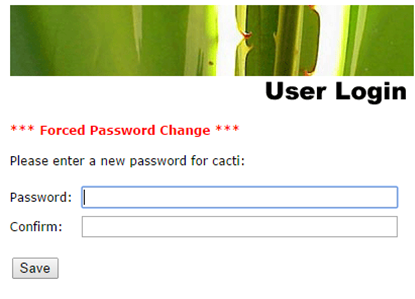
Now you need to type the login and password, the default account and password are “admin”.
Then you will be prompted to change the password.
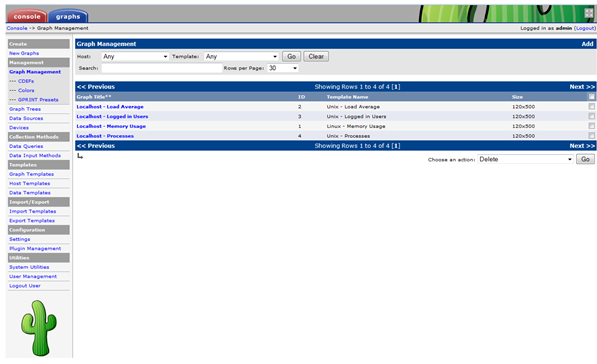
After login in to Cacti you should see similar to the following screen.
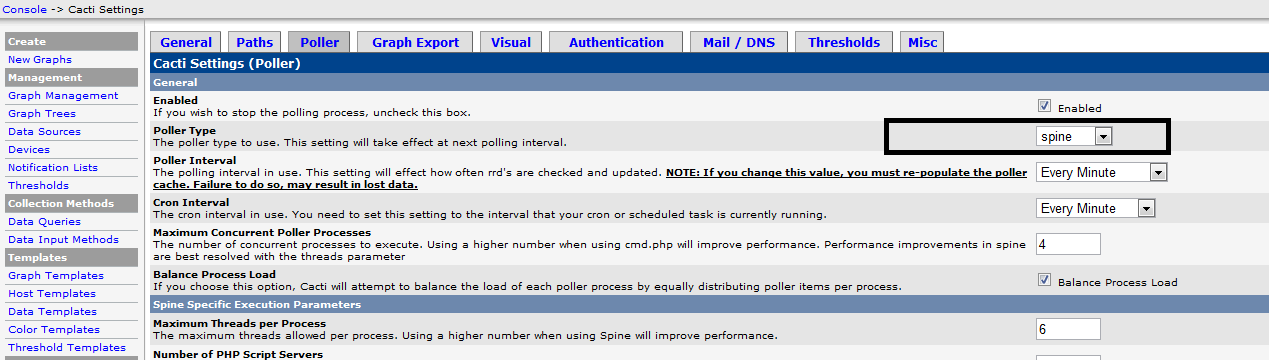
5 – Setup spine
In Console -> Cacti Settings -> Poller, Change the poller Type from comd.php to spine.
6 – Rebuild Poller Cache
Whenever the Poller Interval is changed, the cache must be emptied. To do this, click “System Utilities” under the Utilities heading on the left-hand navigation panel.Click on “Rebuild Poller Cache” to empty the cache.
In about 5 minutes you’ll see the first graphs of localhost server start populating under the graphs tab.
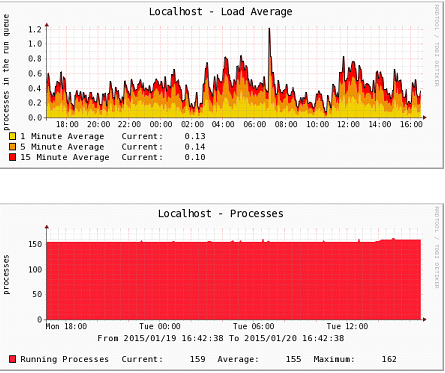
Done!


