
Bosun is a monitoring framework for time series data. It is developed in popular Go language and works on top of Hadoop cluster file system and OpenTSDB. It is developed by Stack Exchange and is used to provide enhanced level of reporting and monitoring of your HDFS data. Usually, it is pretty easy to setup, you just need to download and run its docker image; but this approach is not recommended for production setups. For production setups and multi node Hadoop clusters, it is always advised to use the non-docker approach to install and configure Bosun. Although, docker image approach is a good way to use Bosun for proof of concept purposes. In this article, we will show you the process to get Bosun setup up and running using source installation method. We assume you already have HDFS and Hadoop setup before trying to configure Bosun. Here are related articles that might help you in setting up HDFS cluster (if you haven’t set it up already) .
Configure multi-node Hadoop / HDFS setup
Configure OpenTSDB for HDFS
Installing pre-requisites
Before we attempt to setup Bosun, we need to prepare our system. Make sure following two applications are already installed on our system.
- Git
- Go language Version 1.6
Git can be installed quite easily using the following YUM command.
[cc]yum install git [/cc]
Now regarding GO language, make sure you install minimum version 1.6 as Bosun does not run with old versions of GO. Currently, CentOS 7 repositories include GO version 1.4, so we can NOT use YUM to install GO, we need to use source installation approach to manually install GO Version 1.6. Here are the steps to accomplish this.
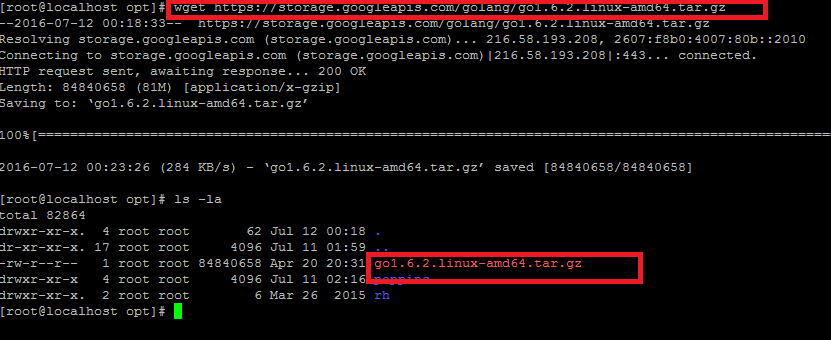
Use following command to download the source package for GO version 1.6 .
[cc]wget https://storage.googleapis.com/golang/go1.6.2.linux-amd64.tar.gz [/cc]
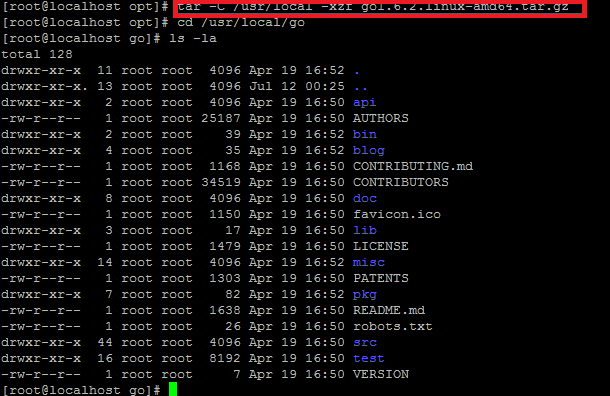
As soon the download process is complete, we need to extract this file to “/usr/local/” . Its important to specifically extract it to /usr/local path as in this way it will be used properly system wide. Run following command to extract it to this location.
[cc]tar -C /usr/local -xzf go1.6.2.linux-amd64.tar.gz[/cc]
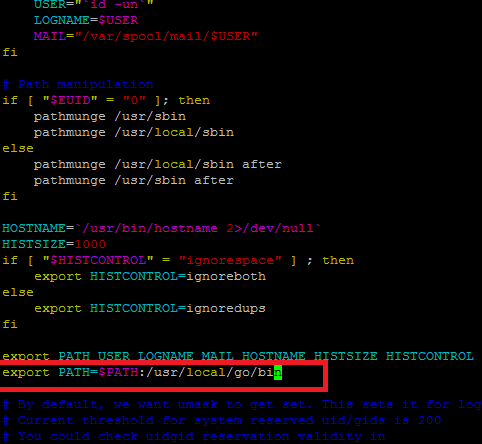
Alright, we need to setup environment variables now so that our Linux system may use proper PATH variable for GO language. Run following command to export the value for GO’s path.
[cc] export PATH=$PATH:/usr/local/go/bin [/cc]
If you need to permantly save this value, you need to add it to /etc/profile file using Vi / Vim text editor.
[cc]vim /etc/profile [/cc]
 Save the file and run following command for the changes to take place.
[cc]source /etc/profile [/cc]
GO has been configured now, you can verify its version information by using the following command.
[cc]go version [/cc]
[cc] [root@localhost go]# go version
go version go1.6.2 linux/amd64[/cc]
Installing / Running Bosun
Our Linux system is all set to run Bosun now, first of all make sure to setup value for $GOPATH variable using following two commands.
[cc]export GOPATH=$HOME/go[/cc]
[cc]export PATH=$PATH:$GOROOT/bin [/cc]
As already mentioned above, you can add these values to /etc/profile to configure these values permanently. Now run following command to get the latest Bosun source code.
[cc]go get bosun.org/cmd/bosun [/cc]
Grab a cup of coffee! it should take couple of minutes to download all the source code for Bosun. You won’t see any success message upon completion.
 As soon as the download process finishes, you will be able to see complete directory tree for Bosun under “/root/go/src/” . Here go into the “cmd” sub-directory by using the following command.
[cc]cd /root/go/src/bosun.org/cmd/bosun [/cc]
You should be able to see a file named “dev.sample.conf” here, rename it to “dev.conf” by using the following command.
[cc] mv dev.sample.conf dev.conf [/cc]
That’s it, we are almost done, here you will be seeing an executable script “./w.sh”, simply execute this script to run Bosun.
[cc]./w.sh [/cc]
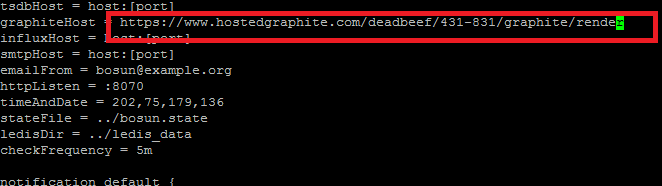
If above mentioned command, returns the following error; then it means that we need to set value for “graphiteHost” parameter inside dev.conf file.
main.go:89: conf: dev.conf:79:3: at <crit = avg(graphite(…>: expr: non existent function graphite
Edit dev.conf file using Vi / Vim / Nano (or any other text editor of your choice) and update the value for this parameter to “https://www.hostedgraphite.com/deadbeef/431-831/graphite/render”.
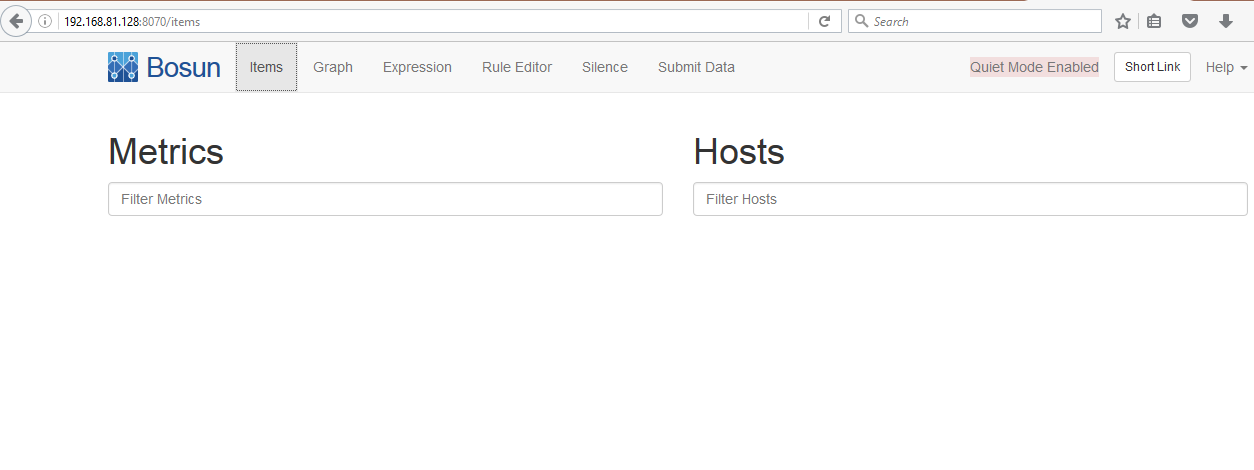
Re-run “./w.sh” and you should be good to go. Launch your web browser and browse http://YourIP:8070 to load the web interface for Bosun. Replace “YourIP” with your Linux system’s actual IP address.
 Conclusion
Bosun provides opportunity to better monitor, analyze and structure your available time series data. It can run anywhere GO is installed, so you can use it monitor your high availability Hadoop clusters and ensure maximum stability of your infrastructure. The easiest way to get started with Bosun is using dockers, but this approach is not encourged for production and live setups. The alternate installation method, which we covered in this article, is effective way to setup Bosun for multi-node time series clusters.


