
Asterisk is an open source framework for building communications applications. Asterisk turns an ordinary computer into a communications server. Asterisk powers IP PBX systems, VoIP gateways, conference servers and more. It is used by small businesses, large businesses, call centers, carriers and governments worldwide. Asterisk is free and open source. Asterisk is
sponsored by Digium, the Asterisk Company. Asterisk is “under the hood” in countless voice communications applications and is capable of interfacing with many traditional Telcom protocols, VoIP protocols, and codecs. Asterisk provides a staggering list of capabilities and features including:
- IVR
- ACD
- Audio and Video Conferencing
- Voicemail
- Call Recording
- Fax termination
- CDR
This guide provides step-by-step instructions for installing Asterisk.
Installing AsteriskNOW
The simplest way to install AsteriskNOW is to use the Official Distro. Let’s start.
Go under this link http://asterisk.org/downloads/asterisknow and download the iso file.
If you want installing AsteriskNOW on a physical burn the ISO file to a DVD or CD.
Than select a computer to install AsteriskNOW . Configure the computer to boot from a DVD or CD. Insert the DVD or CD into the computer and turn it on.
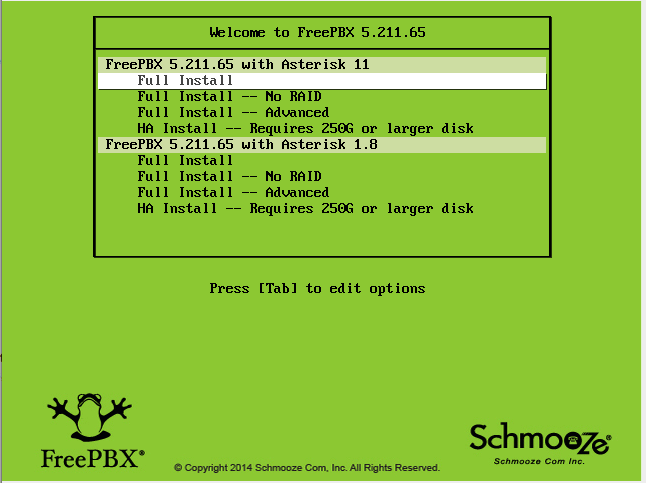
After the server boot under the DVD or CD, the installer will begin with a prompt to select the Asterisk Version you wish to install.
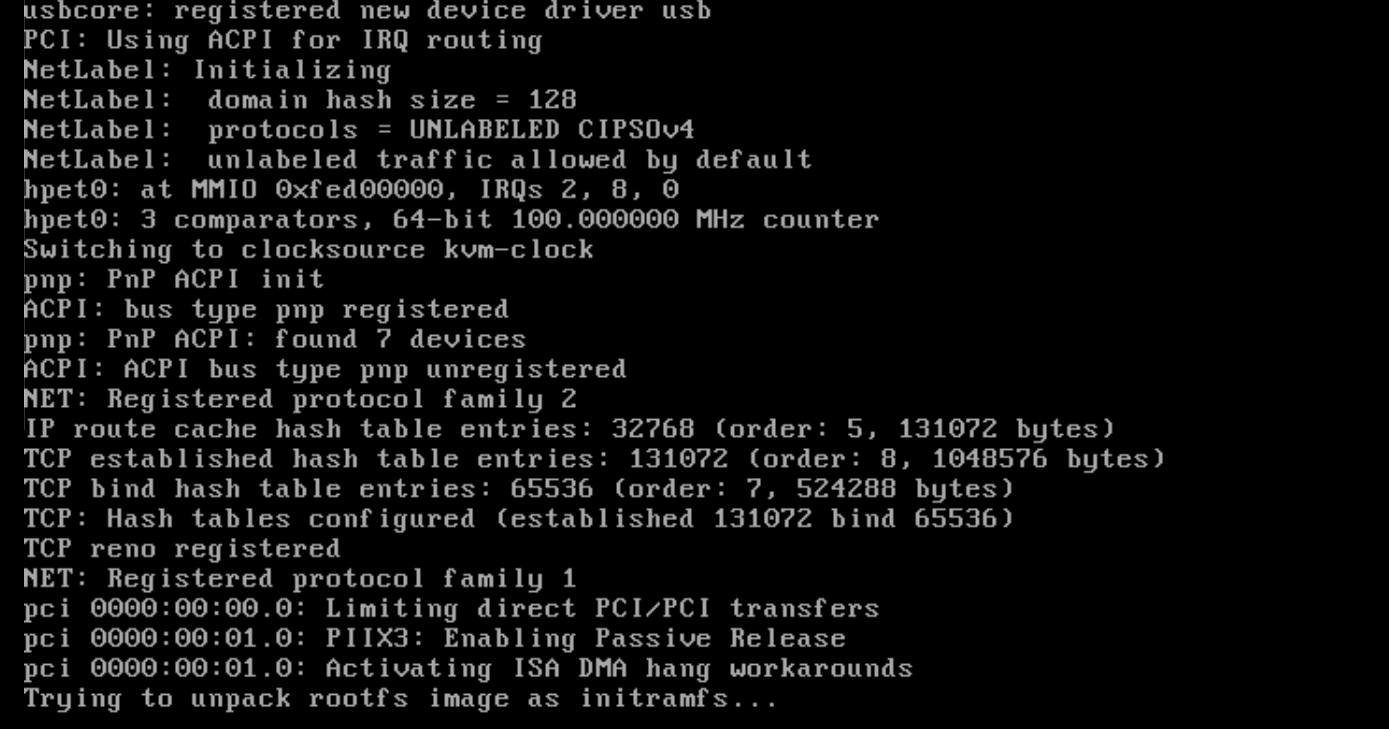
The system will present you with a window showing that it is retrieving images while it downloads the install package from the internet.
You should wait between 3 to 5 min.
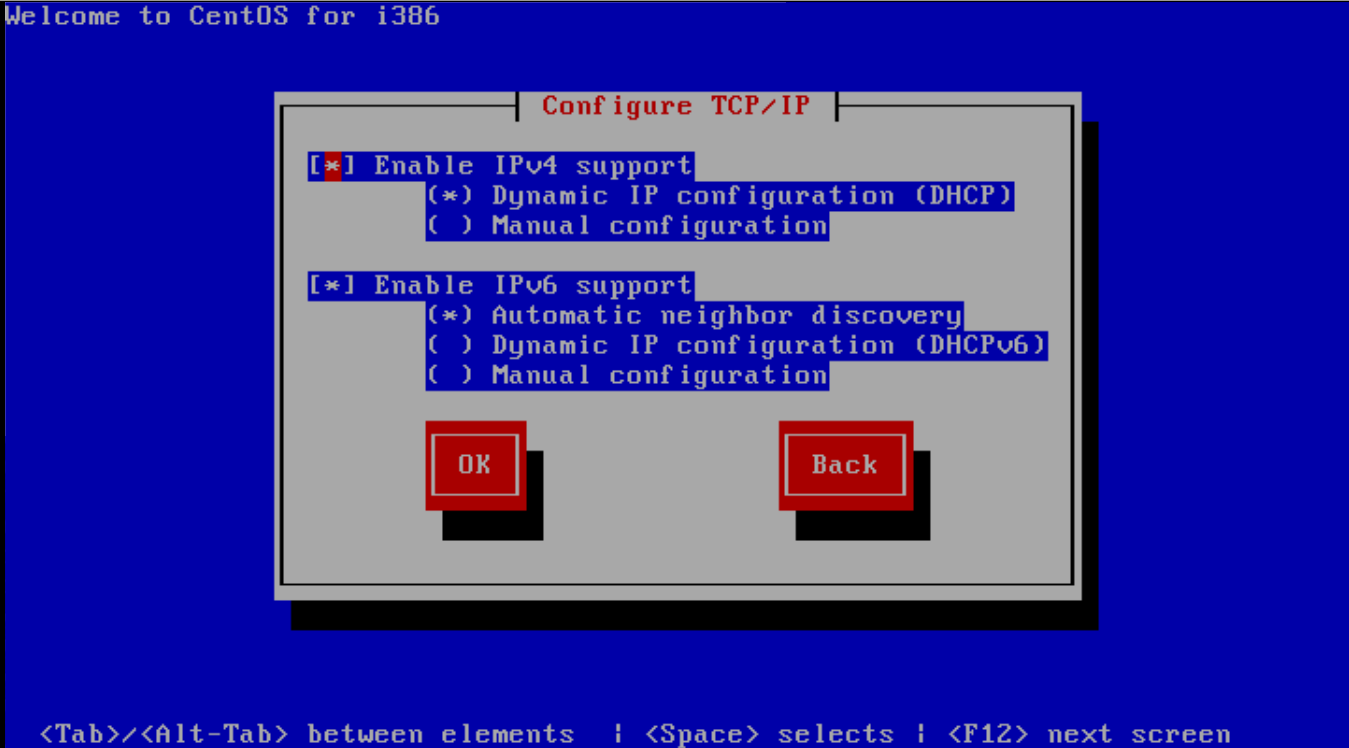
After the system boots you will see options to configure your network.
The default selections are fine in most cases, so just press TAB until the red “OK” box is highlighted in white and then press ENTER. You can also choose the option to manually configure your network connections, if desired.
Once you hit “OK” the system will configure your Network Connections.

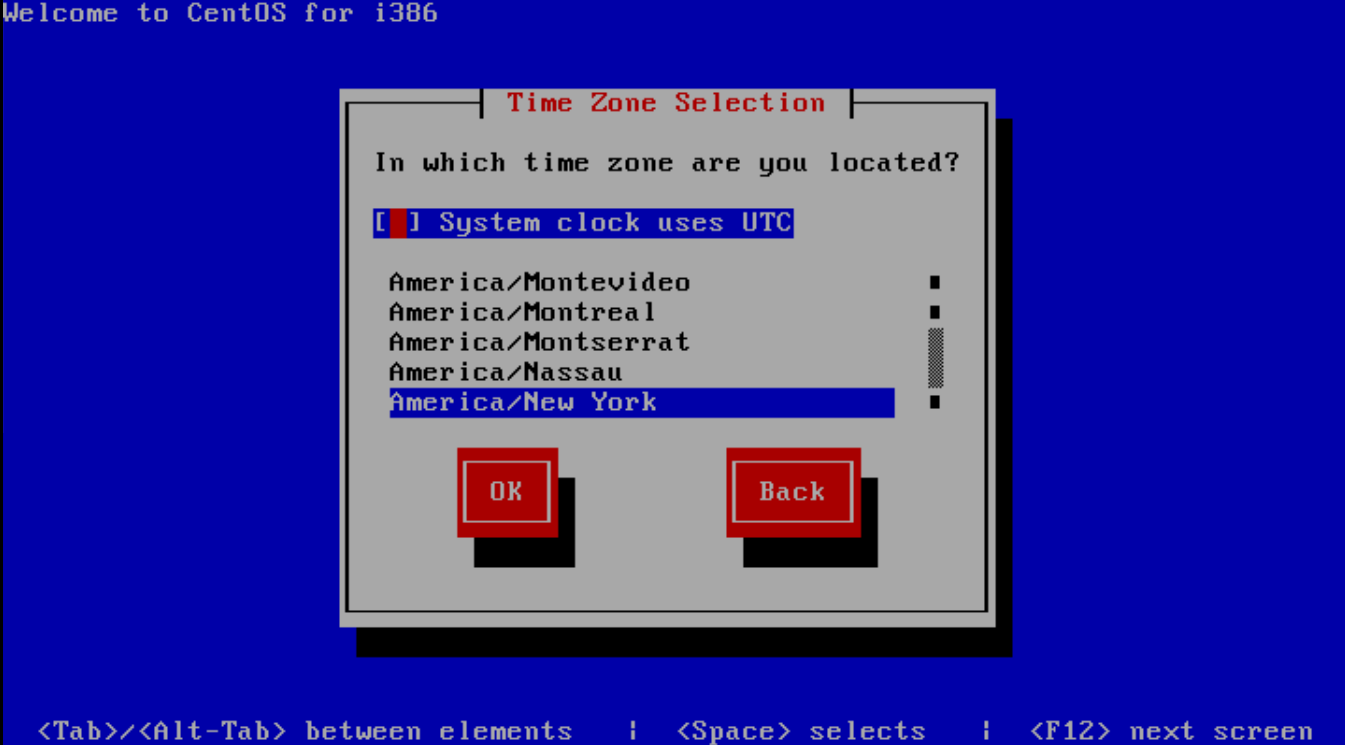
Eventually, you will reach the “Time Zone Selection” screen. If your system clock uses GMT (most do not), hit space. Then, hit TAB to move to the time zone selection area. Use the up and down arrows to select the time zone where you will use the system, and then hit TAB until the red “OK” button is highlighted in white. Then, hit ENTER.
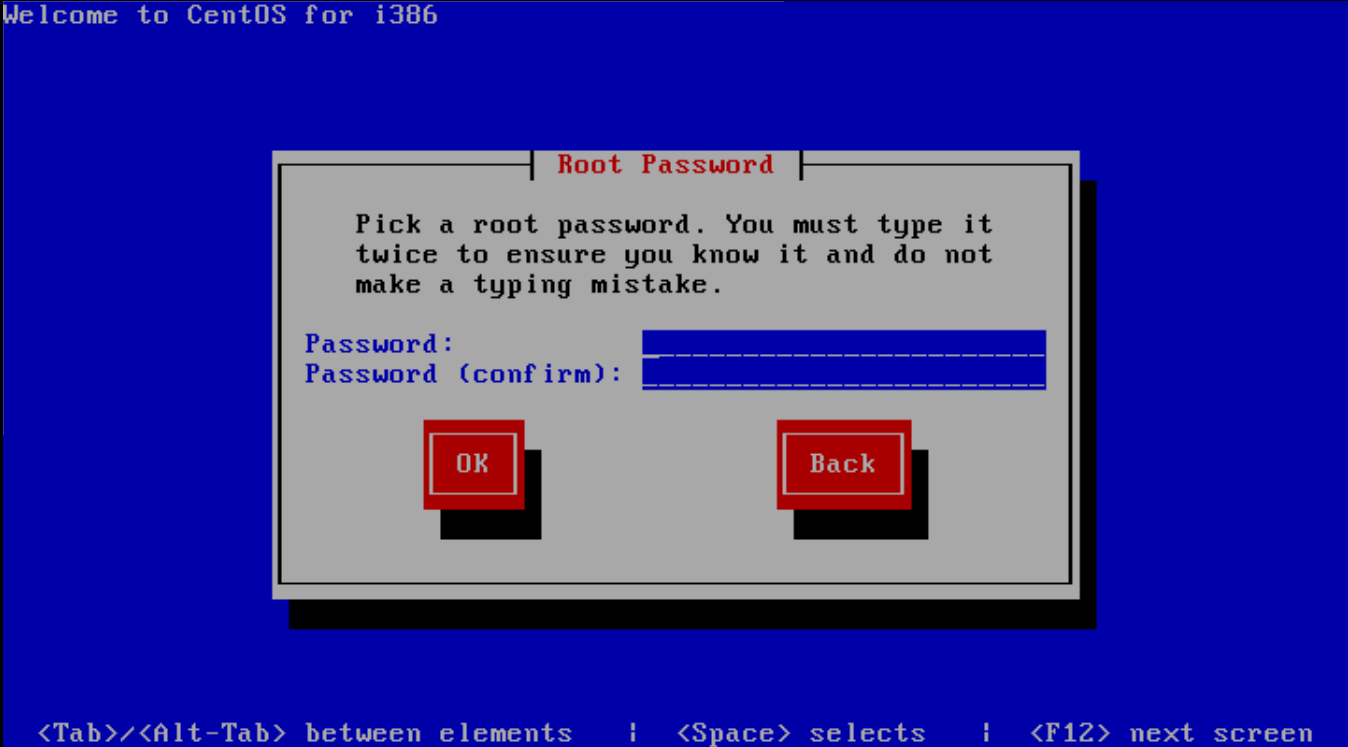
The installer will ask you to to select your root password. The root password is the password you’ll use to login to the Linux command prompt later. Selecting a secure password is very important.
Type the password, hit TAB, type it again, hit TAB, and then hit ENTER.
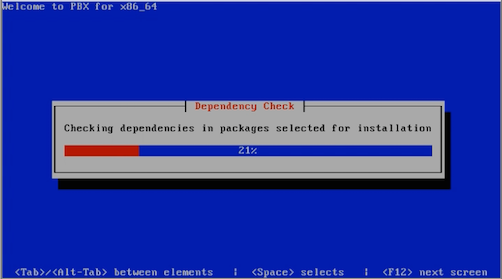
The installer will do a dependency check, format your hard drive, and then start the package installation process. There may be a significant delay before the installation actually starts, so be patient.
Eventually, the installation will show you a progress bar indicating the percentage completed and the time elapsed/remaining. That process should take between 20 and 30 minutes, it will then reboot.
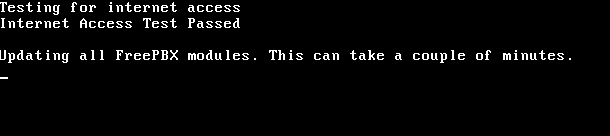
A few additional packages will be installed and updated after the reboot from the install.
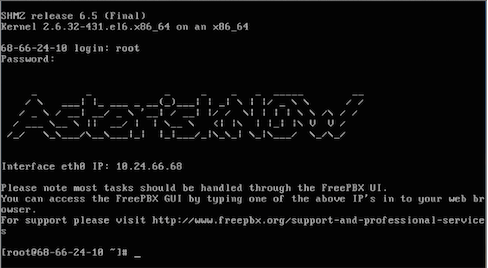
Once completed you’ll reach the Linux console/command prompt login. You can login here using the username “root” without quotes, and the root password you selected earlier.

After you login, you should see the IP address of your PBX as defined below.
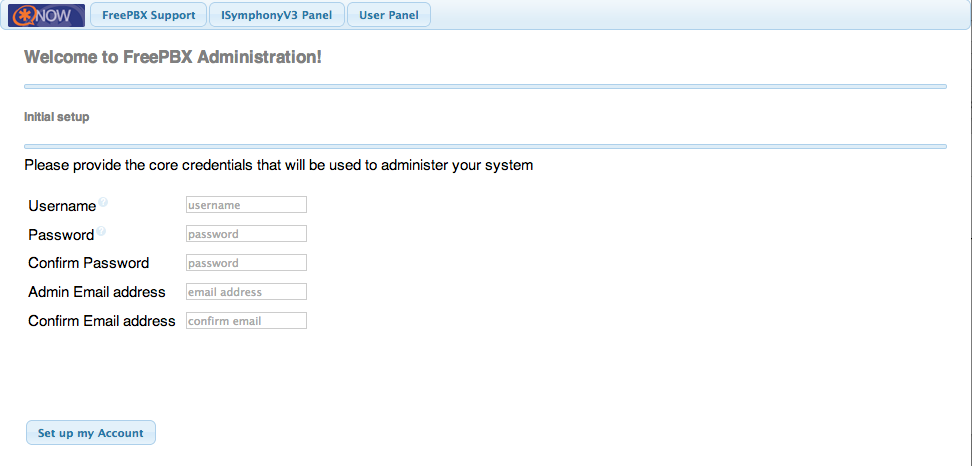
Go to another computer on the same network and enter that IP address into your web browser. The first time you do so you’ll be asked to create the admin username and the admin password.
This username and password will be used in the future to access the FreePBX configuration screen.
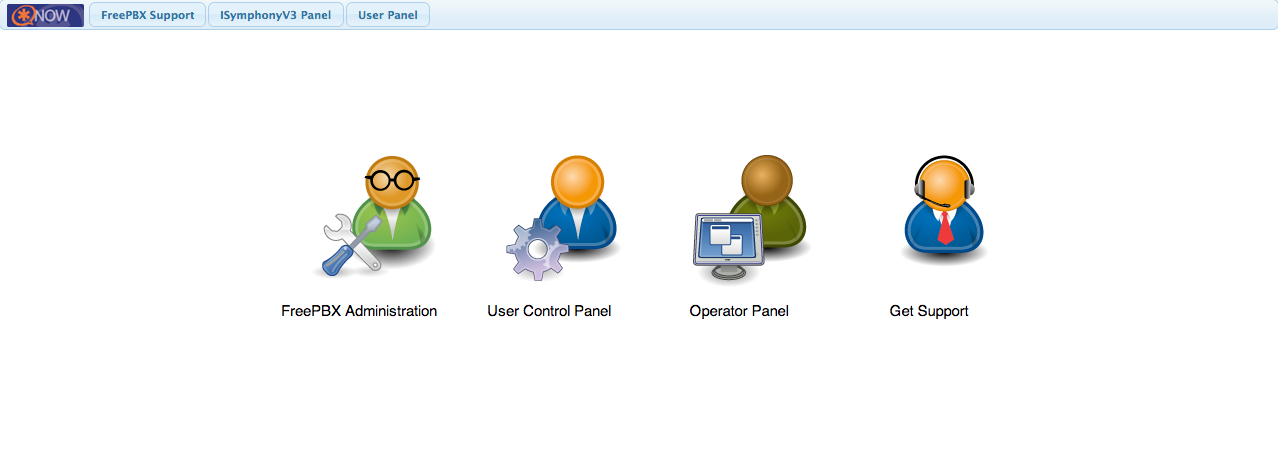
The main FreePBX screen will offer you four options:
- PBX Administrator – allows you to configure your PBX. Use the admin username and admin password you configured in the step above to login. This section is what most people refer to as “FreePBX.”
- User Control Panel
- Operator Panel – screen that allows an operator to control calls
- Official FreePBX Support:
You have now successfully installed AsteriskNOW with FreePBX GUI.


