
Aptana Studio 3 is the professional, open source development tool for the open web which is free and open source cross platform compatible IDE that supports a large variety of languages. The default Aptana Studio’s editor comes with full support for HTML, CSS and Javascript. If you are a PHP or Ruby On Rails developer, you can also get it to support the code you want by adding the respective modules via plugins. Platforms supported by Aptana Studio include PHP, Ruby On Rails, Python, iPhone Web apps, Adobe Air, Nokia and AJAX.
Aptana is based on the popular Eclipse, so if you have been a fan of Eclipse (or Dreamweaver), you shouldn’t have any problem getting used to Aptana. Let’s start using Aptana and save your time.
Features of Aptana Studio
Aptana Studio is like heaven for web developers and designers with lots of options and plugin support. This great IDE comes with lots of feautures like inbuilt git support, Terminal View, Awesome Code Sence (Code Suggetions/hints), php powered websites with an inbuilt server. You can even do the Python Development with Aptana.
1) Git Integration
In Aptana Studio you can easily put your projects under git source code control. Collaborate with team members through merge, pull and push actions to remote repositories hosted on Github which facilitates git-based deployments.
2) IDE Customization
Setup your development environment exactly the way you want it by extending the core capabilities through scripting of custom commands.Aptana Studio ships with hundreds of commands but always presents them in context based on the type of file you are editing.
3) Built-in Terminal
In Aptana Studio you can quickly access a command line terminal for execution of operating system commands and language utilities such as gem, rake, etc.
4) Auto completion
One of the most productive usage of Aptana is its tags suggestion, tags explanation and autocompletion feature. When you type a tag, it will show a list of similar tags and give you an explanation of what each tag does. This feature is already present in the Dreamweaver but is sorely lacking in most IDE.
5) Tags outline
On the sidebar of the editor’s window there lies the outline pane that allows you to quickly access to any function within the code which is one handy feature that is useful when you have a large CSS file or a long list of Javascript functions.
Prerequisites for Aptana Installation
Aptana Studio installation setup needs to have the following tools installed and working correctly. Login to your Ubuntu 16.04 Desktop and Open the Command line terminal.
Oracle Java:
Sun/Oracle Java 1.5.x or later should be installed on your Linux Ubuntu/CentOS server. OpenJDK is not yet supported.
You can install it using below commands in your server.
On Ubuntu 16:
[cc]$ sudo add-apt-repository ppa:webupd8team/java [/cc]
[cc]$ sudo apt-get update [/cc]
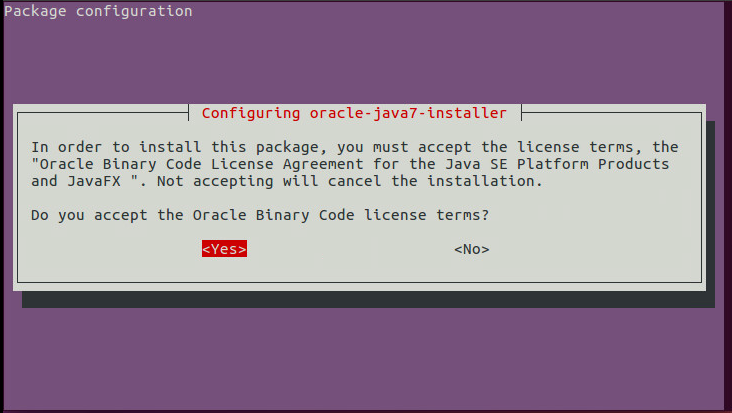
[cc]$ sudo apt-get install oracle-java7-installer [/cc]
While installing you will be asked to accept it license agreement as shown in the image below.
On CentOS 7:
If you would like to install a different release of Oracle Java 8 JRE, go to the Oracle Java 8 JRE Downloads Page, accept the license agreement, and copy the download link of the appropriate Linux .rpm package. Substitute the copied download link in place of the highlighted part of the wget command. Change to your home directory and download the Oracle Java 8 JRE RPM with below commands.
[cc] # cd ~ [/cc]
[cc] # sudo wget –no-cookies –no-check-certificate –header “Cookie: gpw_e24=http%3A%2F%2Fwww.oracle.com%2F; oraclelicense=accept-securebackup-cookie” “http://download.oracle.com/otn-pub/java/jdk/8u66-b17/jdk-8u66-linux-x64.rpm” [/cc]
To Install Oracle Java 8 run the below command.
[cc] # rpm -ivh jdk-7u80-linux-x64.rpm [/cc]
Git:
Git is used internally to update your scripting environment. If you don’t have msysgit installed, Studio 3 will offer to install it for its own internal use.
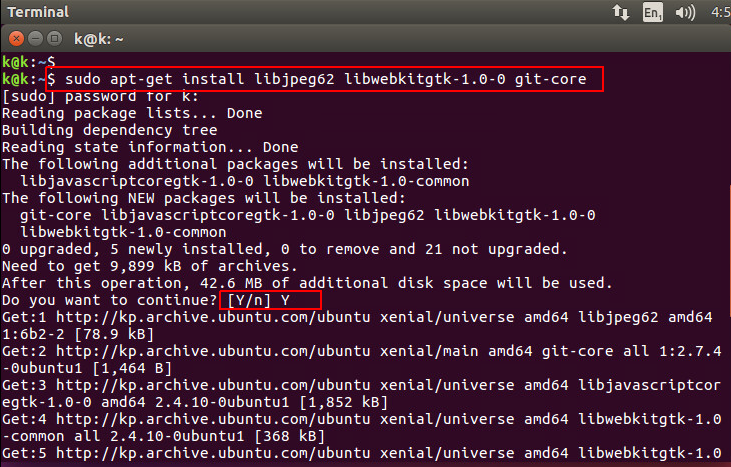
You can install git and few other required libraries by running the following command in your command line terminal.
On Ubuntu 16:
[cc] $ sudo apt-get install libjpeg62 libwebkitgtk-1.0-0 git-core [/cc]
On CentOS 7:
[cc] # yum install libjpeg62 libwebkitgtk-1.0-0 git-core [/cc]
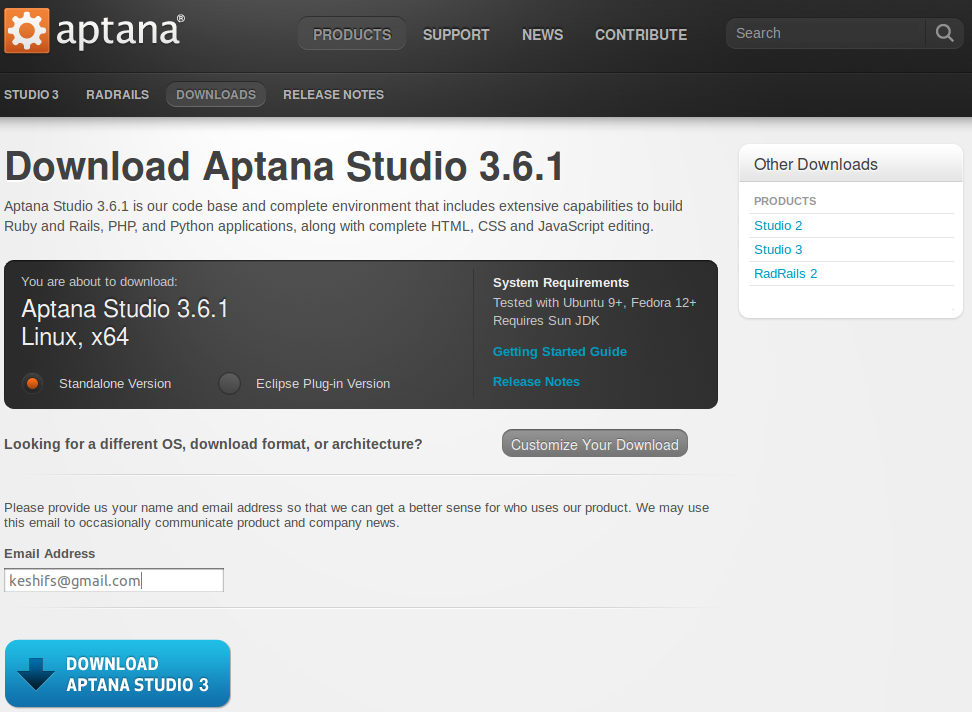
Downloading Aptana Studio for Linux
Open the Official Web Page of Aptana to download the latest package of Aptana for Linux.
Installing Aptana Studio on Ubuntu 16.04/CentOS 7
After downloading the package of Aptana studio, now we are going to install it on our Ubuntu 16 and CentOS 7 servers. The first step in this regard is to extract the package in the ‘/opt’ directory using the command below.
[cc] $ sudo unzip Aptana_Studio_3_Setup_Linux_x86_64_3.6.1.zip -d /opt [/cc]
You can extract the package by doing a double click on the downloaded package in your Ubuntu desktop.
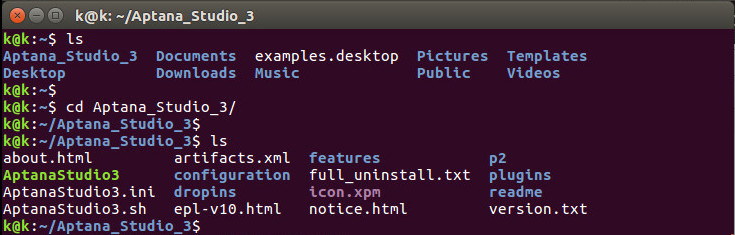
Now switch user to root and then move the package into the particular directory and change its ownership to root. After that run the command to create a link to its binary.
[cc] # mv /home/k/Aptana_Studio_3/ /opt/ [/cc]
[cc] # chown -R root:root /opt/Apatana_Studio_3/ [/cc]
[cc] # ln -s /opt/Aptana_Studio_3/AptanaStudio3 /usr/local/bin/AptanaStudio3 [/cc]
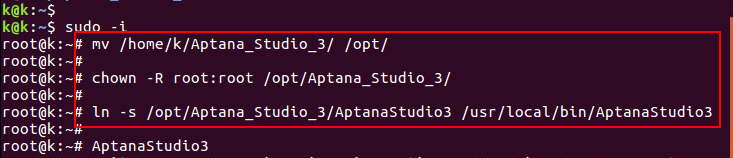
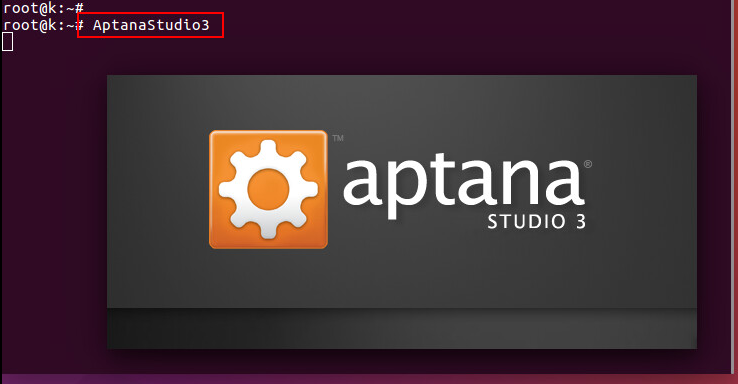
Starting Aptana Studio
To start Aptana Studio 3 from Terminal after System-Wide installation, execute the below command in your command line terminal.
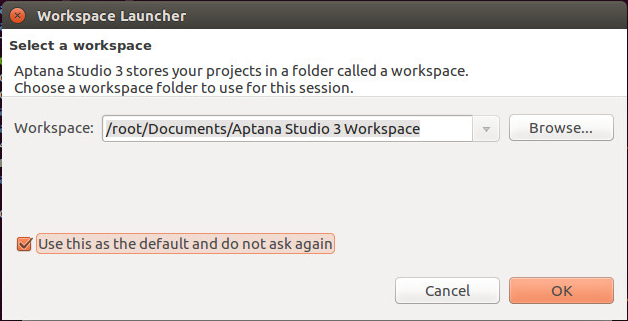
Selecting Workspace
After your first run of Aptana studio on Linux you will be asked to select your workspace launcher. You can choose the option to use the default as shown in the image below.
Welcome to Aptana Studio
We have completed the installation setup for Aptana Studio 3 and it ready to use for deployment. Let’s go through its starting page and read its documentation for the detailed reference on its usage.
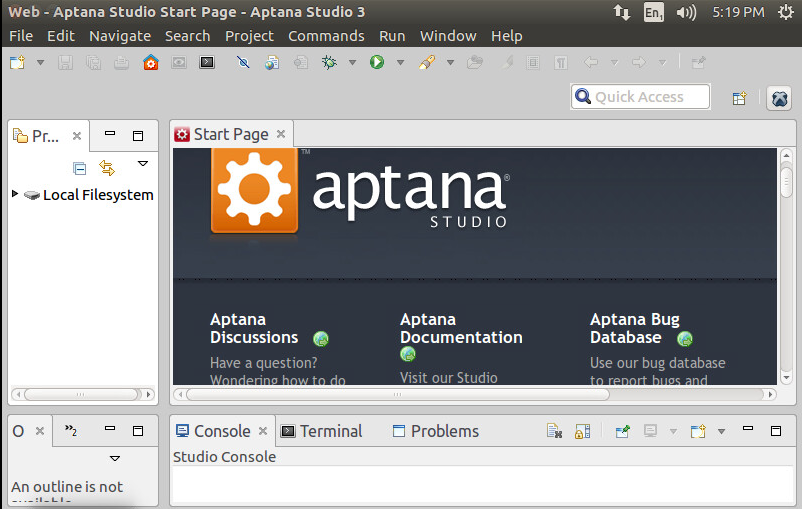
When you first launch Aptana Studio, you will see a blank workspace, as shown below. Unlike other IDEs, the interface comes with a black background by default which is supposed to be easier on the eye than the standard white. There are several ways to create a new project. You can do one of the following to trigger the project creation wizard:
- Go to File > New > Project
- Click on the new project icon located on the main toolbar
- If you have no current open projects, there will also be a “create project” icon in the App Explorer.
Conclusion
In this article we discussed about Aptana Studio and its features including its installation on Ubuntu 16 and CentOS 7. Because of its awesome features it could be considered to be one of the front runners of the open source IDE arena. It’s especially well suited for Eclipse users who want to leverage their existing knowledge without having to shell out a lot of money for something like IBM Rational Software Architect. I hope you enjoyed following this article.


