
The UniFi Controller is a wireless network management software solution from Ubiquiti Networks that allows you to manage multiple wireless networks using a web browser. A single UniFi Controller running in the cloud can manage multiple sites: multiple, distributed deployments and multi-tenancy for managed service providers. It enables the administrator to instantly provision and configure thousands of UniFi APs, allowing for quick, simple management of system traffic.
System Requirements:
In order to setup Unifi Controller, following system requirements must be fulfilled.
- Linux, Mac OS X, or Microsoft Windows 7/8
- Java Runtime Environment 1.6 (or above)
- Web Browser: Mozilla Firefox, Google Chrome, or
Microsoft Internet Explorer 8 (or above)
In this tutorial, we will show you how to install Unifi on a ubuntu 16.04 linux server. This article should also work exactly the same on Ubuntu 15.04. Before we get started, make sure your server has all the latest software updates installed.
Use below commands to update your system with latest patches.
[cc]#apt-get update[/cc]
[cc]#apt-get upgrade[/cc]
The Ubiquiti UniFi Controller is a Java application, so we need it to be installed on the system so that it can run .jar files.
Add Unify repository and GPG keys:
We need to add the Unifi repo apt sources list, so that we can install unifi controller with ‘apt-get’ on our Ubuntu 16.04 server.
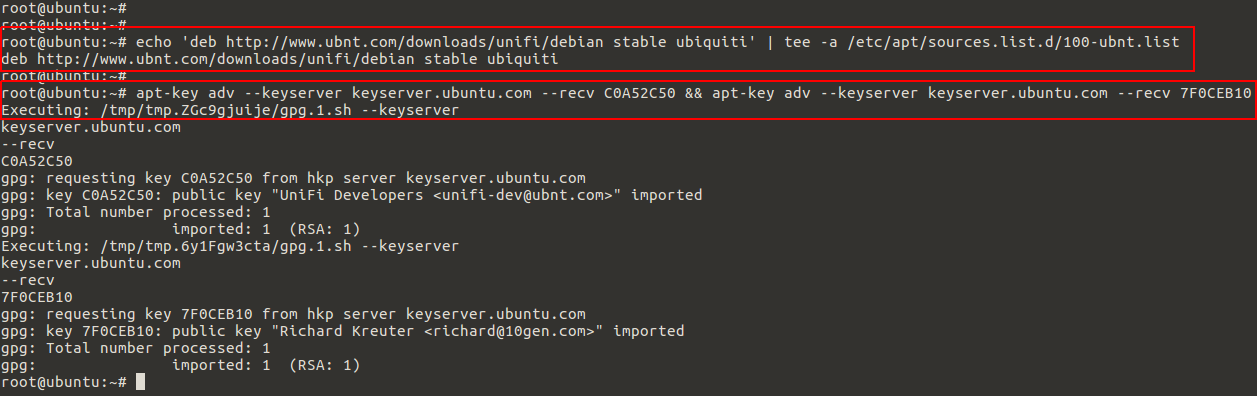
[cc]# echo ‘deb http://www.ubnt.com/downloads/unifi/debian stable ubiquiti’ | tee -a /etc/apt/sources.list.d/100-ubnt.list[/cc]
Then run the command to import the GPG keys for the new repo. The GPG keys verifies the geniality of who you will be downloading from during the installation.
[cc]# apt-key adv –keyserver keyserver.ubuntu.com –recv C0A52C50 && sudo apt-key adv –keyserver keyserver.ubuntu.com –recv 7F0CEB10[/cc]
Now once again update your system to ensure that Ubuntu recognizes the repository we have have just added.
Installing Unify:
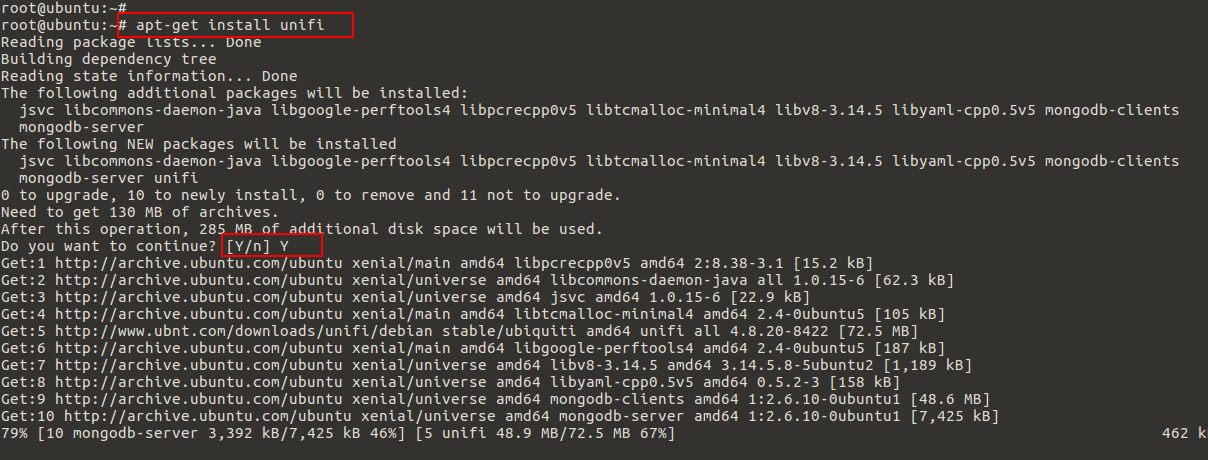
We are ready to go with installation of Unify by the use simple below command. Press ‘y’ key and hit Enter to install unify along with its required dependencies including Java, MongoDB, Tomcat and a Java SSL certificate tool.
[cc]# apt-get install unifi[/cc]
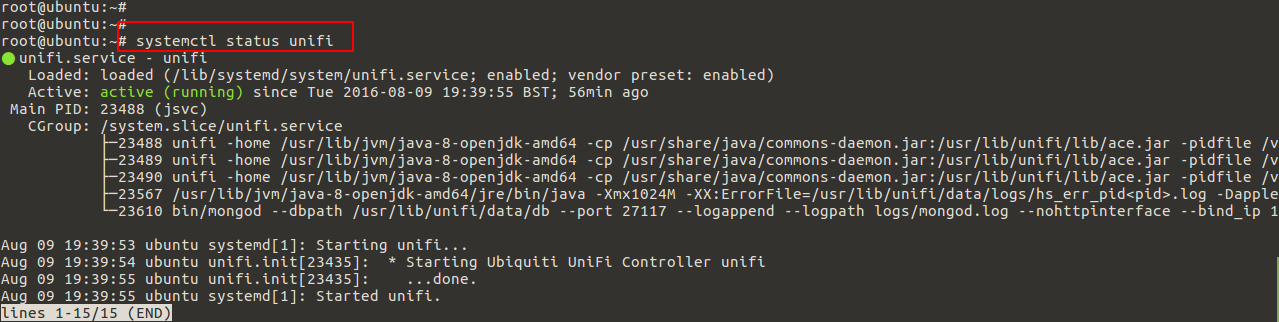
Use below command to onfirm that unifi is installed and running.
[cc]# systemctl status unifi[/cc]
Unify Setup Wizard:
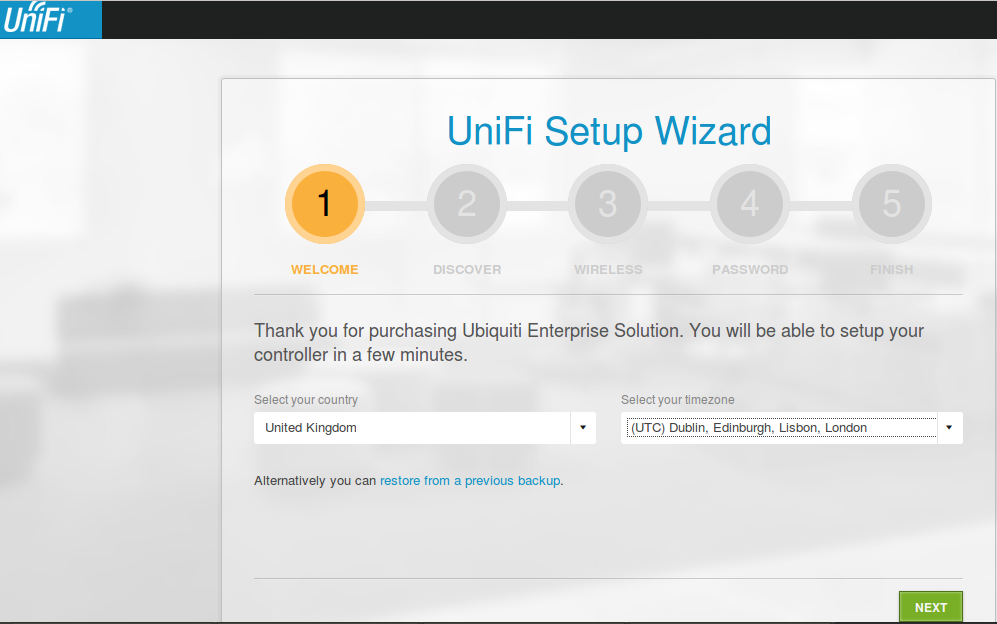
Unifi service is up and running, now open your web browser followed by the IP or FWDN of your server along with port ‘8443’ and you will be taken to the setup wizard as shown below.
[cc]https://unifi_server:8443[/cc]
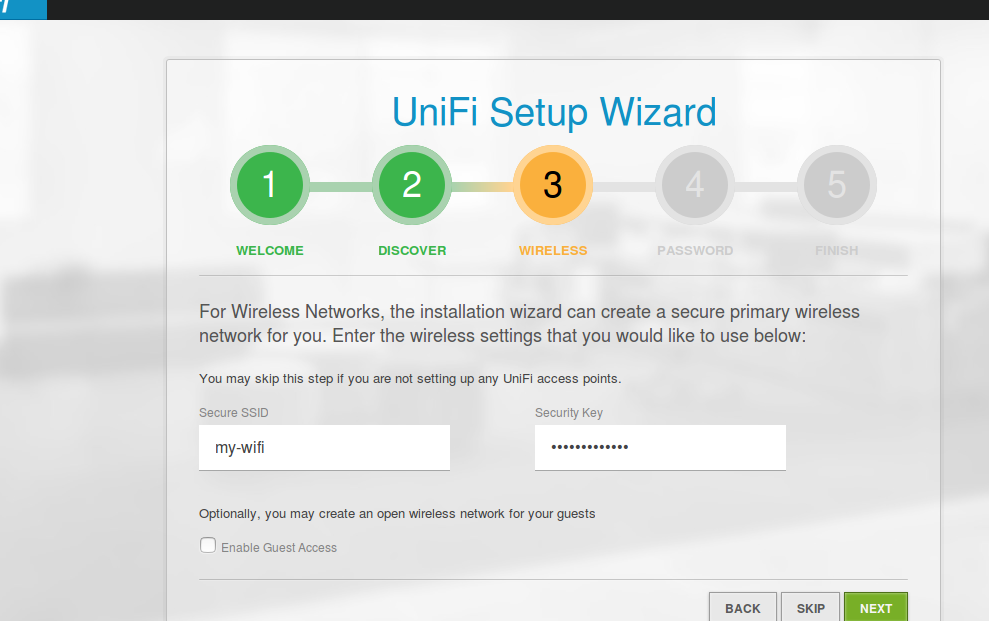
During the setup wizard, you will be asked to configure unifi devices and wifi networks. For Wireless Networks, the installation wizard can create a secure primary wireless network for you. Enter the wireless settings that you would like to use as shown.
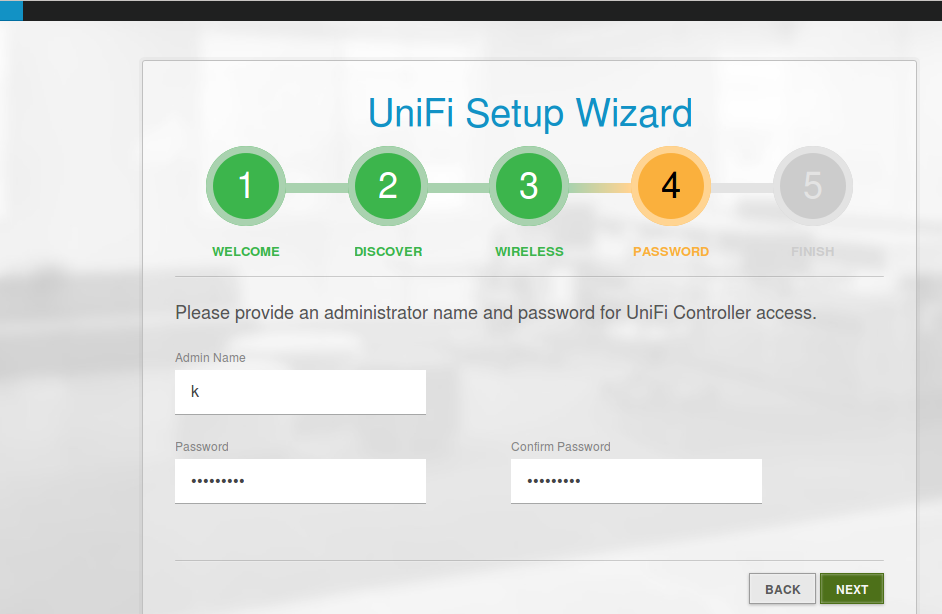
Then click on the NEXT buton to provide an administrator name and password for UniFi Controller access.
After that review the settings below and click “Back” to make any changes or “Finish” to activate the settings.
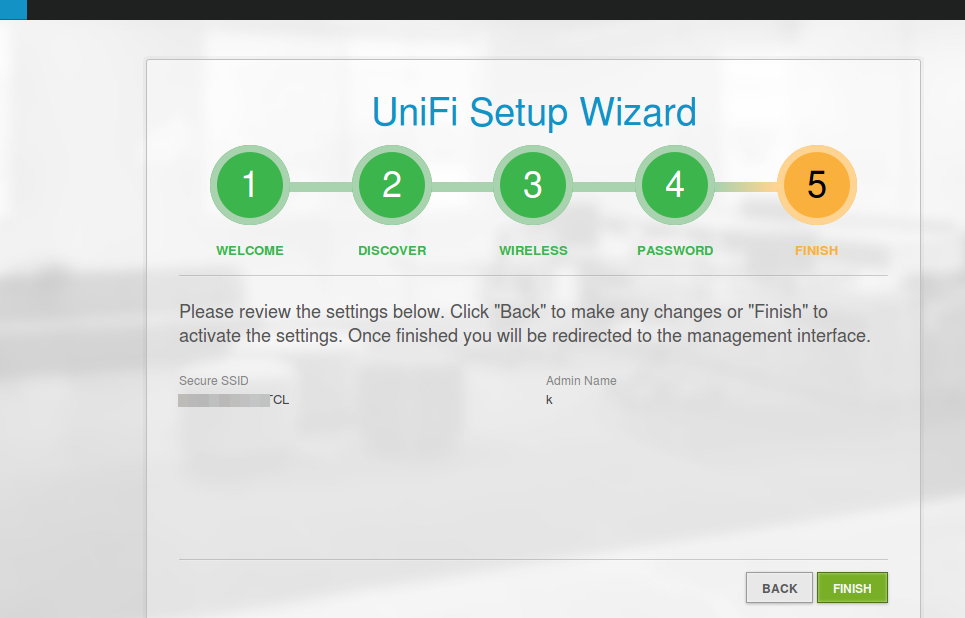
Once finished you will be redirected to the management interface where you will your Network health stats as shown below.

Conclusion
Congratulations! your new hosted UniFi Controller is up and running, you can now monitor and manage multiple locations from a single controller. You can simply configure the hardware devices to point to the hostname or IP address of your hosted controller, and everything should “just work.” Adding additional sites and devices from its dashboard is just simple. Feel free to get back to us in case of any issue and leave your valuable comments and suggestions thank you.


