
Docker is an emerging technology which is currently a hot cake in the town. A lot of people still don’t know much about this and it includes techies too. Dockers may be a widely prevailing technology in the coming era. In this article we will let you know how to install wordPress on Docker but before this lets get introduced to Dockers and how they are becoming powerful these days. We are assuming that you have Docker installed on your system.
What is Docker?
Docker is something every developer should know as this makes it easier for developers to create, deploy and run applications on containers. In containers you can create applications with your own choice of packages, libraries and other source code files. There are some confusions amongst people as Docker is same like Virtual Machine but it’s really not. Virtual Machines create a standalone virtual system but Docker doesn’t work like that as it uses the same kernel level on which Docker is running. One of the best thing about Docker is that it is an open source project and every day new features are being added to it. It’s very lightweight and secure; available for almost all the Linux distributions.
Installation of WordPress on Docker
Installation of WordPress on Docker is carried out in two steps; the prerequisite for wordpress to run on dockers is “Mysql”. As you already know that wordPress typically uses mysql database on its backend so first we will make Mysql container which will be linked with WordPress container in order for WordPress to work smoothly. You can install and run mysql with the following command.
[cc][root@localhost ~]# docker run –name wordpressdb -e MYSQL_ROOT_PASSWORD=root123 -d mysql:5.7 [/cc]
Replace the password of your own choice in the above command. As soon as you execute the above mentioned command, it will display results as shown the following screen. It will take some time to download the required stuff.
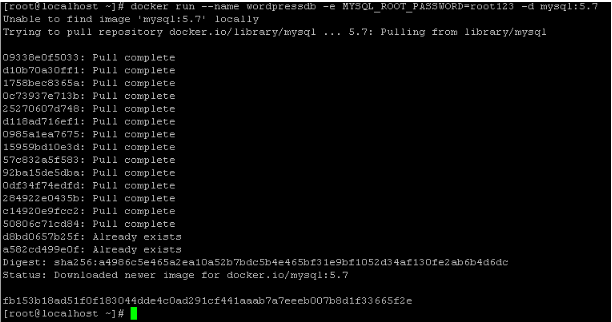
Since you have pulled mysql from online repository and want to confirm if it is it running or not. You have to use the following command to verify its status and uptime.
[cc] [root@localhost ~]#docker ps [/cc]
We are done with the first step, now all we have to do is to install WordPress container and then link it with MySQL. You can install the WordPress container by the following command.
[cc] [root@localhost ~]# docker pull wordpress [/cc]
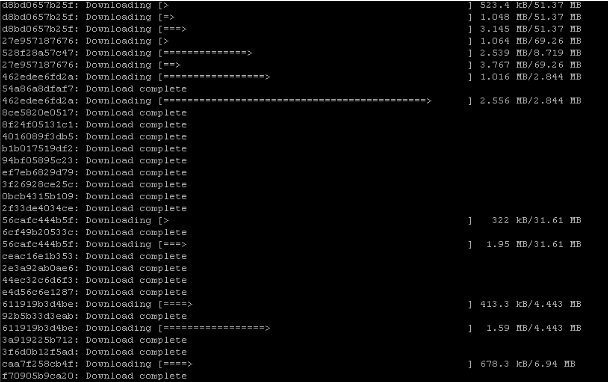
Above screenshot is the installation process of WordPress container. It will take time depending on y our internet speed. After the installation is completed you have to run and link the container by using the following command.
[cc] [root@localhost ~]# docker run -e WORDPRESS_DB_PASSWORD=root123 -d –name wordpress –link wordpressdb:mysql wordpress [/cc]
As you can see in the above command that it uses two parameter which are very important to understand; one is wordpressdb:mysql which connects WordPress container with its database container and the other is WordPress db password which should match with what you have specified previously.
Now you can check both containers by using the following command.
[cc] [root@localhost ~]# docker ps [/cc]
Since both containers are UP and running now, all you have to do is to use the URL in browser and start using WordPress. In this article it is assumed that you have docker network connector installed and you can communicate with their network.
Launch your system IP in your favorite web browser, and you will be redirected to the following page.
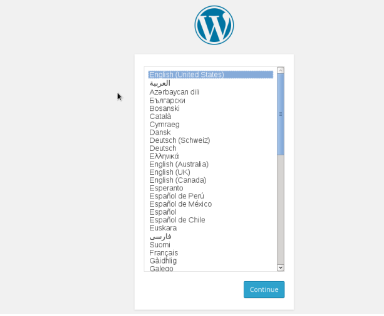
This page is the setup page of your WordPress; in order to complete wordpress installation, go through the setup wizard. Enjoy your rock-n-roll with wordpress 🙂
Conclusion
WordPress is most widely used content management system in the modern area, using dockers to run this application is pretty easy. With the power and flexibility of dockers, you can do large number of exciting stuff. Hope you find this article useful, do let us know in comments please.


