
Webalizer is a free application for the analysis of web server logs. In this way, you get better idea of the amount of traffic your website or server receiving. It is widely used open source tool and provides reports in very detailed manner. The usage and installation of this tool is simple and many high level hosting control panels like cPanel are using this for providing their users with traffic details.
Features
This tool is powerful enough to parse different format of access logs. It can derive information from compressed or zipped file as well without extracting them. You can use this tool from both command line and graphically to see the reports in your convenience manner.
It supports multiple languages and development team is working on adding support for many other languages as well. It has ability to parse log files of any size or complexity. It supports both IPV4 and IPV6, and has native Geo-location services and DNS server.
Installing and Configuring Webalizer on Ubuntu
Webalizer needs Apache webserver installed on Linux systems as it reads and parses apache error logs to analyze traffic, if Apache is not already installed on your system and you are trying to see how webalizer works, launch your terminal and run following command to installed apache on your ubuntu:
[cc]sudo apt-get install apache[/cc]
As soon as apache installation is complete, run following command to start it.
[cc]sudo /etc/init.d/apache2 start[/cc]
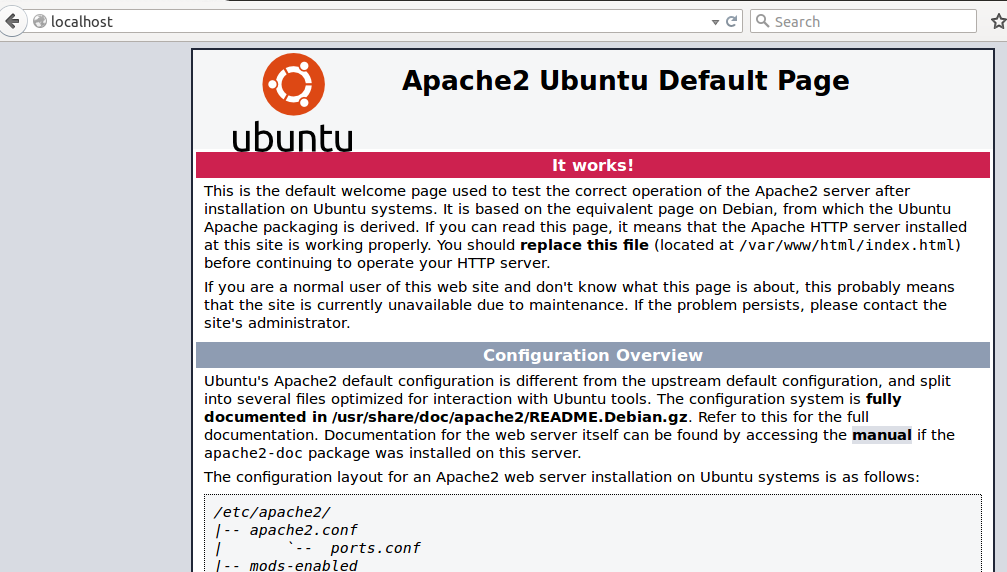
Now Lauch your browser and load http://localhost to verify that http is running fine, it should show page like this:
Note: By default the document root for Apache is /var/www/html/, so you need to put your scripts on this location so that Apache web server may server them.
Since apache has been installed and running on our ubuntu system, run following command to install webalizer now.
[cc]sudo apt-get install webalizer[/cc]

Congratulations, webalizer has been installed. We need to configure it now.
Configuring webalizer
You might have noticed that during the install process, webalizer directory has been created on /var/www/ path, we need to move it to /var/www/html so that apache may serve it fine. Run following command on your terminal to complete this.
[cc]sudo mv /var/www/webalizer /var/www/html/[/cc]
Now edit Webalizer configuration file and correct the path for Apache access logs there. Run following command to edit its configuration file in Gedit Editor.
[cc]sudo gedit /etc/webalizer/webalizer.conf[/cc]
Please make sure that Apache access log file path is correct here in this file (shown highlighted in the following screenshot). If path entry is wrong, correct it and save file.

That’s all, we are almost done.
Test Webalizer configuration
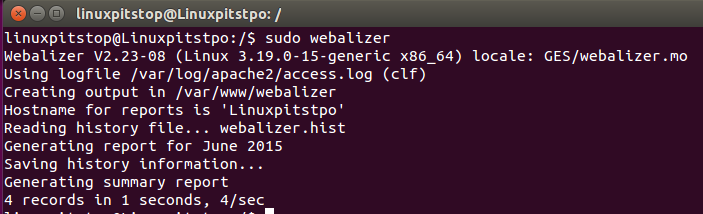
Run following command to verify that webalizer has been installed and configured successfully.
[cc]sudo webalizer[/cc]
Successful webalizer configuration should output as shown in following screenshot.
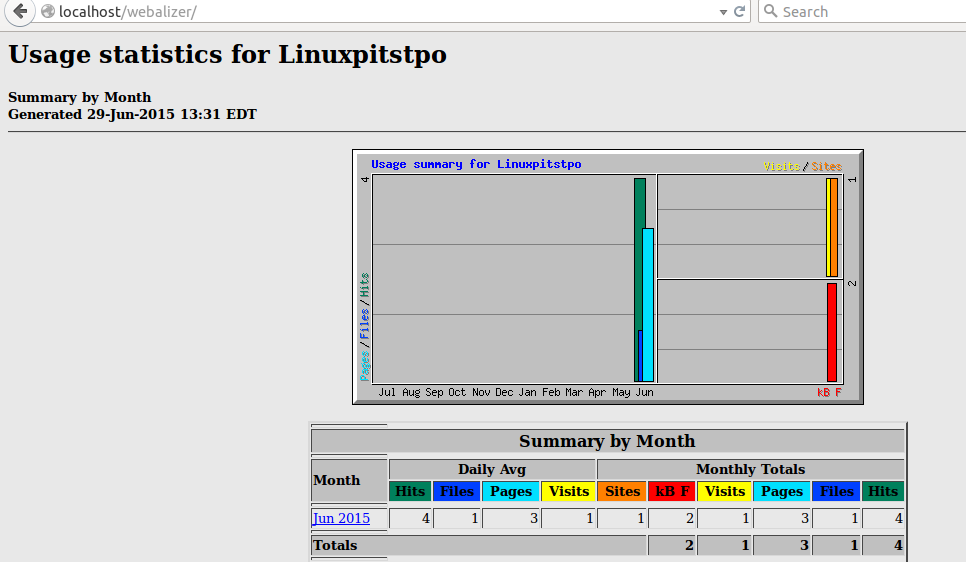
Launch your browser and load http://localhost/webalizer/ URL. It should load webalizer page with report for current HTTP activity to your system.
Enjoy 🙂
Conclusion
Webalizer is a widely used tool on Microsoft Windows, Linux and Mac OS for the analysis of web activity on the system. It pretty simple tool which can parse web server logs even if it is receiving millions of hits. The importance of this tool is undeniable for system and web administrators.


