
Rsyslog is an open source software utility used on UNIX and Unix-like computer systems for forwarding log messages in an IP network. It implements the basic syslog protocol, extends it with content-based filtering, rich filtering capabilities, flexible configuration options and adds important features such as using TCP for transport.
It will be very helpful for Linux administrators to view and troubleshoot errors if something went wrong. In this tutorial let us see how to install and configure Rsyslog and graphical front-end for rsyslog called LogAnalyser and also how to forward logs from the client systems to the Rsyslog server.
For setting up this, I use CentOS as Rsyslog server and Ubuntu 13.04 desktop as client.
My Rsyslog server details are:
Operating system: CentOS 6.5 Minimal server
IP Address: 192.168.1.101/24
Hostname: server.unixmen.local
Rsyslog Client details:
Operating system: Ubuntu 13.04
IP Address: 192.168.1.100/24
Hostname: sk
Prerequisites
Before installing Rsyslog and LogAnalyzer, we need a working LAMP stack. To install LAMP server, refer the following link.
– Install LAMP server On RHEL/CentOS/Scientific Linux 6
Now install rsyslog
# yum install rsyslog*
Start rsyslog daemon and make it to start automatically on every reboot.
# service rsyslog status
# chkconfig rsyslog on
Import rsyslog database and tables to mysql
Edit file ‘/usr/share/doc/rsyslog-mysql-5.8.10/createDB.sql’ file,
# vi /usr/share/doc/rsyslog-mysql-5.8.10/createDB.sql
Set the database name as shown below. Here i am using ‘rsyslogdb’ as my database name.
CREATE DATABASE rsyslogdb;
USE rsyslogdb;
CREATE TABLE SystemEvents
(
[...]
Now import the database tables into MySQL using command:
# mysql -u root -p < /usr/share/doc/rsyslog-mysql-5.8.10/createDB.sql
Now let us check the ‘rsyslogdb’ database is properly imported into mysql and Set ‘rsysloguser’ user privileges over database:
# mysql -u root -p
Enter password:
Welcome to the MariaDB monitor.  Commands end with ; or \g.
Your MariaDB connection id is 237
Server version: 5.5.34-MariaDB MariaDB Server

Copyright (c) 2000, 2013, Oracle, Monty Program Ab and others.

Type 'help;' or '\h' for help. Type '\c' to clear the current input statement.

MariaDB [(none)]> show databases;
+--------------------+
| Database           |
+--------------------+
| information_schema |
| mysql              |
| ownclouddb         |
| performance_schema |
| rsyslogdb          |
+--------------------+
5 rows in set (0.15 sec)

MariaDB [(none)]> GRANT ALL ON rsyslogdb.* TO rsysloguser@localhost IDENTIFIED BY 'centos';
Query OK, 0 rows affected (0.09 sec)

MariaDB [(none)]> flush privileges;
Query OK, 0 rows affected (0.12 sec)

MariaDB [(none)]> exit
Bye
Now edit the rsyslog config file,
# vi /etc/rsyslog.conf
and make the changes as shown below.
#### MODULES ####
$ModLoad imuxsock # provides support for local system logging (e.g. via logger command)
$ModLoad imklog   # provides kernel logging support (previously done by rklogd)
#$ModLoad immark  # provides --MARK-- message capability
# Provides UDP syslog reception

## uncomment ##
$ModLoad imudp
$UDPServerRun 514

# Provides TCP syslog reception
## Uncomment ##
$ModLoad imtcp
$InputTCPServerRun 514

## Add the following lines ##
$ModLoad ommysql
$ModLoad ommysql
*.* :ommysql:127.0.0.1,rsyslogdb,rsysloguser,centos
$AllowedSender UDP, 127.0.0.1, 192.168.1.0/24
$AllowedSender TCP, 127.0.0.1, 192.168.1.0/24
Where,
rsyslogdb – Database name
rsysloguser – Database user
centos – rsyslog user password
$AllowedSender – rsyslog accepts logs from clients on both UDP and TCP ports.
Disable all existing syslog services if any.
# service syslog stop
# chkconfig syslog off
We’re done with rsyslog. Now we have to install rsyslog graphical front-end called LogAnalyzer on our client systems.
Install LogAnalyzer
LogAnalyzer is a GUI interface to rsyslog and other network event data. It provides easy browsing, analysis of realtime network events and reporting services.
Let us download and install the latest version:
# wget http://download.adiscon.com/loganalyzer/loganalyzer-3.6.5.tar.g
Extract it using command:
# tar zxvf loganalyzer-3.6.5.tar.gz
Move the extracted package to your Apache document root folder.
# mv loganalyzer-3.6.5/src/ /var/www/html/loganalyzer
# mv loganalyzer-3.6.5/contrib/* /var/www/html/loganalyzer/
Set the file permissions to the following files and run the configure.sh script.
# cd /var/www/html/loganalyzer/
# chmod +x configure.sh secure.sh
# ./configure.sh
The ‘configure.sh’ command will create a blank php file.
Adjust IPTABLES and SELINUX settings
Now let us allow syslog port 514 through iptables/router:
# vi /etc/sysconfig/iptables
Add the following line:
[...]
-A INPUT -m state --state NEW -m tcp -p tcp --dport 514 -j ACCEPT
[...]
Restart iptables service:
# service iptables restart
Disable SELINUX:
Edit file /etc/sysconfig/selinux file,
# vi /etc/sysconfig/selinux
Change SELINUX=enforcing to SELINUX=disabled:
SELINUX=disabled
Save and close the file. Reboot your server once to take effect all the changes.
Access LoAnalyzer
Point your web browser to http://ip-address/loganalyser or http://domain-name/loganalyzer and begin LogAnalyzer installation.
You’ll be shown with an Error message that says: Critical Error occurred.
Click on link that says: ‘here’.
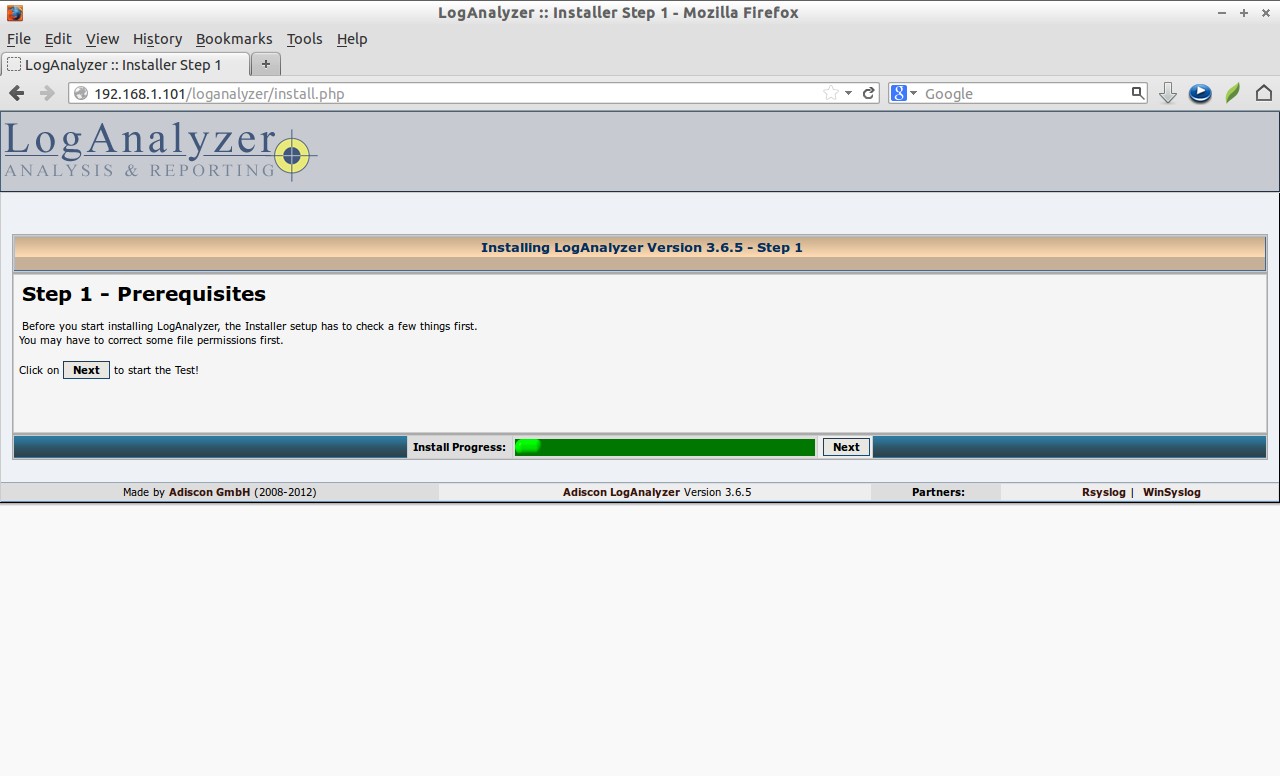
 Click Next.
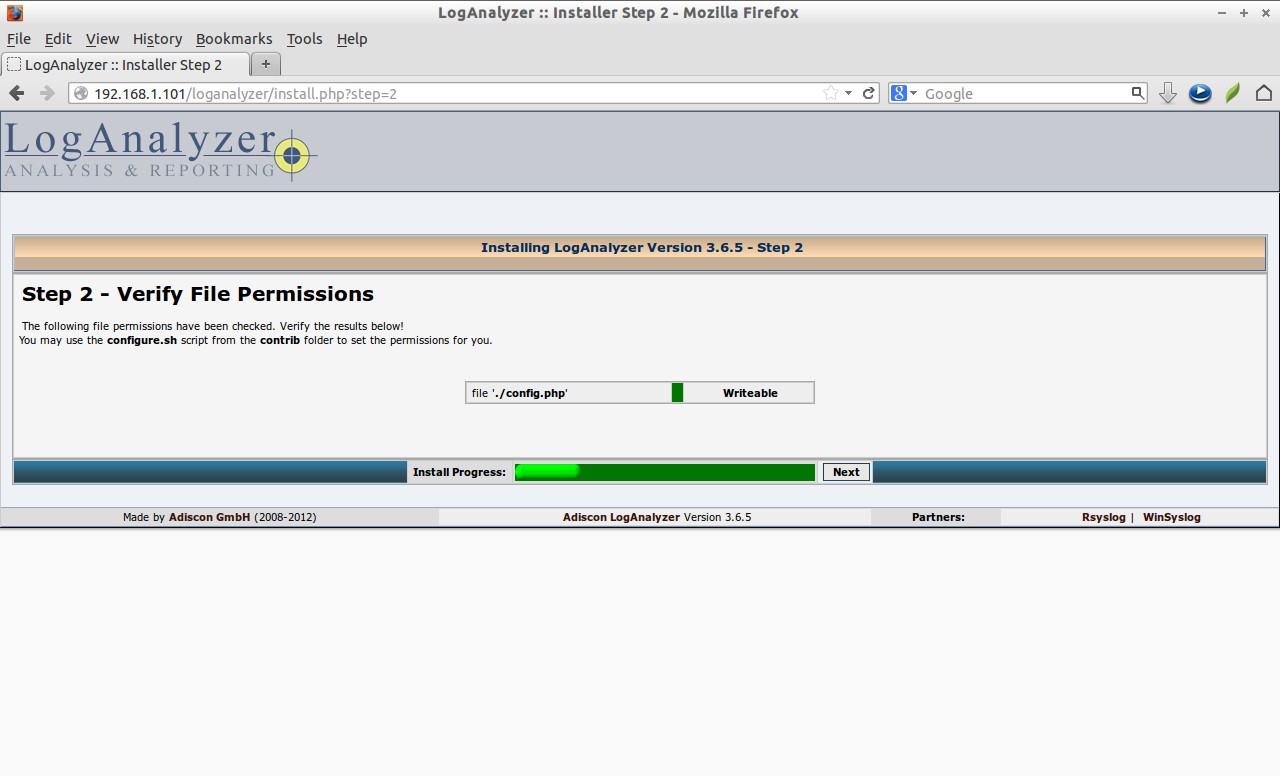
 Click Next.
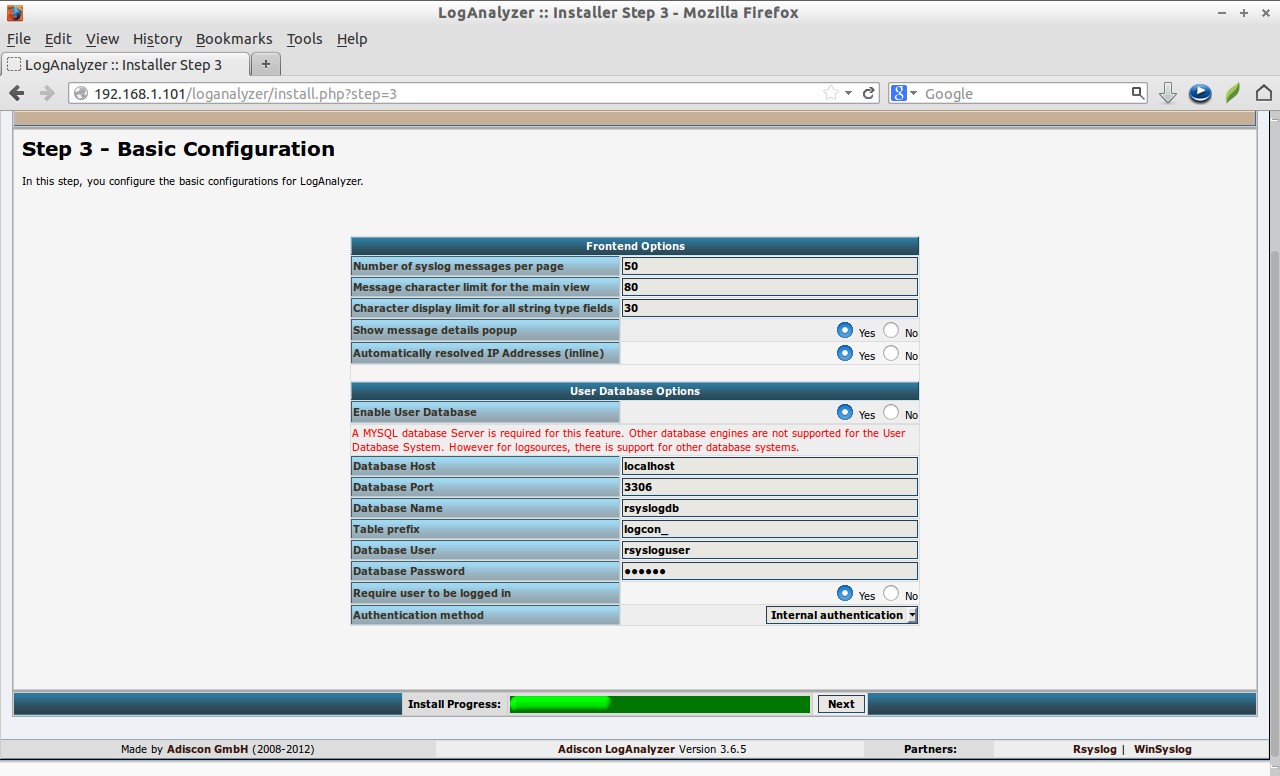
 Hereafter you should pay some extra attention. Enter the correct values with correct lower or upper case.
Click “Yes” on “Enable User Database”. Enter the database user name, password and database name and click Next. Click “Yes” on “Require user to be logged in” option.
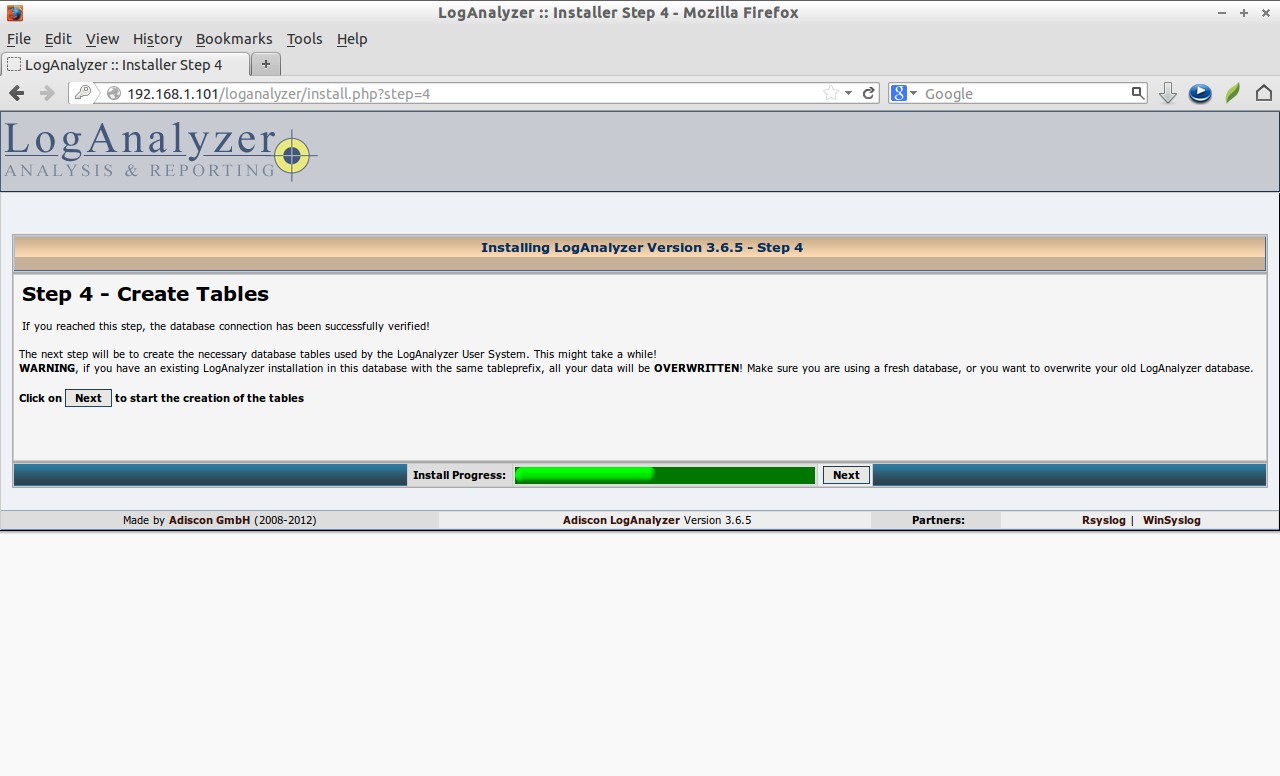
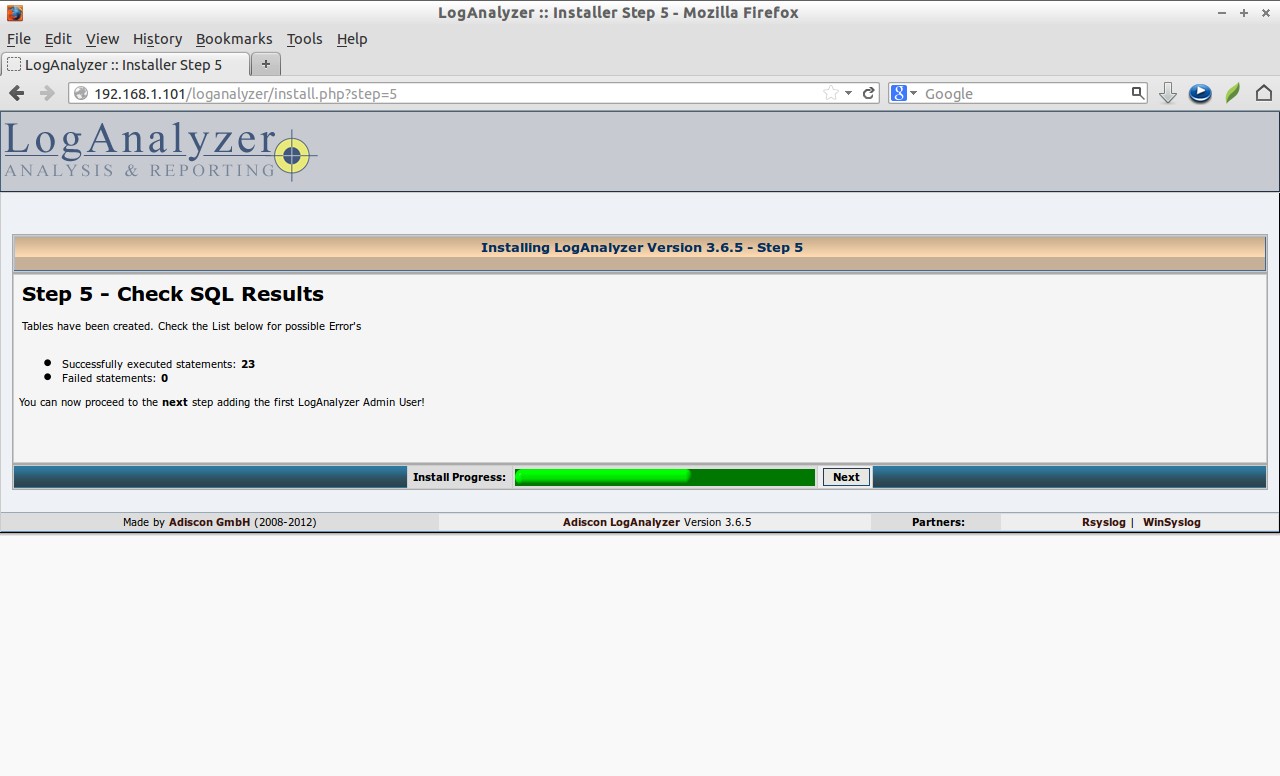
 Click Next to create rsyslogdb tables.
 Click Next.
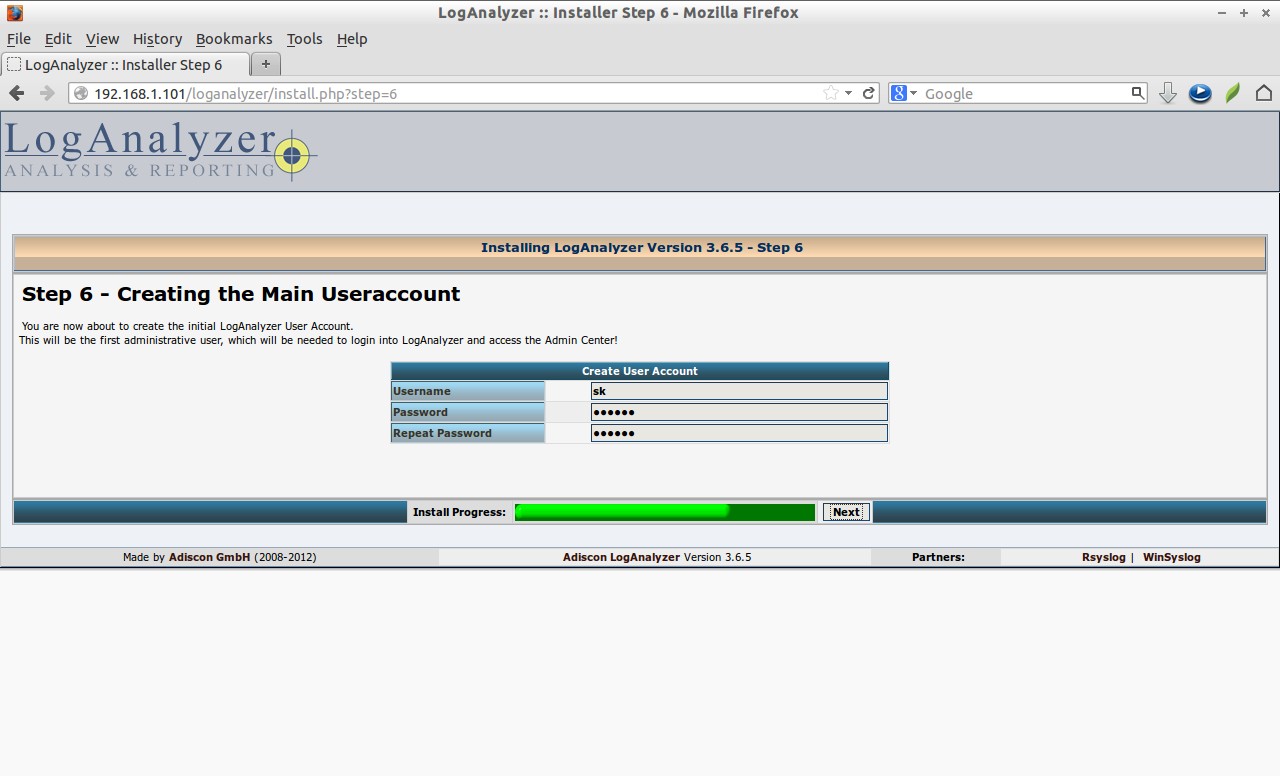
 Create a administrative user for LogAnalyzer console. In my case, i create a administrative user sk with password centos.
 Select “MySQL Native” in the Source type drop down box and Enter the database name, database table name, database username and password. Click Next.
Warning: Double check the database name, Table names. Because they are case sensitive. Refer the screenshots. If you use “systemevents” in the tablename section instead of “SystemEvents”, you won’t be able to install loganalyzer. Also make sure the database name, database username and password are correct as exactly in the /usr/share/doc/rsyslog-mysql-5.8.10/createDB.sql file.
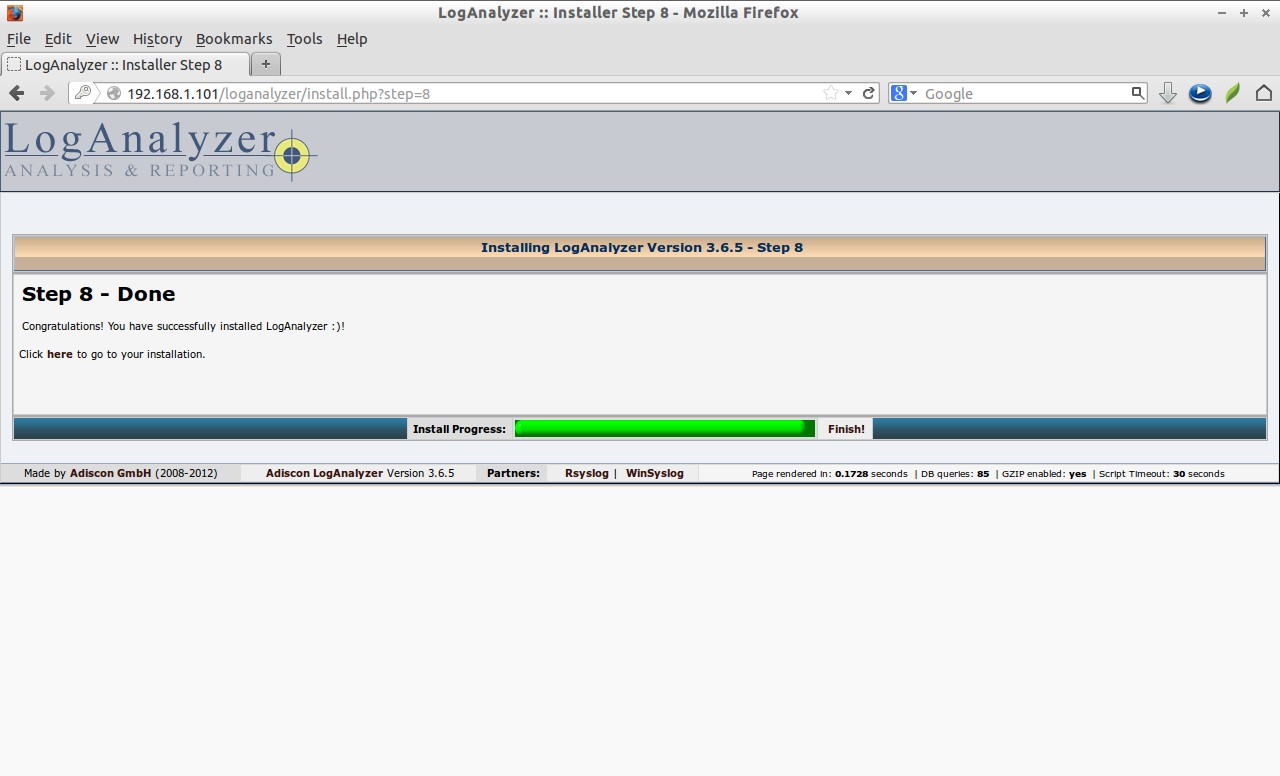
 Congratulations! You’ve successfully installed LogAnalyzer. Click Finish to complete installation.
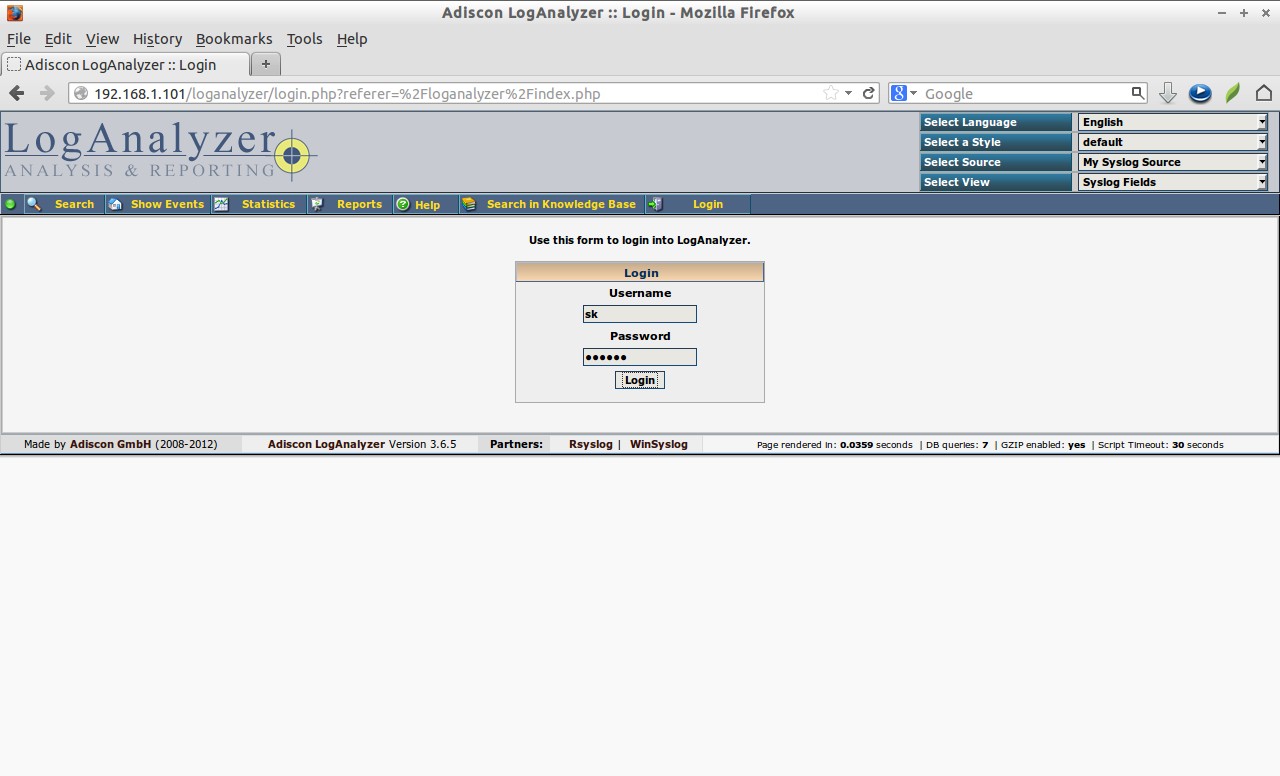
 Log in to LogAnalyzer Dashborad
Enter the admin user account details which we created earlier.
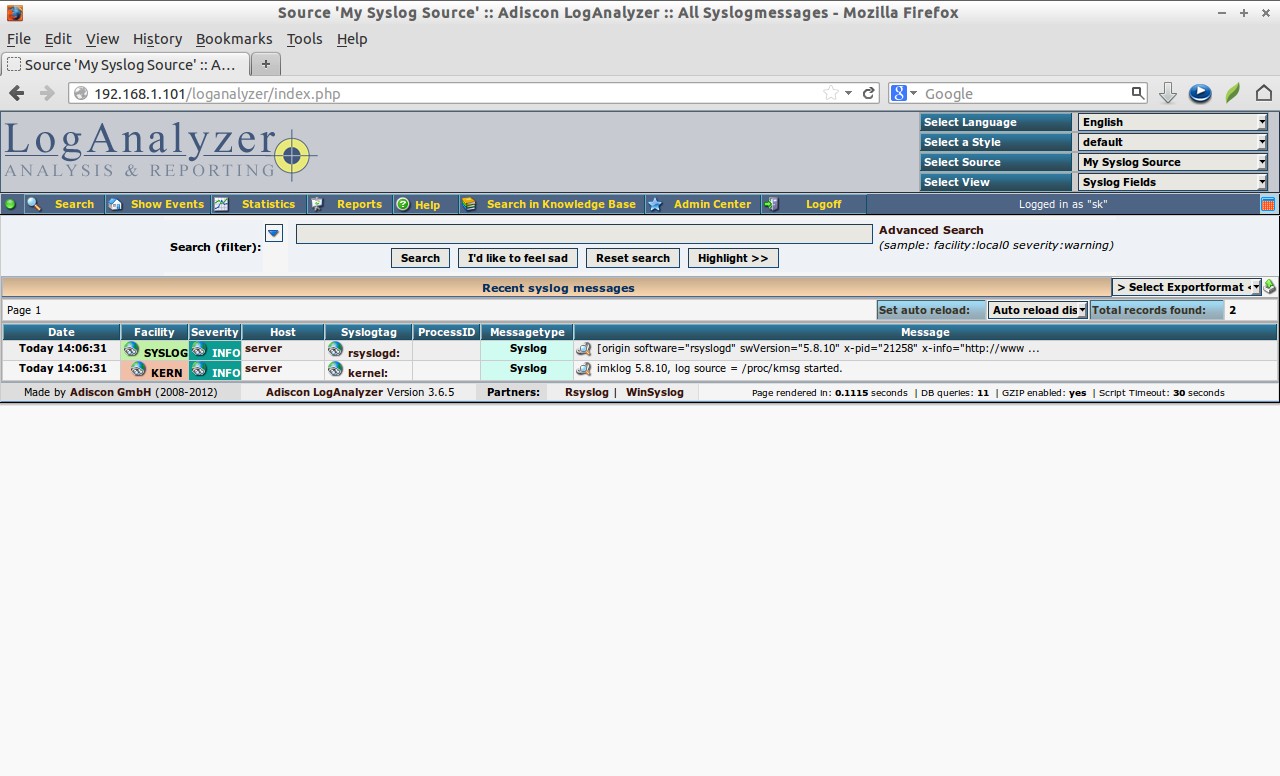
 Now the main console screen will open with all log details.
If it shows any message like “no syslog data”, restart all services once again.
# service rsyslog restart
# service httpd restart
# service mysql restart
Refresh the page again, you’ll see the log details of your server as shown in the below screenshot.
Configure clients
Configuring client is very easy. All you need to do is just install rsyslog package and add the ryslog server ip address in the configuration file.
Install rsyslog package in your client systems.
For RHEl/CentOS Clients:
# yum install rsyslog -y
For Debian/Ubuntu Clients:
$ sudo apt-get install rsyslog
Open the rsyslog config file and the rsyslog server details.
# vi /etc/rsyslog.conf
Add Rsyslog server details:
*.* @@192.168.1.101
and start rsyslog services.
# service rsyslog start
# chkconfig rsyslog on
Now goto rsyslog server and check for client logs.
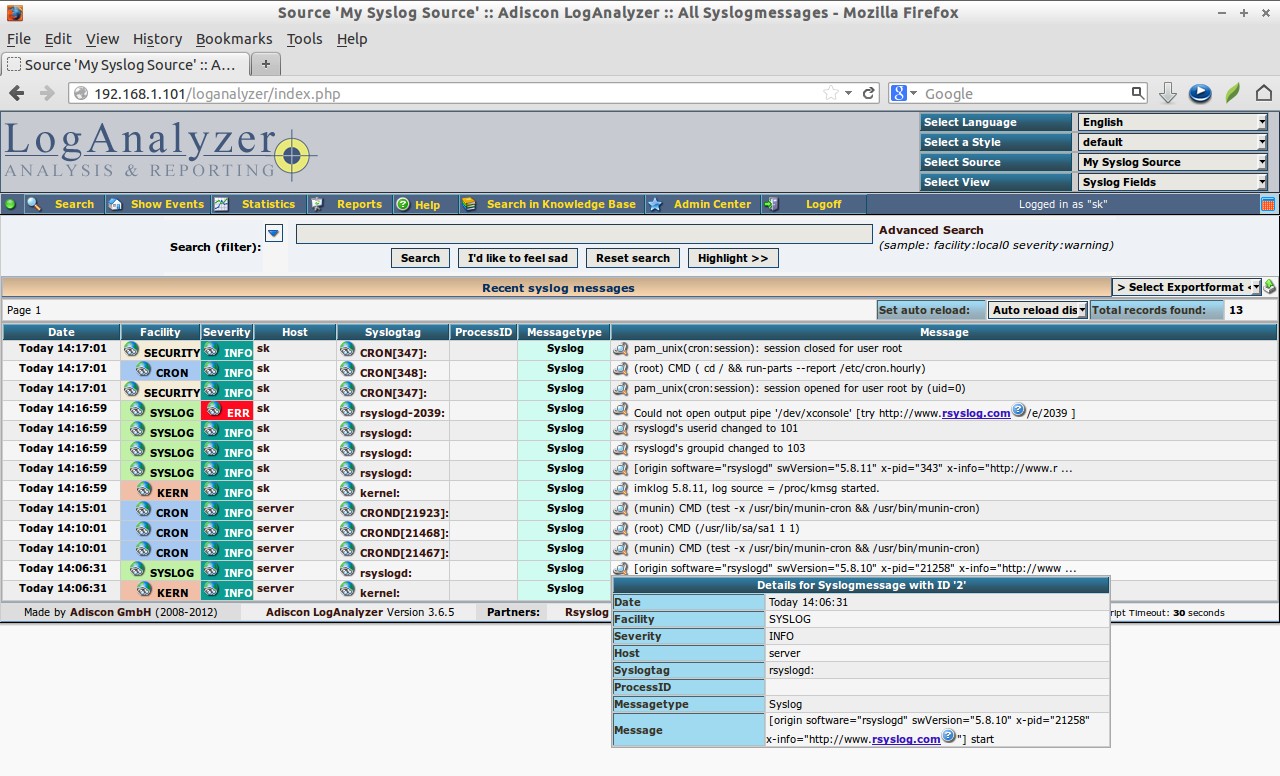 As you see in the above screenshot my client sk has been added and log details are shown in the LogAnalyzer admin console.
That’s it. Happy logging!
Advance New year wishes! Convey my regards to your family and friends!
Good luck!
Reference Links:


