
Openstack is the most widely used open source cloud system which lets you set up complex private and public cloud infrastructures with great ease. It has thousands of developers all around the world who are working actively to make this system more and more stable and feature rich. This post is intended for advanced users, who has already setup openstack and want to enable Neutron’s Load balancer component to provide load balancing among multiple virtual machines (known as “instances” in Openstack’s terminology).
If you are hosting important applications on your instances hosted on Openstack, you should enable Neutron’s load balancing component, as in this way you will be able to use your system more effectively and ensure maximum uptime and availability of your application. Here are following three types of load balancing algorithms which can be implemented in openstack to ensure proper division of traffic for instances sharing same application.
Round robin – It handles connection requests evenly among all configured instances.
Source IP – It lets you direct unique source IP addresses to the instance of your choice.
Least connections – This algorithm ensures load balancing by routing connections to the instance with the least number of active connections.
Let’s see how we can install and configure Openstack Neutron’s LBaaS component on a CentOS 7 based infrastructure. Before proceeding further into the details, we persume, you have:
- Properly setup openstack infrastructure including Controller, Network and Compute node(s).
- Have configured neutron component and properly tested its operations.
- Openstack Yum Repositories are added to your system’s YUM configuration.
Installing LBaaS
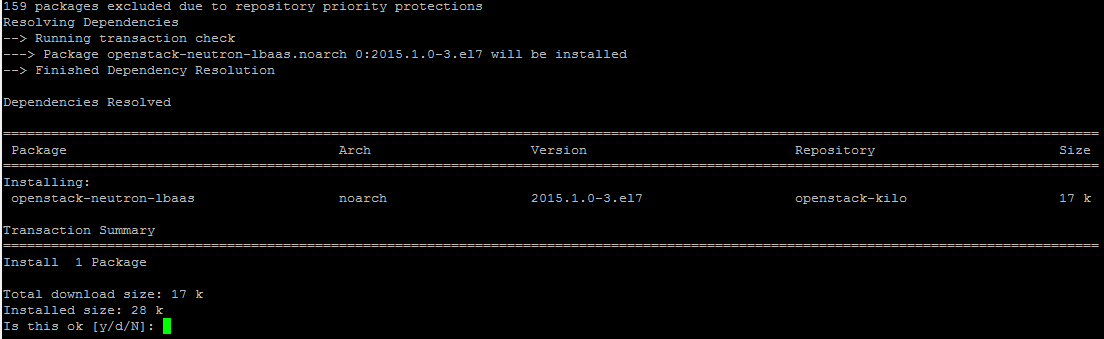
Run following command on both controller and network nodes to install the required components (HAProxy and LBaaS package).
[cc] yum install haproxy openstack-neutron-lbaas [/cc]
It shouldn’t take much time, once the installation is complete, you can take a look within /etc/neutron directory to verify that load balancer configuration file “neutron_lbaas.conf” and “lbaas_agent.ini ” are there now.
Configuring LBaaS
After the installation of LBaaS, we need to perform couple of configurations in the conf files to make this work. Some settings are needed on Controller node, while others are needed on Network node. If you have combined the controller and network node to a single machine, that’s fine, perform these setting on the host running openstack controller and networking services.
Settings on Controller Node(s)
On your controller node, edit “/etc/neutron/neutron_lbaas.conf” file in your favorite text editor and uncomment the following parameter there. If you don’t see this parameter in the file, simply add it; this parameter enables HAProxy component.
[cc] service_provider = LOADBALANCER:Haproxy:neutron.services.loadbalancer.drivers.haproxy.plugin_driver.HaproxyOnHostPluginDriver:default[/cc]
Add following parameter in /etc/neutron/neutron.conf file. You might be seeing “service_plugins ” value there with some already configured settings like “fwaas” , “router” etc, simply add “lbaas” in the list.
[cc] service_plugins = lbaas [/cc]
That’s it, restart neutron service by using the following command:
[cc] systemctl restart neutron-server.service [/cc]
Settings on Network Node(s)
We need to edit /etc/neutron/lbaas_agent.ini file on Neutron/Network Node(s). Edit this file using Vi or the text editor of your choice and enable/add following parameters there.
[cc]device_driver = neutron.services.loadbalancer.drivers.haproxy.namespace_driver.HaproxyNSDriver[/cc]
[cc] user_group = haproxy [/cc]
If you are using openvswitch plugin in your infrastructure, then enable the following parameter.
[cc] interface_driver = neutron.agent.linux.interface.OVSInterfaceDriver [/cc]
Alternatively, If you are using Linux Bridge, you should uncomment following setting instead of above one.
[cc] interface_driver = neutron.agent.linux.interface.BridgeInterfaceDriver [/cc]
That’s it, start/restart LBaaS service by using the following command.
[cc] systemctl restart neutron-lbaas-agent.service [/cc]
Enable Load Balancer service on system reboot by using the following command:
[cc] systemctl enable neutron-lbaas-agent.service [/cc]
Enable LBaaS In Horizon Dashboard
So far the installation and configuration of LBaaS is complete, but in order to make it visible inside Horizon Dashboard >> Project >> Network section, you need to activate it within horizon configuration file too. Edit /etc/openstack-dashboard/local_settings file and set “enable_lb” value to “True” here. This parameter will be located under “OPENSTACK_NEUTRON_NETWORK” section.
[cc]’enable_lb’: True[/cc]
Restart apache web server by using the following command, so that it may start showing “Load Balancer” option.
[cc]systemctl restart httpd.service[/cc]
There you go, launch Horizon Dashboard and you should be seeing it there. You are all set to rock!

Conclusion
Openstack is prevailing quickly over the cloud industry, many popular companies like Rackspace, PayPal, AT&T, NASA, Softlayer are using it to provide state of the art cloud services. It’s features like LBaaS that are making Openstack a big hit in the market. We hope you find this article useful, do let us know in comments please 🙂


