
The design goal for Alpine Linux is to provide a secure and lightweight distribution, which should cater the needs of most of the Linux users. It is based on musl and BusyBox; today Alpine Linux 3.2.1 has been released, in this article we will be reviewing the noteworthy features of this Linux distribution and the installation process for this latest release.
Alpine Linux is extremely lightweight Linux distro, full installer package is around 300 MB only and it consumes very low amount of computer resources; ideally, a small and fast Linux operating system. It comes with its own Package Manager for the installation of new packages; known as APK. It uses OpenRC init system and the way packages are compiled for this distribution, adds extra layer of security to the operating system.
Here are the release notes for this new version. Its includes many bug fixes with respect to security and Musl.
Installing Alpine Linux 3.2.1
Alpine does not have a rich graphical installer like majority of the other Linux distributions, it has a text based installer, but it is pretty easy to use and install alpine Linux.
There are couples of ways through which you can initiate the install of this OS.
(a) Download Alpine Linux 3.2.1 and burn it to DVD/USB drive and boot your system using this DVD/USB.
(b) Create Virtual machine on your current operating system using tools like Oracle Virtual Box and boot your Virtual machine using ISO of this operating system.
Whichever method you choose, here is the very first screen you should see when booting your system using this ISO.
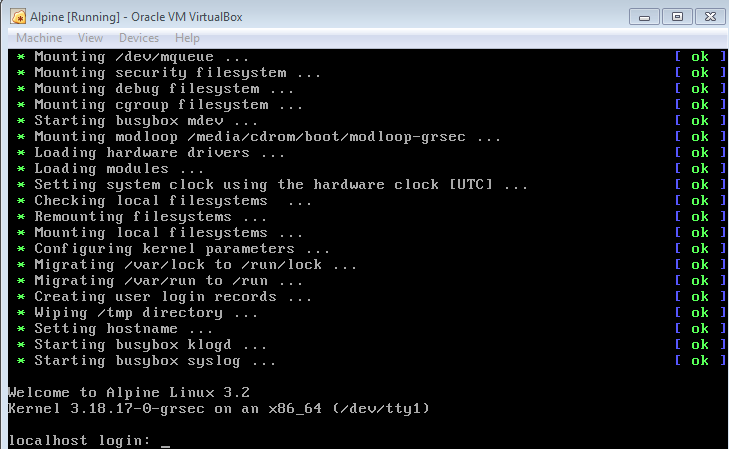
Here simply type “root” [without quotes] and hit Enter. It will take you to the command line of this operating system. Run following command here to initiate the install of this operating system.
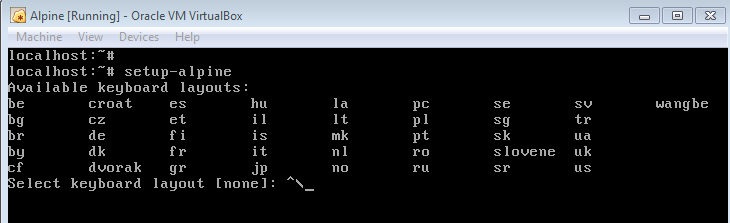
[cc]setup-alpine[/cc]
It will immediately start the installation process, on very first step, it will let you specify your Keyboad layout.
Hit Enter once done, Type the computer hostname on next step and hit Enter.

Specify Ethernet interface for your computer on next step.

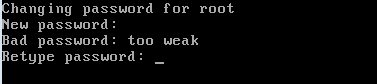
Here, it will let you set root password for your new installation, enter the password twice.
Select your time zone from this step, in order to keep the default choice, just hit Enter.
![]()
If you are using any proxy for internet browsing, specify that here.

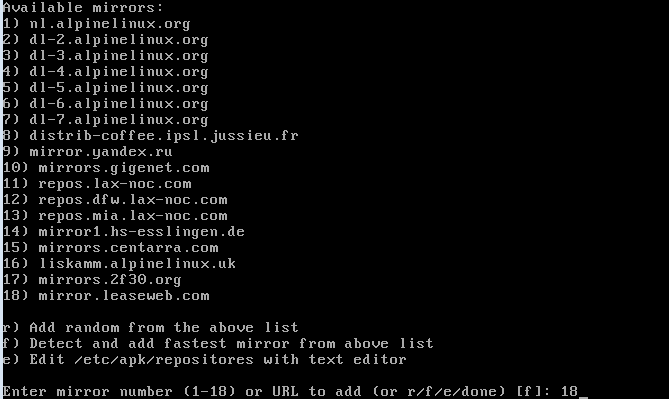
Now choose mirror for the package manager, specify whichever location is closet to you, so that package manager should work faster on your system.
Select the hard disk you want to perform this installation on.

That’s it, it will take few minutes to complete the installation. Reboot your system once done and start using new Alpine release.
Conclusion
As you might have noticed, new release focuses on bug fixes and security hardening. It is a suitable operating system to run on your old computer having limited resources. The installers for new release are available in both 32 and 64-bit architectures. You can also try its “minimum” installation package, which is just 88 MB in size.


