
In this tutorial, we will demonstrate how to install Ajenti on Ubuntu, a free open source web control panel, which is easy to install and maintain. By the end of this tutorial, we will install the Ajenti V add-on module that allows the creations of websites and email accounts from inside the panel.
Ajenti is an open source, web-based control panel for Linux server (Ubuntu, Debian, CentOS and FreeBSD).
Ajenti can be used for a large variety of server management tasks and you can install packages and run commands, and you can view basic server information such as RAM in use, free disk space, etc. All this information can be accessed from a web browser.
Ajenti V is a add-on that allows you to manage multiple websites from the same control panel.
Prerequisites
In this article we assume that you have made a fresh install for Ubuntu server and you are the root user. If you are not, prepend
to all shell commands or temporarily become a user with root privileges with
.
Installing Ajenti on Ubuntu
There are two ways to install Ajenti on Ubuntu or Debian.
First way to install is quick automatic install.
So connect to your server over SSH with your root privelfes. Then issue the following commands:
wget -O- https://raw.github.com/ajenti/ajenti/1.x/scripts/install-ubuntu.sh | sudo sh
The second way to install is manual install.
SSH into you server as root and start the installation by running the following command.
Add repository key:
wget http://repo.ajenti.org/debian/key -O- | sudo apt-key add -
Add repository to /etc/apt/sources.list:
echo "deb http://repo.ajenti.org/ng/debian main main ubuntu" | sudo tee -a /etc/apt/sources.list
Install the package:
sudo apt-get update && sudo apt-get install ajenti
Start the service:
sudo service ajenti restart
Now the installation of your control panel is done. The panel will be available on HTTPS port 8000.
In this step, we will log in to Ajenti control panel and update the admin password.
Using your favourite web browser, navigate to
8000 and you will reach the Ajenti login screen. The default username is root and the default password is admin.
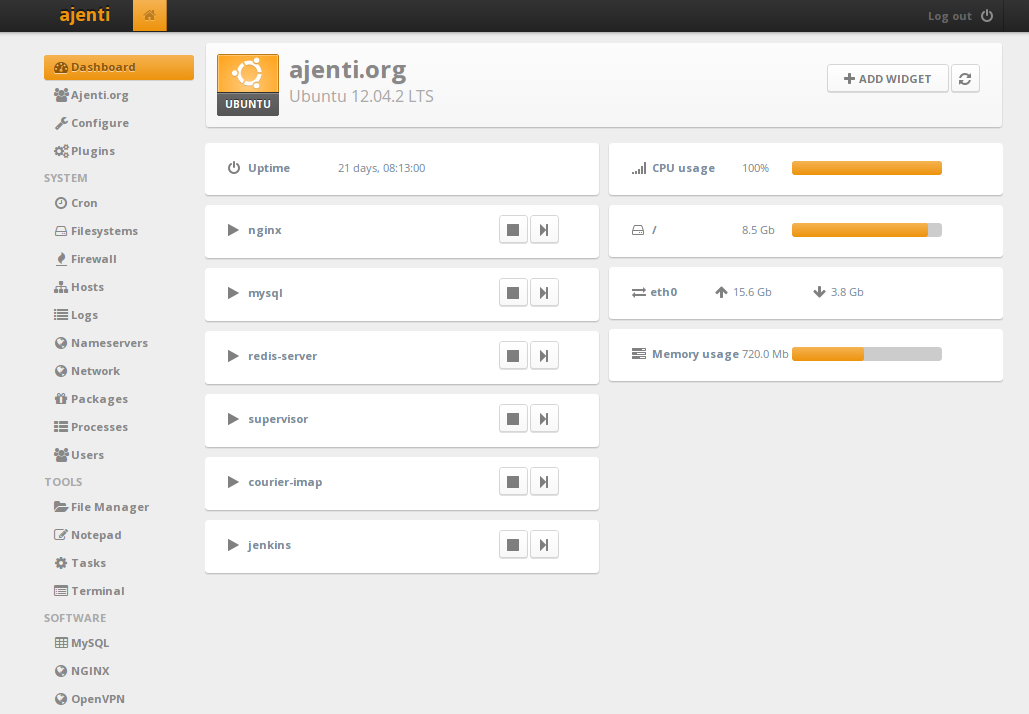
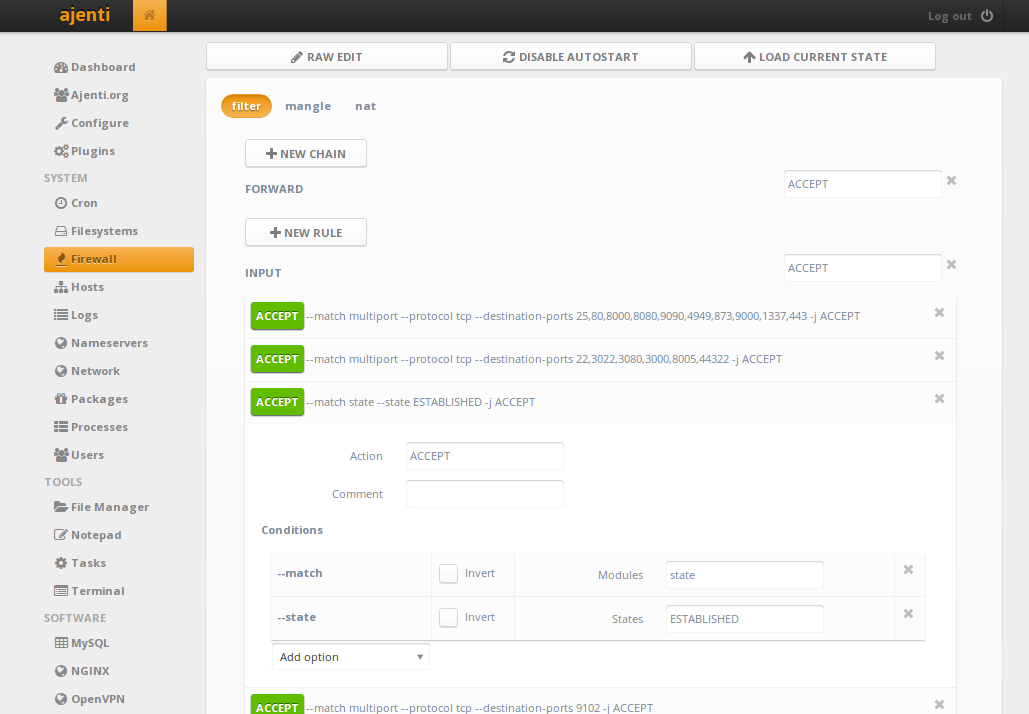
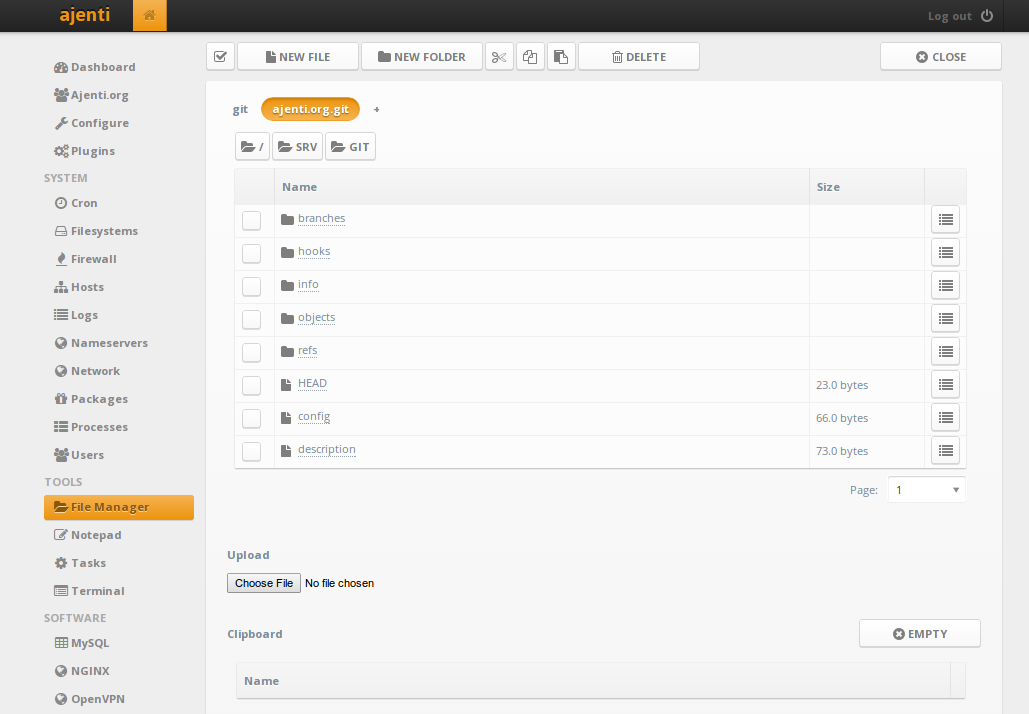
Screenshots Of Ajenti
Dashboard
Firewall
File Manager
Installing Ajenti V with Ajenti Control Panel
Ajenti V comes in form of small packages.
Currently available packages include:
- ajenti-v (main package)
- ajenti-v-mail (Exim and Courier mail)
- ajenti-v-mysql (MySQL DB support)
- ajenti-v-php-fpm (PHP support via PHP-FPM)
- ajenti-v-ruby-unicorn (Rails support via Unicorn)
- ajenti-v-ruby-puma (Rails support via Puma)
- ajenti-v-ftp-pureftpd (FTP support via PureFTPd)
- ajenti-v-nginx (NGINX webserver support)
- ajenti-v-python-gunicorn (Python WSGI support via gunicorn)
- ajenti-v-nodejs (Node.js support)
If you have Apache installed, but don’t use it, remove it first:
apt-get remove apache2
If you had Postfix or Sendmail installed and wish to use Ajenti V mail, kill the remaining postfix and sendmail processes.
Ajenti V currently runs with NGINX.
For example, to install basic LNMP package, run:
apt-get install ajenti-v ajenti-v-nginx ajenti-v-mysql ajenti-v-php-fpm php5-mysql
service ajenti restart
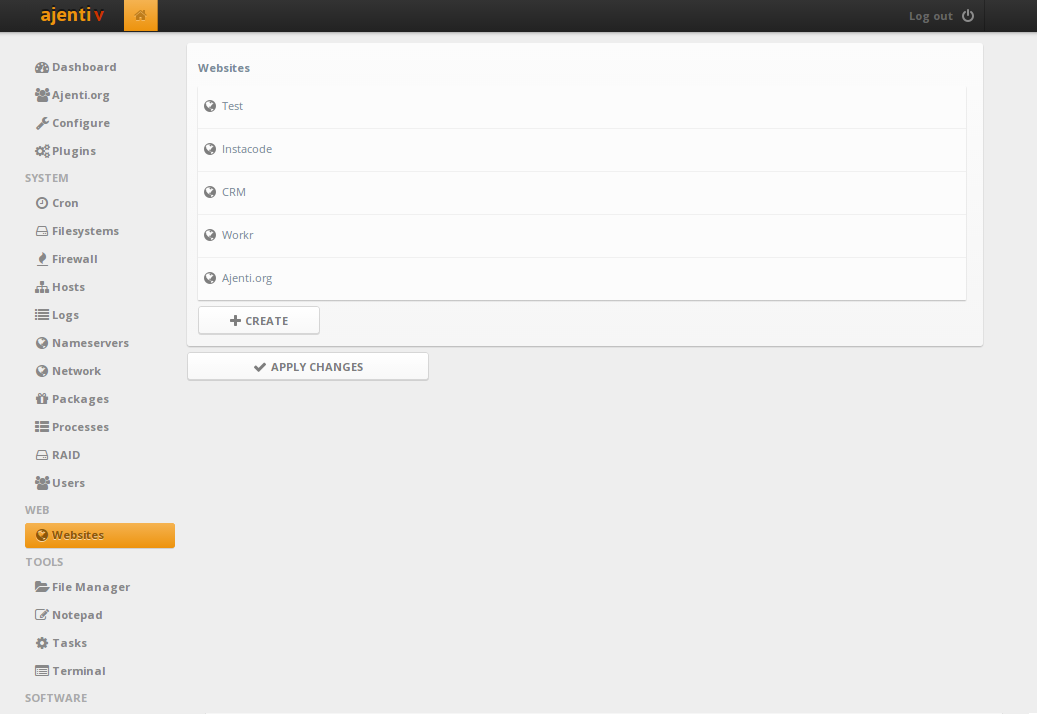
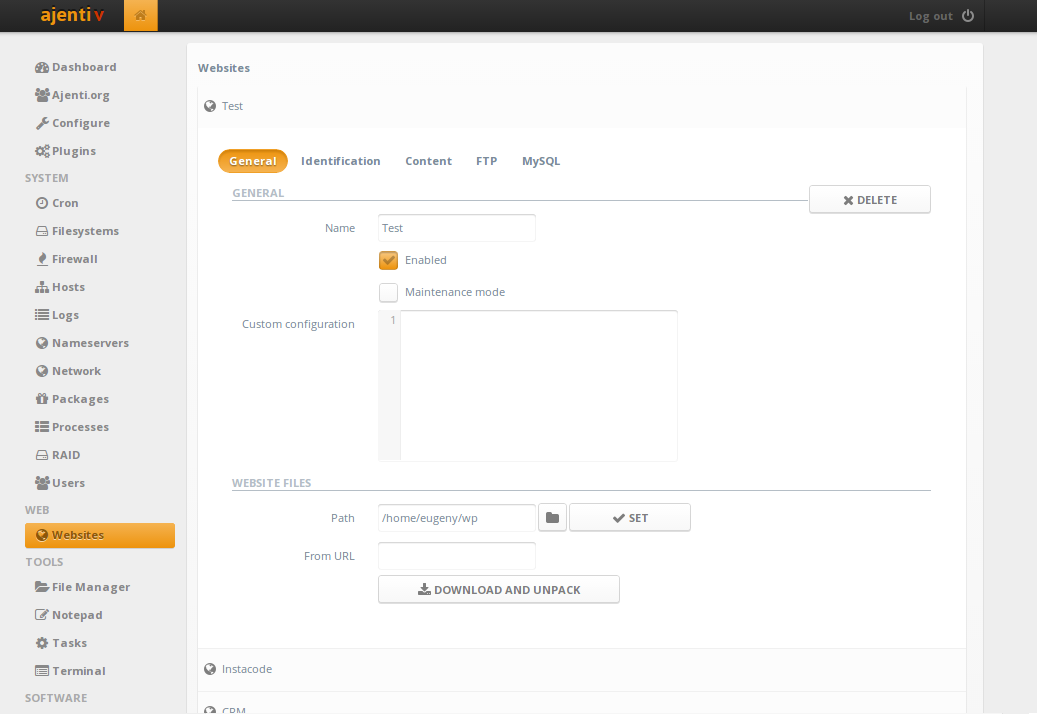
When you login into your Ajenti panel, you will now see new Websites section.
Screenshots of Ajenti V
Websites
Ajenti and Ajenti V are now installed on your Ubuntu server. To learn how to use some of their features, check out the official website.
Thanks.


