
Zentyal server is a an alternative for Microsoft Server, it is Ubuntu based Small and Medium Enterprise Server. The latest stable version of Zentyal is build upon Ubuntu 14.04 LTS. Zentyal can be used as File/print Server (SAMBA 4), Mail server, it supports Exchange Server, Microsoft Outlook 2007,2010 and 2013 as well, it Provide interoperability among Linux and Microsoft Active Directory.
Requirements:
A System which will act as server, with as least 8 GB RAM, 2 LAN Cards, 320 GB of Hard Disk (if you wants to use zentyal as file server, you may require more hard drive space).
Latest stable version of Zentyal Community addition is Zentyal 4.1, which can be downloaded from www.zentyal.org.
Our Scenario:
- eth0 IP address: 192.168.1.5
- eth1 IP address: 192.51.10.1 (Note: if you want to configure Zentyal Firewall then you have to provide two LAN cards (LAN, WAN)
- Username: unixmen
- Hostname: unixmen
- Domai name: example.com
- Password: P@ssw0rd
- LAN Cards: 02
Installation
Zentyal could be configure in few easy steps,Download Server .iso image and burn it to DVD. In my personal experience USB based installation method sometimes goes stuck in the middle, so I would like to recommend DVD Method.
Step1:
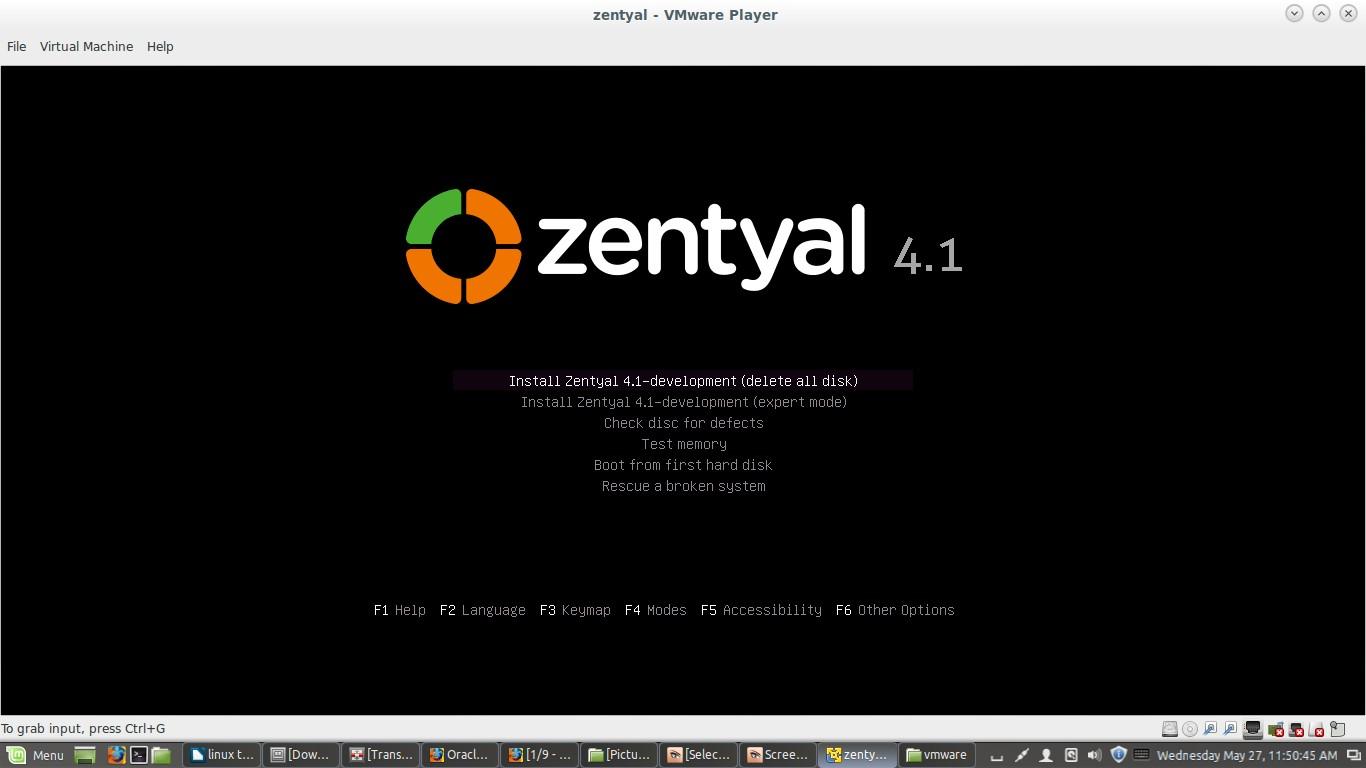
Boot the system with DVD, and select language.

Here I want to do a fresh installation. So, Select “delete all” option for fresh installation.
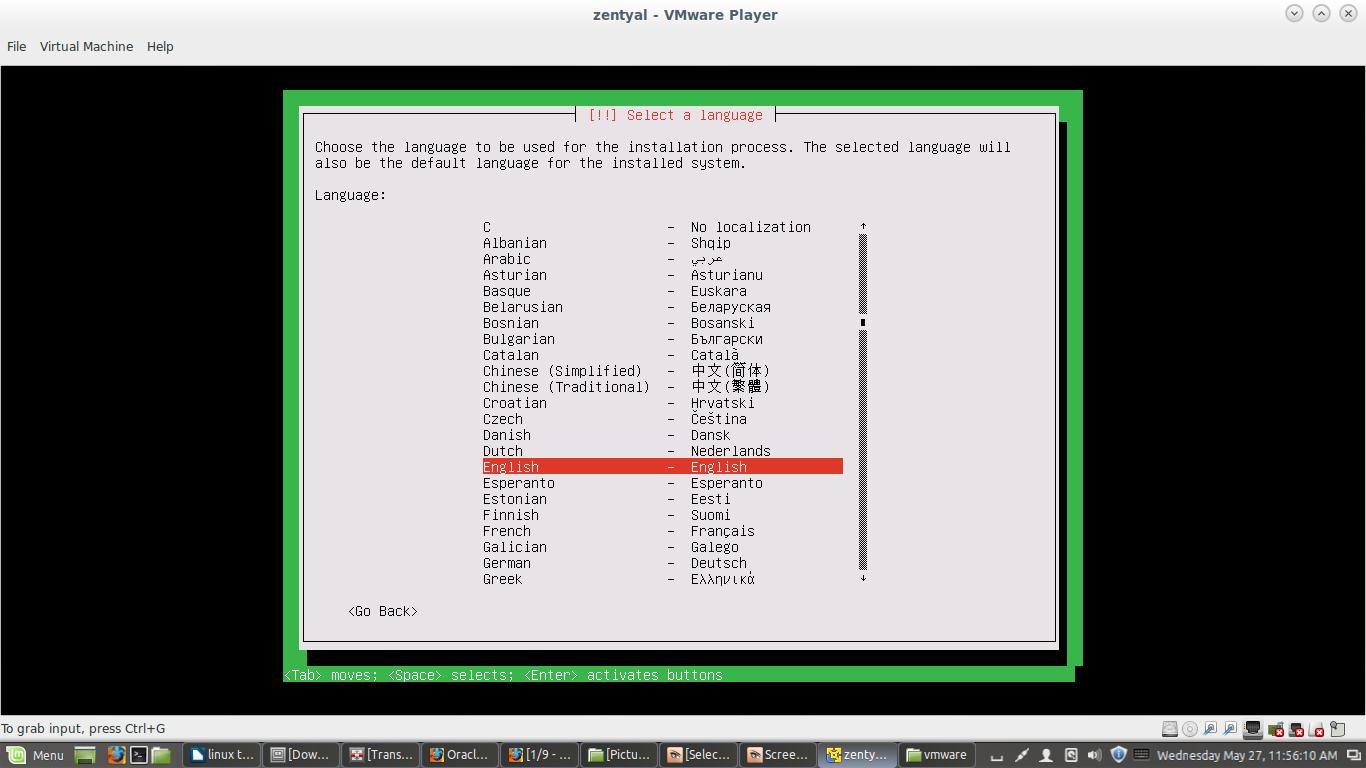
Choose language to be used for installation procedure.
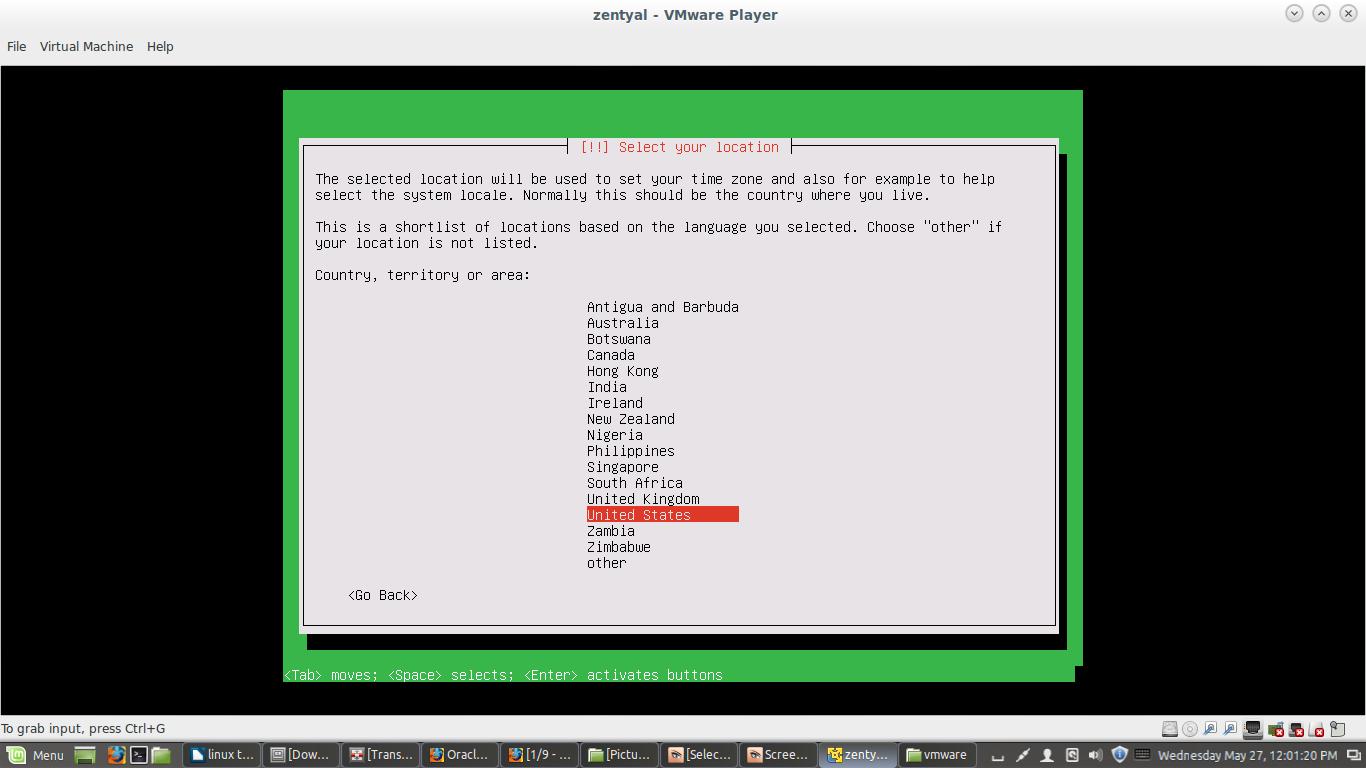
Select your country.
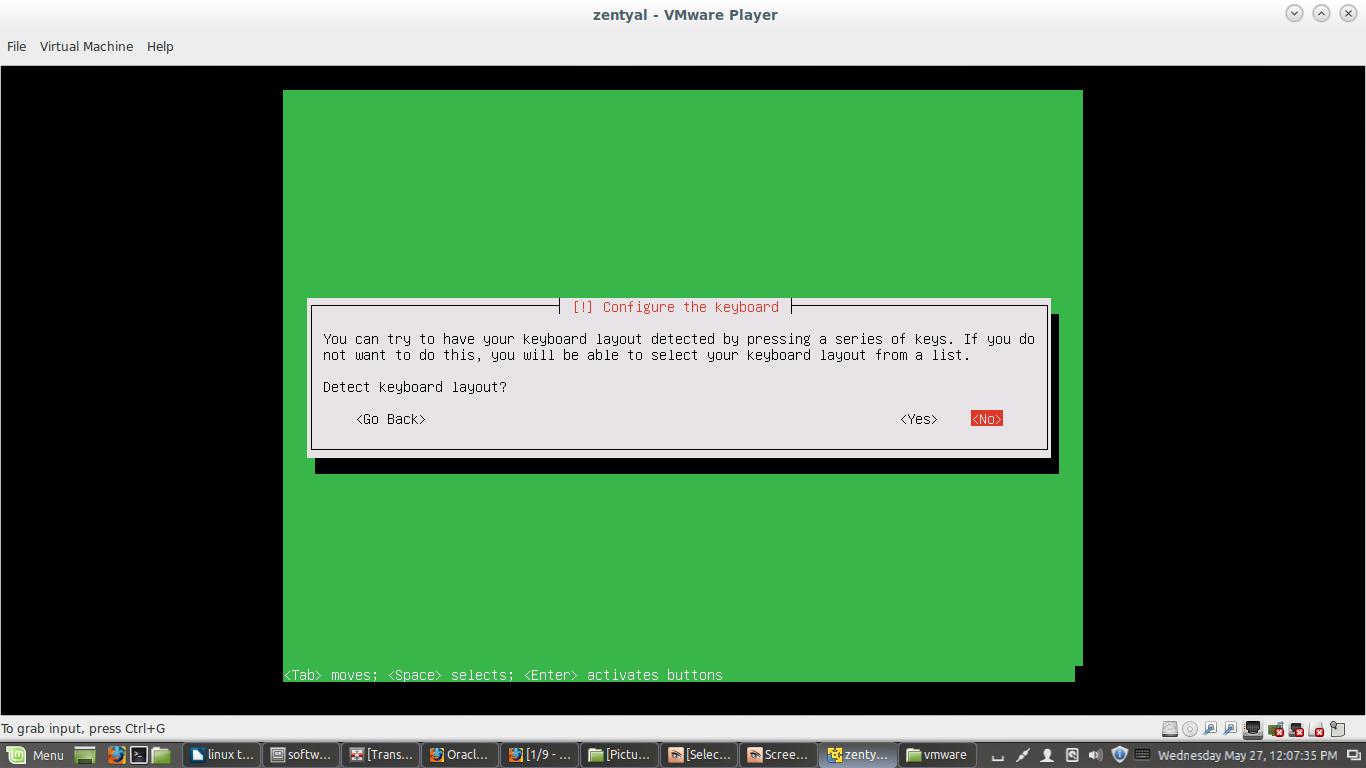
Configure Key Board select <no>.
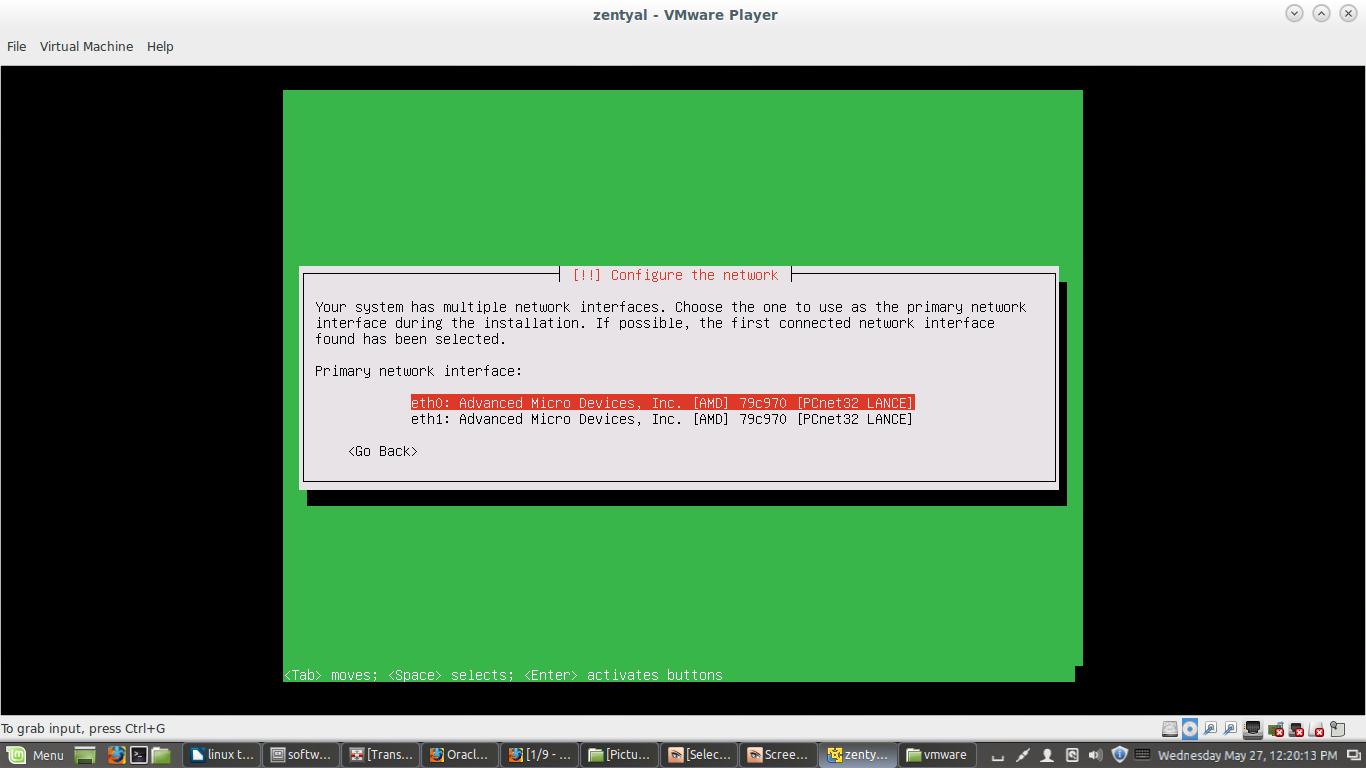
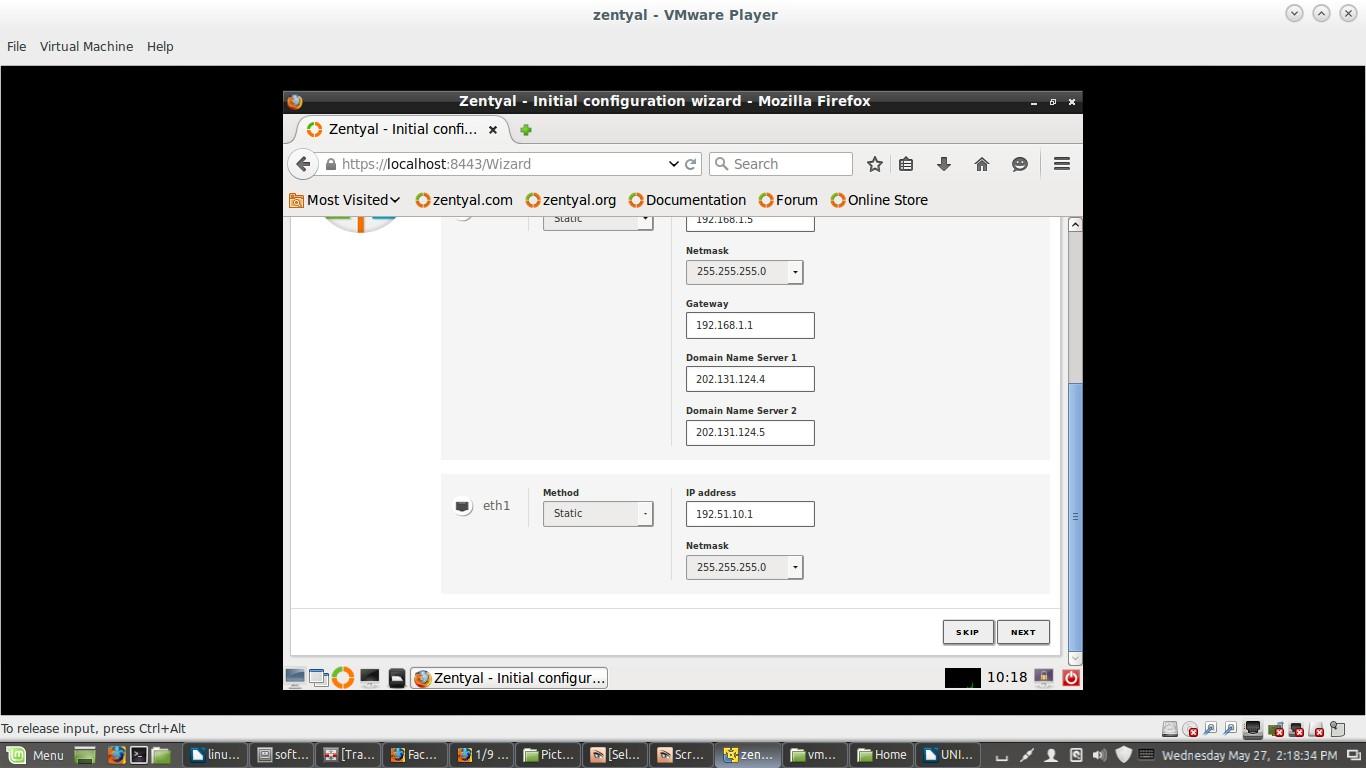
Configure network, we have two Ethernet cards, prefer eth0 as primary network, provide WAN IP to that interface, eth1 will act as LAN IP Address.
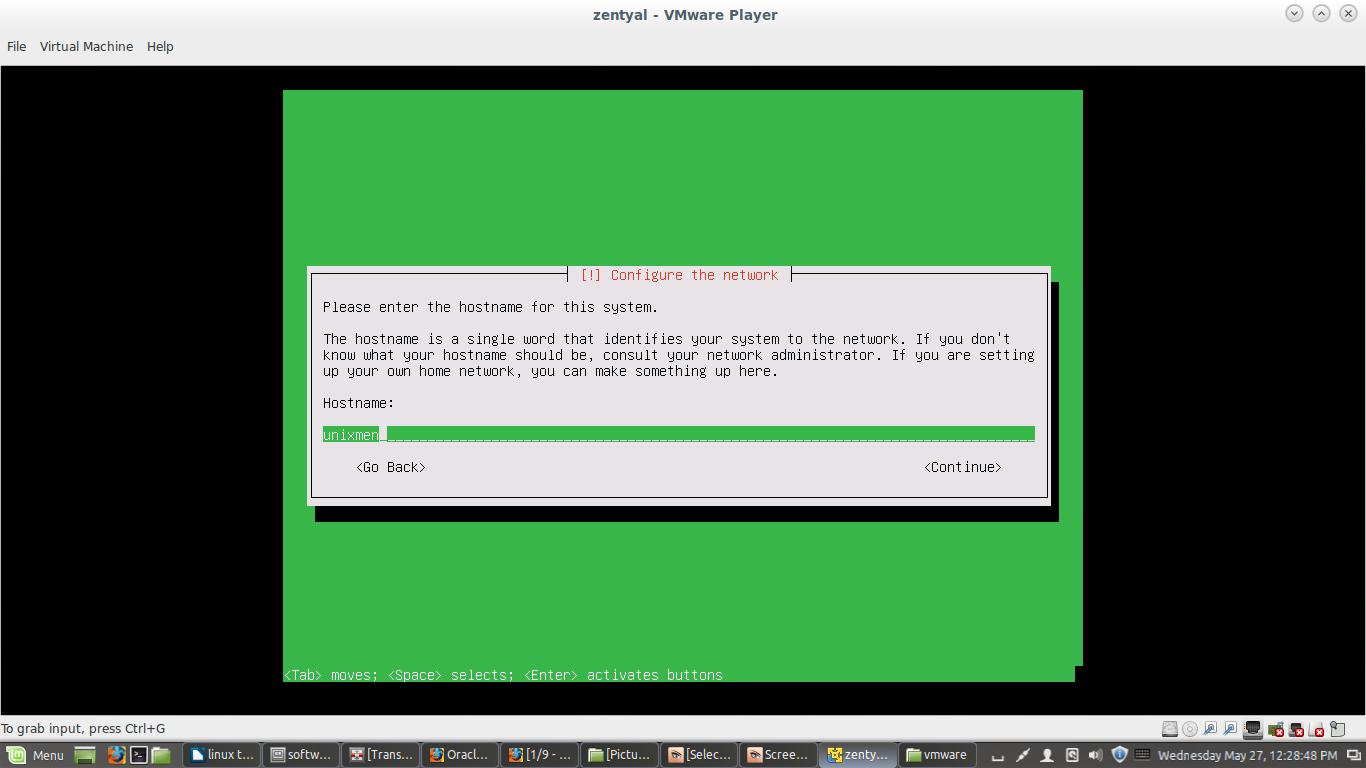
Provide hostname. For example: unixmen
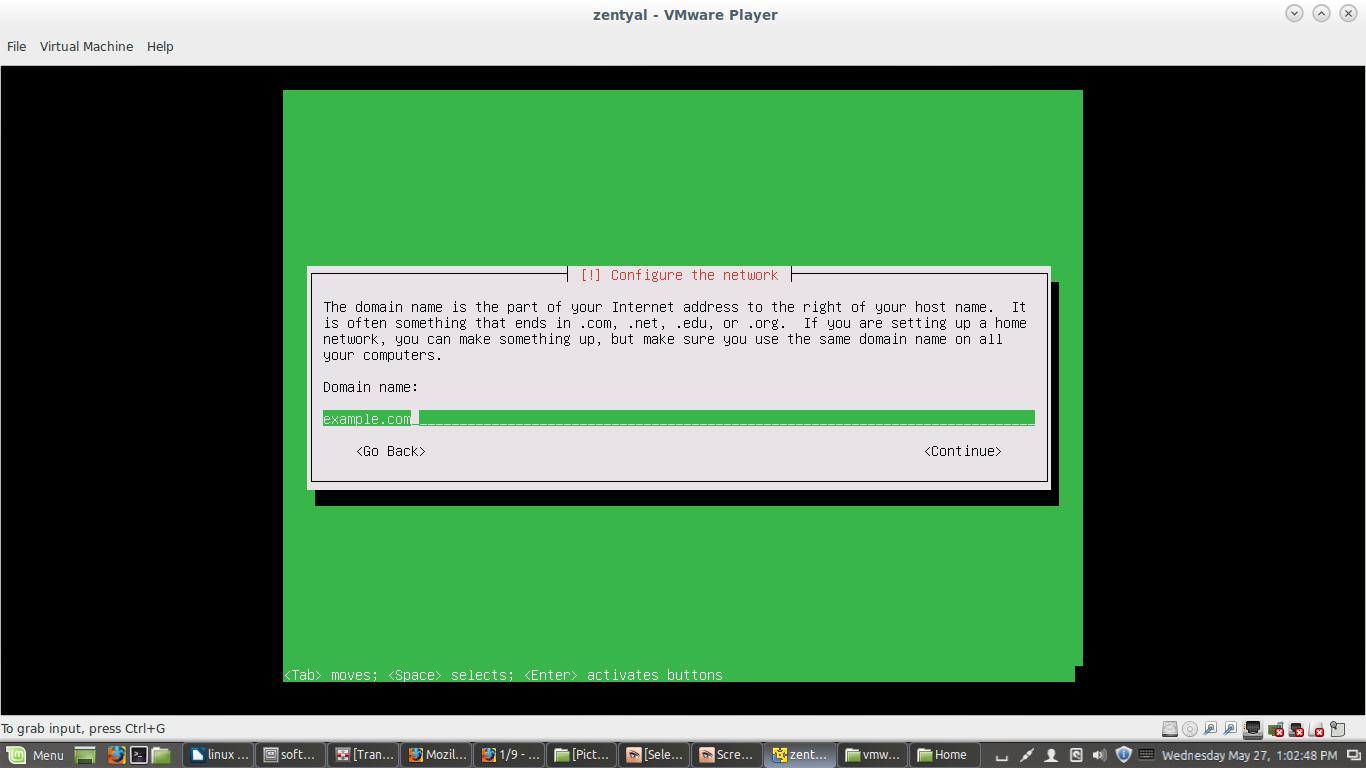
Provide domain name, it will be default for all services (DNS, MAIL, DHCP etc.)
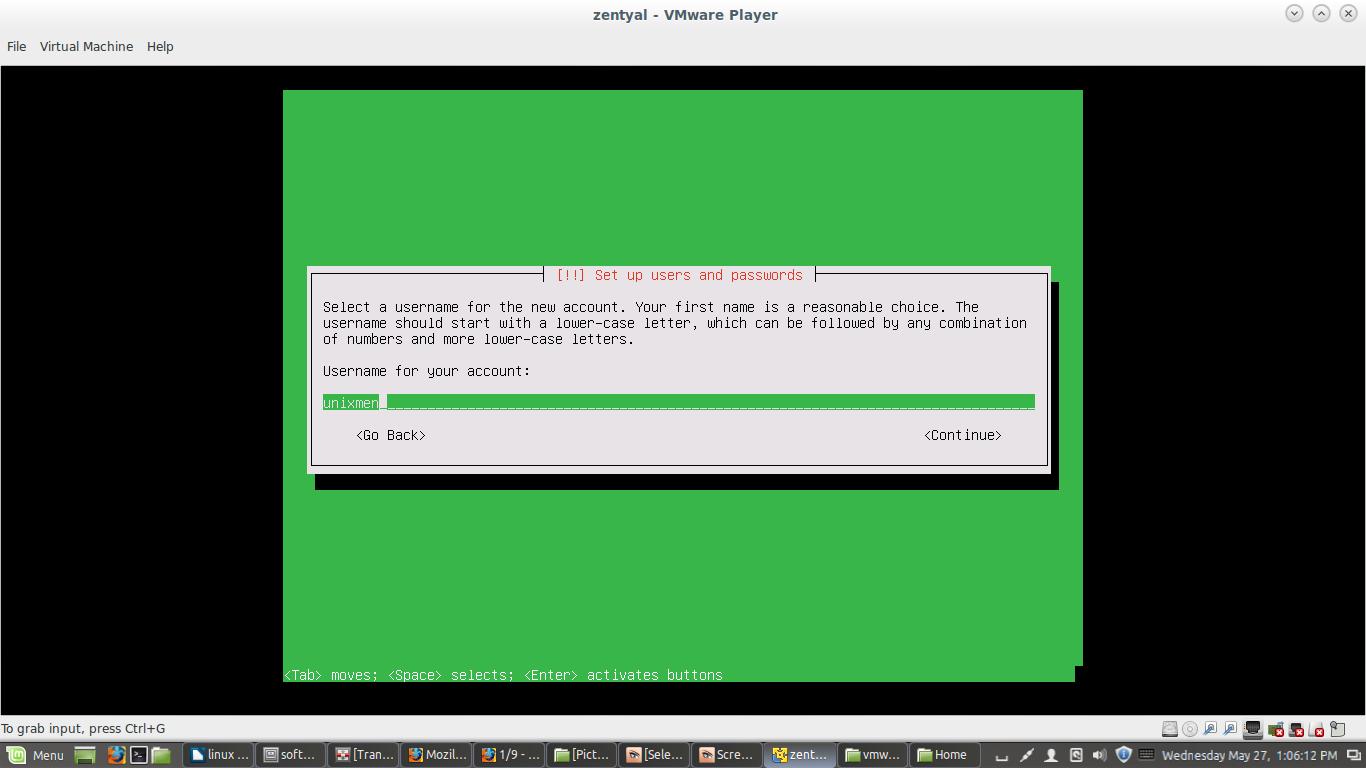
Provide username (Ex.unixmen) to your Zentyal Server and assign a password (Ex.P@ssw0rd).
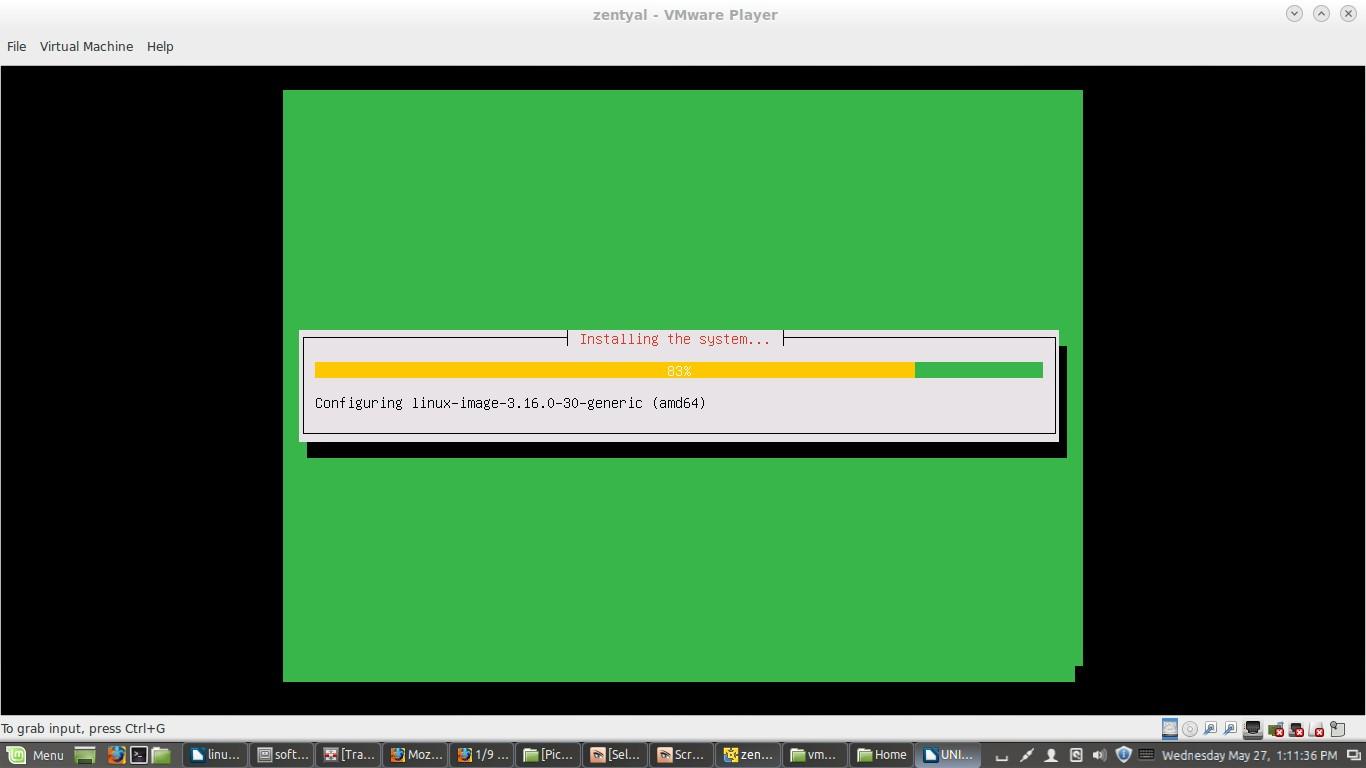
Select Time Zone, next few steps will run automatically and system files will be installed.
After installation is complete, system will reboot automatically.
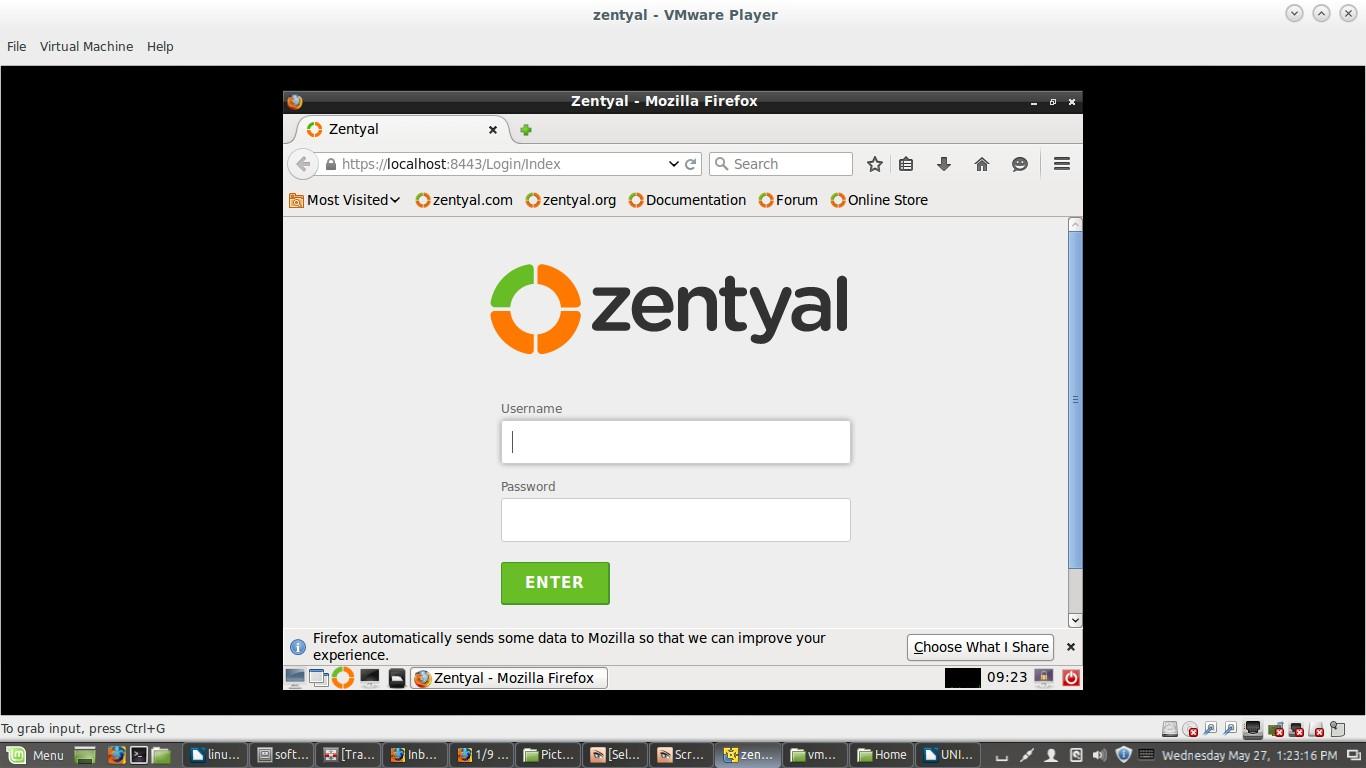
Now, the Administration GUI Screen on Zentyal Desktop will appear, login with providing username and password and login to complete rest of the configuration steps.
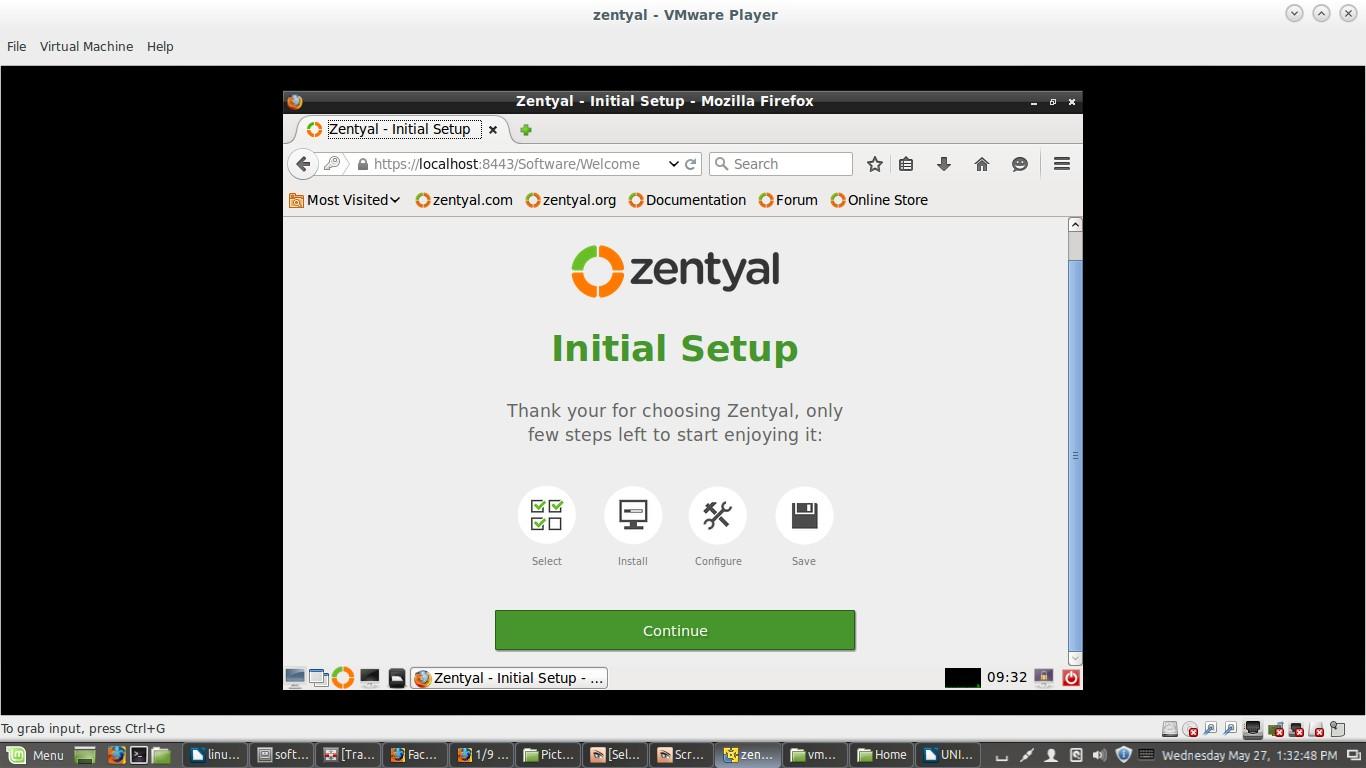
Now we are able to initiate setup furtherer, press continue.
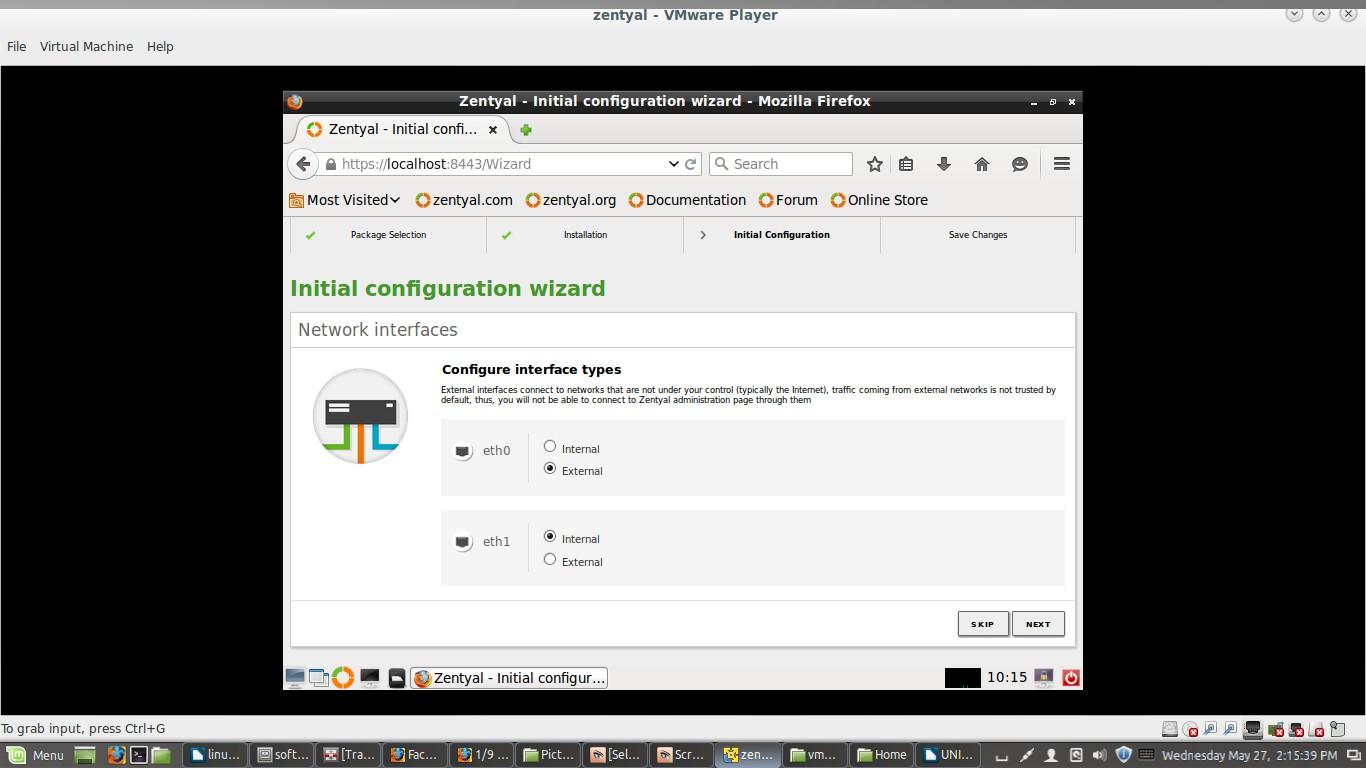
Selected Packages will got installed, time to configure network. Opt eth0 as external and eth2 as internal. Assign desired IP Addresses.
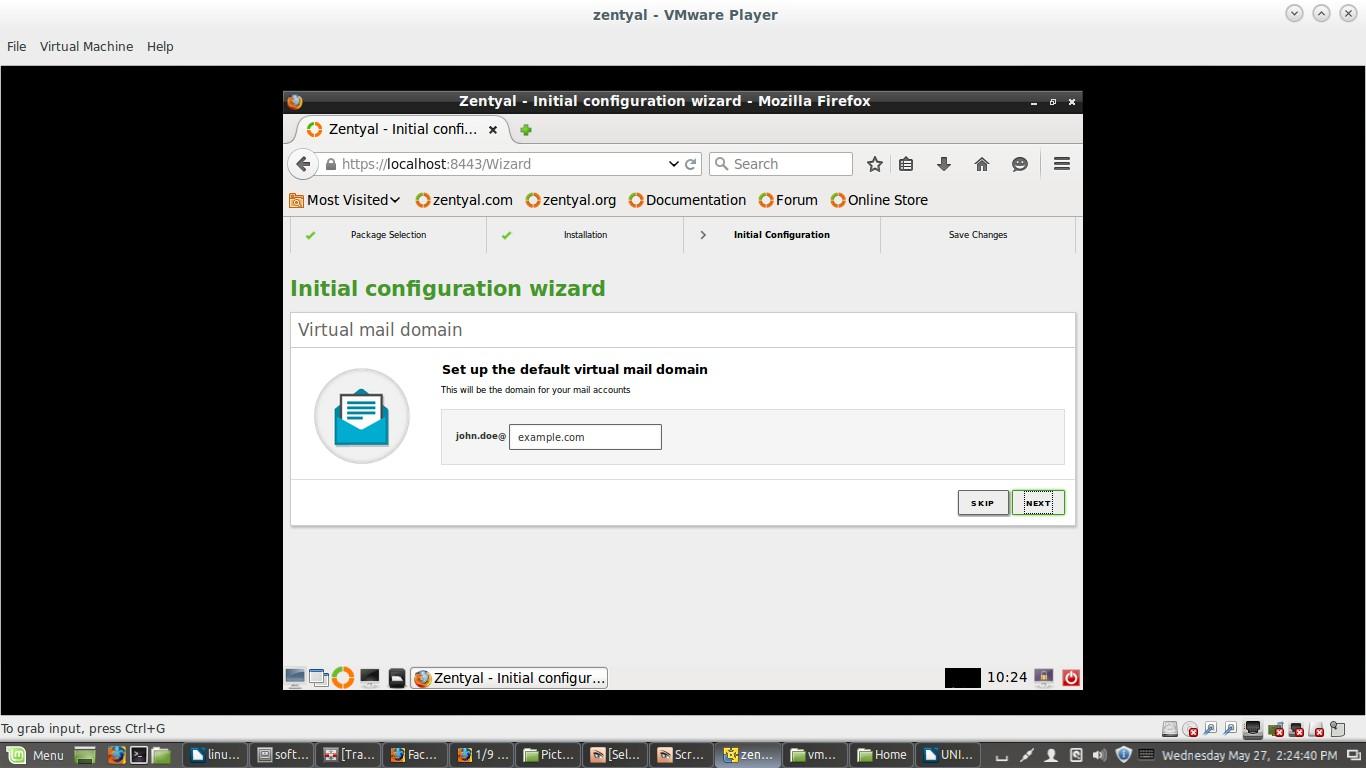
Assign a domain name (example.com as default), and setup default virtual mail domain (example.com as default), it will be used as email address for this domain (e.g. unixmen@example.com), Finish installation step and let the modules get loaded.
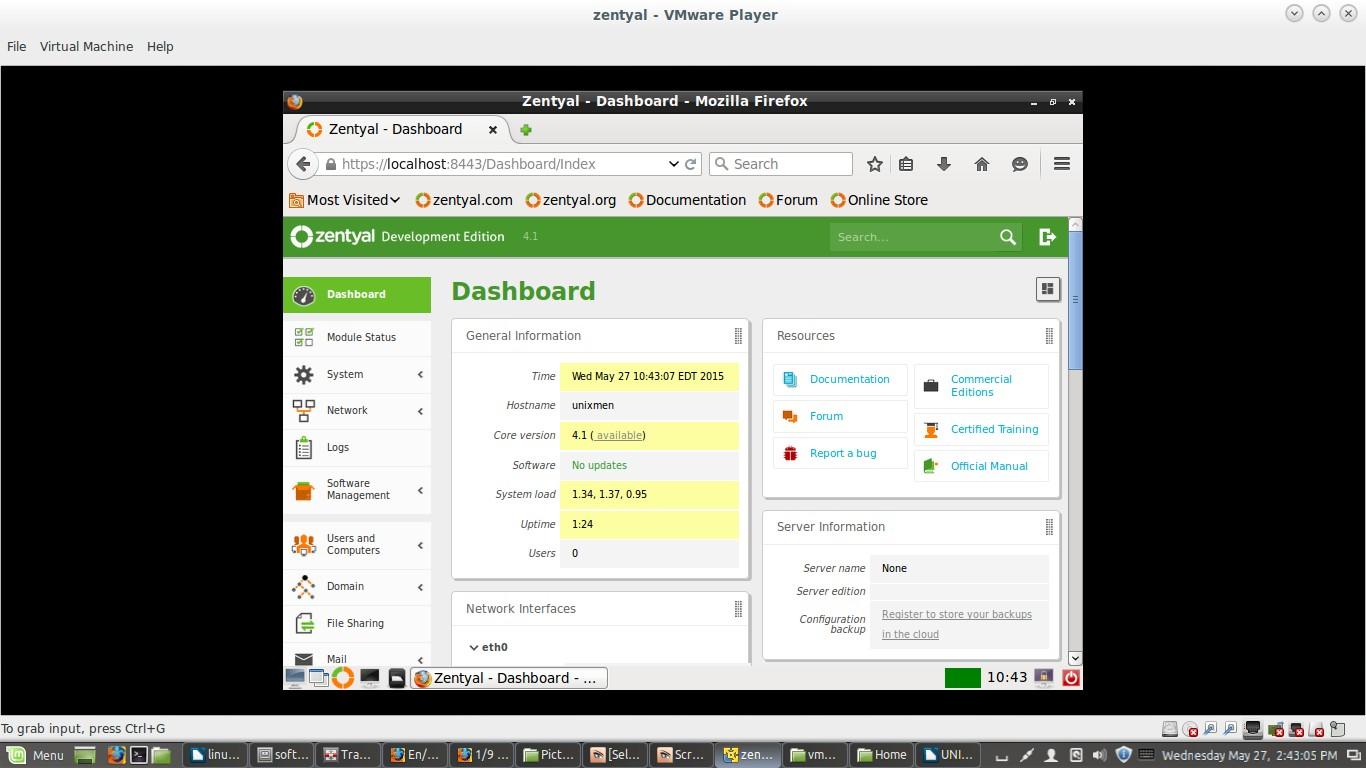
When modules will get loaded, a dashboard will appear, on left hand side a of dashboard a list of panels will be visible, with a list of DNS, DHCP , VPN, LTSP, MAIL, Domain Services etc. Now you are able to utilize zentyal platform for various services as per your need. You will be able to monitor network status, running services, updates available or current DHCP Lease directory from dashboard etc.
Zentyal administration dashboard:
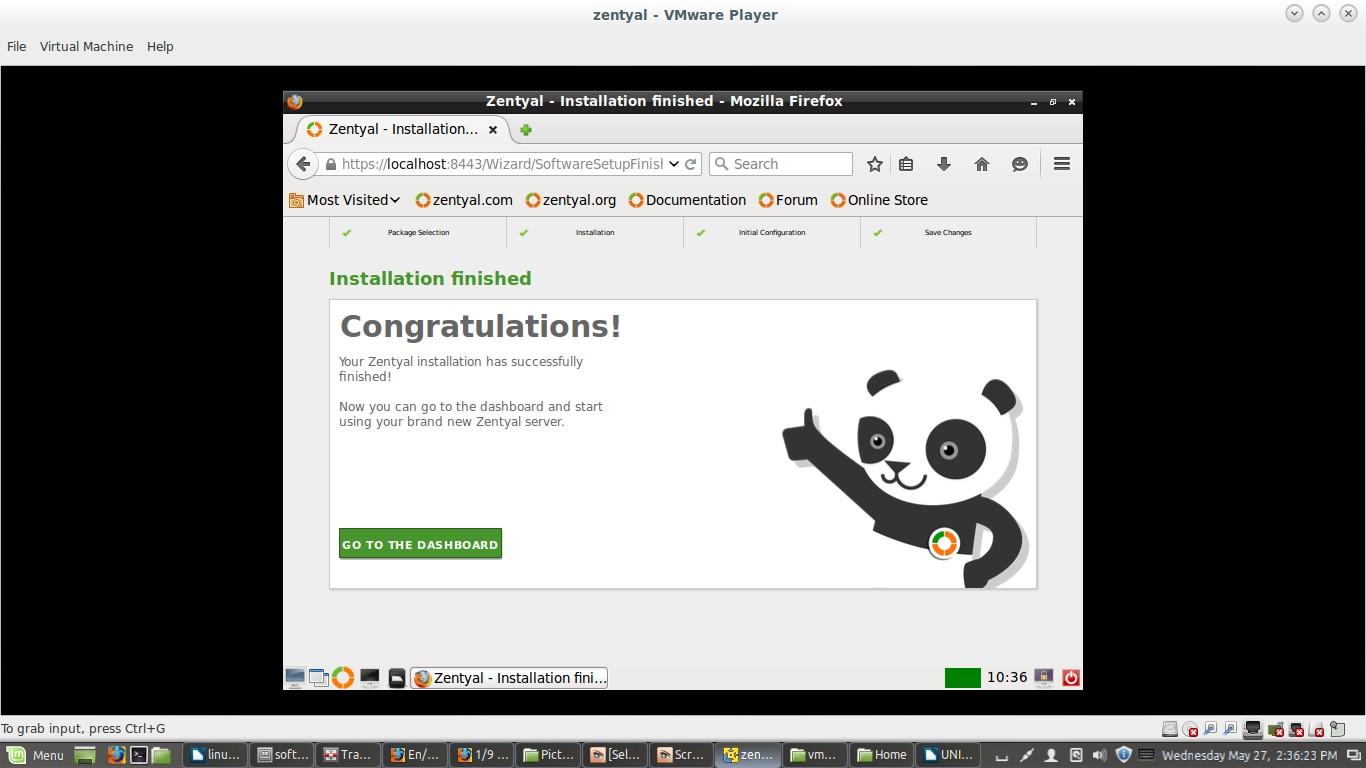
That’s it. Zentyal has been installed successfully.


