
Breaking News for today: Clonezilla live 2.4.2-10 is available for download now. Clonezilla is a free application used for disk cloning/imaging, data recovery and deployment. It has gained a lot of popularity over the time due to ease of use and productivity. It runs on Linux, Mac OS, and Windows operating systems. It supports all popular file systems including EXT, NTFS, FAT, XFS, JFS, and Btrfs, LVM2. It comes in two versions, CloneZilla Live and CloneZilla Server. Live version is used to clone/restore the single computer disk or partitions while Server versions has greater capabilities, it can clone /restore multiple computers and partitions over the network. We will be reviewing the prominent features of newly released Clonezilla live 2.4.2-10 in the article.
Salient Features
Some of the salient features of CloneZilla Live are listed below.
- Support for large number of file systems, operating systems and both 32bit and 64bit architectures.
- Support for the reinstallation of syslinux and Grub Boot loaders
- Unattended Mode support is available now. All steps can be done via GUI and Command line as well
- One Image can be restored to multiple devices
- Ecryptfs can be used for image’s encryption
- Can read image file from local storage, SAMBA, NFS or WebDAV server
Running Clonezilla live 2.4.2-10
Lets see how we can initiate the new CloneZilla live to perform our required disk operations. First of all download Clonezilla live 2.4.2-10 and burn it to DVD/USB drive or boot its image in Virtual Machines created using some virtualization tools like oracle Virtual Box. Once booted, here is the very first screen you should be seeing:
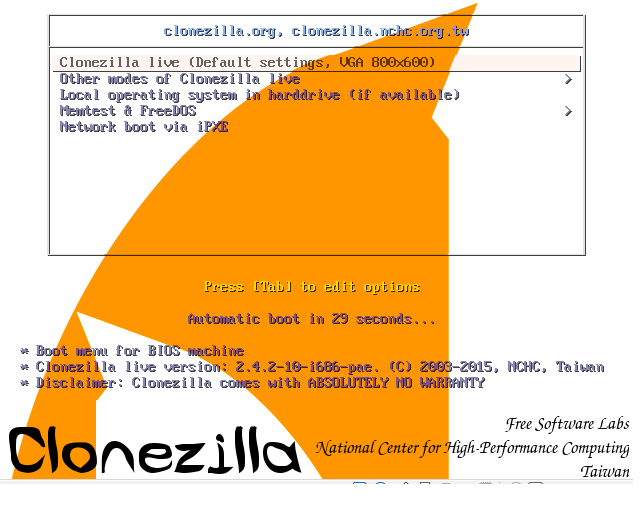
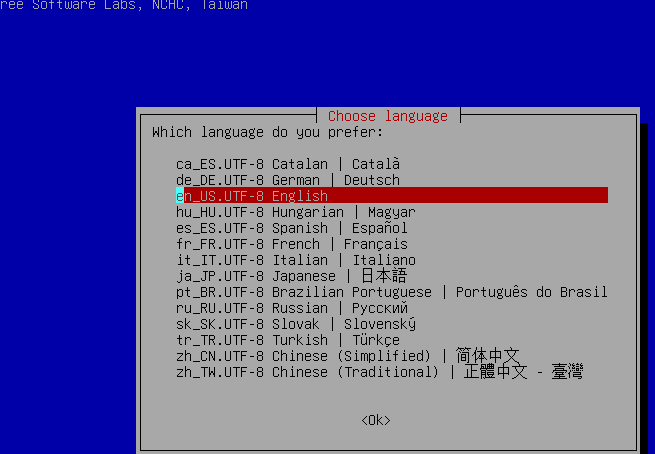
Choose the very first option and hit “Enter” to proceed using this tool, Next step will ask you to choose your preferred language.
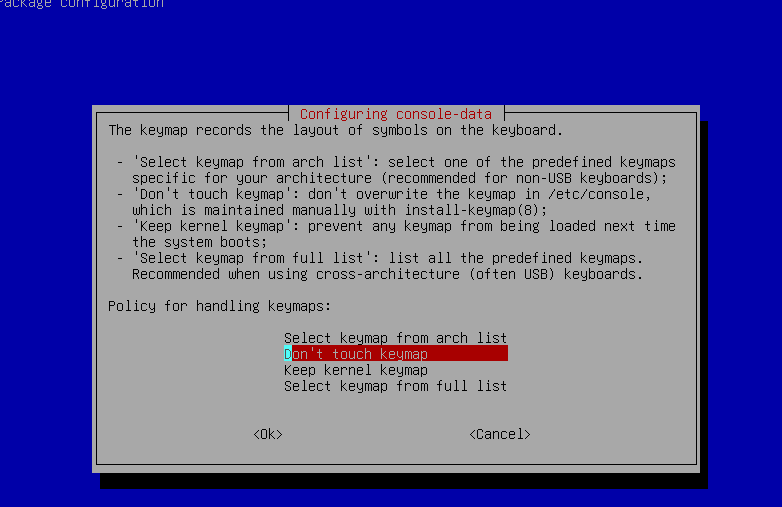
Next step is regarding keymap records, better to not mess with it if unsure, go ahead with default choice here.
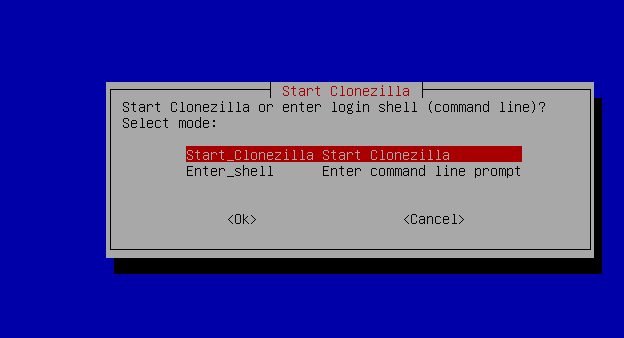
Alright, we are on the most important stage, choose whether you want to go ahead with Graphical mode or command line, default choice is graphical.
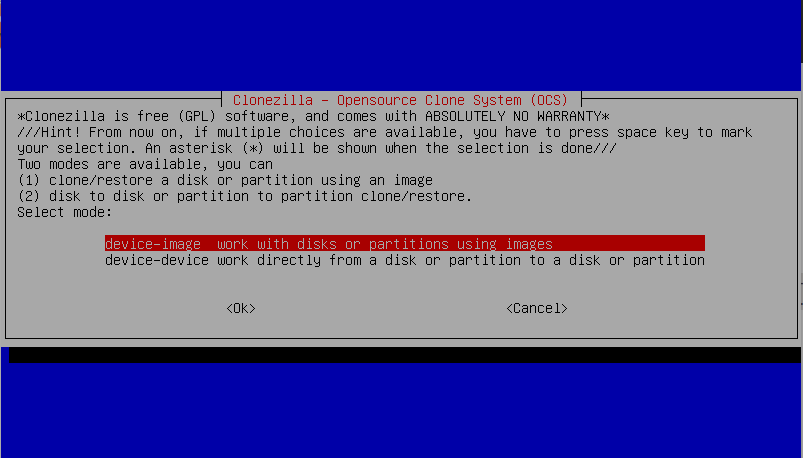
From here choose your desired operation, 1 for clone or restore disk using Image and 2 for disk to disk operations.
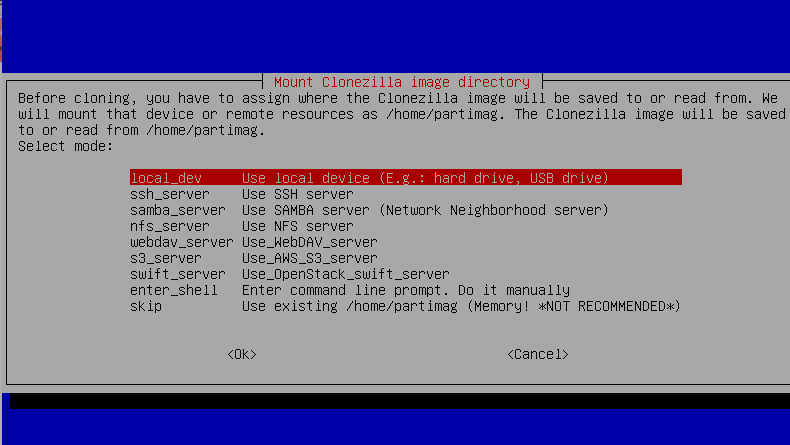
On Next step, choose from where CloneZilla should save the images or look for images. From here provide your hard disk or USB drive path depending on your needs.
That’s all, this is how you can start cloning or restoring disk images using this awesome application. Its easy and feature rich application with lot of online help available.
Conclusion
CloneZilla live is extremely useful and must-have application for the quick backup and recovery of your important data. Although, it has few limitations like Online imaging/cloning feature is not yet implemented and no support for incremental backups, still it has huge fan following and user base.


