Databases are crucial components in database-driven web applications such as Drupal and WordPress. There are quite a number of database servers, the popular ones in the industry being MariaDB and MySQL which are relational database servers. Another popular and widely used SQL-based database server is PostgreSQL. PostgreSQL is one of the most advanced and widely used opensource and futuristic database management systems. It’s free to download and install and provides the robustness and stability needed in powering high-end web applications. It readily compatible with server-side languages such as Python, PHP, Ruby and even Perl to mention a few. At the time of publishing this guide, the latest version is PostgreSQL 12 which ships with loads of enhancements and bug fixes. Let’s now see how you can install PostgreSQL on Ubuntu 20.04.
Who uses PostgreSQL?
As earlier pointed out, the PostgreSQL database is hugely popular and is used pretty much everywhere both for business and non-critical applications. From banking and finance to manufacturing and handling Government data, PostgreSQL is proving to be a formidable database engine.
Some of the leading global brands that have embraced PostgreSQL in their application stacks include Spotify, Uber, Reddit, Nokia, Bloomberg and Stackshare.
Prerequisites
Before you proceed, ensure you get a few things in order first:
1) An instance of Ubuntu 20.04 with a sudo user.
2) SSH access to the server.
3) A stable internet connection.
With the above requirements fulfilled let’s get started with installing and setting up PostgreSQL 13 on Ubuntu 20.04 LTS. We have previously penned an article on how to install PostgreSQL on Fedora.
Step 1: Install PostgreSQL on Ubuntu
To start off, log into your Ubuntu 20 instance and refresh the package list by invoking the command.
$ sudo apt update
Once the packages list is updated. proceed and install PostgreSQL by executing the following command.
$ sudo apt install postgresql postgresql-contrib
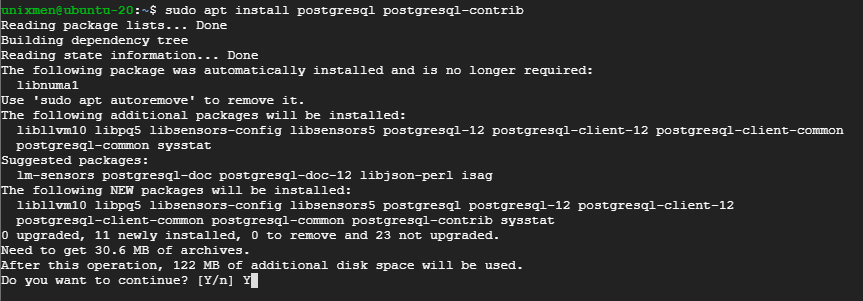
The postgresql-contrib package provides additional utilities that underpin extra database functionalities.
Once installed, verify the PostgreSQL is running by invoking the command:
$ sudo systemctl status postgresql
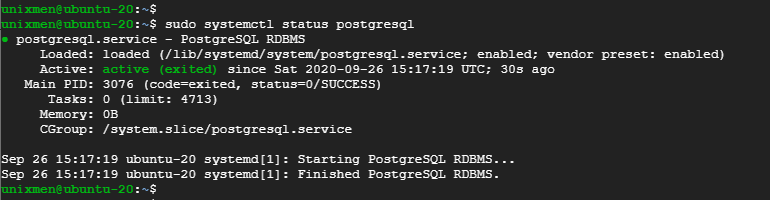
From the snippet attached, it’s clear that PostgreSQL is up and running going by the Active: active (exited) label.
To enable PostgreSQL on boot or upon a reboot, issue the command:
$ sudo systemctl enable postgresql
Step 2: Logging into the PostgreSQL database
Unlike other relations database engines, the PostgreSQL database engine introduces a concept referred to as roles to manage database authentication. In more ways than one, this closely resembles the concept of ‘users’ and ‘groups’ that is synonymous with the Linux system. During its installation, PostgreSQL creates a user account known as postgres that assumes the Postgres role. Also, PostgreSQL associates the Postgres role with a corresponding Linux user account. This implies that if there is a pre-existing username called ‘postgres’, then that user assumes the role associated with the default postgres role created by Postgres.
To log in to PostgreSQL database, we need to first confirm is the database is in a position to accept incoming connections. To achieve this, run the command:
$ sudo pg_isready

From the above output, we can see that our PostgreSQL database instance is ready and we are now going to log in.
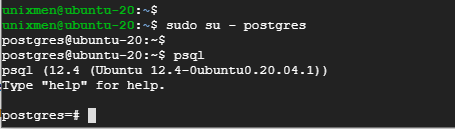
To log in, we need to switch over to the postgres user that is created by default by PostgreSQL and then access the shell. Therefore, invoke the following commands to change to ‘postgres‘ user
$ sudo su - postgres
Then access the shell by invoking the psql command as shown.
$ psql
When logged in, be keen to notice how the prompt changes to postgres=#. This shows that we have successfully logged in.
To quit the shell simply run the command:
\q
Step 3: Set password for the default user
As you might have noticed, the default user – postgres – does not require any form of authentication. Any user with access to your Linux system can simply log in and this is a potentially dangerous security issue. To fix this, we need to assign a password, and a strong password for that matter, to the user.
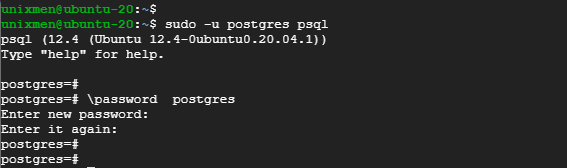
To set the password, log in to the PostgreSQL shell, using the Postgres user as shown
$ sudo -u postgres psql
Thereafter, run the command below to begin setting up the password.
\password postgres
Provide the password when prompted and confirm.
Quit the shell and restart PostgreSQL
$ sudo systemctl restart postgresql
Now you can proceed and log in with your newly created password.
Step 4: Create a database in PostgreSQL
Being a relational database and riding on SQL, creating a database is quite s straightforward task. Once logged in, create a database, using the command:
CREATE DATABASE unixmendb;
Next, create a database user and assign a strong password.
CREATE USER unixmen WITH PASSWORD 'P@cific123';
Finally, assign privileges to the user on the database.
GRANT ALL PRIVILEGES ON DATABASE unixmendb TO unixmen;
Then quit the database.
Conclusion
The PostgreSQL database remains one of the most widely used database engine commanding a lot of presence in both critical and non-critical applications. It’s quite robust and stable and even offers database replication to provide high availability and fault tolerance. It provides an excellent alternative to MySQL and MariaDb and even the proprietary MySQL server by Microsoft. This wraps up our article on how to install PostgreSQL on Ubuntu 20.04. Feel free to share this guide with your friends and keep it Unixmen!


