
Linux Mint is a hugely popular free and opensource Linux flavor based on Ubuntu. It enjoys a wide clientele with million users worldwide thanks to its ease of use and simple and neat UI. The latest release is Linux Mint 20, also codename Ulyana. It ships with tons of new features and improvements that make it much better than its predecessors such as Mint 18 (Sarah). This guide will show you how to install Linux Mint 20. But first, let’s take a quick look at some of the new features and enhancements:
- Cinnamon 4.6 with performance improvements for Nemo file manager.
- Two new accent themes: pink and blue in addition to the default Mint color.
- Warpinator – A new file-sharing GUI tool that allows files sharing across a local network (LAN).
- Fractional scaling – A new feature that allows you to connect your PC to high-resolution monitor displays. You can select your preferred screen resolution and play around with the refresh rates.
- Enhanced support for NVIDIA Optimus drivers.
- Improved system tray.
- Numerous high-resolution wallpapers to add a splash of color to your desktop background.
And so much more. Having glanced at the overview of the new features that ship with the latest Mint, let’s now walk you through a step-by-step procedure of how to install Linux Mint 20.
Minimum installation requirements for Linux Mint 20
Before setting out to install Linux Mint 20, here’s a set of minimum requirements that will ensure great and seamless user experience.
- 4GB of RAM
- 20GB of Hard drive space
- 1024X768 monitor resolution
- An installation medium – 8GB USB drive is preferred
Additionally, you need to download an ISO image from Mint’s official download site. Aside from the ISO image, you need to download Rufus tool or any other medium of your choice that will enable you to create a bootable USB drive. I prefer working with Rufus because it’s quite easy to use and marginally faster compared to other utilities such as UNetbootin and PowerISO.
Once you have your bootable medium ready, plug it in your PC and reboot. During the reboot process be sure to access the BIOS settings and make changes to the boot priority so that your bootable USB drive is first on the list. Thereafter, save the changes and wait for the system to finish rebooting.
Step 1: Begin the installation
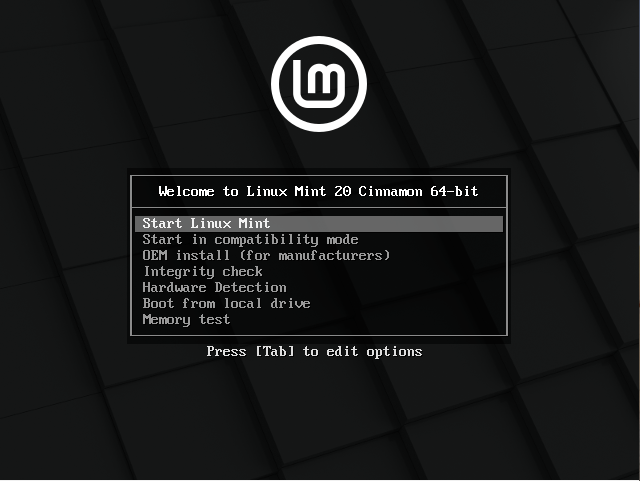
Upon rebooting, you will be greeted by a list of installation options as shown. Select the first option ‘Start Linux Mint’ and press the ‘ENTER’ key.
The installer will then take a few seconds and take you to the default Mint 20 desktop as shown
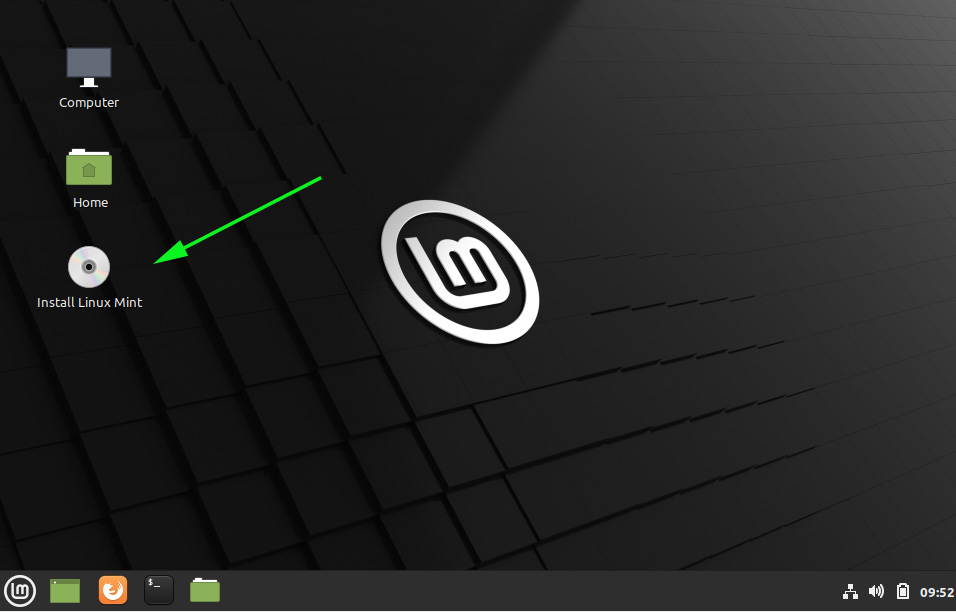
Like Ubuntu and many other derivatives of Ubuntu, Mint allows you to give it a test drive before installing it on your hard drive. This gives you the feel of the system as you explore and test various functionalities. Feel free to have a quick look and once done, click on the ‘Install Linux Mint’ desktop icon shown.
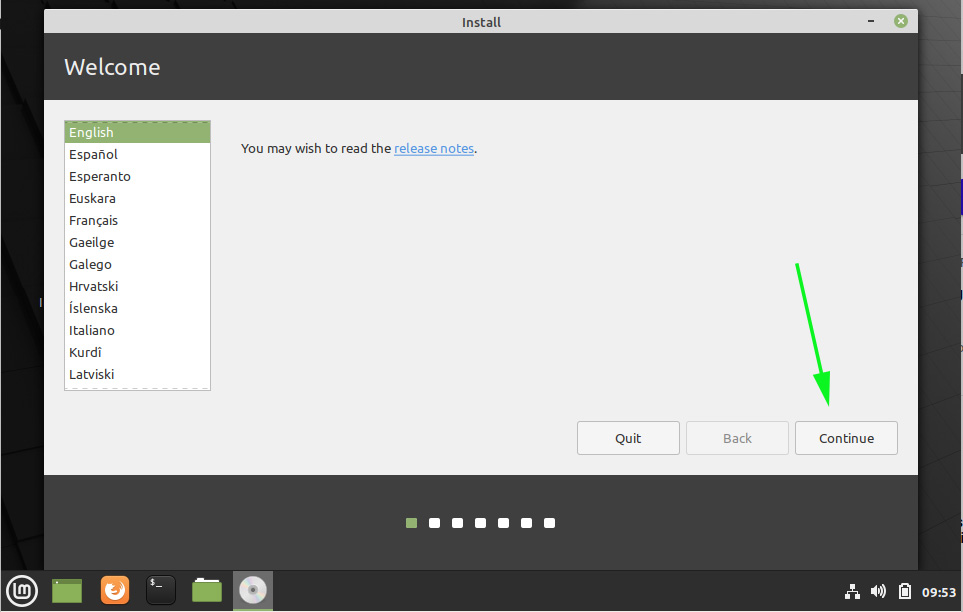
Step 2: Select the installation language
The next step requires you to choose your desired installation language. After the selection, proceed to the next step.
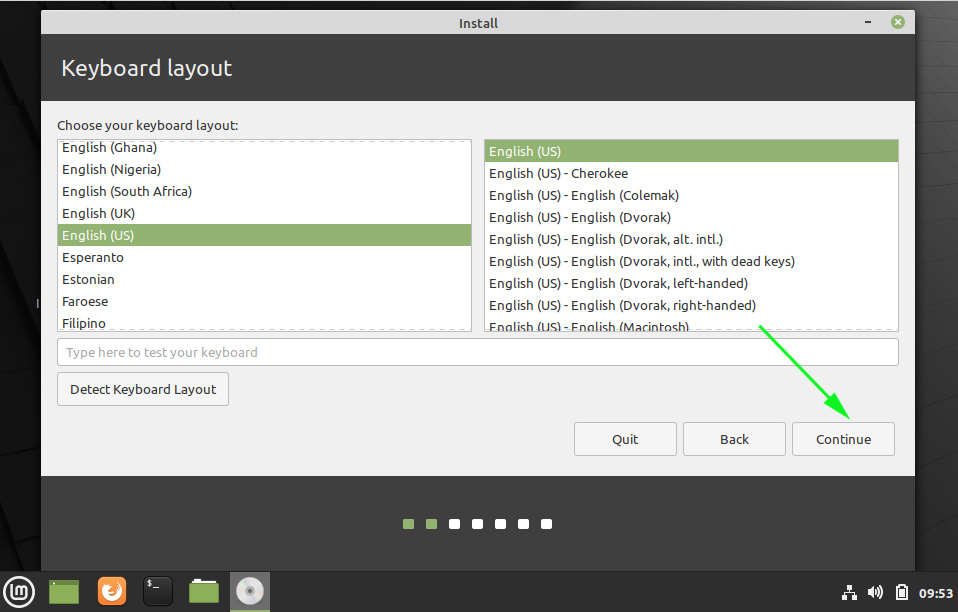
Step 3: Select the Keyboard layout
In this step, choose the keyboard that suits you and click ‘Continue’.
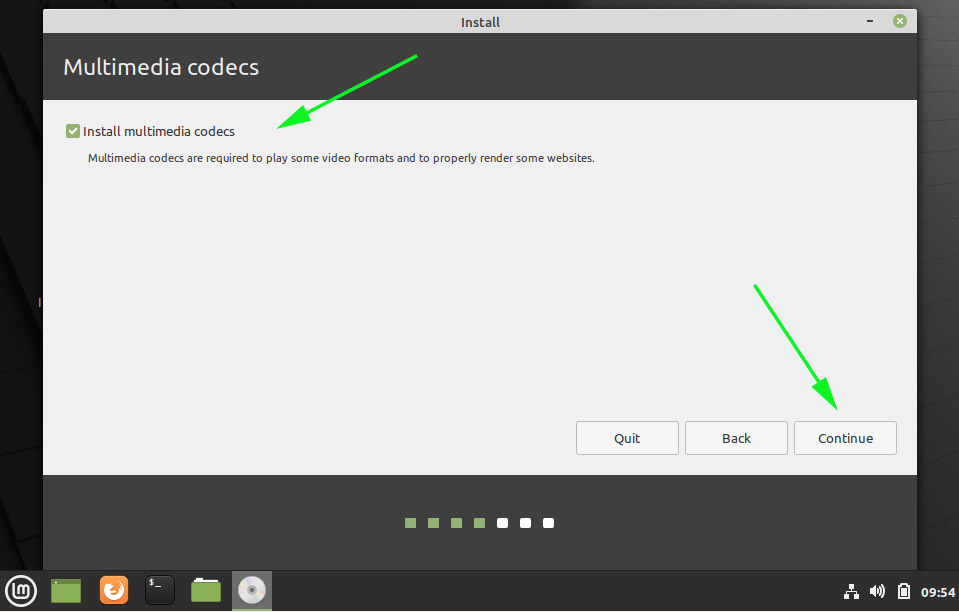
Feel free to select the installation of multimedia codecs which will allow you to play several video formats that ordinarily not supported by default. Alternatively, you can skip this and install the codecs later. Hit the ‘Continue’ button to go to the next step
Step 4: Select the Installation type
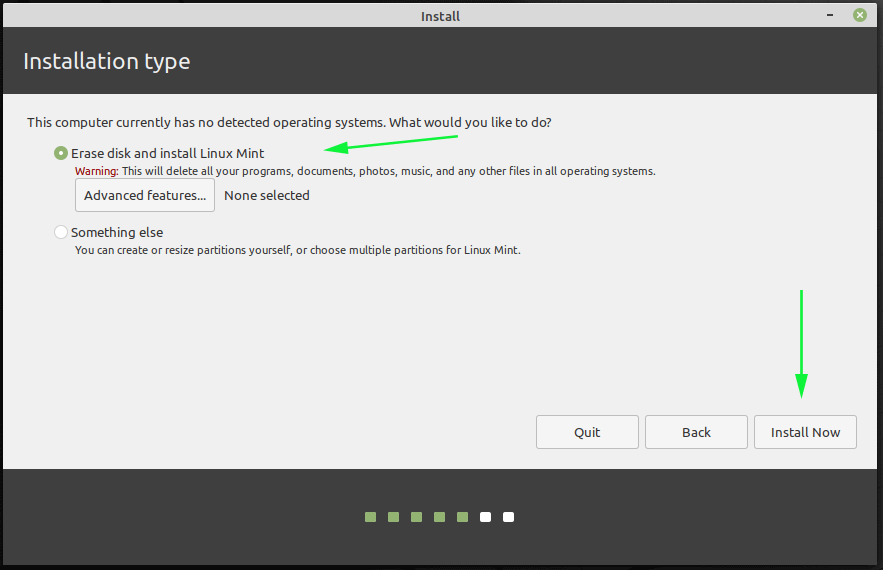
This ushers you to the ‘Installation Type’ step where you are required to choose between 2 installation options as shown. The first option – ‘Erase disk and install Linux Mint‘ automatically formats your entire hard drive and installs Linux Mint. It will intelligently create the required partitions to get you started out. This option is highly recommended for beginners and users who don’t mind so much about partition sizes.
The other option ‘Something else‘ allows advanced users to manually create their own partitions and specify their sizes. Select this option if you are very comfortable with partitioning the hard disk without any assistance.
For this guide, we will go with the first option – ‘Erase disk and install Linux Mint‘. Once selected, click on the ‘Install Now‘ button.
Once the guided partitioning is complete, a pop-up will appear prompting you to save the changes made. Simply click ‘Continue‘ to go to the next step.

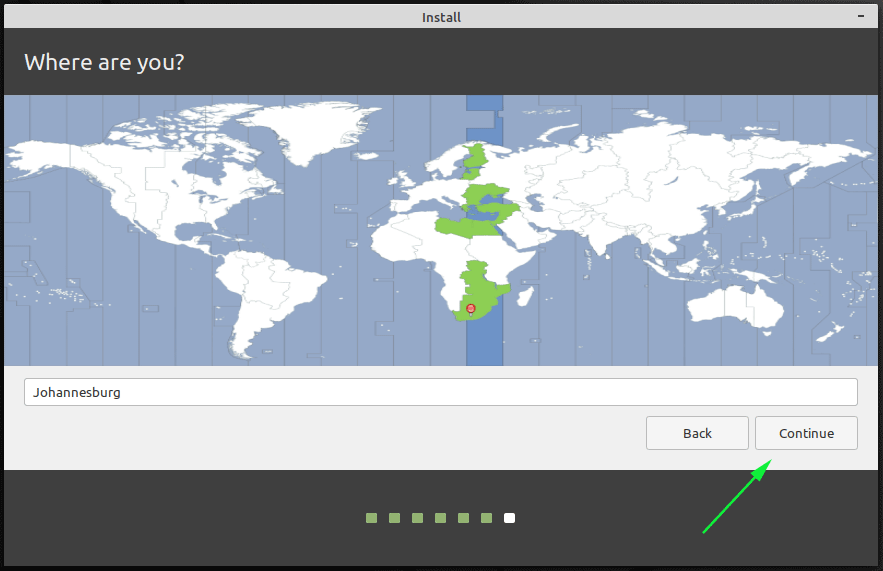
Step 5: Select the location
The next step requires you to set your location. If you are connected to the internet, the location will automatically be populated. Otherwise, click on the world map provided and manually set your location.
Step 6: Create a system user
Once you have your location set, create a system user by providing your preferred username and password. Be sure also to provide a robust password to avoid potential system breaches.
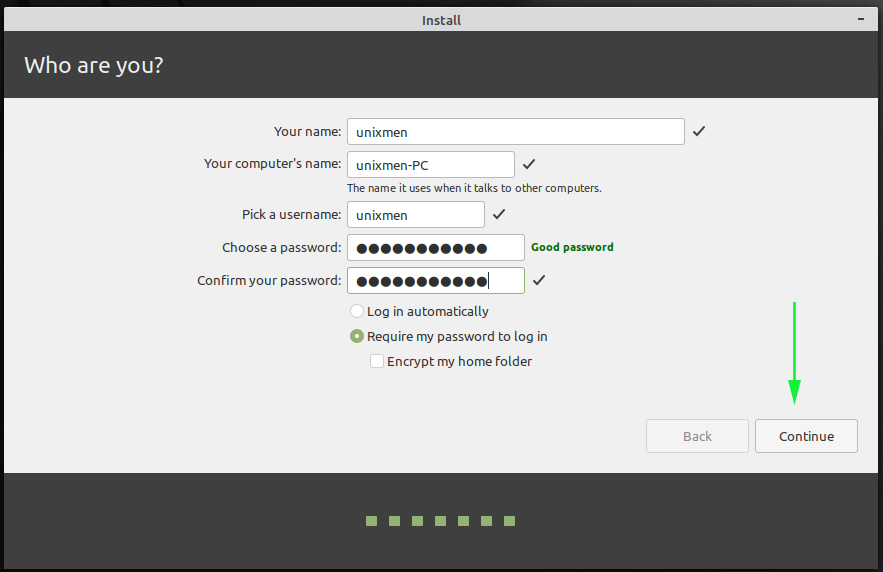
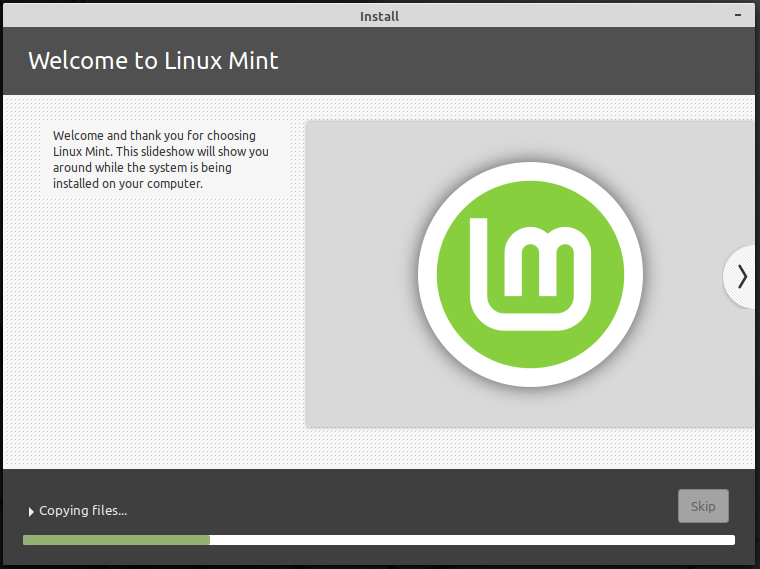
Once done, click on the ‘Continue’ button to begin the installation of Linux Mint 20 on your hard drive. The installer will start by copying all the necessary files and thereafter install the required packages and bootloader. This process takes a while, and in the meantime, you can take a stroll or have a coffee break.
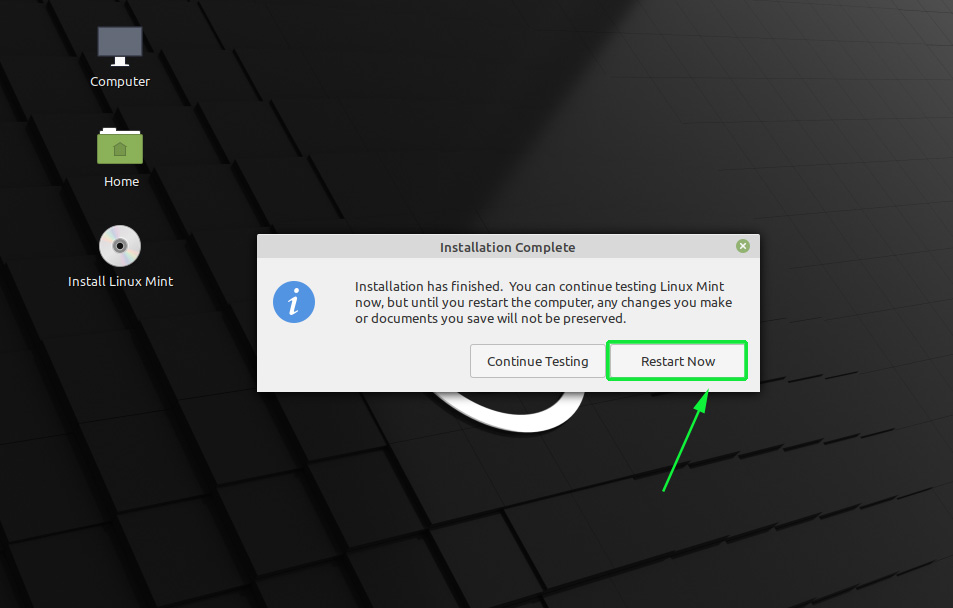
Upon complete, select the ‘Restart Now‘ button to reboot into Mint 20.
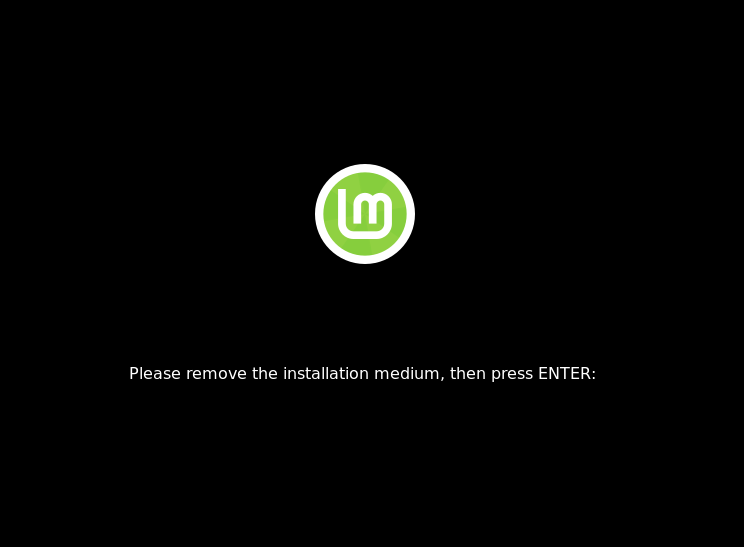
At this point, it’s safe to remove your bootable USB drive and hit ‘ENTER‘.
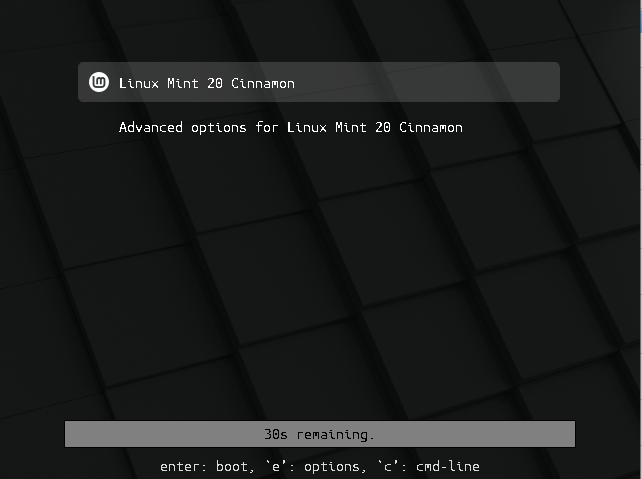
Step 7: Post-installation
And behold the new look bootloader. To log in simply hit ‘ENTER’ on the first option.
Provide your password and hit ‘ENTER’ to access your system.
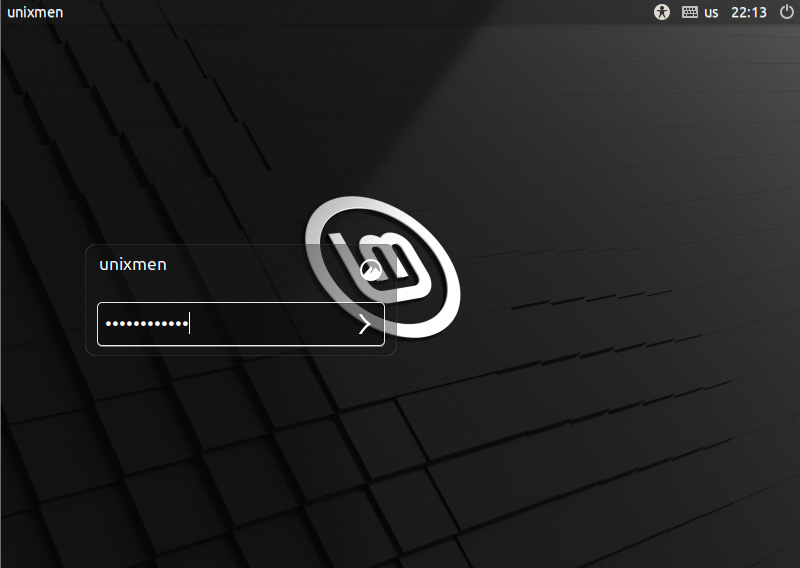
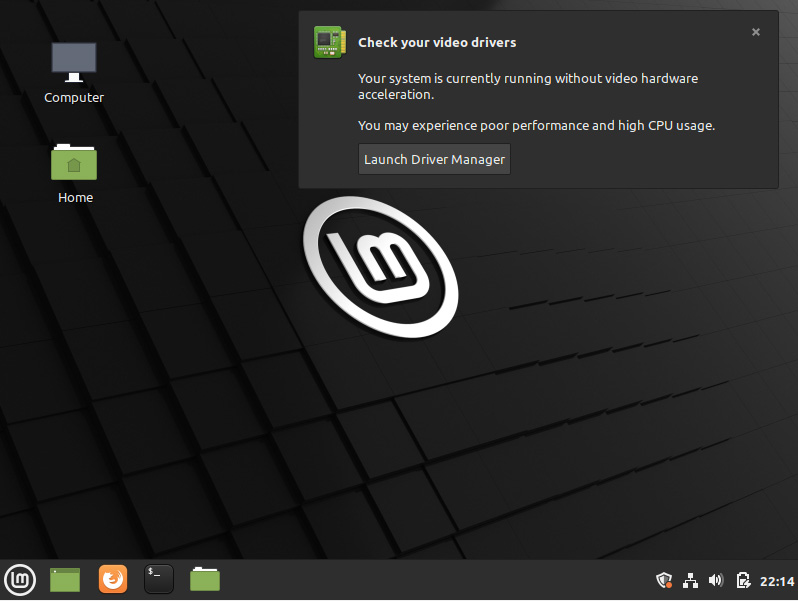
Soon after, you will be ushered to the new look Mint 20!
To get more information about the system details, fire up your terminal and run the command:
$ neofetch
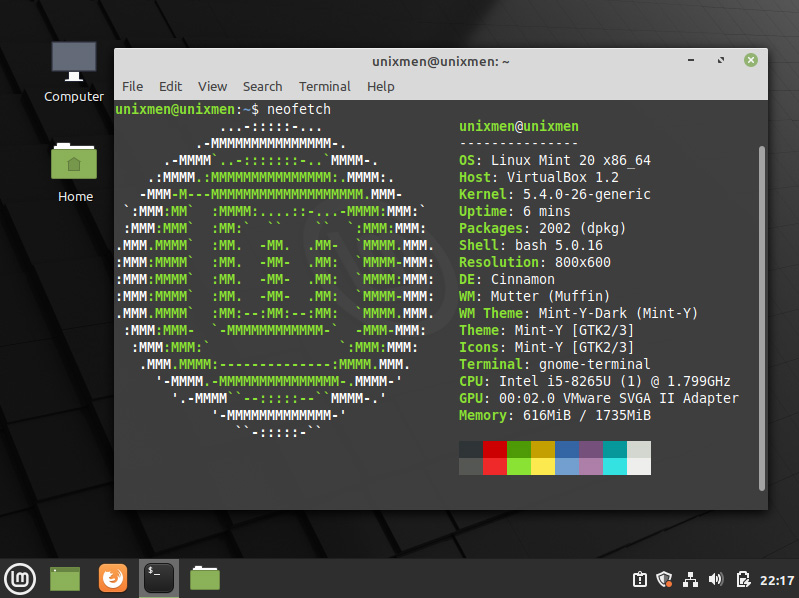
And this concludes our topic for today. We have successfully installed Linux Mint 20. Your feedback is most valuable and welcome.


