
LAMP is an abbreviation used for Linux, Apache, MySQL, and PHP. It is a powerful combination of technology in web development. Each of these components has its distinct tools which together provide a complete stack for web development.
- Apache handles HTTP requests to ensure smooth delivery of content.
- MySQL offers a relational database management system to manage and organize data in dynamic web applications.
- PHP facilitates server-side scripting for dynamic content in web applications.
This comprehensive guide covers how to install and configure the LAMP (Linux, Apache, MySQL, PHP) stack on your Ubuntu 22.04 operating system.
How To Install Linux, Apache, MySQL, and PHP (LAMP) Stack on Ubuntu 22.04?
Explore the installation of the LAMP stack on your Ubuntu 22.04 system using the following procedure.
Step 1: VerifyUbuntu Version
First, verify the Ubuntu version currently running on your system:
| lsb_release -a |
The lsb_release -a command displays information about the Linux distribution, including details like Ubuntu, the current version (22.04), and Codename (jammy).
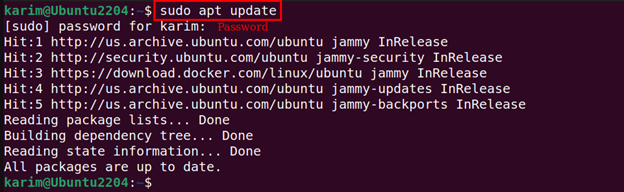
Step 2: Update System Packages
Ensure you are using Ubuntu 22.04 with the latest version of the installed packages:
| sudo apt update |
How To Install Apache on Ubuntu 22.04?
Follow the provided procedure to install the Apache server on Ubuntu 22.04.
Step 1: Install Apache via APT
The Apache server is available in the APT repository. Thus, use the apt command followed by apache2 to install the complete package on your machine:
| sudo apt install apache2 -y |

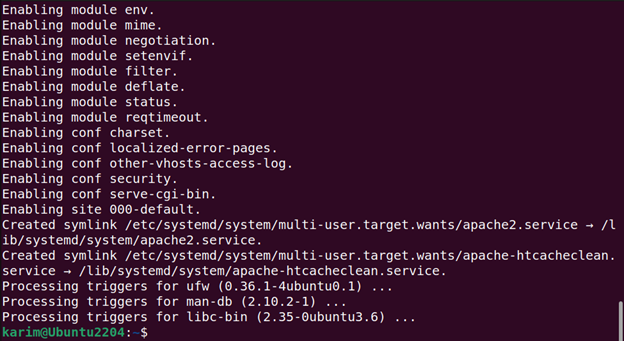
After the installation process has finished, the default version of the Apache server and its associated files are now configured on your system.
Step 2: Verify Apache Status
To confirm the status of Apache and ensure it is running properly on your Ubuntu 22.04 machine, use the single-line command:
| sudo systemctl status apache2 |
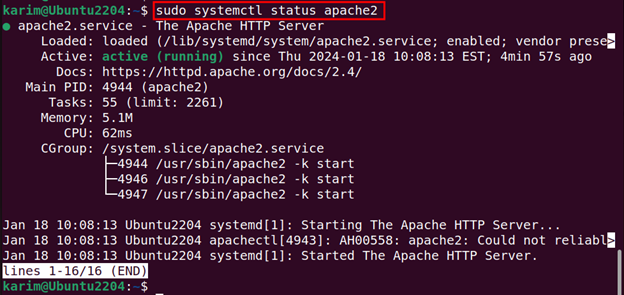
The Apache installation can be verified when you see the active status on your screen.
Step 3: Test Apache Server
Once you have completed the Apache installation process, it’s time to test it using a web browser. Open your web browser and enter the http://localhost in the address bar:
| http://localhost |
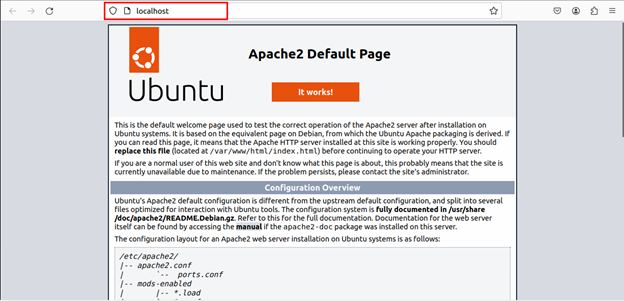
If you see the default Apache welcome page on your screen, it indicates that Apache is running correctly.
How To Install MySQL on Ubuntu 22.04?
Use the Ubuntu terminal to install the MySQL package on your system.
Step 1: Install MySQL
To install MySQL on your system, execute:
| sudo apt install mysql-server -y |
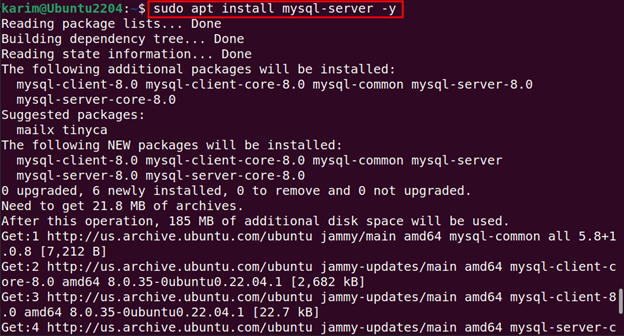
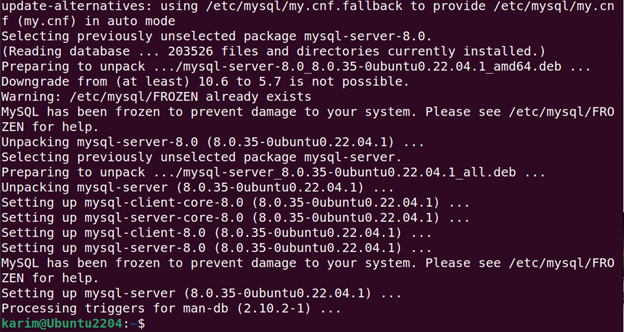
The command provided above unpacks and installs the MySQL Server package on your system.
Step 2: Verify MySQL Status
Now, verify the status of the MySQL service via terminal:
| sudo systemctl status mysql |
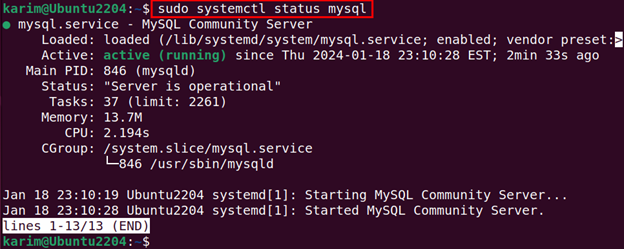
In the command output, look for a status like active, indicating that MySQL is functional.
Step 3: Secure MySQL
After installing MySQL, it is essential to enhance its security by configuring passwords and strengthening access control. Thus, execute the command to secure MySQL:
| sudo mysql_secure_installation |
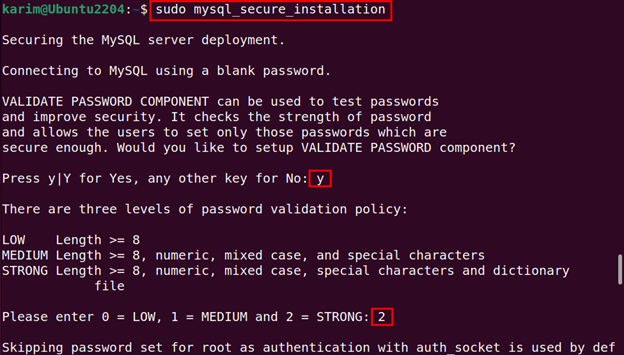
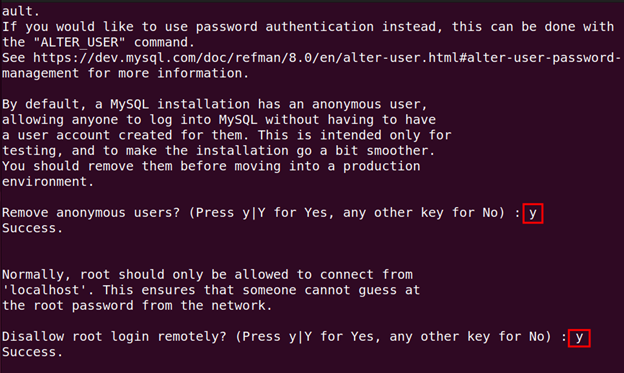
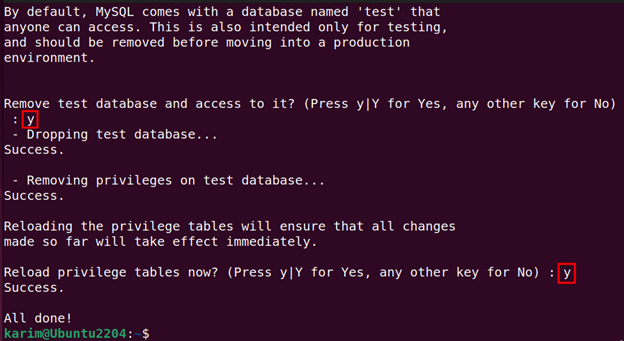
During the installation process, the system prompts a few questions about security and answers them carefully.
How To Install PHP on Ubuntu 22.04?
The following step-by-step instructions will install PHP on your Ubuntu 22.04 machine.
Step 1: Install PHP from the terminal
PHP works alongside Apache, MySQL, and Linux to create an environment for developing and hosting websites. Therefore, installing PHP in the LAMP stack also plays an important role and can be installed with the command:
| sudo apt install -y php php-cli php-fpm php-json php-common php-mysql php-zip php-gd php-mbstring php-curl php-xml php-pear php-bcmath |
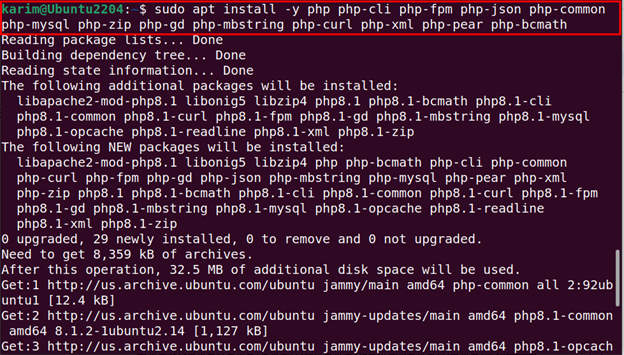
The command installs all the required libraries and dependencies during the installation of PHP.
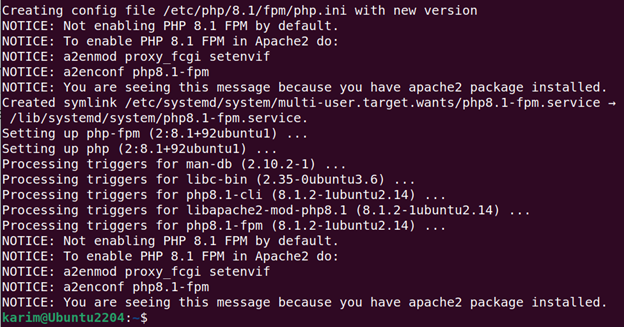
Step 2: Check PHP Status
To ensure that PHP is active and running correctly on your Ubuntu 22.04, use the command:
| systemctl status php*-fpm.service |
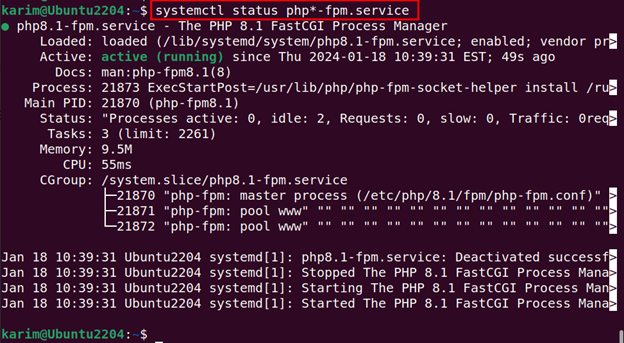
The active status of PHP indicates that PHP has been configured successfully on your Ubuntu 22.04 operating system.
Step 2: Create PHP Info File
Generate a file (index.php) containing PHP information and save it in the default web server directory (/var/www/html/) with a single-line command:
| echo “<?php phpinfo(); ?>” | sudo tee /var/www/html/index.php |

The index.php is created in the default directory, now you can access it through your web browser.
Step 3: Test PHP configuration
You can test the PHP configuration to see whether it is working correctly on your Ubuntu 22.04 system. In your web browser, run the http://localhost/index.php in the address bar:
| http://localhost/index.php |
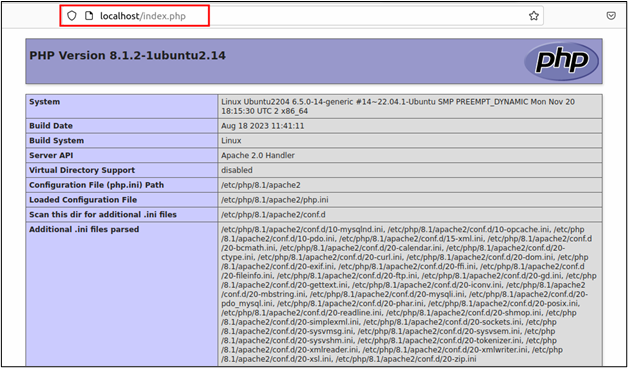
In your web browser, the file provides insights, including the operating system, the PHP version, and server information.
Conclusion
The LAMP stack on Ubuntu 22.04 can be configured using simple commands. The LAMP stack includes Apache, MySQL, and PHP which are available in the APT repository. You simply need to use the APT package installer to install the LAMP stack on your system.
To install Apache, use apt install apache2, for MySQL, apt install mysql-server, and apt install php* for installing PHP. In this post, you have learned how to install the LAMP stack on Ubuntu 22.04.
For more how-tos and tutorials, visit the Green Webpage.


