LEMP is a combination of the operating system and open-source software stack. The acronym LEMP is derived from the first letters of Linux, Nginx HTTP Server, MySQL/MariaDB database, and PHP, Perl or Python.
In this tutorial we will see how to install LEMP stack on Fedora 23 server. The same procedure should work on previous Fedora versions.
My testbox hostname and IP address are server.unixmen.local and 192.168.1.102/24 respectively.
Well, let us start to deploy the LEMP stack now.
Install Nginx
Nginx (pronounced engine-x) is a free, open-source, high-performance HTTP server and reverse proxy, as well as an IMAP/POP3 proxy server written by Igor Sysoev.
First login as root user to perform the installation:
su
Note: If you have installed apache or any other web servers before, remove or disable them.
systemctl disable httpd.service
systemctl stop httpd.service
To install Nginx enter the following command in your terminal:
In Fedora 23/22:
dnf install nginx
In Fedora 21 and earlier versions:
yum install nginx
Enable Nginx service to start automatically on every reboot:
systemctl enable nginx.service
Start Nginx service using the command:
systemctl start nginx.service
Adjust the firewall to allow the httpd service to access it from remote clients.
firewall-cmd --permanent --add-service=http
firewall-cmd --permanent --add-service=https
Restart firewalld service:
firewall-cmd --reload
Test Nginx:
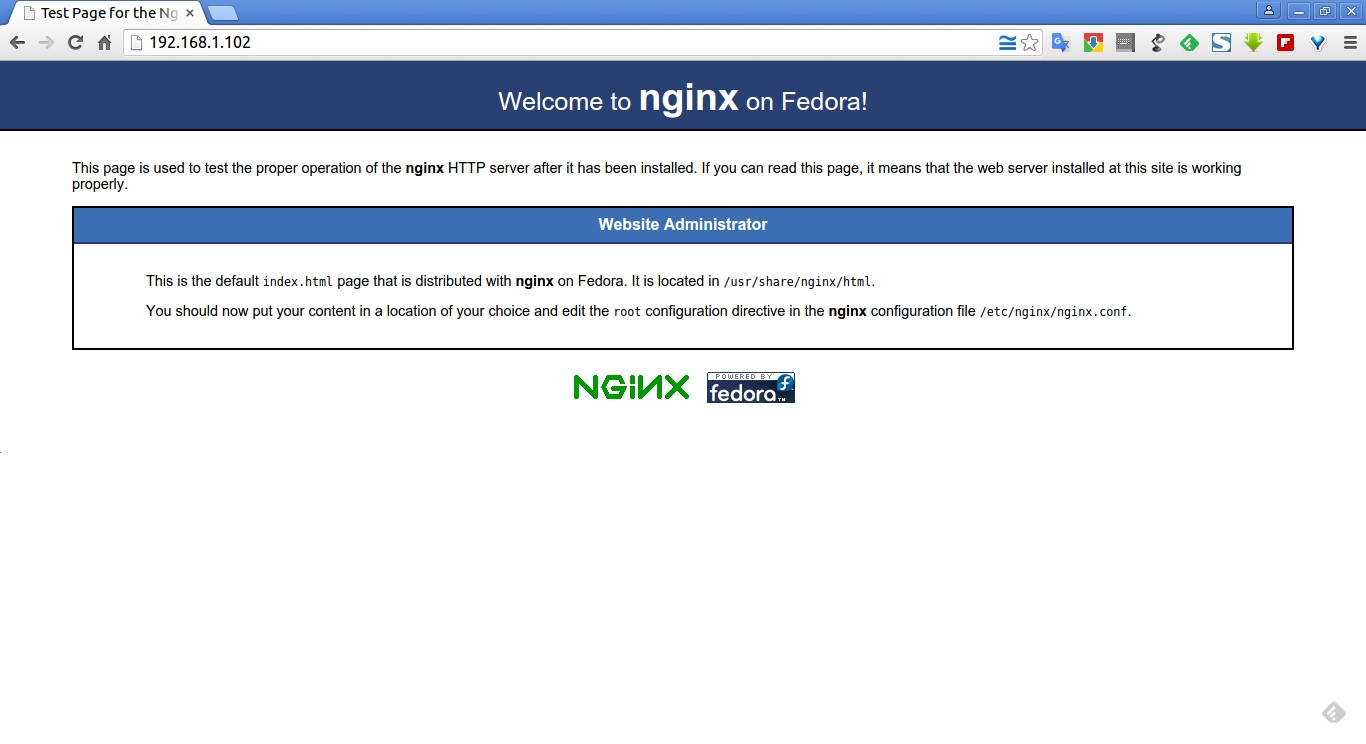
Open up your web browser and navigate to http://ip-address/ or http://localhost/. You will see a screen something like below.
Configure Nginx:
Open the file /etc/nginx/nginx.conf in any editor:
vi /etc/nginx/nginx.conf
Set the worker_processes (i.e No. Of CPU’s in your system) or leave it as default. To see the no. Of CPU’s, use the command“lscpu”. In my case, it’s “1″. So I set this as ’1′:
worker_processes 1;
Scroll down further in this configuration file and set the server name and PHP scripts. The changes are shown in bold.
# For more information on configuration, see:
#   * Official English Documentation: http://nginx.org/en/docs/
#   * Official Russian Documentation: http://nginx.org/ru/docs/

user nginx;
worker_processes auto;
error_log /var/log/nginx/error.log;
pid /run/nginx.pid;

events {
    worker_connections 1024;
}

http {
    log_format  main  '$remote_addr - $remote_user [$time_local] "$request" '
                      '$status $body_bytes_sent "$http_referer" '
                      '"$http_user_agent" "$http_x_forwarded_for"';

    access_log  /var/log/nginx/access.log  main;

    sendfile            on;
    tcp_nopush          on;
    tcp_nodelay         on;
    keepalive_timeout   65;
    types_hash_max_size 2048;

    include             /etc/nginx/mime.types;
    default_type        application/octet-stream;

    # Load modular configuration files from the /etc/nginx/conf.d directory.
    # See http://nginx.org/en/docs/ngx_core_module.html#include
    # for more information.
    include /etc/nginx/conf.d/*.conf;

    server {
        listen       80 default_server;
        listen       [::]:80 default_server;
        server_name  server.unixmen.local;
        root         /usr/share/nginx/html;

        # Load configuration files for the default server block.
        include /etc/nginx/default.d/*.conf;

        location / {
        }
## Add the following lines ##

    location ~ \.php$ {
              root           /usr/share/nginx/html;
              try_files $uri =404;
              fastcgi_split_path_info ^(.+\.php)(/.+)$;
              fastcgi_pass   127.0.0.1:9000;
              fastcgi_index  index.php;
              fastcgi_param  SCRIPT_FILENAME  $document_root$fastcgi_script_name;
              include        fastcgi_params;
    }

        error_page 404 /404.html;
            location = /40x.html {
        }

        error_page 500 502 503 504 /50x.html;
            location = /50x.html {
        }
    }
}
Save and close the file.
Test nginx configuration:
Test the nginx configuration for any syntax errors using command:
nginx -t
Sample output:
nginx: the configuration file /etc/nginx/nginx.conf syntax is ok
nginx: configuration file /etc/nginx/nginx.conf test is successful
Restart nginx service.
systemctl restart nginx.service
Install MariaDB
MariaDB is a drop in replacement for MySQL. It is a robust, scalable and reliable SQL server that comes rich set of enhancements.
Now, start installing MariaDB as shown below:
In Fedora 23/22:
dnf install mariadb-server mariadb
In Fedora 21 and earlier versions:
yum install mariadb-server mariadb
Start MariaDB service and let it to start automatically on every reboot:
systemctl start mariadb.service
systemctl enable mariadb.service
Setup Database root password:
By default, MySQL root password is empty. So, to prevent unauthorized access to MySQL, let us set root user password. Enter the following command to setup mysql root user password:
mysql_secure_installation
NOTE: RUNNING ALL PARTS OF THIS SCRIPT IS RECOMMENDED FOR ALL MariaDB
      SERVERS IN PRODUCTION USE!  PLEASE READ EACH STEP CAREFULLY!

In order to log into MariaDB to secure it, we'll need the current
password for the root user.  If you've just installed MariaDB, and
you haven't set the root password yet, the password will be blank,
so you should just press enter here.

Enter current password for root (enter for none):
OK, successfully used password, moving on...

Setting the root password ensures that nobody can log into the MariaDB
root user without the proper authorisation.

Set root password? [Y/n] y ## Enter Y and press Enter
New password:   ## Enter new password
Re-enter new password:  ## Enter password again
Password updated successfully!
Reloading privilege tables..
 ... Success!


By default, a MariaDB installation has an anonymous user, allowing anyone
to log into MariaDB without having to have a user account created for
them.  This is intended only for testing, and to make the installation
go a bit smoother.  You should remove them before moving into a
production environment.

Remove anonymous users? [Y/n] y  ## Enter Y and press Enter
 ... Success!

Normally, root should only be allowed to connect from 'localhost'.  This
ensures that someone cannot guess at the root password from the network.

Disallow root login remotely? [Y/n] y  ## Enter Y and press Enter
 ... Success!

By default, MariaDB comes with a database named 'test' that anyone can
access.  This is also intended only for testing, and should be removed
before moving into a production environment.

Remove test database and access to it? [Y/n] y  ## Enter Y and press Enter
 - Dropping test database...
 ... Success!
 - Removing privileges on test database...
 ... Success!

Reloading the privilege tables will ensure that all changes made so far
will take effect immediately.

Reload privilege tables now? [Y/n] y  ## Enter Y and press Enter
 ... Success!

Cleaning up...

All done!  If you've completed all of the above steps, your MariaDB
installation should now be secure.

Thanks for using MariaDB!
Install PHP
PHP (recursive acronym for PHP: Hypertext Preprocessor) is a widely used open-source general purpose scripting language that is especially suited for web development and can be embedded into HTML.
Install PHP with following command:
In Fedora 23/22:
dnf install php-fpm php-mysql php-common
In Fedora 21 and earlier versions:
yum install php-fpm php-mysql php-common
Enable and start php–fpm service:
systemctl enable php-fpm.service
systemctl start php-fpm.service
Configure PHP:
Open up /etc/php.ini file in any editor:
vi /etc/php.ini
Find the line cgi.fix_pathinfo, uncomment and change the value from 1 to 0 (zero):
[...];
 http://www.php.net/manual/en/ini.core.php#ini.cgi.fix-pathinfo
cgi.fix_pathinfo=0
[...]
Open up the file /etc/php-fpm.d/www.conf:
vi /etc/php-fpm.d/www.conf
And change the user and group values from apache to nginx:
[...]
; Unix user/group of processes
; Note: The user is mandatory. If the group is not set, the default user's group
;       will be used.
; RPM: apache Choosed to be able to access some dir as httpd
user = nginx
; RPM: Keep a group allowed to write in log dir.
group = nginx
[...]
Save and close the file. Restart php–fpm service:
systemctl restart php-fpm.service
Test PHP:
Create a sample “testphp.php” file in the Nginx document root folder:
vi /usr/share/nginx/html/testphp.php
Append the lines as shown below:
<?php
phpinfo();
?>
Save and close the file.
Now, Restart Nginx service using command:
systemctl restart nginx.service
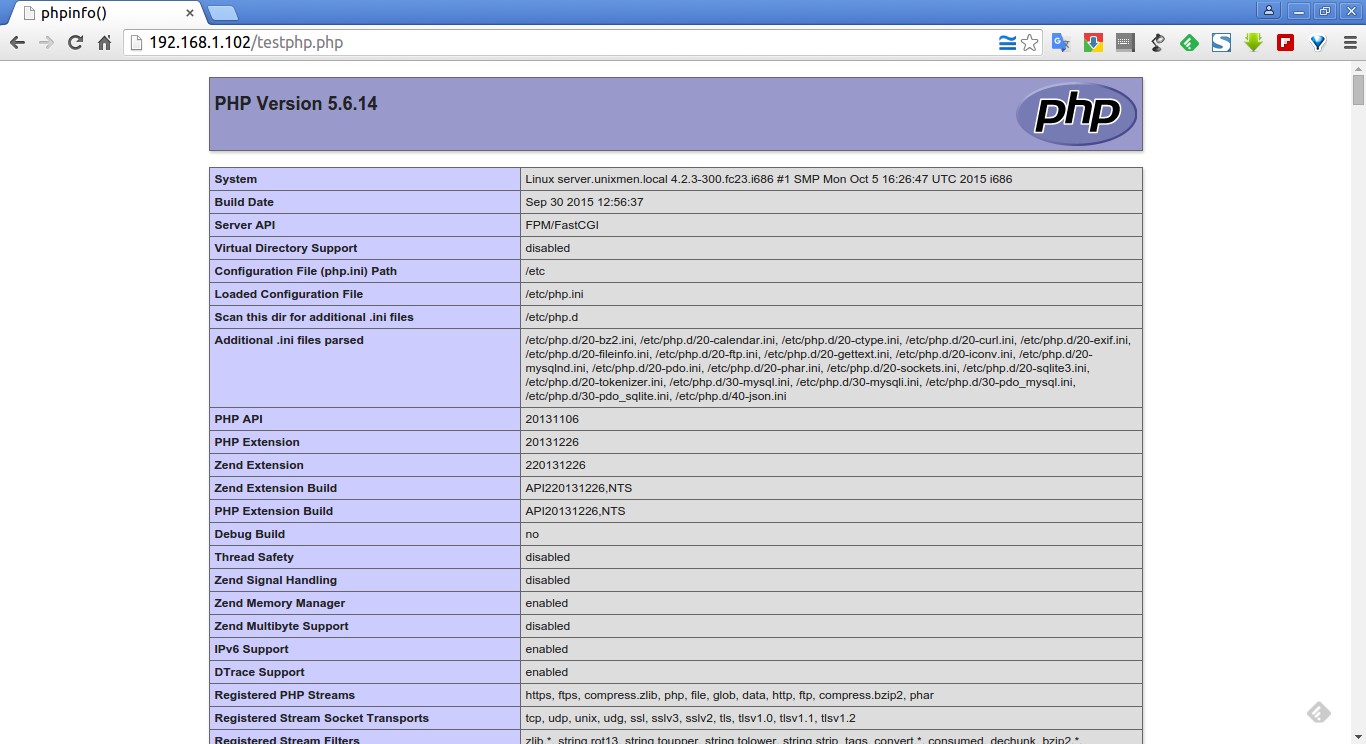
Navigate to http://server-ip-address/testphp.php. It will display all the details about PHP such as version, build date and commands etc.
Install PHP Modules:
Search for the available PHP modules using the following command:
In Fedora 23/22:
dnf search php
In Fedora 21 and earlier versions:
yum search php
Now install the required module of your choice, for example php-mysql, using the following command:
In Fedora 23/22:
dnf install php-mysql -y
In Fedora 21 and earlier versions:
yum install php-mysql -y
Restart the httpd service.
systemctl restart httpd
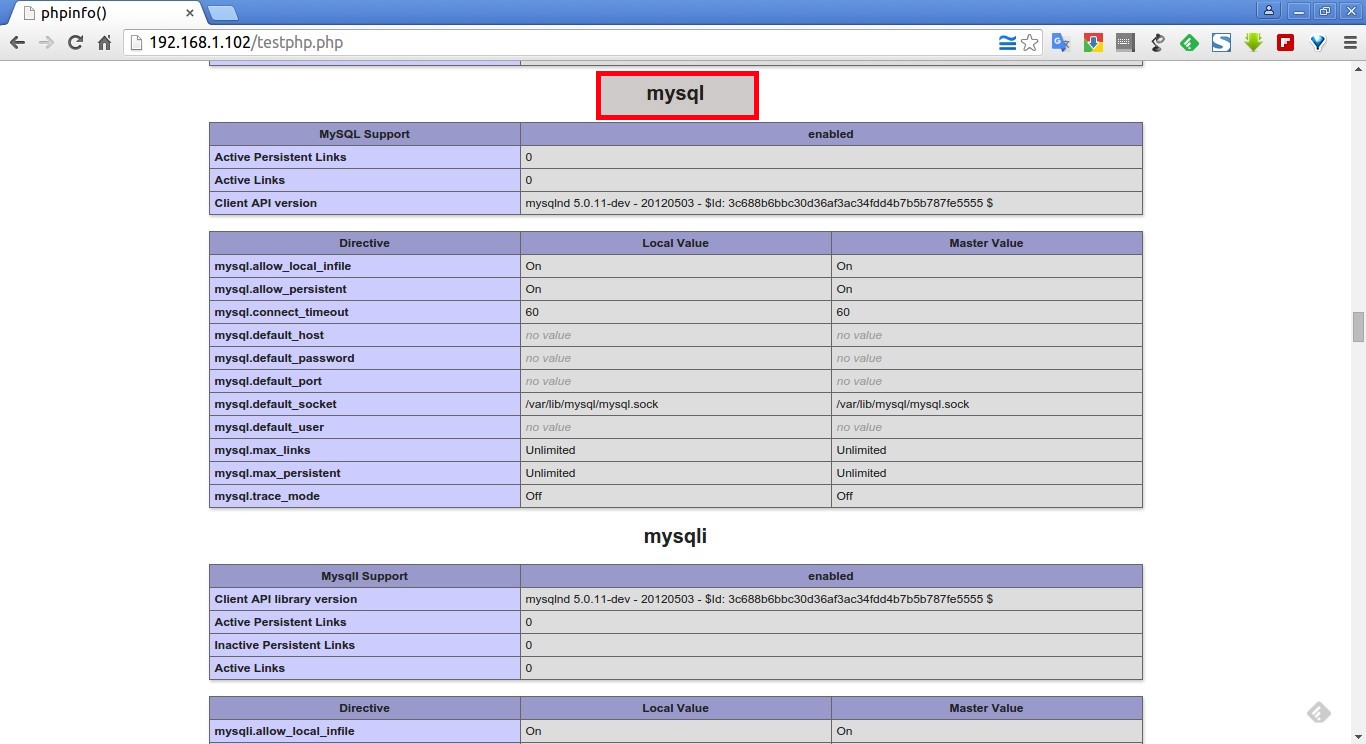
To verify the modules, open your web browser and navigate to http://server-ip-address/testphp.php. You will able to see the installed PHP modules.
As you see in the above screenshot, php-mysql module has been installed and activated.
That’s it. LEMP server has been installed, and it is ready to host your website now.
IF you want to install LAMP stack, check the following link.
Cheers!


