LEMP is an opensource software stack that is widely used by developers, and operation teams to test and deploy dynamic websites. The acronym LEMP is short for Linux, Nginx ( pronounced as Engine-X) MySQL or MariaDB and PHP. Nginx is a powerful, high performance and opensource web server widely used to host high traffic sites, thanks to its ability to handle thousands of concurrent requests at a given time. For the database server, you can either install MySQL or MariaDB which is an opensource and community-developed fork of MySQL. MariaDB ships with more features and enhancements and this is what we shall install instead of MySQL. The last constituent in the software stack is PHP, which is a server-side scripting language for handling dynamic content. With that preamble, we are going to go ahead and install LEMP on Debian 10, colloquially referred to as Debian Buster.
Prerequisites
A couple of requirements are needed before we roll our sleeves and get down to business.
- Firstly, you need an instance of Debian 10 server. If you don’t have a physical instance, you can readily deploy a VPS instance ( Virtual Private Server ) from a cloud hosting company such as Digital Ocean or Google cloud which is usually billed hourly at a very pocket-friendly price.
- You need a sudo user for performing administrative tasks on the server.
- A fast and stable internet connection for installation of software packages.
With the flight check done with, let’s now get started out with the installation of LEMP stack on Debian 10.
Step 1: Install Nginx on Debian 10
Our first task will be to install the Nginx web server. But before we do so. It’s imperative that we update the package list of our Debian buster VPS. To get this done, we will run the command:
$ sudo apt update
After the update is complete, proceed and install Nginx web server using APT package manager as shown:
$ sudo apt install nginx
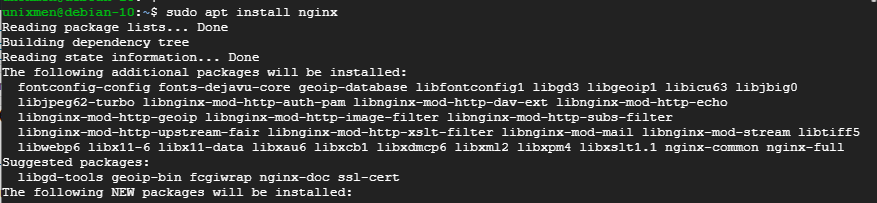
This installs Nginx alongside other requisite libraries and dependencies required by the webserver. When the installation is complete, verify the status by invoking the command:
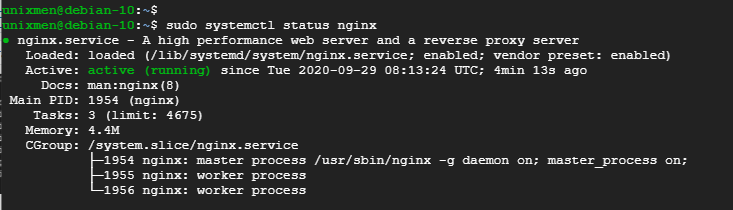
$ sudo systemctl status nginx
Usually, Nginx should be up and running as shown from the output below.
If, by any chance, Nginx is not running, fire it up by invoking the following command.
$ sudo systemctl start nginx
Also, you might consider configuring Nginx webserver to start automatically on boot. To do this, you must enable it as shown.
$ sudo systemctl enable nginx
If you have a UFW firewall enabled and running, you need to allow port 80 which Nginx listens to
$ sudo ufw allow 80/tcp
Alternatively, you can allow Nginx profile a shown.
$ sudo ufw allow 'Nginx HTTP'
You can then verify the status of the firewall and confirm the Nginx traffic is allowed as shown.
$ sudo ufw status
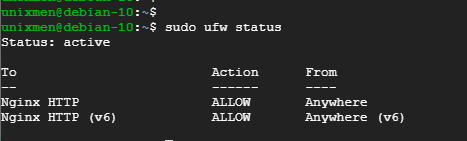
Great! The output confirms that Nginx traffic is now allowed through the firewall.
Just to be sure that the webserver is up and running, we are going to browse its default page on a web browser. So launch your browser and head over to your server’s IP address as shown.
http://server-IP
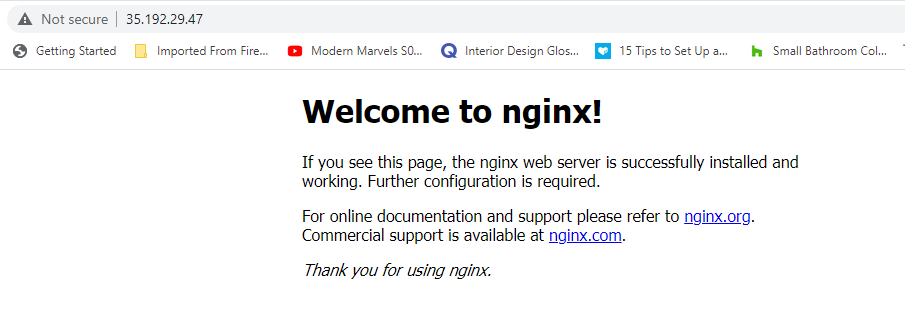
If you got the above welcome page displayed, then your server is working just fine. Now let’s head over to install the database server.
Step 2: Install MariaDB server
Next up, we will install the MariaDB database server which a relational database management system. we will install the server and client versions as shown.
$ sudo apt install mariadb-server mariadb-client
Once installed, start and enable the database server as shown.
$ sudo systemctl start mariadb
$ sudo systemctl enable mariadb
To confirm that your database server is running, execute:
$ sudo systemctl status mariadb
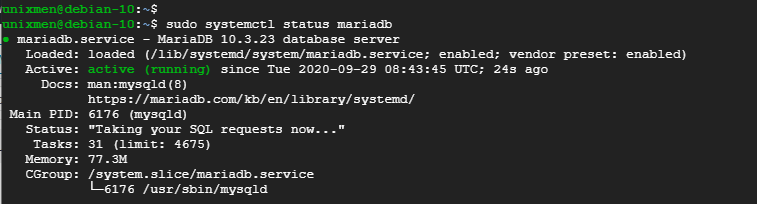
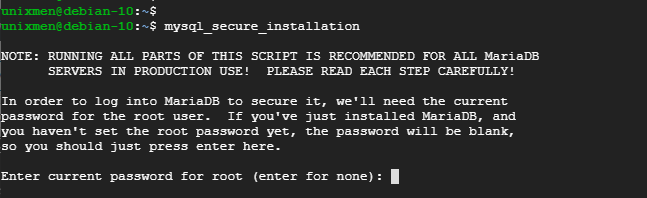
Our database is running as expected. But one last thing – we need to secure the server because as it is, anyone can just log in without authentication. Also, further tweaks are required to harden the database server. Therefore, run the command below to begin the hardening process.
$ mysql_secure_installation
The script will prompt you the root user. Provide the root user and If you have not set it yet, simply Press ENTER.
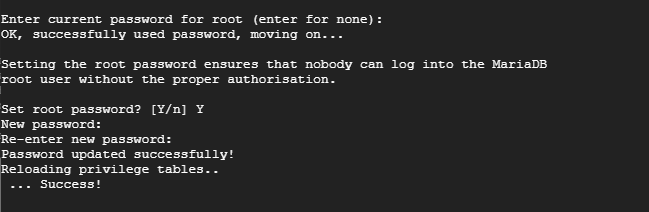
When prompted to set the root password, press ‘Y’ and be sure to set a strong password.
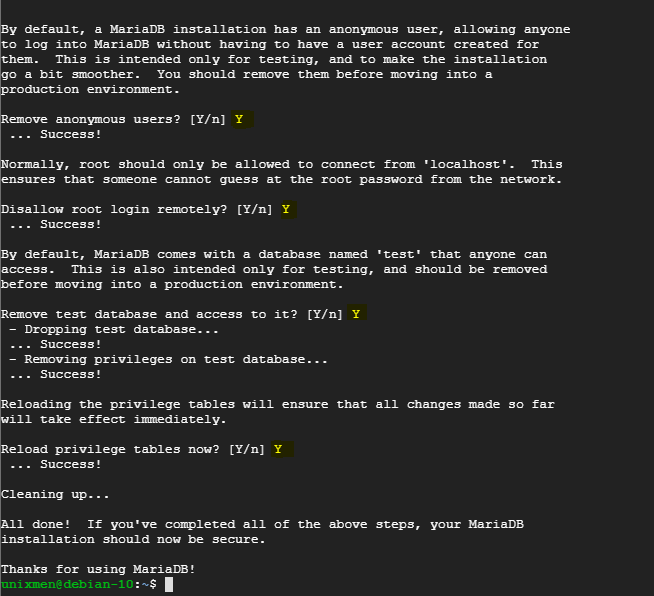
For the remainder of the prompts, simply hit ‘y’ for Yes to enforce the recommended settings needed to fortify your database server.
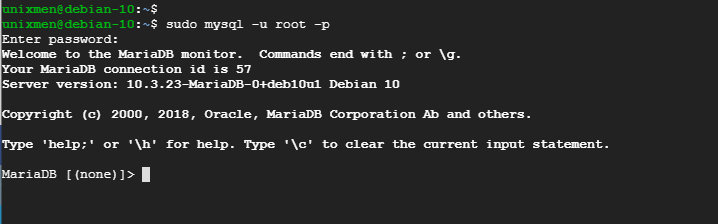
Once the installation is done, log in to MariaDB database server by invoking:
$ sudo mysql-u root -p
Let’s now finalize the installation of LEMP on Debian 20 by installing PHP.
Step 3: Install PHP-FPM
We are going to install the final component of the LEMP stack which is PHP-FPM. Why PHP-FPM and not just PHP? Well, PHP-FPM is a substitute for the plain PHP. FPM stands for FastCGI Process Manager and it’s the component that enables the Nginx webserver to handle huge workloads.
To install PHP-FPM, first, add the odrej repository as shown:
$ sudo apt install software-properties-common
$ sudo add-apt-repository ppa:ondrej/nginx-mainline
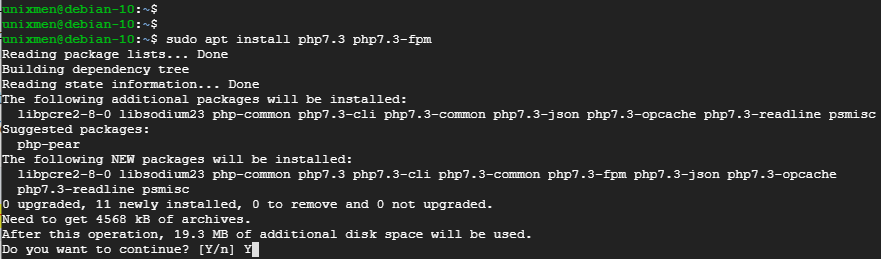
Next, update your package lists and install PHP7.3-FPM by executing the commands shown
$ sudo apt update
$ sudo apt install php7.3 php7.3-fpm
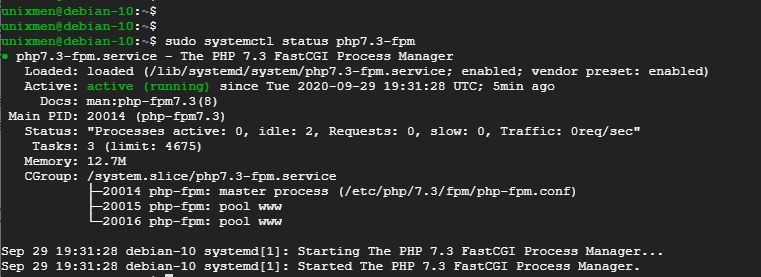
By default, PHP-FPM should run upon installation. This can easily be verified as shown:
$ sudo systemctl status php7.3-fpm
If the daemon is not running, you can start and enable it upon boot by invoking the commands:
$ sudo systemctl start php7.3-fpm

$ sudo systemctl enable php7.3-fpm
Configure Nginx to work with PHP
The default Nginx settings are configured to make it work with Apache webserver. Since we are using Nginx, a few tweaks are required so that Nginx can seamlessly serve PHP content.
Head out to the default virtual host file
$ sudo vim /etc/nginx/sites-available/default
Locate the line that begins with index and insertindex.php before index.html so that Nginx can prioritize PHP content over basic HTML.
index index.php index.html index.htm;
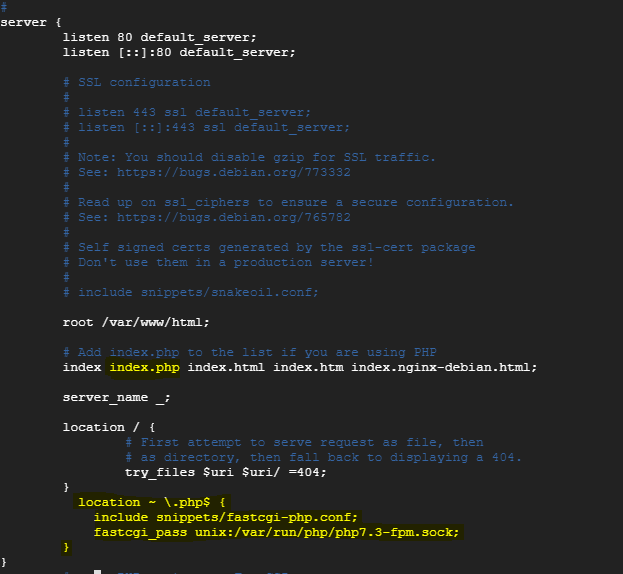
Next, append this configuration and save the file.
location ~ \.php$ {
            include snippets/fastcgi-php.conf;
            fastcgi_pass unix:/var/run/php/php7.3-fpm.sock;
        }
Your file should appear as follows.
Test your Nginx configuration and ensure that all is in order as shown:
$ sudo nginx -t
If all the configurations are okay, you should get the output as shown.

Then restart Nginx for the changes to be effected.
$ sudo systemctl restart nginx
Test if Nginx is working with PHP
To test if the webserver can serve PHP content, create an info.php file in the web root as shown:
$ sudo vim /var/www/html/info.php
Add the following lines and save the file.
<?php
 phpinfo();
 ?>
Now head over to the browser and browse the info.php file as shown
http://server-ip/info.php

Superb! Nginx can now serve PHP files without a hitch. Your LEMP stack is now ready to serve any dynamic website.
And this concludes our topic for today. As a recommendation, remove the info.php file so that hackers won’t easily obtain the information about your web server and other details that might compromise the safety of your server. In this guide, we walked you through how to install LEMP on Debian 10.


