Nagios is a popular open source computer system and network monitoring software application. It watches hosts and services, alerting users![]() when things go wrong and again when they get better.
when things go wrong and again when they get better.
Nagios was originally designed to run under Linux, but also runs well on other Unix variants. It is free software, licensed under the terms of the GNU General Public License version 2 as published by the Free Software Foundation.
In this tutorial will show you how to install Nagios in freeBSD (Tested on FreeBSD 8.1 and 8.2).
We will start by installing AMP and then we will install Nagios.
1- Install Mysql Server 5.5 from ports
cd /usr/ports/databases/mysql55-servermake install clean
2- Enable and launch the mysql service
echo 'mysql_enable="YES"' >> /etc/rc.conf
3- Start mysql server
/usr/local/etc/rc.d/mysql-server start
4- Make mysql admin password
mysqladmin -u root password "newpassword"
5-Install Apache from ports
cd /usr/ports/www/apache22 make install clean
Enable mysql-support in the blue screen
6-Enable and launch the apache service
echo 'apache22_enable="YES"' >> /etc/rc.conf
Start Apache:
/usr/local/etc/rc.d/apache22 start
test ths apache page http://ip or http://hostname

7-Install PHP and php-extention
cd /usr/ports/lang/php52
make install clean
Make sure to enable apache module in the install Step (Blue screen) and
cd /usr/ports/lang/php52-extensions
make install clean
In this installation screen select sessions and mysql support
8-After this Activate the php configuration with
cp /usr/local/etc/php.ini-dist /usr/local/etc/php.ini
9-configure apache to read the PHP files
edit /usr/local/etc/apache22/httpd.conf and add
DirectoryIndex index.php index.html index.htm AddType application/x-httpd-php .phpAddType application/x-httpd-php-source .phps
10-Restart apache to check if you have any errors
# /usr/local/etc/rc.d/apache22 restart
Output:
Performing sanity check on apache22 configuration:
Syntax OK
Stopping apache22.
Waiting for PIDS: 61539.
Performing sanity check on apache22 configuration:
Syntax OK
Starting apache22.
11-Check phpinfo page
Document root starndart in apache is /usr/local/www/apache22/data
Add the code to the file test.hpecho “<? phpinfo(); ?>” >> /usr/local/www/apache22/data/test.php
Now check the page http://ip/test.php

12-Install Nagios:
cd /usr/ports/net-mgmt/nagios
make install clean
And accept default installation, in installation screen of nagios plugins dont forget to add NETSNMP to nagios group and user.
13-Enable nagios to start with boot
echo 'nagios_enable="YES"' >> /etc/rc.conf
Now copy the sample page to the config files
cd /usr/local/etc/nagios/
cp cgi.cfg-sample cgi.cfg
cp nagios.cfg-sample nagios.cfg
cp resource.cfg-sample resource.cfg
Navigate to the /usr/local/etc/nagios/objects/ and do the same :
cp commands.cfg-sample commands.cfg
cp contacts.cfg-sample contacts.cfg
cp localhost.cfg-sample localhost.cfg
cp printer.cfg-sample printer.cfg
cp switch.cfg-sample switch.cfg
cp templates.cfg-sample templates.cfg
cp timeperiods.cfg-sample timeperiods.cfg
14-Now check you nagios configurations errors
# nagios -v /usr/local/etc/nagios/nagios.cfg
15-Make admin password for nagios home page (admin is nagiosadmin)
htpasswd -c /usr/local/etc/nagios/htpasswd.users nagiosadmin
16-Now add Nagios to your apache configuration:
edit /usr/local/etc/apache22/httpd.conf and at the end of the file add:
ScriptAlias /nagios/cgi-bin/ /usr/local/www/nagios/cgi-bin/
Alias /nagios /usr/local/www/nagios/
<Directory /usr/local/www/nagios>
Options None
AllowOverride None
Order allow,deny
Allow from all
AuthName “Nagios Access”
AuthType Basic
AuthUSerFile /usr/local/etc/nagios/htpasswd.users
Require valid-user
</Directory>
<Directory /usr/local/www/nagios/cgi-bin>
Options ExecCGI
AllowOverride None
Order allow,deny
Allow from all
AuthName “Nagios Access”
AuthType Basic
AuthUSerFile /usr/local/etc/nagios/htpasswd.users
Require valid-user
</Directory>
save the config and exit
17-Restart apache to check if any errors
/usr/local/etc/rc.d/apache22 restart
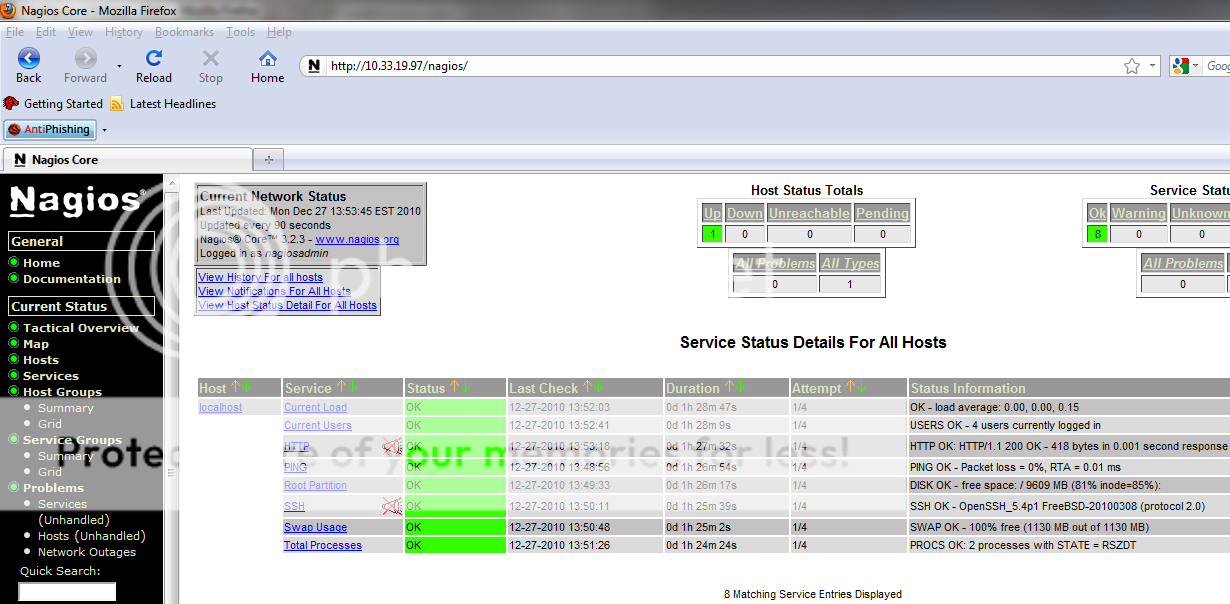
Now open your nagios page with Http://ip/nagios and insert your login and password created before


