
This article is about downloading , compiling and installing the OTClient. We will explain the step by step procedure for downloading, compiling and installing the OTClient package on Ubuntu release 16.04 LTS. (Please also note that the installation procedure may vary for other versions, but you should be able to get a clear picture of how to proceed in the right direction ). Before jumping into using the installation procedure, let us first share a little bit of background information about OT Server and OT Client.
Open Tibia Server (OTServ)
Open Tibia Server also referred as OTServ presents a free game world and is a MMORPG emulation. This is actually based on CIPSoft’s Tibia. The details for installing OTServ is out of scope for this article as we will be only focusing on installation of OTClient for OTServ. If you want us to cover details about OTServ installation, please let us know in comments.
Open Tibia Client (OTClient)
OTClient has been developed as an alternate client for OTServ with great completeness and flexibility. LUA scripting is used to provide all the gaming interface functions and other configurations. A CSS like syntax is used for client interface design. The design of OTClient is modular and hence each feature is developed as a separate module which ensures and supports that any feature can be independently modified or improved without affecting any other feature.
The object oriented programming language C++ has been used to develop OTClient and the source code for every module is available which makes it easier for the users to develop and enhance any feature or module. OTClient offers a bundle of features which support creation of new client activities within OTServ. These features include:
- Sound system
- Graphic effects with shares
- Animations and textures
- Add-ons system
- Style able user interface
- Transparency
- Multilanguage
- In game LUA terminal
- Portability to Mobile platforms
Besides all these features, OTClient also provides ability to create tibia tools including map editors by using scripts. OTClient was actually designed while keeping in mind all these things and therefore to make it a complete framework.
OT Client License
OTClient is distributed under the MIT License which gives the user a complete independence to use, distribute, modify or improve the client according to his own needs and requirements.
Procedure for Compiling and Installing OTClient
Now let us come to the actual task of downloading and installing OTClient. There are a few prerequisite packages and libraries for compiling and running OT Client. We will use the Ubuntu package manager “apt” for installing the prerequisite packages those are required to get us going with OTClient.
Again, as mentioned earlier, this procedure describes to compile and install OTClient on Ubuntu 16.04. The exact installation steps may vary for other flavors and distributions.
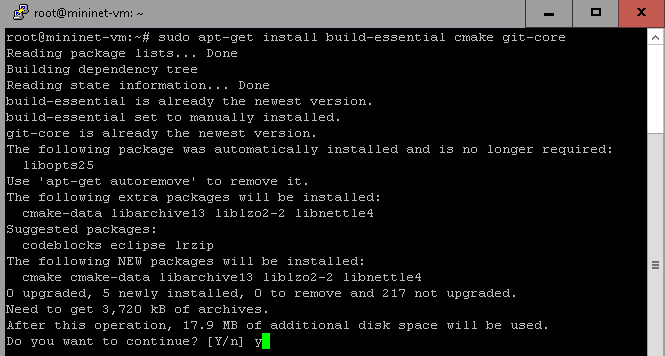
Step – 1 : Install cmake , build-essential and git-core :
As we have to clone the source code for OT Client from GIT repository, therefore we need to make sure that git-core is installed along with cmake and build-essential packages. We will use the below command to install these packages:
[cc]sudo apt-get install build-essential cmake git-core[/cc]
Once the installation has started, we will see a screen like below:
Step – 2 : Install the required libraries including, boost , physfs , SSL and LUA libraries:
The required libraries will be the next ones which we need to install as to proceed with our task. We will use below command to achieve this:
[cc]sudo apt-get install libboost1.55-all-dev libphysfs-dev libssl-dev liblua5.1-dev[/cc]
As the installation progresses, we will see an output like below:

Upon completion, the output will be something like below:

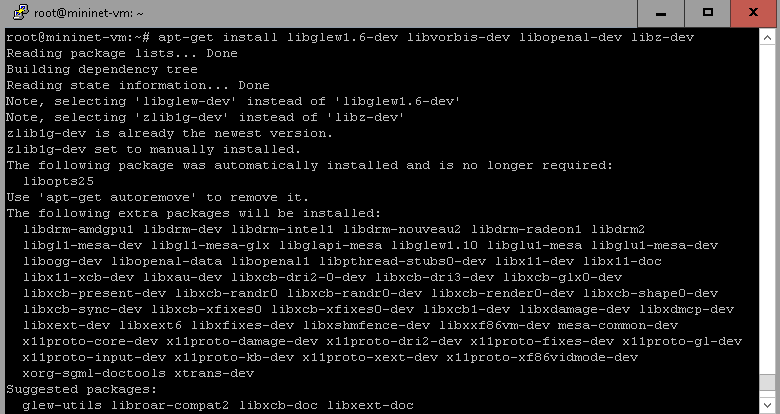
Step-3 : Installing some more pre-requisite libraries :
Next , we need to install a few more libraries including, libglew, libvorbis, libopenal and libz. We will use the below command to get those packages:
[cc]sudo apt-get install libglew1.6-dev libvorbis-dev libopenal-dev libz-dev[/cc]
While the installation is in progress, it will produce an output like below:
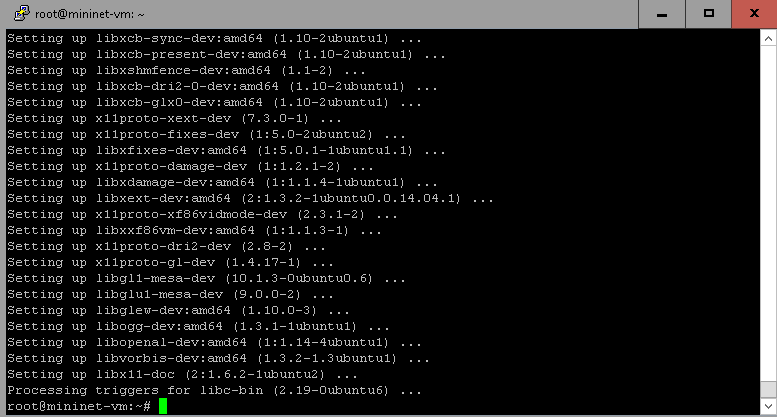
Once the installation is complete you will see a screen like below:
Step – 4 : Cloning OTClient from GITHUB repository
Now that we have successfully installed the required libraries and other packages for OTClient, it is time to clone the source code for OTClient from the github repository. We will use the below command to do this:
[cc]git clone git://github.com/edubart/otclient.git[/cc]
This will take a while as it has to download several files and folders. A screen like below will be displayed:

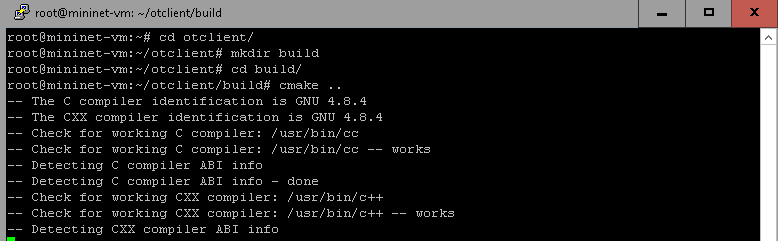
Step – 5 : Build OTCleint
We are almost near to the completion of our task. But there are a few important steps remaining. Yes, one of them is to build OTClient. First we will change the current working directory to the folder where OTClient was cloned. Next, we will create a new directory inside there. Finally we will build the code using cmake. We will use below commands:
[cc]cd otclient[/cc]
[cc]mkdir build [/cc]
[cc]cd build[/cc]
[cc]cmake ..[/cc]
This will display an output like below:
Step – 6 : Compile OTClient
Next, we need to run make to compile the code. We will use below command syntax:
[cc]make[/cc]
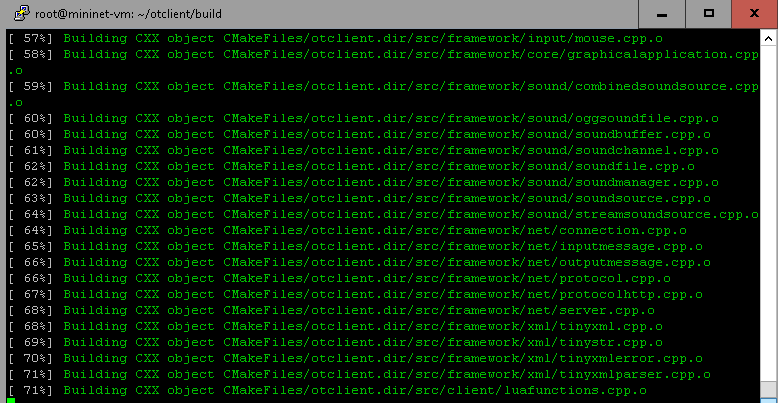
This will produce and output like below:
Step -7 : Run OTClient
Finally we are done. Now we need to run the client. To achieve this we will simply use below command:
[cc]./otclient[/cc]
That’s all. You have successfully cloned and installed OTClient on your Ubuntu machine.
Conclusion
OTClient has been developed as an alternative client for the Open Tibia Server. This article explained the procedure for building and compiling the OTClient on an Ubuntu machine. We hope you find this article useful . Please share your comments and feedback with us.


