
psad, Port Scan Attacks Detector, is used to detect the port scan attacks and other suspicious traffic by analyzing the iptables of Linux systems. It is an Intrusion Detection System written in Perl. It analyzes the iptables and ip6tables log messages regularly to detect, alert and block the port scans if necessary.
A Cracker can use nmap or similar tools to scan your network for any open ports before starting attack and find the ways to break your system. Using psad we can find the port scan attacks and other suspicious activity.
Install psad on Ubuntu / Debian
sk@server1:~$ sudo apt-get update
sk@server1:~$ sudo apt-get install psad
During installation, you will be asked to configure the postfix mail system in order to notify the port scan attacks via mail if any.
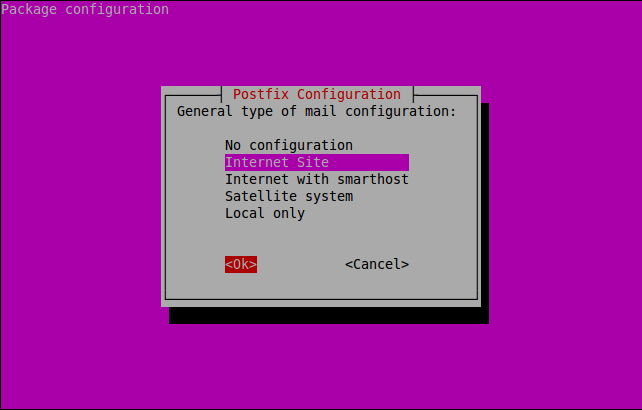
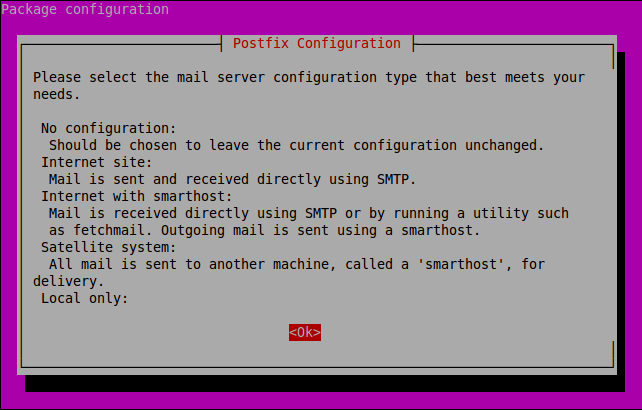 Select the mail type.
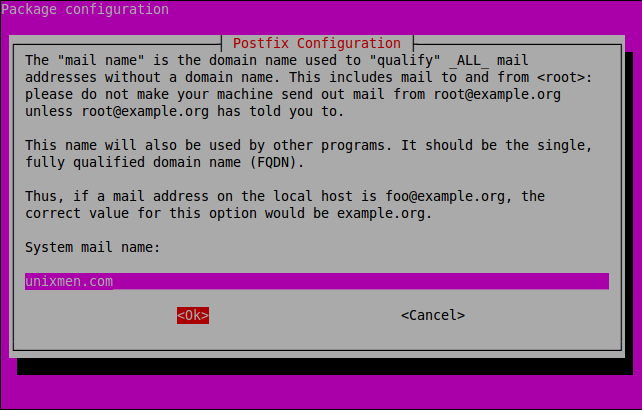
 Enter your mail domain name ex.unixmen.com.
 Now psad has been installed.
Rsyslog Configuration
Open up /etc/rsyslog.conf file.
sk@server1:~$ sudo nano /etc/rsyslog.conf
Add the following line.
kern.info |/var/lib/psad/psadfifo
Save and exit the file. Restart the rsyslog service using following command.
sk@server1:~$ sudo /etc/init.d/rsyslog restart
Psad Configuration
Open up /etc/psad/psad.conf file using any editor.
sk@server1:~$ sudo nano /etc/psad/psad.conf
Setup the valid email id.
### Supports multiple email addresses (as a comma separated### list).
EMAIL_ADDRESSES             sk@unixmen.com;
Enter FQDN of your machine.
### Machine hostname
HOSTNAME                    server1.unixmen.com;
If you have only one network interface, set HOME_NET to NOT_USED as shown below.
HOME_NET NOT_USED;
If you want to ignore some ports like like UDP 53, modify as below.
IGNORE_PORTS udp/53;
If you want IDS to block attacks automatically, set the following values to Y.
ENABLE_AUTO_IDS             Y;
IPTABLES_BLOCK_METHOD       Y;
There are so many options are available in psad. Most of them are self-explanatory. Read carefully and set as your requirements. Here what you have seen above is just a basic setup of psad. Save and exit the psad config file. Start the psad service.
sk@server1:~$ sudo /etc/init.d/psad restart
Update Firewall Rules for ipv4 and ipv6
sk@server1:~$ sudo iptables -A INPUT -j LOG
sk@server1:~$ sudo iptables -A FORWARD -j LOG
sk@server1:~$ sudo ip6tables -A INPUT -j LOG
sk@server1:~$ sudo ip6tables -A FORWARD -j LOG
Now restart, update the signature file and reload psad using the following commands.
sk@server1:~$ sudo psad -R
sk@server1:~$ sudo psad --sig-update
sk@server1:~$ sudo psad -H
View Port Scan Report
Enter the following command to view the port scan report.
sk@server1:~$ sudo psad -S
The port scan report will be stored in /var/log/psad/status.out file. You can view it later if you want.
sk@server1:~$ sudo cat /var/log/psad/status.out
Allow Blocked IP’s
If PSAD found and blocked any ip addresses, you can allow it using the command:
sk@server1:~$ sudo psad -F
However the above command will allow all blocked ip’s. If you want to allow a particular ip address, enter the following command.
sk@server1:~$ sudo psad --fw-rm-block-ip <IP-Address>
You can view the detailed log of a particular interface ex.192.168.1.200 using the following command.
sk@server1:~$ sudo ls /var/log/psad/192.168.1.200
To know more about psad command examples and options, see the man pages.
sk@server1:~$ man psad
Thats it. Happy Monitoring!!!


