
There are many tools out there to view and control your systems remotely such as Teamviewer and VNC etc. But if you have Google Chrome browser installed on your system, then you don’t need any extra remote desktop sharing software. Google Chrome has its own extension called Chrome Remote Desktop.
Chrome Remote Desktop is a cross-platform extension used to provide remote assistance to Windows OS, Mac OS and Linux users. Access your Windows (XP and above) and Mac (OS X 10.6 and above) desktops at any time, all from the Chrome browser on virtually any device, including Chromebooks. All connections are fully secured, so that you don’t have to worry about security.
Install Chrome Remote Desktop
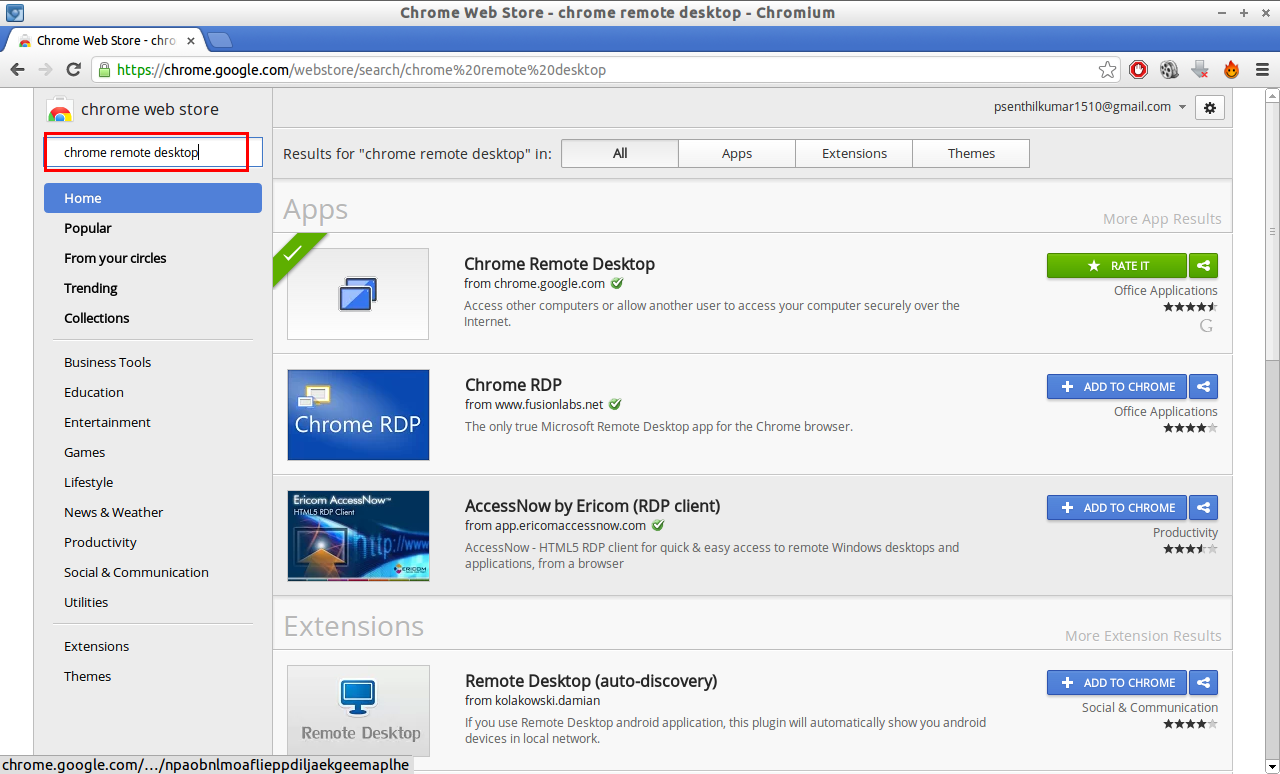
Go to Google Chrome Webstore. Search for the Chrome Remote Desktop add-on, then click on ADD TO CHROME button to install. Do the same steps on your remote systems to install this add-on.
On Local System
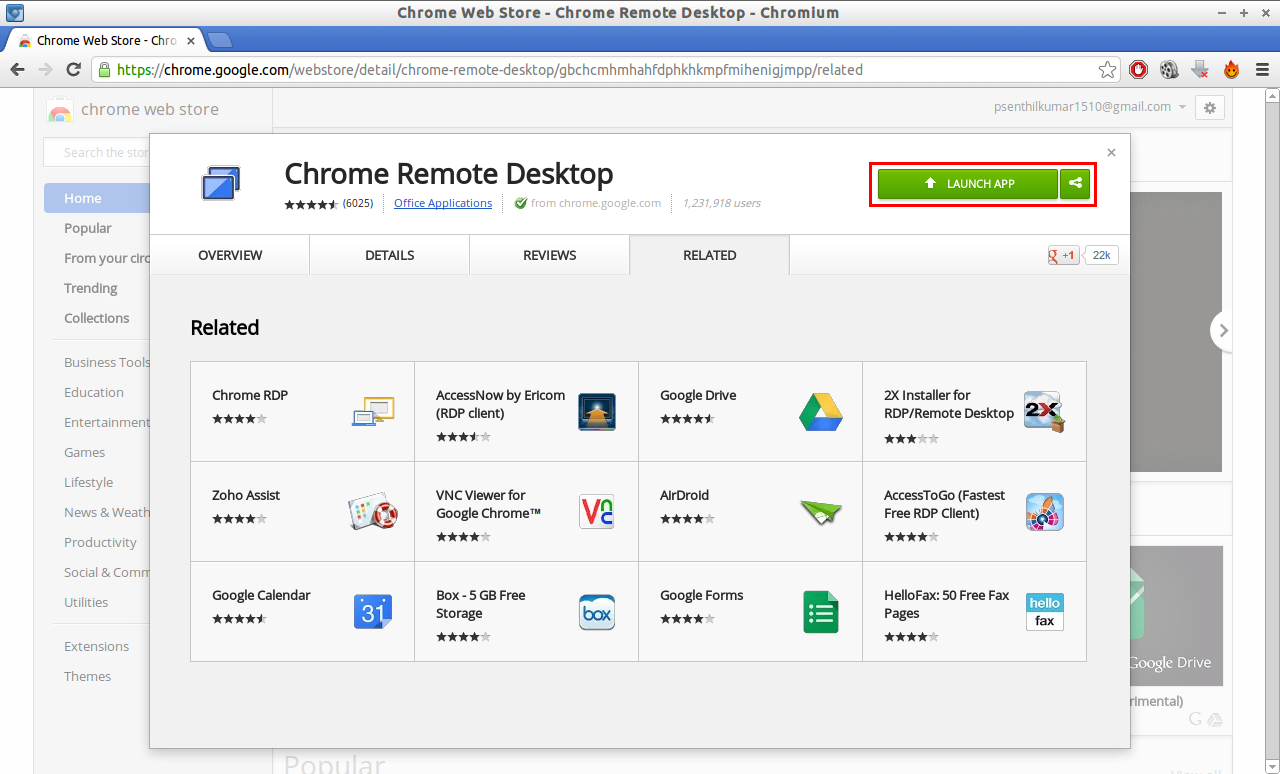
Once you have installed this add-on, click on LAUNCH APP to open Chrome Remote Desktop application on your local system.
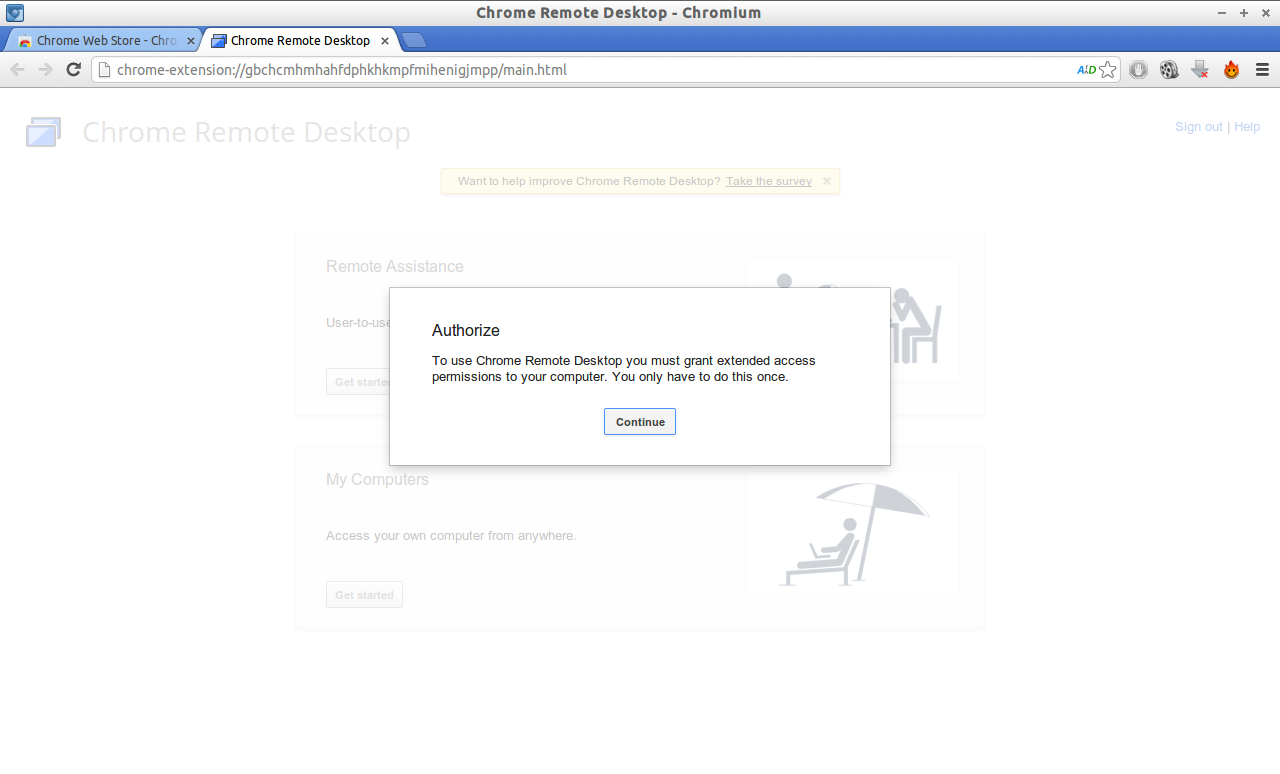
 Now it will ask you to login to your Gmail account. Then click on Continue to grant permissions to access your computer by Chrome Remote Desktop.
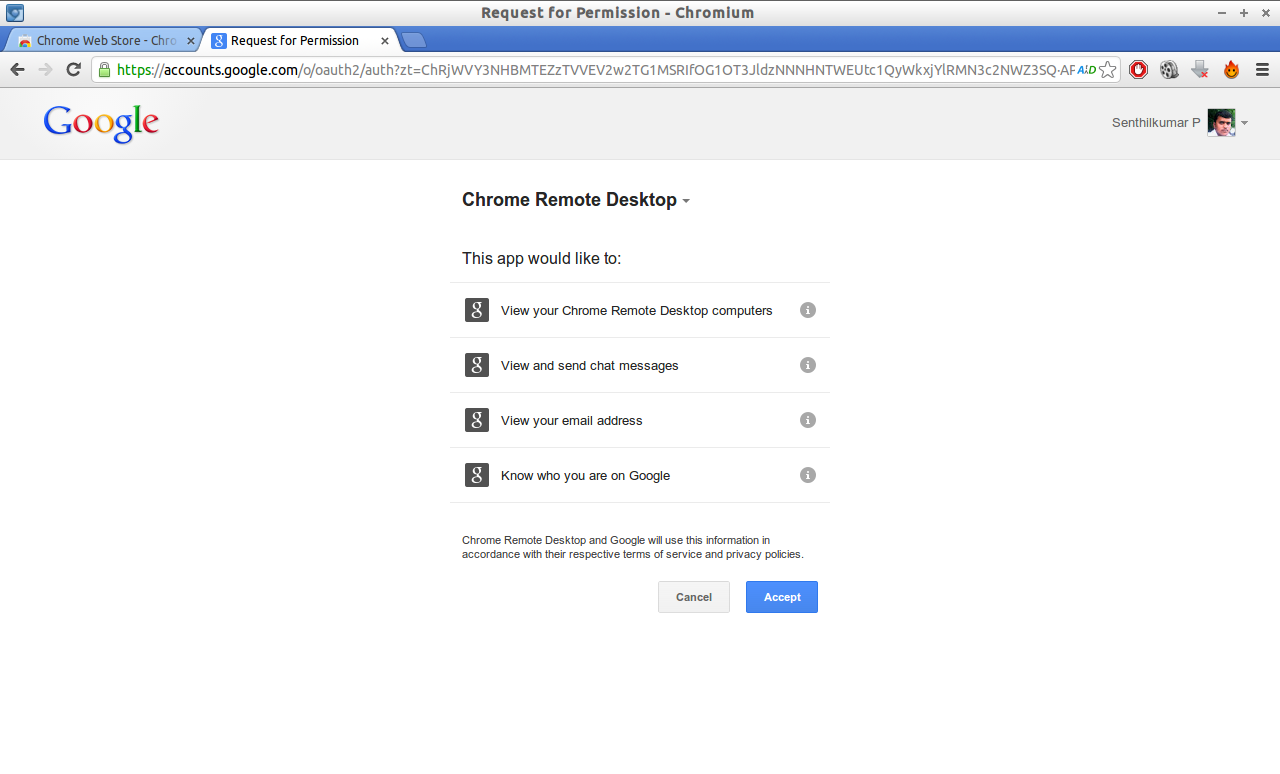
 Now Chrome Remote Desktop will request your permission to access your Gmail account details. Click on Accept to continue.
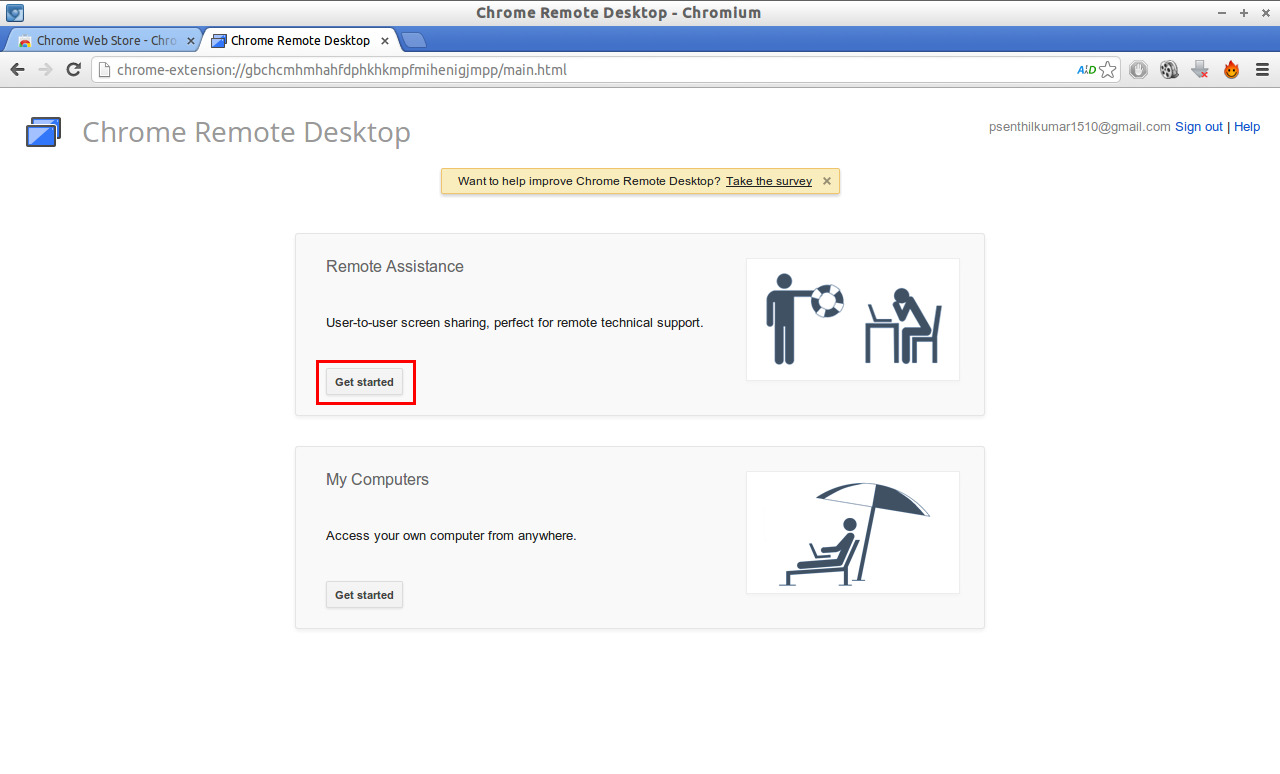
 Now you will see two options such as Remote Assistance and My Computers.
Using Remote Assistance method, you can share your system to remote users or you can access the remote systems. This is ideal for technical support engineers. If your friend, colleague or client has an issue on his/her system, then you can assist or correct the issues remotely without having to go to on-site.
Using My Computers method, you can access your office or home computers from anywhere. All you have to do install the Chrome Remote Desktop extension in your home/office system and access the system from anywhere.
As I want to view my client system, here I select Remote Assistance. Click on Get Started in Remote Assistance section.
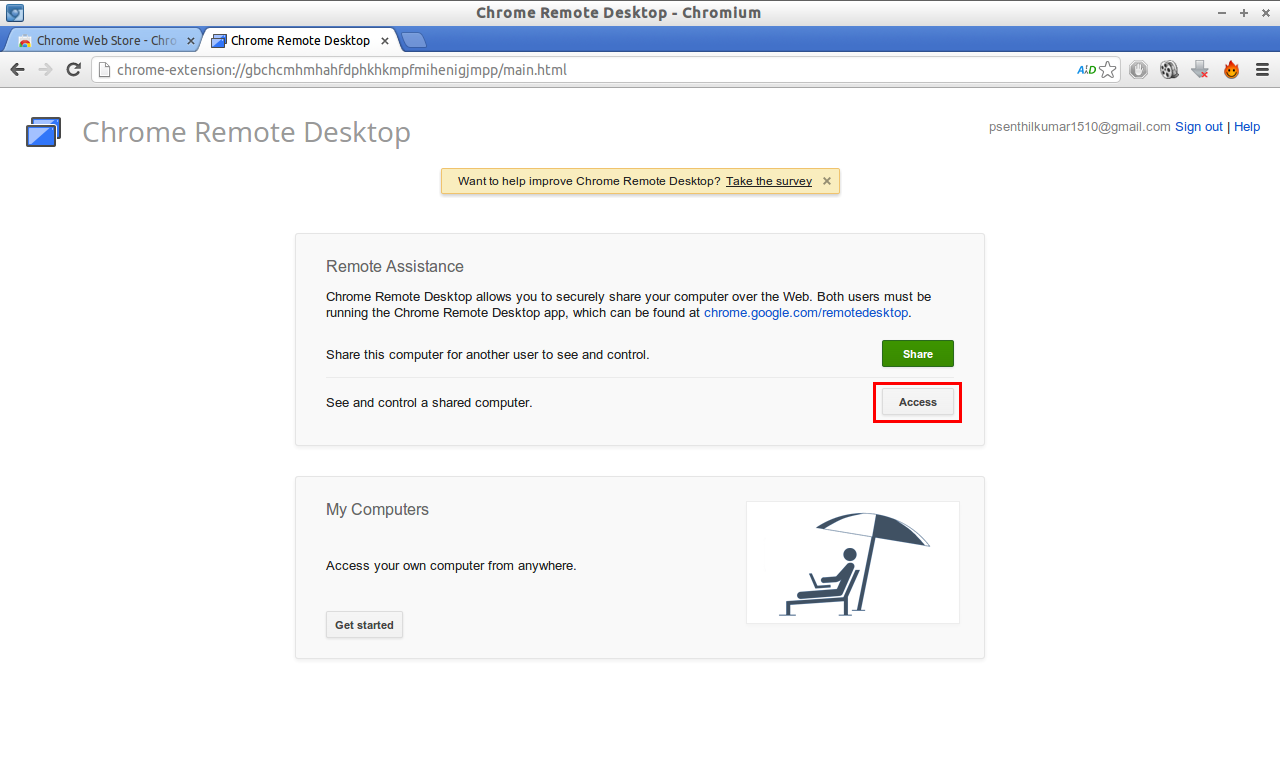
 Here you will see two options such as Share and Access in Remote Assistance section. If you want to see and control a remote machine, then click on Access. Or else if you want to share your local system to remote users, then click on Share.
In my case, I want to access and control my client system so I select Access.
Please note: This add-on must be installed and running on both local and remote system.
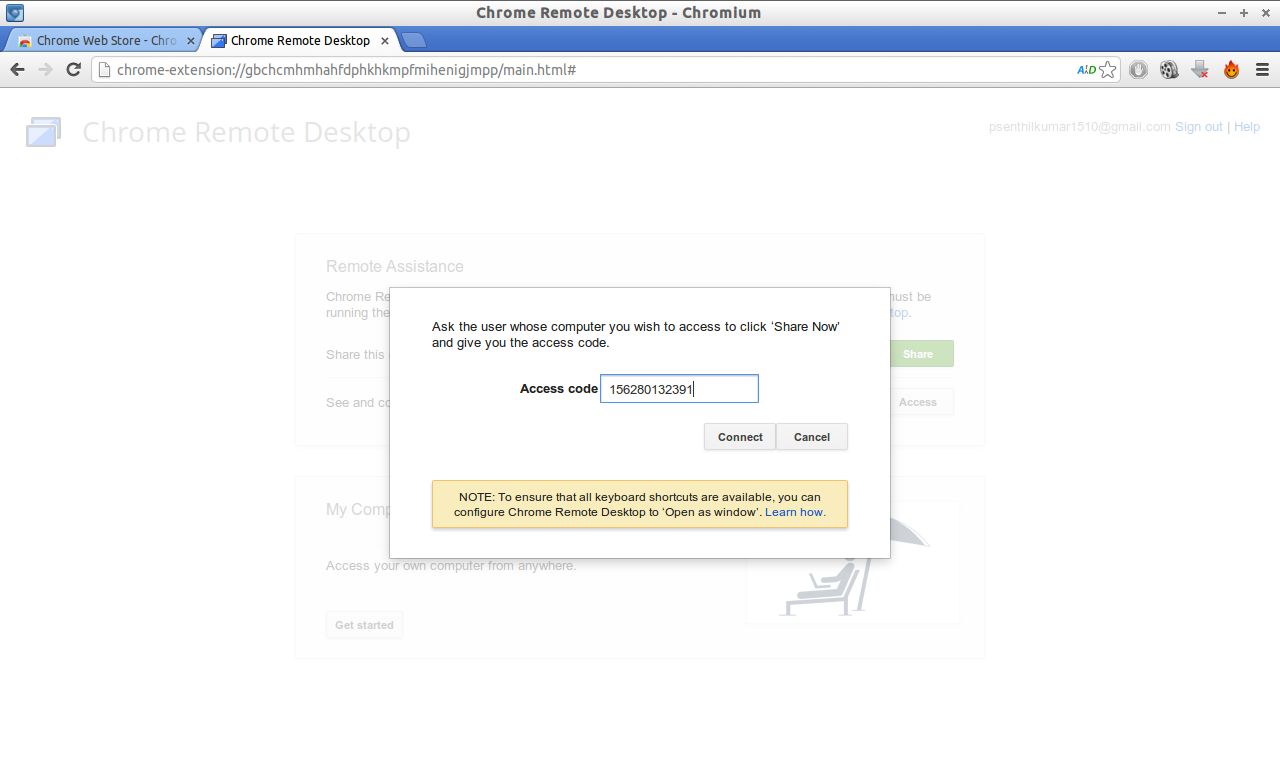
 Now it will ask you the Access code of the remote system.
 On Remote (Client) Systems
Now go to to your remote (client) system. Install and launch the Chrome Remote Desktop add-on as mentioned above. Grant access to Gmail account. Click on Share button in the Remote Assistance section.
![Lubuntu 12.10 Desktop [Running] - Oracle VM VirtualBox_012](http://unixmen.com/wp-content/uploads/2013/07/Lubuntu-12.10-Desktop-Running-Oracle-VM-VirtualBox_012.png) Now it will generate a access code as shown below.
Now it will generate a access code as shown below.
![Lubuntu 12.10 Desktop [Running] - Oracle VM VirtualBox_013](http://unixmen.com/wp-content/uploads/2013/07/Lubuntu-12.10-Desktop-Running-Oracle-VM-VirtualBox_013.png) Note down this code. This is the code that you have to enter in your local system. This is same as PIN number in the Teamviewer.
Note down this code. This is the code that you have to enter in your local system. This is same as PIN number in the Teamviewer.
On Local System
Now head back to the local system and enter the access code generated by the remote system as shown below and click Connect.
 For instance, here I have connected my remote system running with Lubuntu with Chrome Remote Desktop add-on.
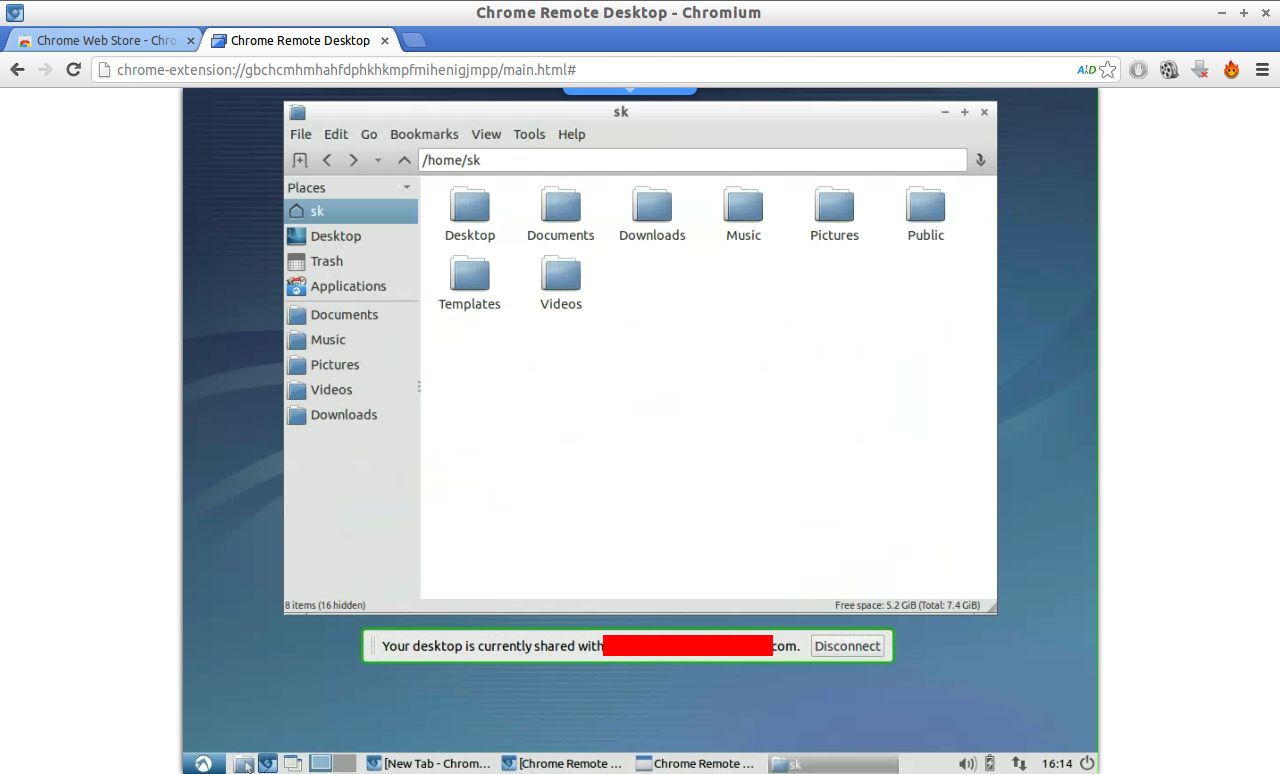 That’s it. Now you will be able to control and access the remote systems from anywhere only with the Chrome Browser and Chrome Remote Desktop.


