
About Gibbon
Gibbon is a free, Open Source, and web-based flexible school management system that can be used to solve real time problems of teachers, students, parents, and educators in different kind of schools. Gibbon allows seamless planing, teaching, and assessment for both teachers and students. It collates every student information, so that every teacher has a clear understanding of each student details such as each student’s attendance, grades, and performance. Based on the results, the teachers can easily understand each student’s ups and downs in each subject, and they can help the students in every possible way.
Be you’re a teacher, student, or parent, Gibbon is an excellent, comprehensive and one-stop-shop efficient tool that makes all information available in one place. Since Gibbon is web-based, the teachers, management persons of the school, and parents can easily and quickly access all student details on the go. Also, It provides easy and timely access to progress and upcoming tasks.
Features
Using Gibbon, the teachers can,
- Create timetables and lesson plans ;
- Share lesson plans to students, and parents ;
- Assign homework ;
- Review and submit marks of home work and exams to both students and parents ;
- Maintain attendance of each student ;
- Send assignments to students ;
- Send assessment of each student’s to their parents ;
- Know each student’s personal details, such as address, gender, DOB, Contact no. ;
- Notify the students or parents about pending fees of every year ;
- Send periodic performance of student’s performance to their parents ;
- Create notes outlining both positive and negative student behaviour ;
- Insert resources directly into lesson plans ;
- Create list of school activities, functions, programs and let students to participate and sign up online ;
- Add Learning Area overviews and other reading materials ;
- Allow students to browse the library ;
- Allow parents to quickly contact staff based on email addresses ;
- And many.
Using Gibbon, the management team of a School can,
- Manage fees, billing schedules and invoices ;
- Send payment reminders to parents ;
- Track payments as they arrive ;
- Generate lists of families who have outstanding payments ;
- Find the personal details of all employees, staffs, teachers, students, and parents ;
- Know the students performance ;
- Know the students grades, attendance, academic performance in all activities ;
- Know the fee structure of each curriculum ;
- Fix the fees structure and share them to other management and staffs ;
- Quickly and easily send messages to staffs, teachers, parents via Email or SMS ;
- Allow members of the public to apply for school places online ;
- Reject and approve applications at any time ;
- And many.
Using Gibbon, the Students can,
- View their academic performance, grades, marks etc. ;
- Get lesson plans, home works, assignment from the respective teachers ;
- View attendance details, and time table of all subjects ;
- Find various learning materials ;
- View and participate school events and programs ;
- View reading materials from school library and teachers ;
The parents can ;
- View their son/daughter marks ,grades, assignments, assessments, and attendance details ;
- View and download application forms ;
- View a particular staff details, such as contact no, Email addresses etc. ;
- Track their son/daughter’s academic and behavioural records ;
- And many.
For complete details Gibbon, look at the features page.
Install Gibbon
Prerequisites:
1. Install LAMP Stack
Since, Gibbon is web-based application, we need to setup LAMP or LEMP stack in our Linux server. In this tutorial, let us see how to install and configure Gibbon on CentOS 7 and Ubuntu 15.04 using LAMP stack.
To install LAMP stack on CentOS 7, refer the following link.
For Ubuntu 15.04, refer the following link.
2. PHP Configuration
Next, edit the ‘php.ini’ configuration file:
On CentOS 7:
vi /etc/php.ini
On Ubuntu 15.04:
sudo nano /etc/php5/fpm/php.ini
If you can’t find the location of php.ini, the following command will help to find it.
php -i | grep php.ini
Sample output:
Configuration File (php.ini) Path => /etc
Loaded Configuration File => /etc/php.ini
Add or modify the following lines in php.ini file:
file_uploads = On
allow_url_fopen = On
register_globals = off
magic_quotes_gpc = Off
set max_input_vars = 5000
dispaly_errors = Off
error_reporting = E_ALL & ~E_NOTICE
Save and close the file. Restart Apache service.
On CentOS:
systemctl restart httpd
On Ubuntu:
systemctl restart apache2
3. MySQL Configuration
Create a new MySQL database and MySQL user for Gibbon on your server.
Log in to MySQL prompt using command:
mysql -u root -p
Then, run the following commands marked in bold in the MySQL prompt to create Database and user for Gibbon.
MariaDB [(none)]> CREATE DATABASE gibbondb;
Query OK, 1 row affected (0.00 sec)

MariaDB [(none)]> GRANT ALL PRIVILEGES ON gibbondb.* TO 'gibbonuser'@'localhost' IDENTIFIED BY 'centos';
Query OK, 0 rows affected (0.00 sec)

MariaDB [(none)]> FLUSH PRIVILEGES;
Query OK, 0 rows affected (0.00 sec)

MariaDB [(none)]> exit
Here,
- gibbondb – MySQL database for Gibbon.
- gibbonuser – MySQL database user for Gibbon.
- centos – password of gibbonuser.
Replace the above values with your own.
Download And Install Gibbon
After completing all prerequisites, go to Gibbon download page and get the latest version. As of writing this, the latest version was 9.1.00.
wget https://github.com/GibbonEdu/core/archive/v9.1.00.zip
Extract the zip fiel:
unzip v9.1.00.zip
Move the extracted contents to web root folder.
mv core-9.1.00 /var/www/html/gibbon
Set the proper permission to ‘/var/www/html/gibbon’ directory.
chown apache:apache -R /var/www/html/gibbon/
Make sure Gibbon directory as writable. If not, set it writable with command:
chmod 777 /var/www/html/gibbon/
Setup proper SELinux permission to ‘var/www/html/gibbon’ directory, otherwise you might get ‘403 forbidden’ error.
setsebool -P httpd_enable_homedirs true
chcon -R -t httpd_sys_content_t /var/www/html/gibbon/
Finally. restart apache service.
In CentOS:
systemctl restart httpd
In Ubuntu:
systemctl restart apache2
Starting Gibbon web based installer
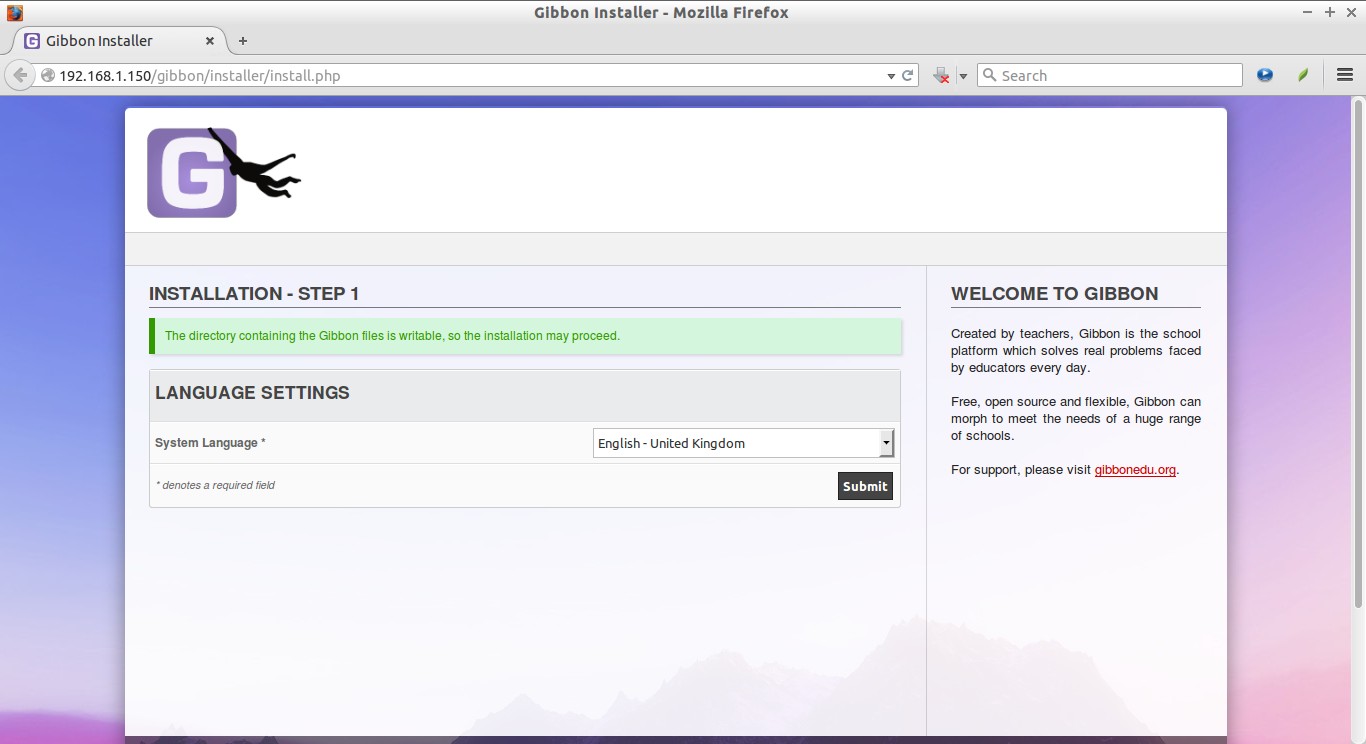
Open up your browser and navigate to: http://IP-Address/gibbon. The following screen should appear.
Note: If you can’t access the Gibbon installer page, disable or set permissive mode in SELinux, and try.
Select your System language and Click Submit.
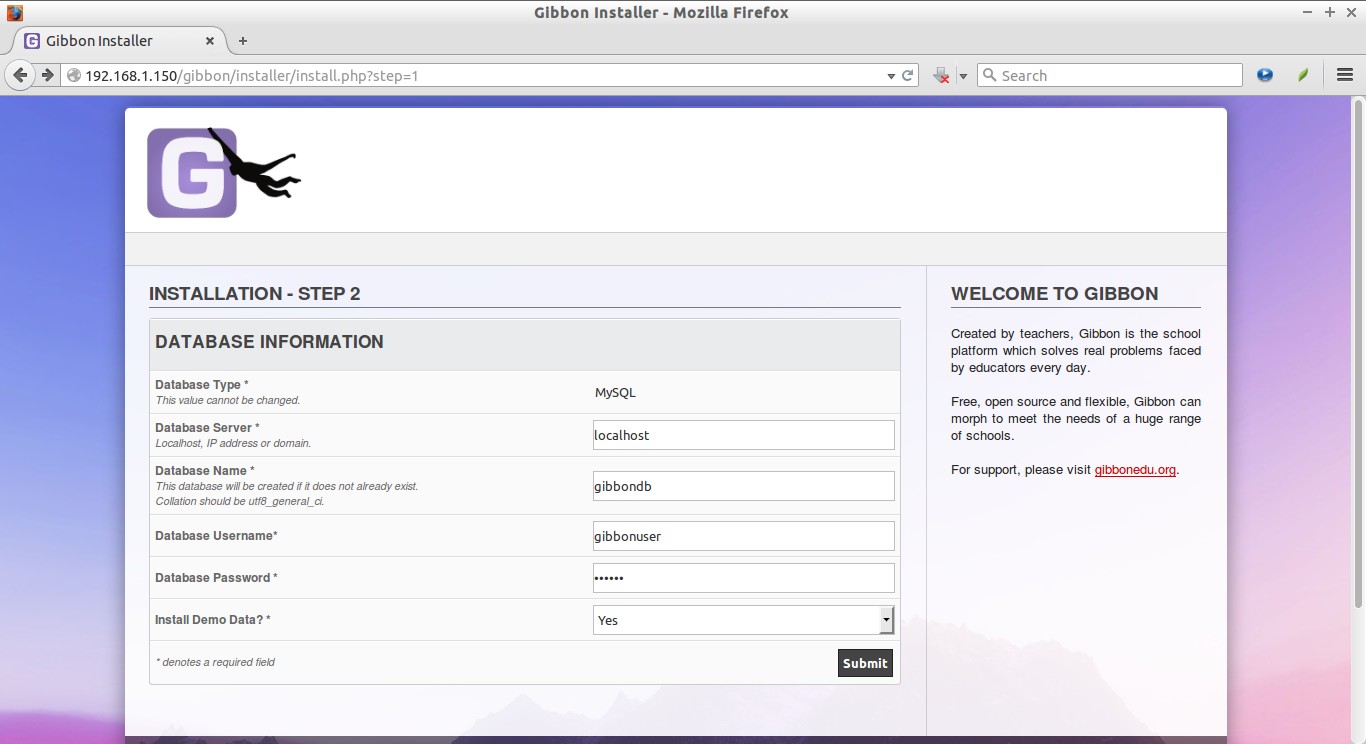
Enter the database information which we have defined in the MySQL configuration section.
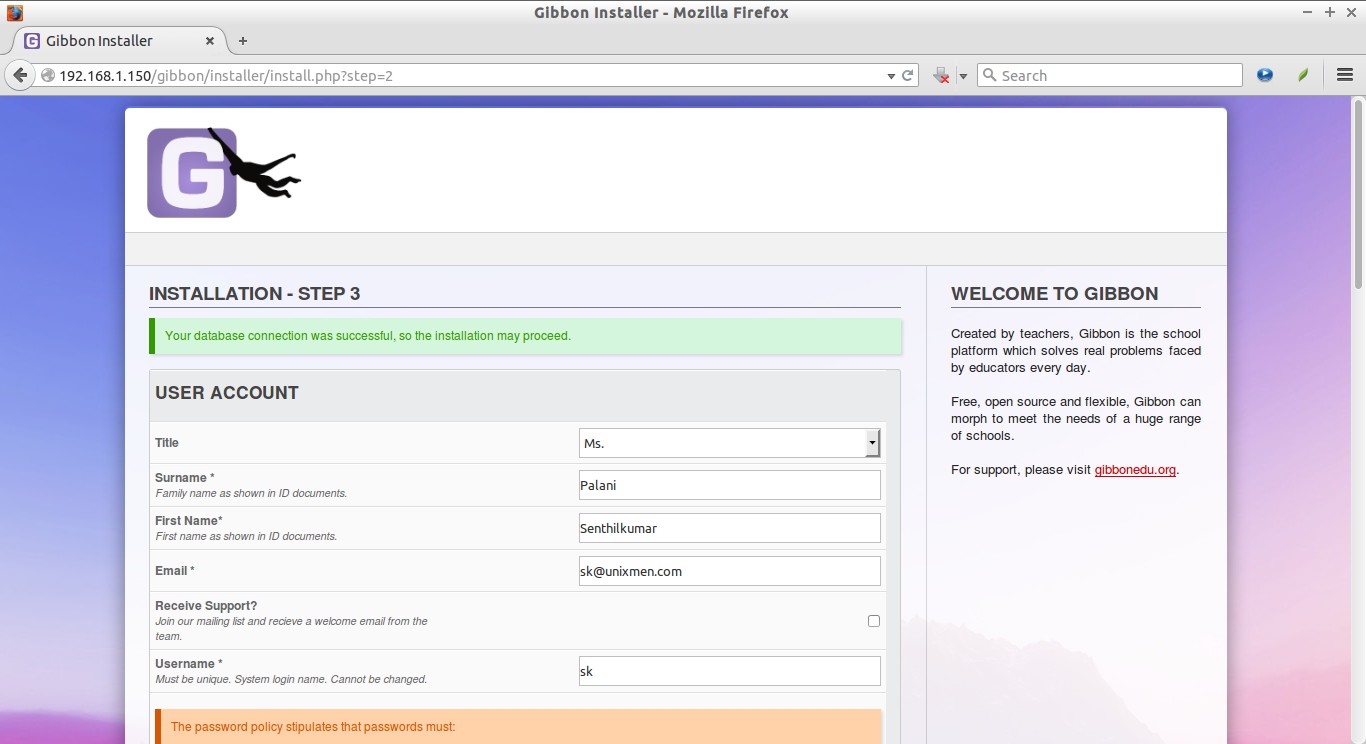
In the next screen, enter the User account details, System settings, Organization settings, Country and Timezone details etc.
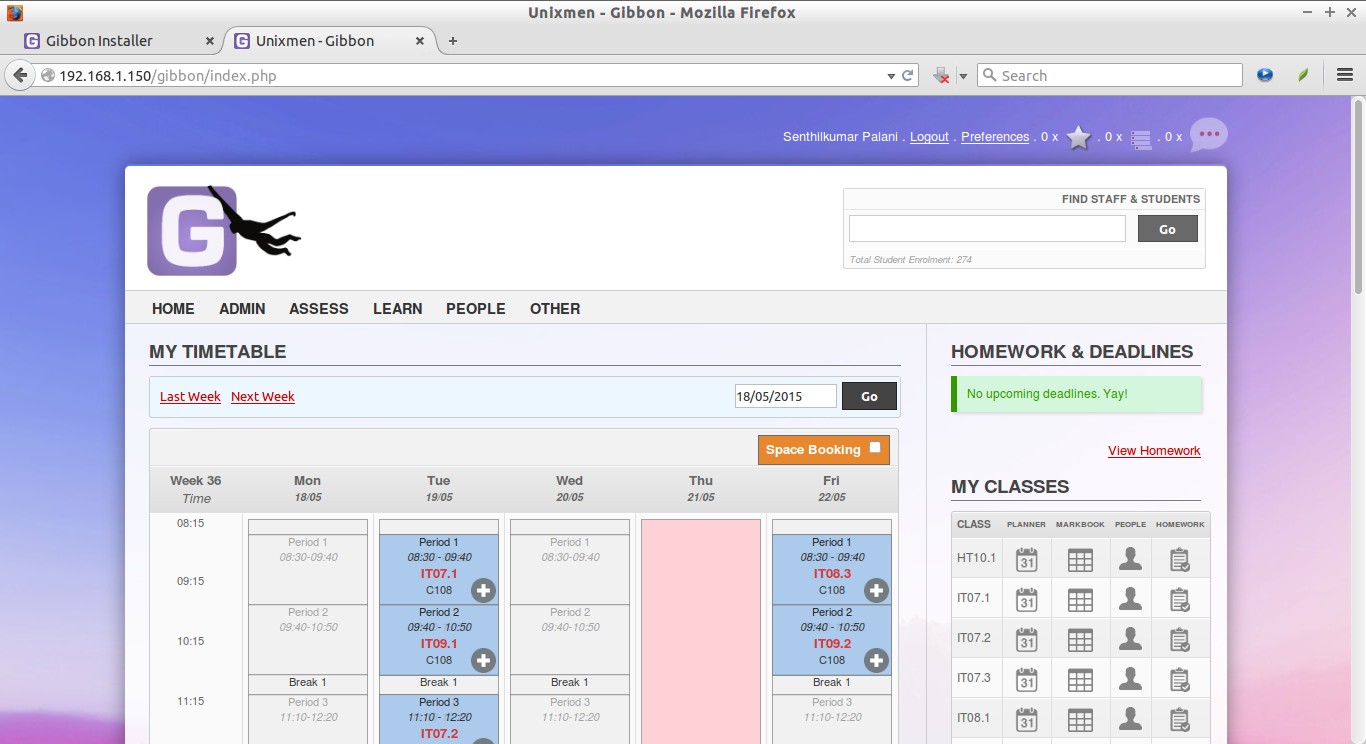
Congratulations! We have successfully deployed Gibbon. Now, you can access the Gibbon dashboard using: http://ip-address/gibbon.
Enter the user name and its password that we created during the installation.

Here is the Gibbon dashboard.
For complete usage guide, refer the official getting started guide with Gibbon.
Post Installation
After installing Gibbon, we must do the following things to secure the Gibbon installation.
- Set permissions of all Gibbon files so they are not publicly writeable (e.g. chmod -Rv 755 /var/www/html/gibbon).
- Create folder /uploads and set file permissions for to allow writing by web server.
- To improve security and reliability, magic_quotes_gpc should be turned off in php.ini. This is supposed to be deprecated in PHP 5.3, but experience shows sometimes it is better to turn it off anyway.
- Turn PHP register_globals off. On shared host, use .htaccess “php_flag register_globals off” to do this
- Set PHP to allow <? as well as <?php. Turn short_open_tag on. (This is not required for running the Core as of v8.0.00 or greater. Update your additional modules to the latest version.)
- Turn folder browsing off. On shared host, use .htaccess “Options -Indexes”
- Set PHP’s max_file_uploads to at least the number of students in a class.
- Set PHP’s error to be error_reporting = E_ALL & ~E_NOTICE or less aggressive
- Set PHP to allow URLs as files (otherwise Calendar overlay in TT will not work). allow_url_fopen=On
- Set PHP’s max_input_vars setting to 5,000 (otherwise Manage Permissions breaks)
Create Virtual Hosts (Optional)
In case, you might want to deploy Gibbon in web main root folder instead of sub-folder, i.e you want the Gibbon URL as www.domain-name.com, not to be www.domain-name/gibbon. What will you do? Very simple, We can do it using virtualhosts. Here is the instructions for both CentOS and Ubuntu.
1. Create a new virtual host file in CentOS
vi /etc/httpd/conf/httpd.conf
Add the following lines:
<VirtualHost *:80>
   ServerAdmin admin@your-domain.com
   DocumentRoot /var/www/html/gibbon/
   ServerName your-domain.com
   ServerAlias www.your-domain.com
   <Directory /var/www/html/gibbon/>
      Options FollowSymLinks
      AllowOverride All
   </Directory>
   ErrorLog /var/log/apache2/your-domain.com-error_log
   CustomLog /var/log/apache2/your-domain.com-access_log common
</VirtualHost>
Restart the Apache web server for the changes to take effect using the following command:
systemctl restart httpd
2. Create a new virtual host file in Ubuntu
Refer the following guide to create Vhost files in Ubuntu and its derivatives.
systemctl restart apache2
Now, Open http://domain.com in your web browser and follow the onscreen instructions as shown in the “Starting Gibbon web based installer” section above.
That’s it. Cheers!!
Reference link: Gibbon Home page


