Unixmen is continuously trying to improve the type of knowledgebase provided, in this effort we are trying to initiate some big stories of selective topics which will include not only how to? But what is? Type of information including history, relevance and in depth information, I am going to term this series under the title of “ESSEY”, today’s effort is to provide a detailed introduction about Hadoop, let’s start.
Preface
Hadoop was introduced to handle really huge storage data, we have emails, documents, pdf media files etc. Managing such really big and bigger data is really a challenge, Hadoop tries to meet such challenges. In Hadoop more than one machine, or a cluster of machine of heterogeneous type having different processing and configurations have to work together to process data. Before going more deep in Hadoop we have to understand that in this modern era of social media, each and every person either he is a technical or non- technical human begin is willingly or unwillingly in generating and processing data, the fact is that 90%-95% of total data has been created in last three or four years and virtually we are moving towards a data explosion. From data point of view we can divide types of data in basically three categories:
-
Unstructured (Doc files, PDF files, emails or media files)
-
Semi structured (XML, Excel, csv type of data)
-
Structured (As usual, such data is organized with the help of database)
Google search engine do indexing of web pages using google file system and mapreduce, the same concept is used as base technology in Hadoop. Tentatively google is indexing more than 65 billion pages, which you got in a responsive search just in a fraction of second. Similar Facebook possess world’s largest Hadoop cluster, Facebook generate almost half of PETABYTE every single day, which is unimaginable. Tweeter generate 450 million tweets a day generating almost 20 terabytes of data every single day and there is no surprise that they are also using big cluster based on Hadoop. Even General Motors has recently migrated to Hadoop. No doubt in coming 3-5 years density of this data will become double or may be triple.One thing is very Clear from above review that tradition methods (Ordinary storage drives) which we are using currently will not be sufficient future. We have to meet data processing response time challenge, volume of data is really huge which we have to handle and finally management of variety or types of data which we have manage.
Introduction
Hadoop is a software based distributed data storage management solution used for really bid data sets, it is scalable and highly fault tolerable. Hadoop consists of two components: HDFS which is a type of storage used by Hadoop and Hadoop map reduce which is used for data process and data retrieval, HDFs is self-repairing highly available storage, what Hadoop does is that it make blocks of data and distribute that data over the cluster and make three copies of these distributed blocks. Hadoop cluster consists of Name Node and Data Node. In general there will be only one Name Node in Hadoop cluster and rest of the nodes of Cluster will be known as Data Node. Name Node is Mata Data Server which store information of each and every block and every node in the cluster.
Let us understand the very first component of Hadoop system i.e. HDFS (Hadoop Distributed File System)
HDFS introduction:
HDFS architecture is a master slave type: Name node (https://wiki.apache.org/hadoop/NameNode) is the master server which controls all of the data node, it keeps a record of directory tree of all of the files in the system, and trace where a file is stored in entire cluster, whenever a user/client application have to add move or copy some specific file, it have to communicate with the Name Node which in response indicate the exact location of that specific data in to the cluster, keep in mind that Name Node does not store the data but it keep an eye over the exact location of the data. What HDFS does that whenever a file is created, it break that file in multiple blocks which are 64 MB size chunks and distribute these blocks over the data nodes and Name Node knows the location of these distributed file blocks, so keep in mind that “If Name node goes down cluster will be gone”. Data nodes simply replicate data physically and follow the instructions of Name node and client interact directly with Data Node. There another important term which you must know is secondary name node, which is a scheduled snapshot of Name Node which is used as backup. If we lose a node from our rack/cluster Hadoop will immediately replicate the data, but what if we lost entire rack, not to worry because We have an advantage with Hadoop that Name Node can understand our network topology, and once we have introduced our Network topology to Name Node it will take care of data replication and we have not to worry even on of the rack got lost from the cluster, this is known as Rack Awareness. Name Node never have to communicate with Data Node or Secondary Name Node, infect data node is responsible to communicate with the client or with the Name Node after every few seconds.
Mapreduce Introduction:
Overview
MapReduce is little complicated topic, Hadoop MapReducer is a programmable software framework used to process large sets of data in cluster. It can be classified in three sub categories:
-
Job Client
-
Job Tracker
-
Task Tracker
Job client simply interact with Data Node and submit the job which he wants to process, in return Job Tracker communicate with Name Node and find where data is located and create execution plans, Job Tracker map task and reduce it and will finally submit assignment to chosen Task Tracker (Slave/Client) Node. Now, Task Trackers have to communicate continuously with Job tracker by sending Heart Beat, which send continues updated status of process to Job Tracker, if heartbeat signals are not send by Task Tracker to Job Tracker, they are deemed to have failed and job is rescheduled to some other Task Tracker. Finally if everything is fine task will be submitted successfully and Job Tracker will be informed via heartbeat signal.
Installation
An overview
We will We will first install Hadoop in a Single Machine, all of the components will be installed the same machine and there will be no issue because Hadoop support Stand Alone installation, when we will move ahead will install multi node cluster at next level.
Pre requisites:
How to install Hadoop with CentOS has already been published with unixmen, you can access this link for the article. A Latest Ubuntu 15.10 Machine installed with ssh-server, Java Version 6 or above.Create a user named as hadoop, assign password to that user.
First of all install ssh-service
# apt-get install openssh-server
Generate and share ssh key so that localhost would not ask for password again and again
# ssh-keygen
Press enter when it will ask for pass phrase. Copy that key to ~/.ssh/authorized_key file.
Now ssh local host and it will not ask for any password.
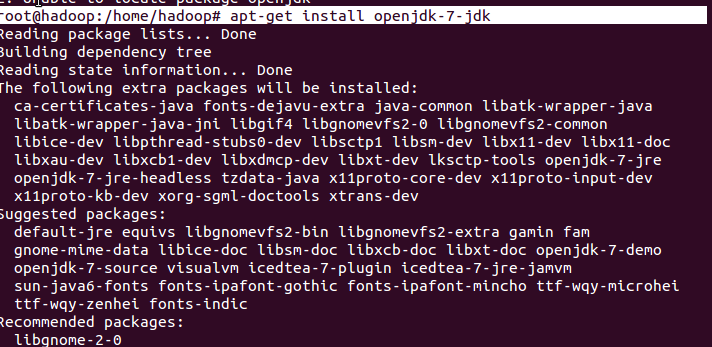
Install Java
# apt-get install openjdk-7-jdk
Download hadoop
# wget http://www.eu.apache.org/dist/hadoop/common/hadoop-2.6.3/hadoop-2.6.3.tar.gz
Copy and extract contents to /usr/local/ directory:
# tar -xvf hadoop-2.6.3.tar.gz
#  cp -rv  hadoop-2.6.3 /usr/local/hadoop
Edit .bashrc profile file
# nano ~/.bashrc
Append following lines
export HADOOP_PREFIX=/usr/local/hadoop
export PATH=$PATH:$HADOOP_PREFIX/bin
Configure JAVA_HOME path in $HADOOP_PREFIX/etc/hadoop/hadoop-env.sh file
# nano /usr/local/hadoop/etc/hadoop/hadoop-env.sh
Sample output
limitations under the License.

# Set Hadoop-specific environment variables here.

# The only required environment variable is JAVA_HOME. All others are
# optional. When running a distributed configuration it is best to
# set JAVA_HOME in this file, so that it is correctly defined on
# remote nodes.

# The java implementation to use.
#export JAVA_HOME=${JAVA_HOME}
export JAVA_HOME=/usr/lib/jvm/java-1.7.0-openjdk-amd64

# The jsvc implementation to use. Jsvc is required to run secure datanodes
# that bind to privileged ports to provide authentication of data transfer
# protocol. Jsvc is not required if SASL is configured for authentication of
# data transfer protocol using non-privileged ports.
#export JSVC_HOME=${JSVC_HOME}

export HADOOP_CONF_DIR=${HADOOP_CONF_DIR:-"/etc/hadoop"}
# Extra Java CLASSPATH elements. Automatically in
Edit .xml configuration files for hadoop
# cd $HADOOP_PREFIX/etc/hadoop/
Configure name node first
# nano core-site.xml
Edit file
<!-- Put site-specific property overrides in this file. -->
<configuration>
<property>
  <name>fs.default.name</name>
  <value>hdfs://localhost:9000</value>
</property>
</configuration>
Edit mapred-site.xml
<configuration>
 <property>
  <name>mapreduce.framework.name</name>
   <value>yarn</value>
 </property>
</configuration>
Edit yarn-site.xml
<configuration>
 <property>
  <name>yarn.nodemanager.aux-services</name>
    <value>mapreduce_shuffle</value>
 </property>
</configuration>
Finally edit hdfs-site.xml
<configuration>
<property>
 <name>dfs.replication</name>
 <value>1</value>
</property>
<property>
  <name>dfs.name.dir</name>
    <value>file:///home/hadoop/hadoopdata/hdfs/namenode</value>
</property>
<property>
  <name>dfs.data.dir</name>
    <value>file:///home/hadoop/hadoopdata/hdfs/datanode</value>
</property>
</configuration>
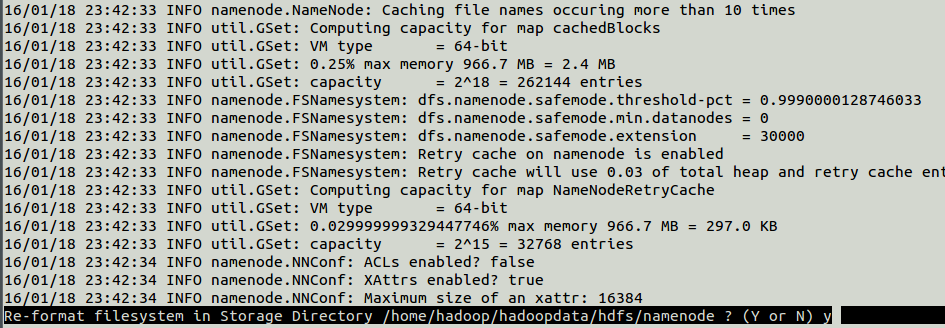
Format namenode
# hadoop namenode -format
Now change directory to /usr/local/hadoop/sbin
# cd HADOOP_PREFIX/sbin
Change permission of hadoop user permisions before running next script:
# sudo chown -R hadoop /usr/local/hadoop/
run start-all.sh script
# ./start-all.sh
Sample output
This script is Deprecated. Instead use start-dfs.sh and start-yarn.sh
Starting namenodes on [localhost]
localhost: starting namenode, logging to /usr/local/hadoop/logs/hadoop-hadoop-namenode-hadoop.out
localhost: starting datanode, logging to /usr/local/hadoop/logs/hadoop-hadoop-datanode-hadoop.out
Starting secondary namenodes [0.0.0.0]
0.0.0.0: starting secondarynamenode, logging to /usr/local/hadoop/logs/hadoop-hadoop-secondarynamenode-hadoop.out
starting yarn daemons
starting resourcemanager, logging to /usr/local/hadoop/logs/yarn-hadoop-resourcemanager-hadoop.out
localhost: starting nodemanager, logging to /usr/local/hadoop/logs/yarn-hadoop-nodemanager-hadoop.out
Have a look in above output, you will find that al of the services are activating step by step.
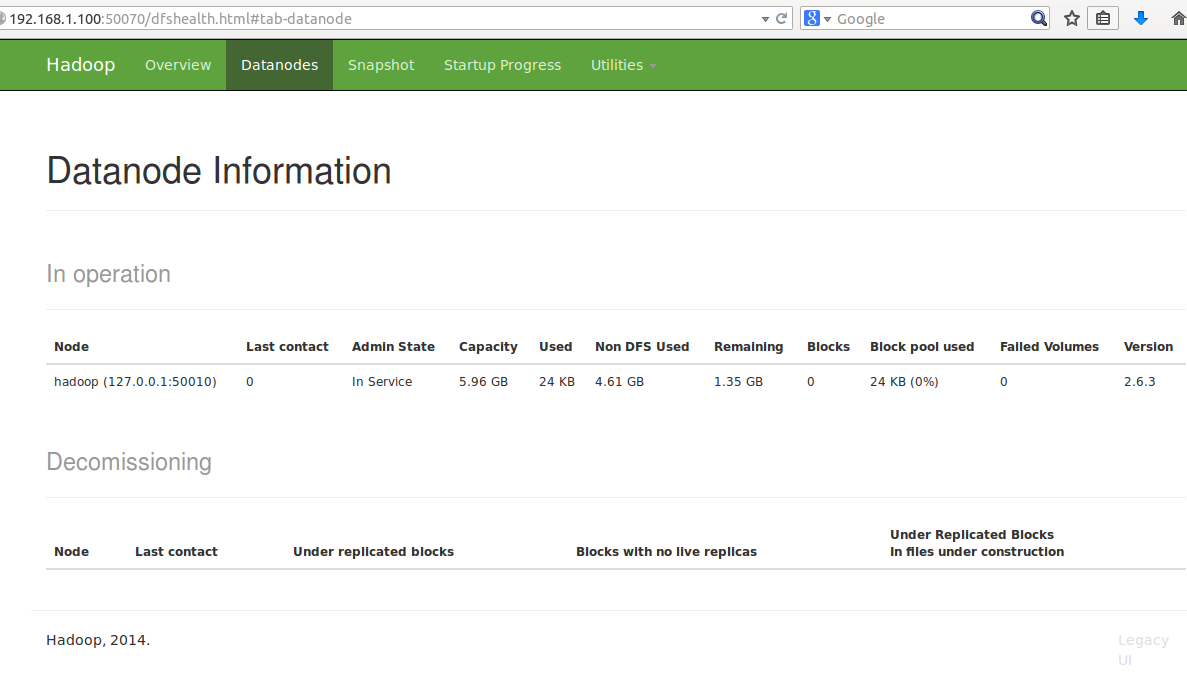
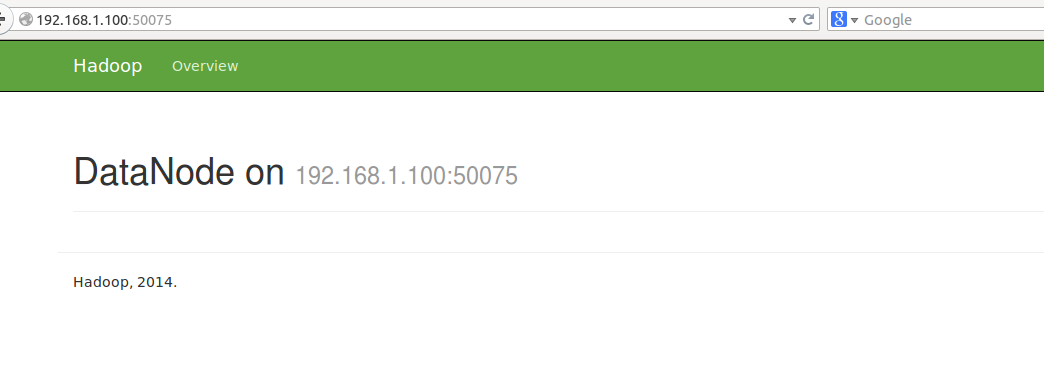
Now access hadoop services in browser
For Name node
ip_addr:50070
For data node
ip_addr:50075/dataNodeHome.jsp
To monitor cluster
ip_addr:8088
Conclusion
A brief introduction to hadoop and its components is over at this stage, in upcoming series we will try to provide more practical oriented information about hadoop and its components, till then take care, Have Fun!!


