
BIND is open source software that implements the Domain Name System (DNS) protocols for the Internet which provides ability to perform name to ip conversion. The name BIND stands for “Berkeley Internet Name Domain”, because the software originated in the early 1980s at the University of California at Berkeley. It is a reference implementation of DNS protocols, but it is also production-grade software, suitable for use in high-volume and high-reliability applications.
BIND is by far the most widely used DNS software on the Internet, providing a robust and stable platform on top of which organizations can build distributed computing systems with the knowledge that those systems are fully compliant with published DNS standards.
So, in this article we will setting up a Master DNS server and configure it with installation on BIND9 package on the latest version of CentOS 7 .
Prerequisites
Login to your CentOS 7 server using sudo or root user credentials, setup its FQDN and basic networking setup to make sure that you are connected with the Internet.
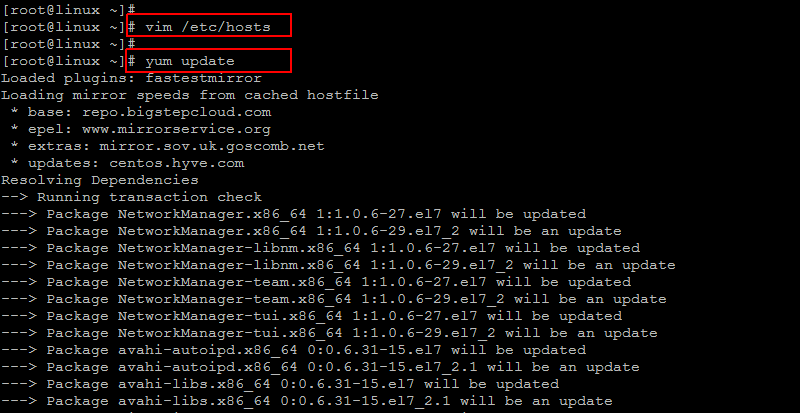
[cc] # vi /etc/hosts [/cc]
[cc] 72.25.10.71 linux.linuxpitstop.com linux [/cc]
Then run the command below to update your CentOS 7 server with latest updates and security updates.
[cc] # yum update [/cc]
Installing BIND9 on CentOS 7
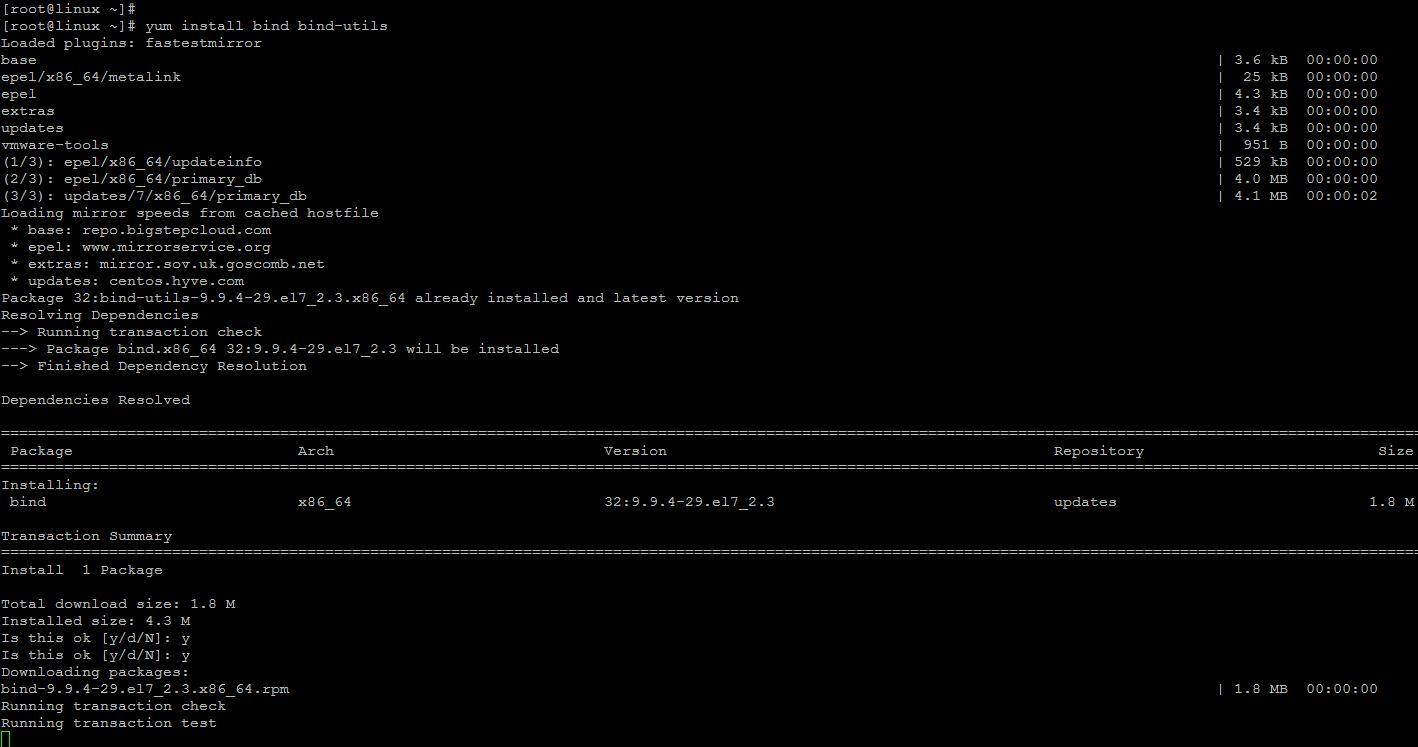
BIND package can directly be installed using the ‘yum’ command through its built in repositories by running the below command in your shell terminal.
[cc] # yum install bind bind-utils [/cc]
After finding the required package and resolving its dependencies, you will be asked to confirm by selecting ‘y’ for yes key to continue the installation of BIND and BIND-UTILS package on your server.
Starting BIND Services
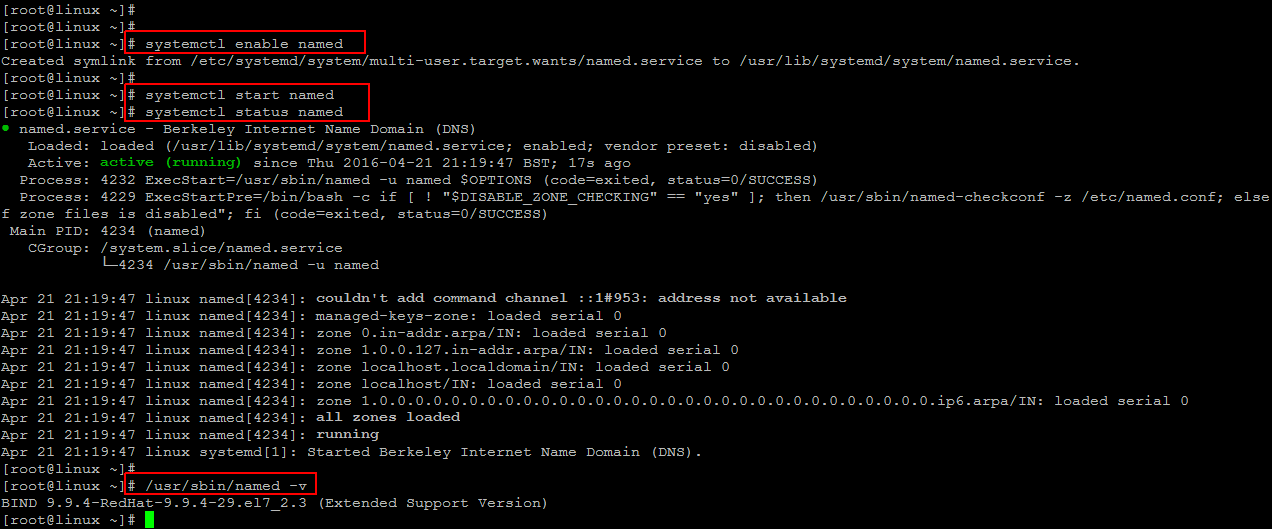
Once your BIND packages are installed, you need to start its service and enable it to start automatically after every reboot, so that you don’t have to start manually each time. Let’s run the following commands to do so and then check the status of BIND service.
[cc] # systemctl enable named [/cc]
[cc] # systemctl start named [/cc]
[cc] # systemctl status named [/cc]
To check the version of BIND running on your server, you can flow the below command.
[cc] # /usr/sbin/named -v [/cc]
[cc] BIND 9.9.4-RedHat-9.9.4-29.el7_2.3 (Extended Support Version) [/cc]
BIND Server Configurations
The default configuration file of BIND is ‘named.conf’ which is located inside ‘/etc/’ directory. Let’s open up /etc/named.conf file using your favorite text editor to comment out the following lines; it will enable BIND to listen on all ip address’s instead of only localost.
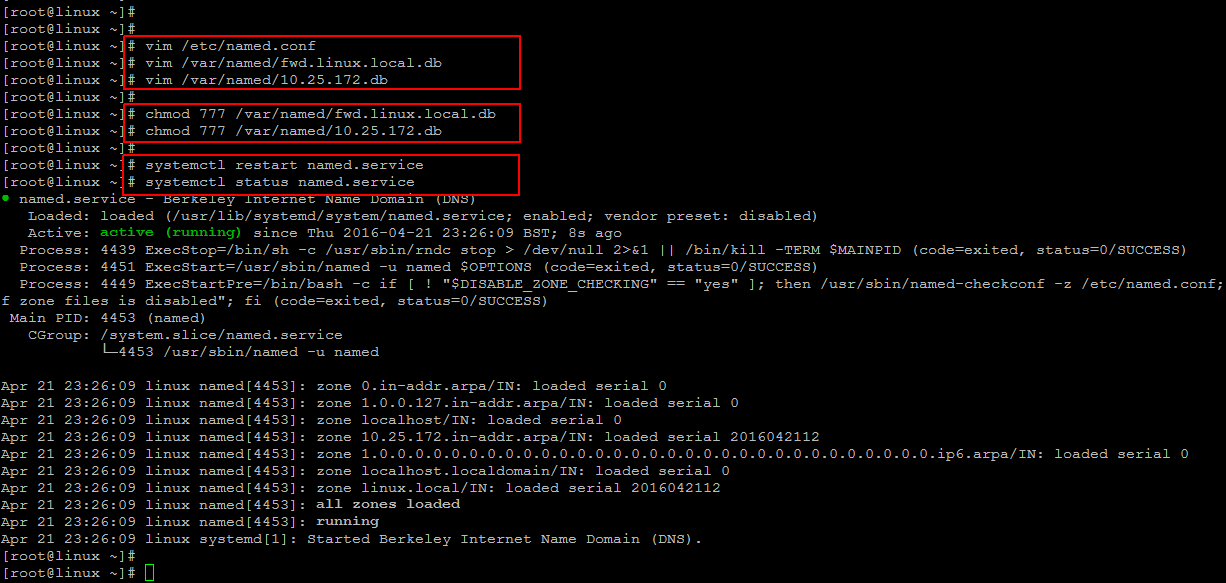
[cc] # vim /etc/named.conf [/cc]
[cc] #listen-on port 53 { 127.0.0.1; };
#listen-on-v6 port 53 { ::1; }; [/cc]
Then add your network in the file that will allow the clients from your mentioned network to query the DNS for name to ip translation. If you want to transfer all zones to your slave server, then add the below line with IP address of your slave server.
[cc] allow-query { localhost;172.25.10.0/24; }; [/cc]
[cc] allow-transfer { your_slave_server_ip; }; [/cc]

Creating BIND Zones
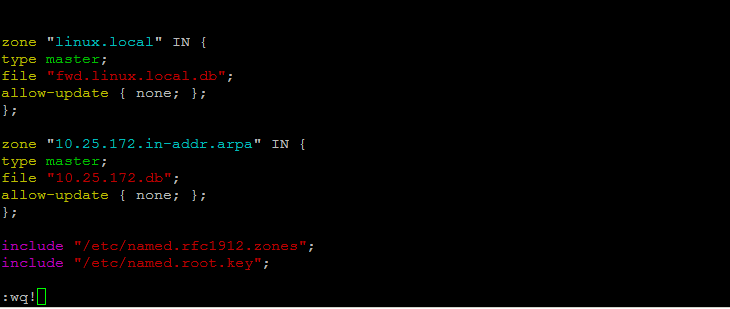
Now we are going to add the forward and reverse zone entries in ‘named.conf’ file, for our test domain. So, in order to setup the forward zone edit /etc/named.conf in such way to put the following configurations.
[cc] # vim /etc/named.conf [/cc]
[cc] zone “linux.local” IN {
type master;
file “fwd.linux.local.db”;
allow-update { none; };
}; [/cc]
Here we define the above configurations.
‘linux.local’ is the Domain name.
‘master’ is the Primary DNS
fwd.linux.local.db is the Forward lookup file.
‘allow-update’ will be none, its the primary DNS.
Similarly add the below lines to setup the reverse zone entry in your named.conf file.
[cc] zone “10.25.172.in-addr.arpa” IN {
type master;
file “10.25.172.db”;
allow-update { none; };
}; [/cc]
Now save and close the file using ‘:wq!’ as shown.
Create BIND Zone Files
After creating the forward and reverse zones now we move forward to create a zone file for our created zones within the default location of zone file in ‘/var/named/’ directory. Let’s create a zone file called fwd.linux.local.db in the mentioned directory for forward zone and make sure that all domain names should end with a dot .
[cc] #vim /var/named/fwd.linux.local.db [/cc]
[cc] $TTL 86400
@ IN SOA primary.linux.local. root.linux.local. (
2016042112 ;Serial
3600 ;Refresh
1800 ;Retry
604800 ;Expire
43200 ;Minimum TTL
)
;Name Server Information
@ IN NS primary.linux.local.
;IP address of Name Server
primary IN A 172.25.10.172
;Mail exchanger
linux.local. IN MX 10 mail.linux.local.
;A – Record HostName To Ip Address
www IN A 172.25.10.176
mail IN A 172.25.10.177
;CNAME record
ftp IN CNAME www.linux.local. [/cc]
Here in this configuration file there are some special keywords for Zone Files which are defined as :
[cc]
A – A record
NS – Name Server
MX – Mail for Exchange
CN – Canonical Name
[/cc]
After save and closing the file, create a new zone file for reverse zone under ‘/var/named/’ directory, to create reverse pointer to the above forward zone entries.
[cc]# vim /var/named/10.25.172.db[/cc]
[cc]
$TTL 86400
@ IN SOA primary.linux.local. root.linux.local. (
2014112511 ;Serial
3600 ;Refresh
1800 ;Retry
604800 ;Expire
86400 ;Minimum TTL
)
;Name Server Information
@ IN NS primary.linux.local.
;Reverse lookup for Name Server
8 IN PTR primary.linux.local.
;PTR Record IP address to HostName
100 IN PTR www.linux.local.
150 IN PTR mail.linux.local.
[/cc]
Restart BIND Services
Now we have successfully configured our BIND server , all we need it to restart its services after changing the permissions of both files with below commands.
[cc]# chmod 777 /var/named/fwd.linux.local.db [/cc]
[cc]# chmod 777 /var/named/10.25.172.db [/cc]
[cc]# systemctl restart named.service [/cc]
Verify Bind Zones
After setting up the BIND server, login to any client machine and add the dns entry in its ‘/etc/resolv.conf’ file with your Primary DNS server IP that we have configured above.
[cc] client#vim /etc/resolve.conf [/cc]
[cc] nameserver primary_dns_server_ip [/cc]
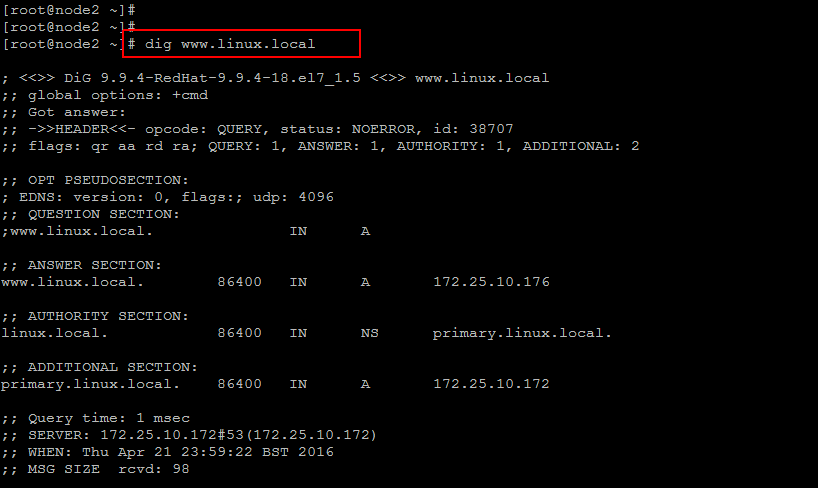
Then use the following command to verify the forward lookup, where the DNS server show up the IP address of your server for www.linux.local. You can check by running the below command on your client machine.
[cc] # dig www.linux.local [/cc]
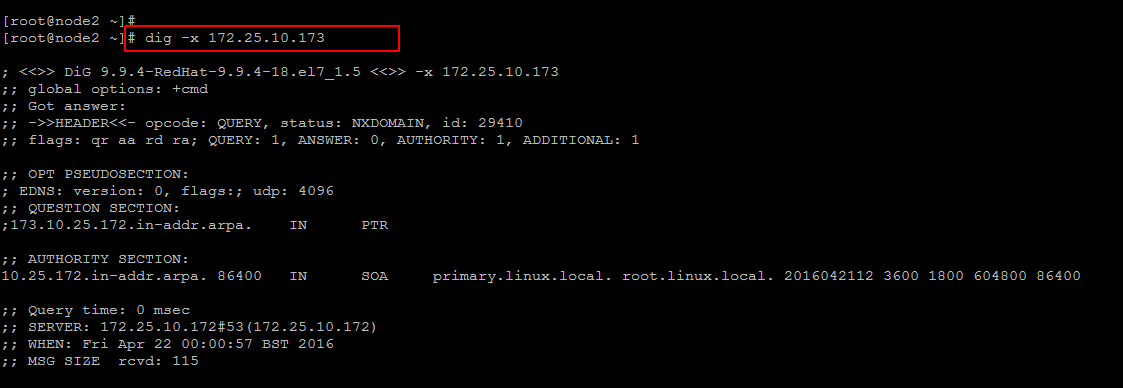
Now in order to verify the reverse lookup, run the below command that will show the DNS server as a name for your client IP. name and IP.
[cc] # dig -x client_server_ip [/cc]
Conclusion
Its now confirmed that both forward and reverse lookups are working fine and we have fully functional DNS-BIND server setup on CentOS 7 server. I hope you have enjoyed following this article. Do not hesitate to leave your suggestions and valuable comments. Will get back to you with awesome article on Linux and other Open Source applications.


