A few weeks before, We have shown you how to install and configure a basic FTP server on CentOS 7. Today, In this brief tutorial let use how to configure the Vsftpd with SSL/TLS.
I assume you already installed and configured the Vsftpd server. If you didn’t, please follow the below link to install and configure a basic Vsftpd server.
Configuring Vsftpd With SSL/TLS
After installing vsftpd on CentOS 7 server, let us create a directory to store SSL certificates.
mkdir /etc/ssl/private
Then, create the certificate and key files using the following command:
openssl req -x509 -nodes -days 365 -newkey rsa:1024 -keyout /etc/ssl/private/vsftpd.pem -out /etc/ssl/private/vsftpd.pem
You’ll be asked to enter the series of questions such as Country, State Code, Email address, Organization name etc. Enter the details one by one. Here is my sample output:
 Generating a 1024 bit RSA private key
 ......++++++
 .............++++++
 writing new private key to '/etc/ssl/private/vsftpd.pem'
 -----
 You are about to be asked to enter information that will be incorporated
 into your certificate request.
 What you are about to enter is what is called a Distinguished Name or a DN.
 There are quite a few fields but you can leave some blank
 For some fields there will be a default value,
 If you enter '.', the field will be left blank.
 -----
 Country Name (2 letter code) [XX]:IN
 State or Province Name (full name) []:TN
 Locality Name (eg, city) [Default City]:Erode
 Organization Name (eg, company) [Default Company Ltd]:Unixmen
 Organizational Unit Name (eg, section) []:Technical
 Common Name (eg, your name or your server's hostname) []:server1.unixmen.local
 Email Address []:sk@unixmen.com
In the common name field, you can either use hostname or IP address of your vsftpd server.
Edit vsftpd configuration file /etc/vsftpd/vsftpd.conf,
vi /etc/vsftpd/vsftpd.conf
Add the following lines at the end:
ssl_enable=YES allow_anon_ssl=NO force_local_data_ssl=YES force_local_logins_ssl=YES ssl_tlsv1=YES ssl_sslv2=NO ssl_sslv3=NOrsa_cert_file=/etc/ssl/private/vsftpd.pem
rsa_private_key_file=/etc/ssl/private/vsftpd.pem
Save and close the file. Restart vsftpd service.
systemctl restart vsftpd
Check FTP Server
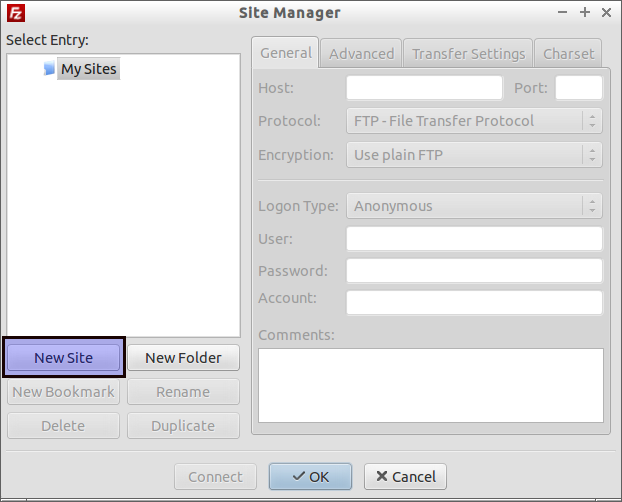
Open Filezilla from your client system. Go to File -> Site Manager.
In the Site Manager window, select New Site.
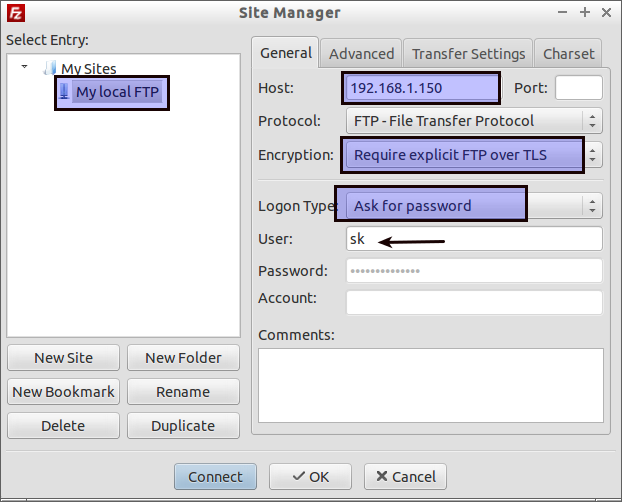
Name your new site, or leave it as it is. In my case I name it as My local FTP. Enter the FTP server IP address, and select “Require explicit FTP over TLS” from the Encryption drop down box. In the Logon Type drop downbox, select Ask for password option, and enter your FTP user name. Finally click on the Connect button.
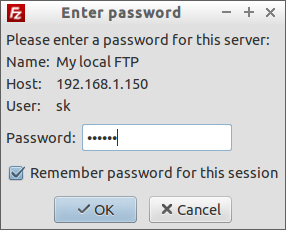
You’ll be asked to enter the ftp user password in the next screen.
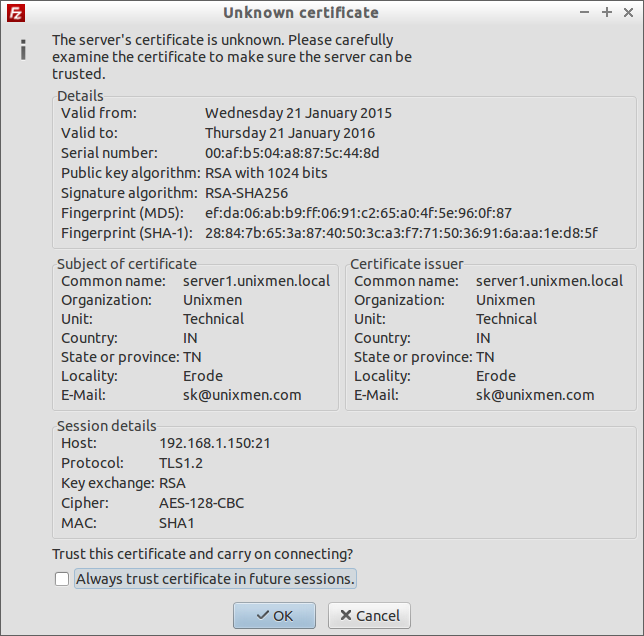
Now, you”ll be asked to accept the certificate that is being used to make sure the server can be trusted. In the Certificate window, you may see the list of values which is entered during the certificate generation process. Click Ok to accept the certificate and establish the connection.
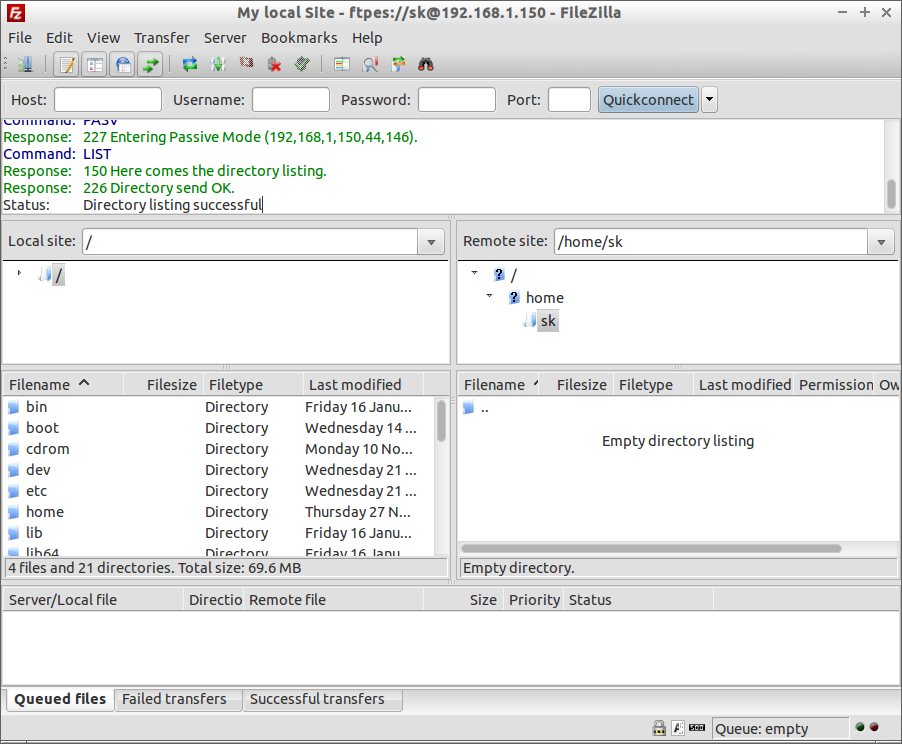
That’s it. Now you’ll be able to access your FTP server.
Note: if you keep getting the error “The data connection could not be established: EHOSTUNREACH – No route to host” after enabling SSL/TLS, disable iptables and try again.
That’s all for now. Cheers!


