
Today we will see how we can configure port 465 for sending mail with authentication. SSL encryption is started automatically before any SMTP level communication can take place hence this is much more secure. Tcp port 465 is used for SMPT over SSL. Protocol name is known as smtps. SMTPS is not a proprietary protocol and not an extension of SMTP. It is just a way to secure SMTP at the transport layer.
For our today’s walkthrough, I am running a Ubuntu 14.04.3 LTS Linux distribution. I am considering that you have already installed qmail on your system as MTA (Mail Transfer Agents) and qmail is able to send & receive mails. It’s a prerequisite for us. Installing and configuring qmail are not that difficult as well. Refer the following link to install Qmail.
# STEP 1
We need to download the copy of qmail source archive file. You can try this direct download link. If it is not available then just google for “download qmail-1.03.tar.gz”.
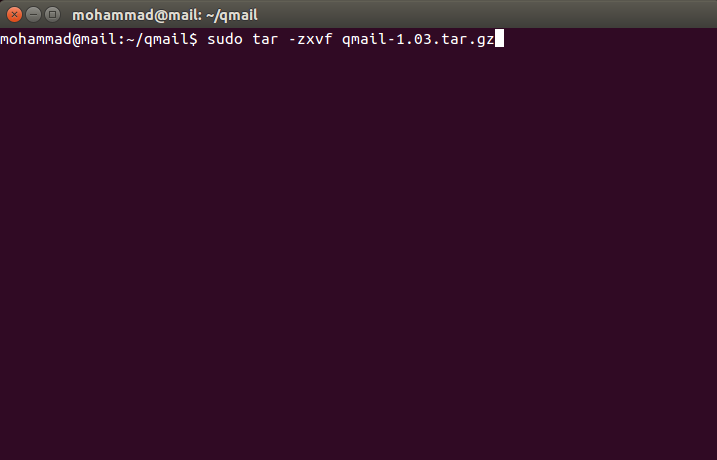
Extract the qmail archive file to a location. To do so, issue the following command on a terminal.
sudo tar -zxvf qmail-1.03.tar.gz
It will extract all file from the archive.
Now, move to the extracted directory. I am issuing the following command for my extracted location.
cd /qmail-1.03
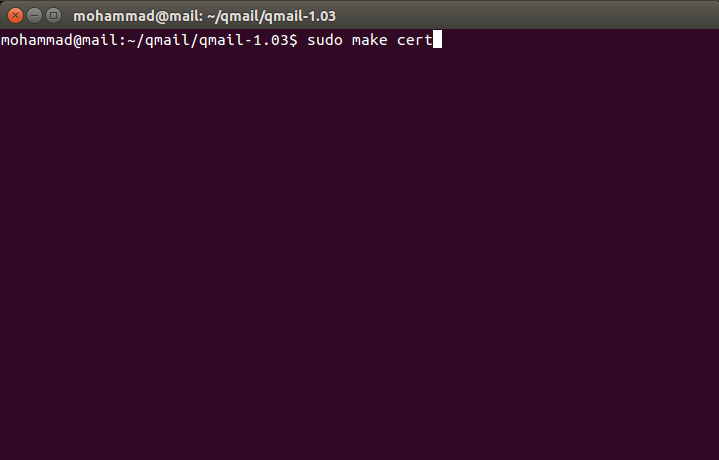
Now, issue the following two 2 commands one after another on the terminal.
sudo sed -i 's/-days 366/-days 3650/' Makefile

sudo make cert
# STEP 2
Installing ucspi-ssl for sslserver. Download ucspi-ssl-0.70.2.tar.gz from this link. If it is not available then just google for “download ucspi-ssl-0.70.2.tar.gz”.
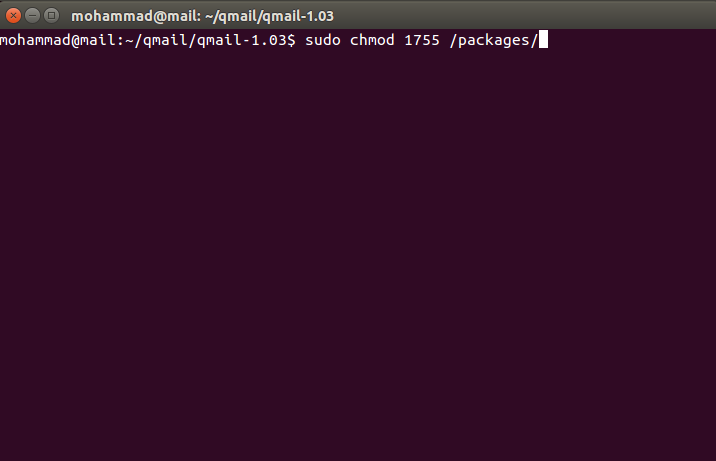
Issue the commands one after another in the terminal.
sudo mkdir /packages
sudo chmod 1755 /packages
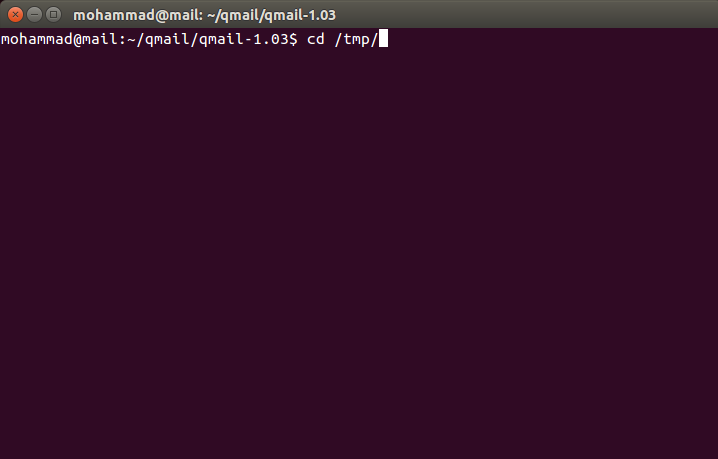
cd /tmp
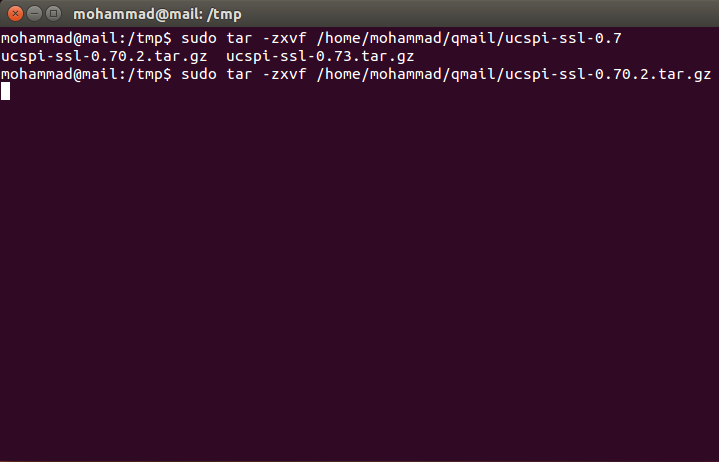
sudo tar -zxvf /home/mohammad/qmail/ucspi-ssl-0.70.2.tar.gz
The above command is for my path to ucspi-ssl-0.70.2.tar.gz file. Please use your own path location for ucspi-ssl-0.70.2.tar.gz.
sudo mv /tmp/host/superscript.com/net/ucspi-ssl-0.70.2/ /packages
cd /tmp
sudo rm -rf host
cd /packages/ucspi-ssl-0.70.2/
# STEP 3
Type the following command one by one in the terminal.
sudo sed -i 's/local\///' /packages/ucspi-ssl-0.70.2/src/conf-tcpbin
sudo sed -i 's/usr\/local/etc/' /packages/ucspi-ssl-0.70.2/src/conf-cadir
sudo sed -i 's/usr\/local\/ssl\/pem/etc\/ssl/' /packages/ucspi-ssl-0.70.2/src/conf-dhfile
sudo openssl dhparam -check -text -5 1024 -out /etc/ssl/dh1024.pem
sudo package/compile
sudo package/rts
sudo package/install
# STEP 4
Issue the following command in the terminal one by one and one after another.
sudo chmod a+r /var/qmail/control/servercert.pem
mkdir -p /var/qmail/supervise/qmail-smtpds/log
cd /var/qmail/supervise
sudo chmod +t qmail-smtpds
Now, download the file named service-qmail-smtpdssl-run from here. And then issue the following command.
sudo cp /home/mohammad/Downloads/service-qmail-smtpdssl-run /var/qmail/supervise/qmail-smtpds/run
Again, for the above command, my download folder location was /home/mohammad/Downloads. Please use your path location where you downloaded the file named service-qmail-smtpdssl-run.
Now, open the file /var/qmail/supervise/qmail-smtpds/log/run/smtpdssl_log in your favourite editor. I am using vim.
sudo vim /var/qmail/supervise/qmail-smtpds/log/run/smtpdssl_log
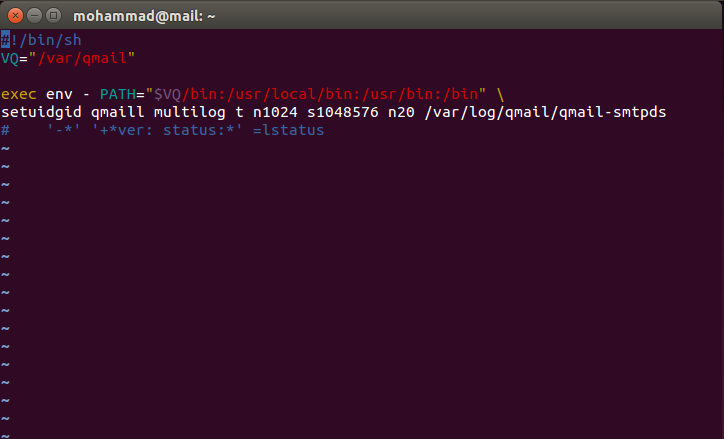
And add these following lines below to the file smtpdssl_log.
#!/bin/sh
 VQ="/var/qmail"
 exec env - PATH="$VQ/bin:/usr/local/bin:/usr/bin:/bin" \ setuidgid qmaill multilog t n1024 s1048576 n20 /var/log/qmail/qmail-smtpds
The file will look like below image.
Now, type these three commands one after another in the terminal.
sudo chmod 751 /var/qmail/supervise/qmail-smtpds/run
sudo chmod 751 /var/qmail/supervise/qmail-smtpds/log/run
sudo ln -s /var/qmail/supervise/qmail-smtpds /service/qmail-smtpds
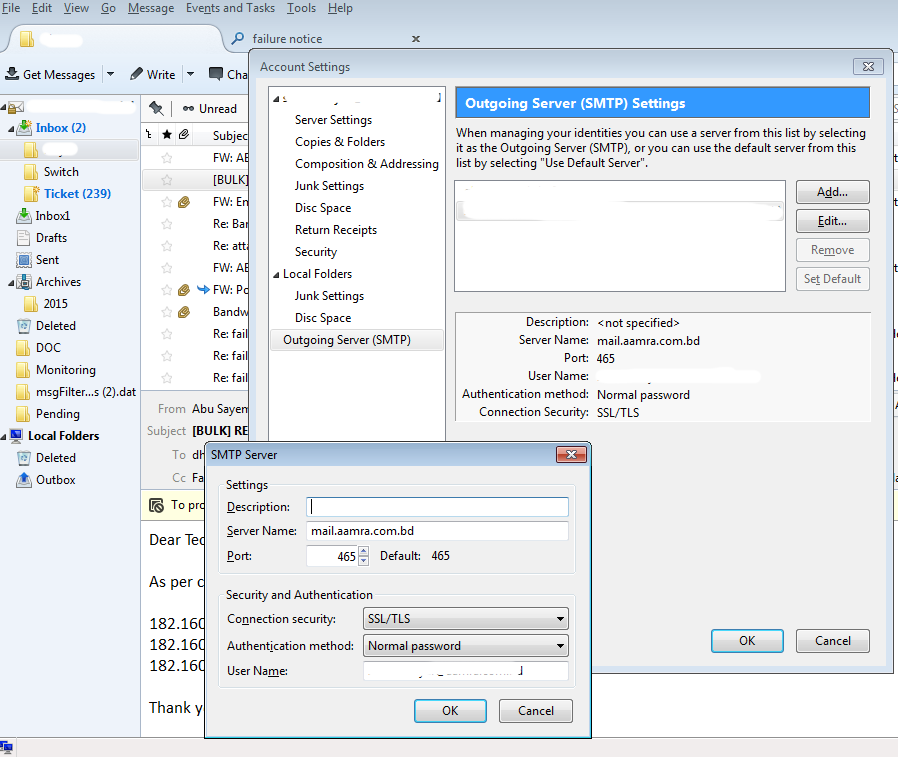
If everything goes well, we are done with configuring port 465 for SMTP authentication. You can test it by using your favourite mail client. Configure your favourite mail client so that it use port 465. I am showing a screenshot of mine.
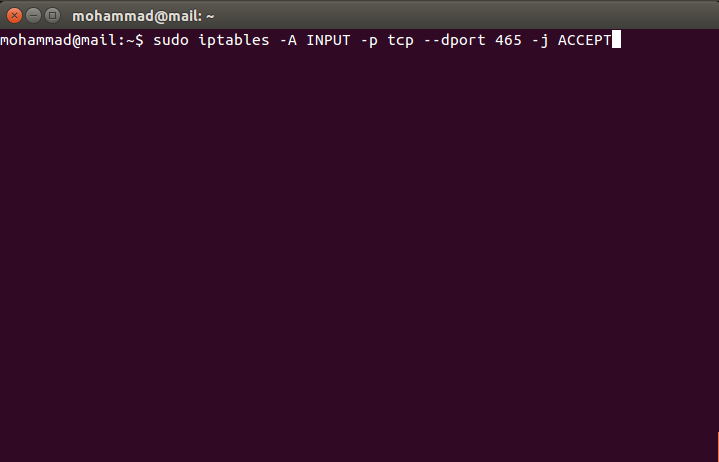
Note: If you are behind any physical firewall like Juniper or Cisco, then you must allow port 465 to pass through. If you are behind any Linux driven firewall, issue the following command in the terminal to add the rule to your iptables firewall.
sudo iptables -A INPUT -p tcp --dport 465 -j ACCEPT
That’s all for today. Hope you enjoyed it.


