
VMWare is a leading service provider in the field of modern day computing and virtualization. They have developed a long list of products to ensure smooth setup and running of a virtualized platform. VMWare Player or VMWare Workstation Player is a most widely used tool for creating and managing virtual machines on Linux and Windows operating systems. It offers a streamlined user interface to create virtual machines in almost no time. It is an essential tool for system administrators and IT professionals as they often need to setup virtualization environment on their local systems to test different kind of applications.
VMWare player is being used from homes to Enterprise level. Home users benefit from it by simply creating new virtual machines on their desktop systems, and enterprises use this tool to better cope with the modern day growing needs of their application or customers. Both home or Enterprise users often need to clone their existing virtual machines so that they may save lot of time setting up applications on new one. In this article, we will be reviewing the process of cloning one VMWare player virtual machine to another.
Side Note: Oracle VirtualBox is considered to be a competitor for VMWare player, you can check general guidelines and installation process for Oracle VirtualBox here.
Installing VMWare Player on CentOS Linux
You can skip this part if you already have VMWare player installed, this part is for beginner users who are also seeking help with VMWare player installation on Linux.
First of all, launch your system’s terminal and download the installer file for VMWare player to the location of your choice.
[cc]wget https://download3.vmware.com/software/player/file/VMware-Player-7.1.2-2780323.x86_64.bundle[/cc]
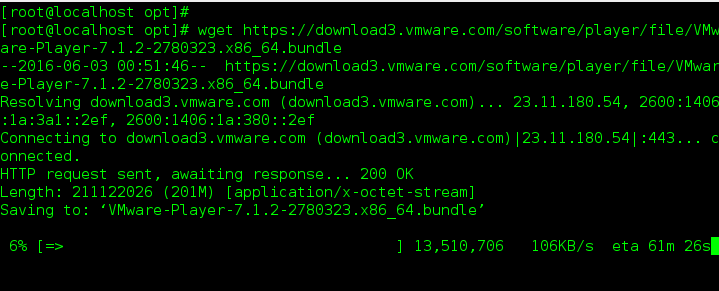
Once the download process is complete, grant the proper permissions to this downloaded file. If you have downloaded any different version, replace the installer file name with the exact name in this following command.
[cc]chmod +x VMware-Player-7.1.2-2780323.x86_64.bundle[/cc]
Ok, start the installation process by running the following command.
[cc]./VMware-Player-7.1.2-2780323.x86_64.bundle [/cc]
It will trigger the installation wizard for VMWare player, on the very first step accept this license agreement.

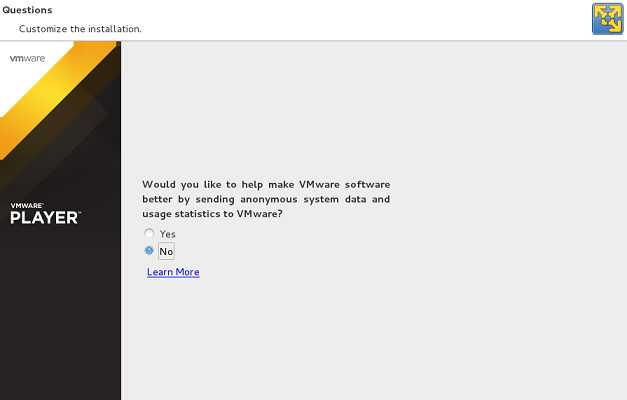
Choose whether you want to send anonymous data and statistics to VMWare. We prefered to choose “No” , but its alright if you want to go ahead with “Yes”.
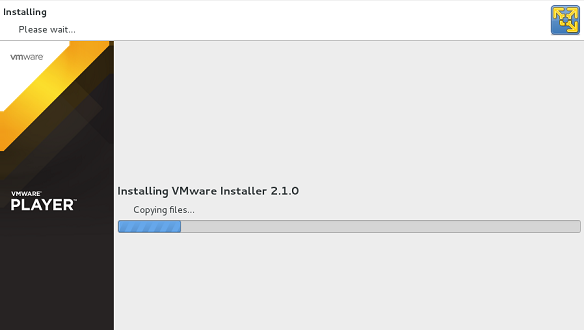
That’s it, the installation process is underway now. It shouldn’t take long, you should be seeing completion message soon.
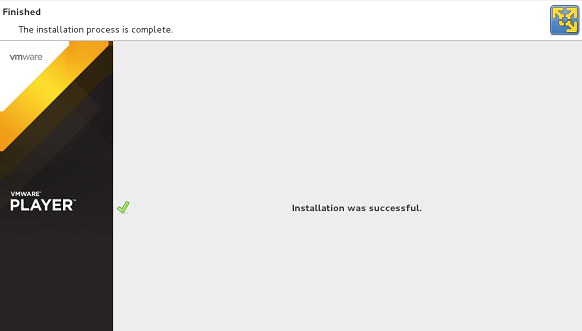
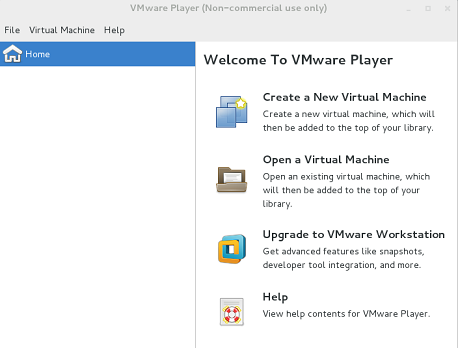
You can launch it from Applications > System Tools option.
 Cloning Virtual Machines
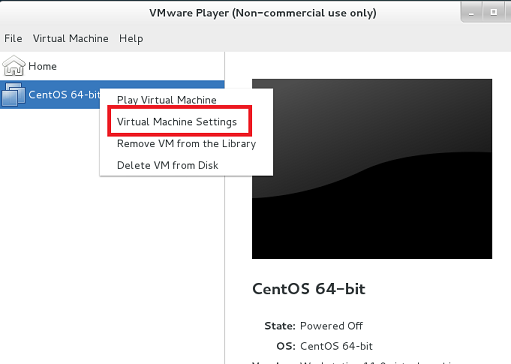
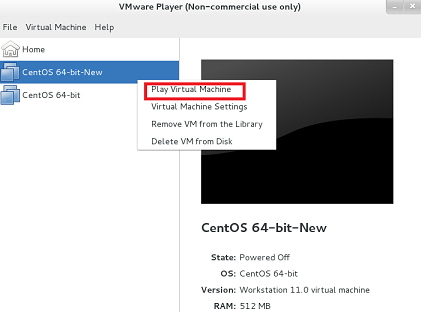
Let’s go ahead with our actual topic now; how to clone virtual machines using VMWare Player on Linux. First of all, make sure to shutdown the virtual machine your are willing to clone and right click its name in the left sidebar and choose “Virtual Machine Setting” option.
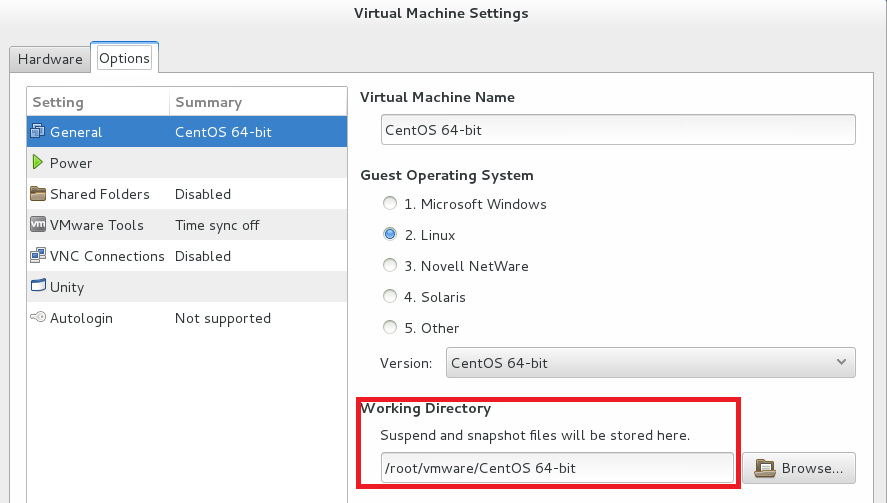
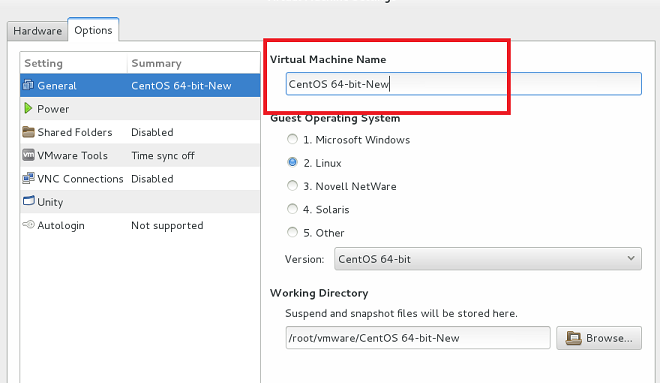
 We need to find out the path where our Linux system is actually storing virtual machine’s data, once Virtual Machine’s setting box is loaded, go to the “Options” tab and locate the correct path for virtual machine’s working directory from here.
 Launch your sytem’s terminal and go this directory to verify that data is there actually.

In our case “CenOS 64-bit” is the name of the virtual machine we are trying to clone, so in order to clone this virtual machine, simply make a copy of this directory at the same location. “cp” command should do the job for you, just make sure to replace the correct name of your virtual machine in the command displayed below.

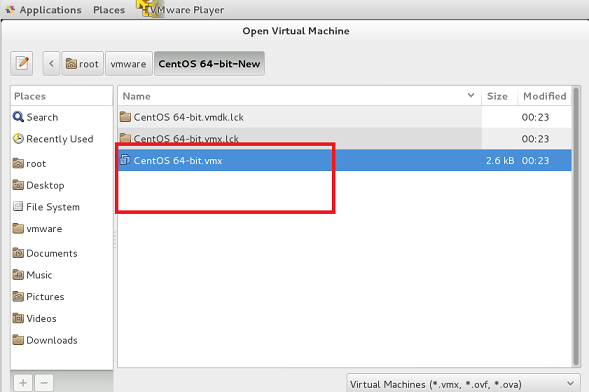
Okay we are done with terminal part now! head back to the VMWare Player application and from here choose “Open a Virtual Machine” option.
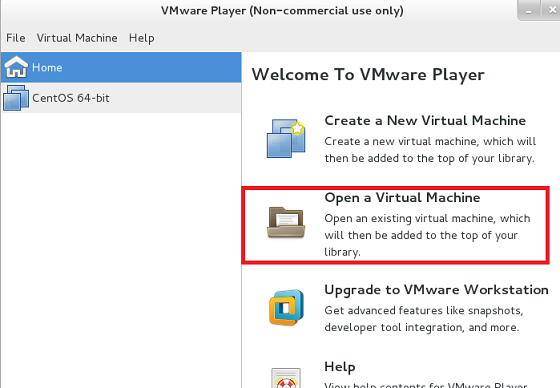
Browse to the location where you create new copy, and from inside the copied folder, choose .vmx file and click “Open”.
There you go, you will be able to see another virtual machine added to the list ; but it will be having the same name as the old one, simply right click it and choose “Virtual Machine’s Settings” to rename it. Under the option’s tab, you can give it a unique/new name.
Congratulations! Virtual machine has been cloned, right click and start new machine from VMWare Player’s left side bar.
Conclusion
We hope you find this article useful, VMWare Player is a pretty powerful tool and gives you great control on how you manage your virtualization setup. It provides ease of use and flexibility. If you have any questions or suggestions, please feel free to let us know in comment section below.
If you enjoy our article(s), Please use “Get Linuxpitstop articles by Email” option to get latest articles by email. Please like, follow and share our social network pages, we need help from esteemed visitors like yourself to keep this venture going.


