
What is Nmap?
Nmap, Network Mapper, is an open source tool for network exploration and security auditing. It was designed to rapidly scan large networks, although it works fine against single hosts.
What Nmap does for you?
Nmap uses raw IP packets in novel ways to determine,
1. what hosts are available on the network,
2. what services (application name and version) those hosts are offering,
3. what operating systems (and OS versions) they are running,
4. what type of packet filters/firewalls are in use, and dozens of other characteristics.
While Nmap is commonly used for security audits, many systems and network administrators find it useful for routine tasks such as network inventory, managing service upgrade schedules, and monitoring host or service uptime.
We already have shown you how to install and scan your network with nmap in command mode. In this let us see how to scan your network with Zenmap. We can easily scan and find network problems graphically using this tool.
What is Zenmap?
Zenmap is a multi-platform graphical Nmap frontend and results viewer which aims to make Nmap easy for beginners to use while giving experienced Nmap users advanced features.
Install Zenmap On Debian, Ubuntu and Linux Mint
Enter the following command to install Zenmap:
$ sudo apt-get install zenmap
Launch Zenmap
Open Zenmap from your Terminal with command:
$ sudo zenmap
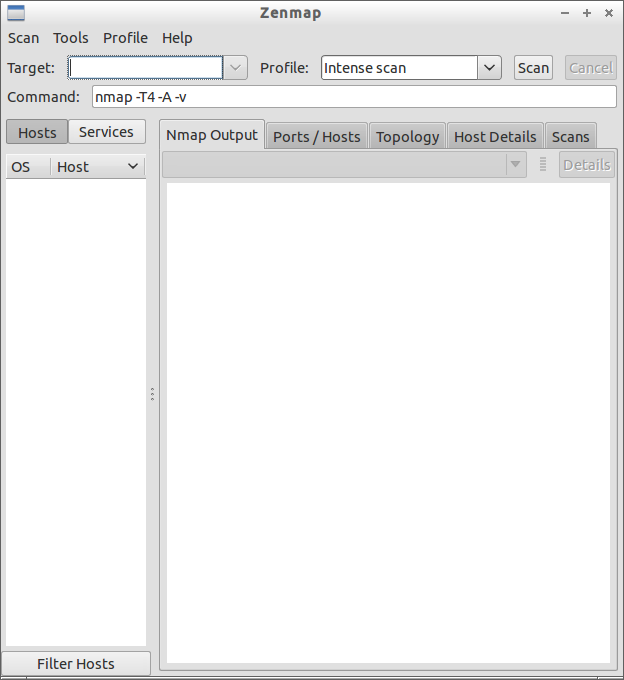
Or you can open it either from your Dash or Menu. The default interface of Zenmap will look like below.
 Scan a Single(particular) Host
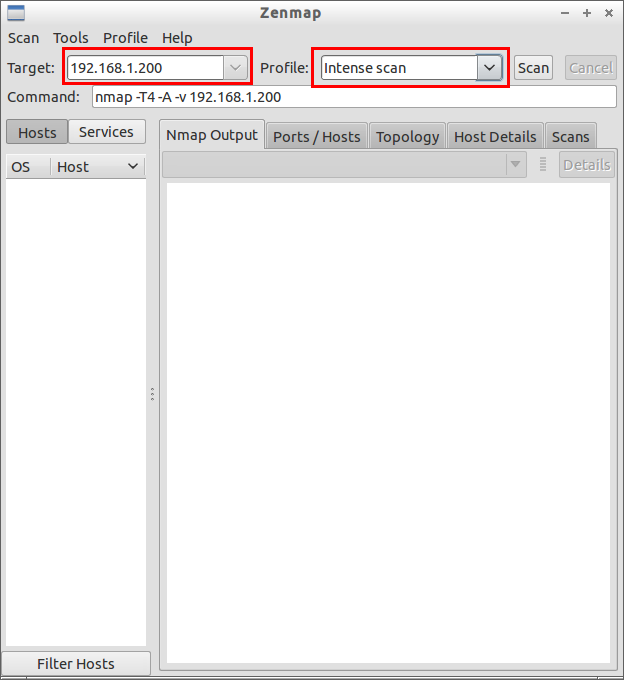
In the Zenmap interface, enter the ip address of the host that you want to scan in the Target field and select the desired profile from the Profile drop-down box.
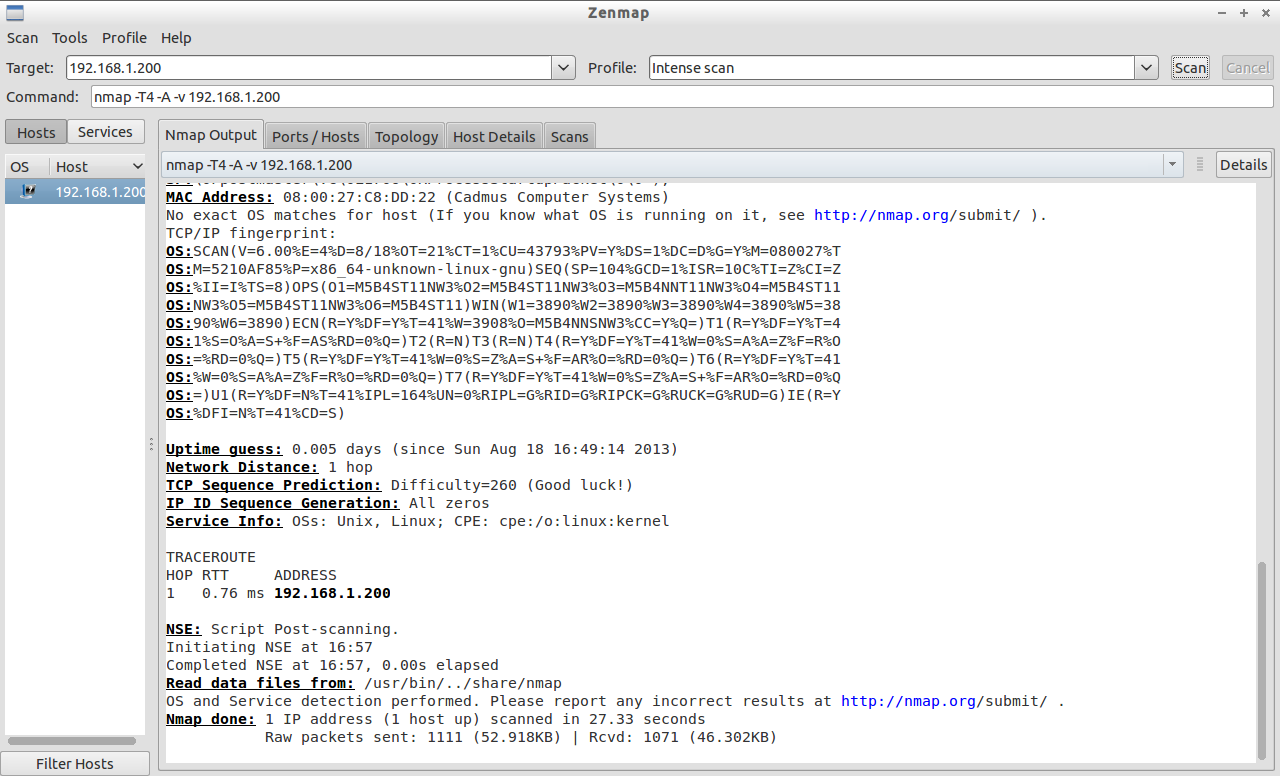
 Zenmap will analyze and displays the complete details such as OS version, installed services, services status and uptme etc., in the Nmap Output section.
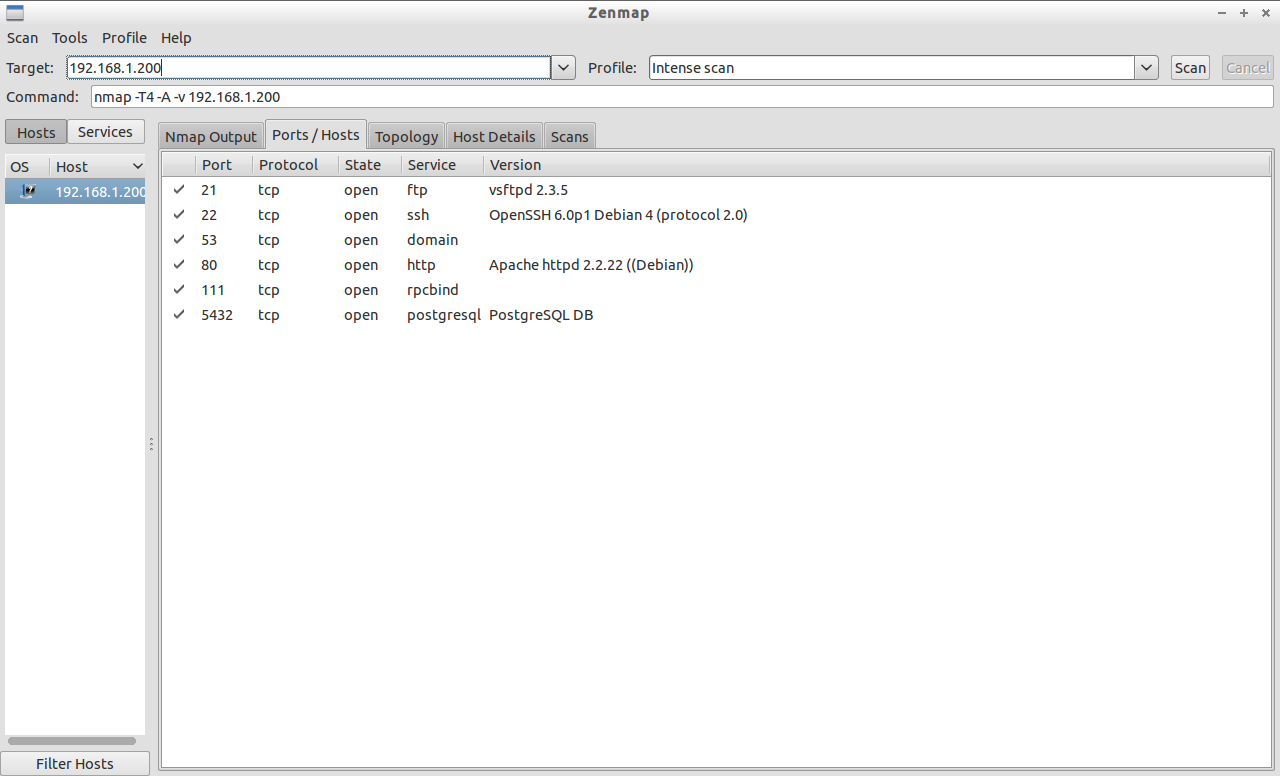
 To find the scanned host’s list of open ports, port states, the services corresponding to the ports and it’s version details etc., click on the Ports/Hosts tab.
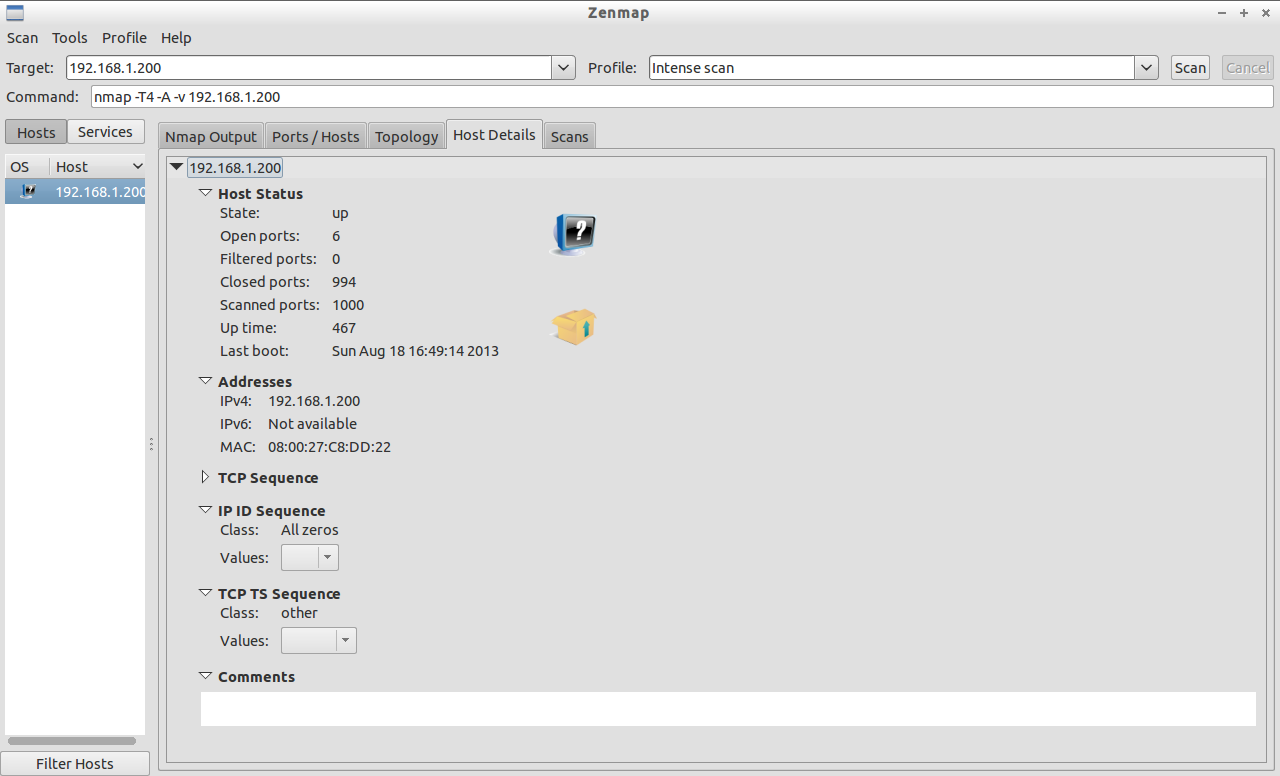
 Also it will get you the host details as well. Click on the Host Details tab in the Zenmap main interface.
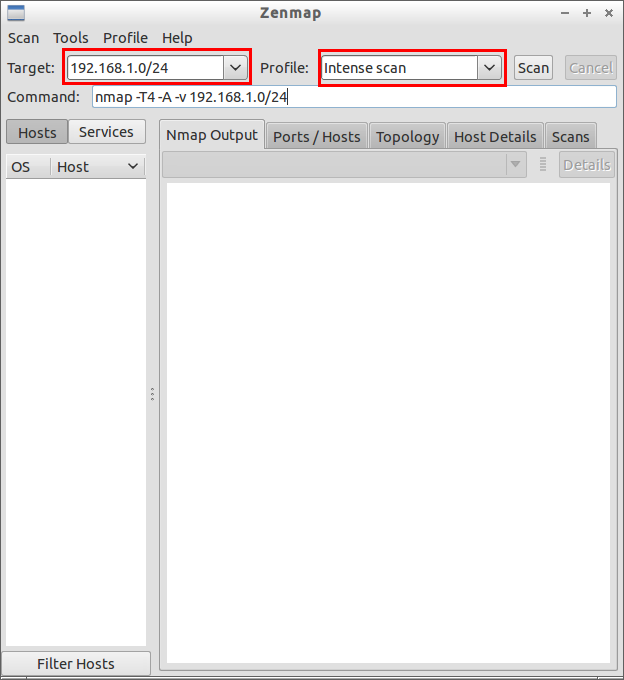
Scan Entire Network
To scan your entire network, just enter the ip address series (ex. 192.168.1.0/24) of your network in the Target field of the Zenmap window. Click on Scan to start scanning your whole network.
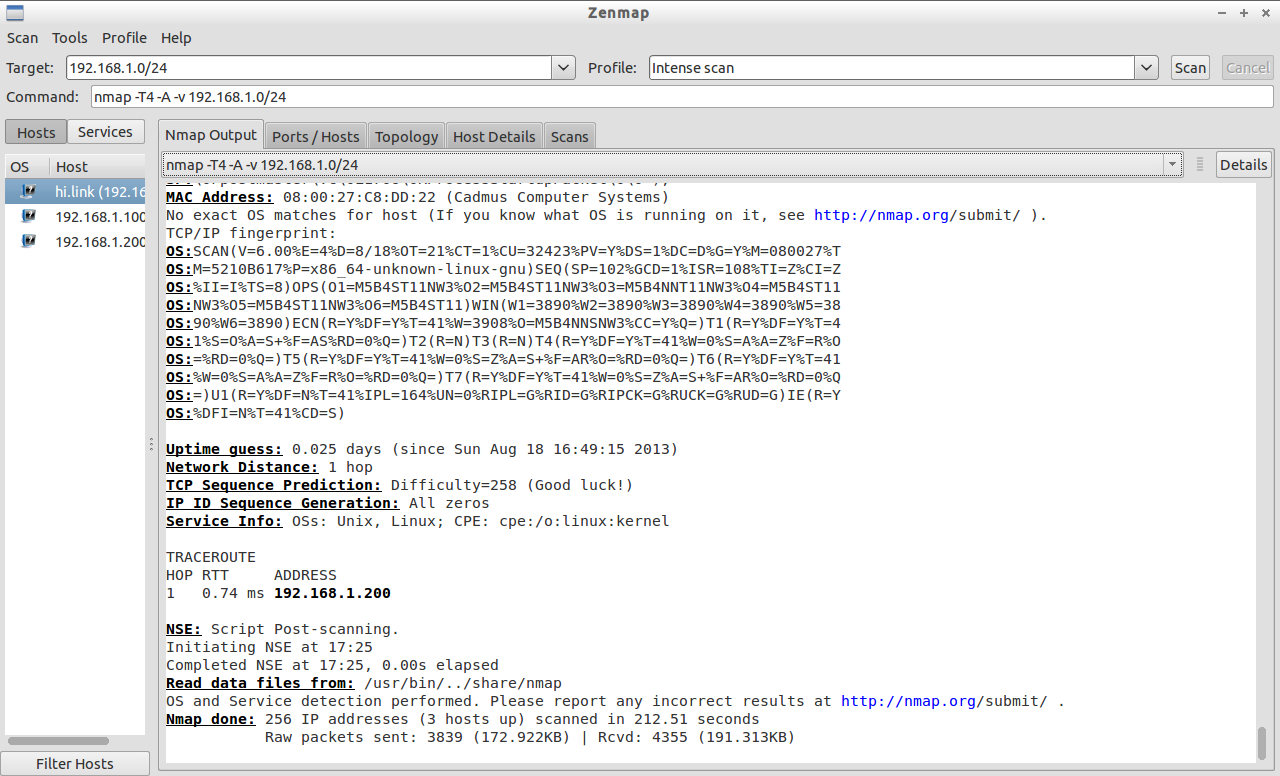
 Sample Nmap Output:
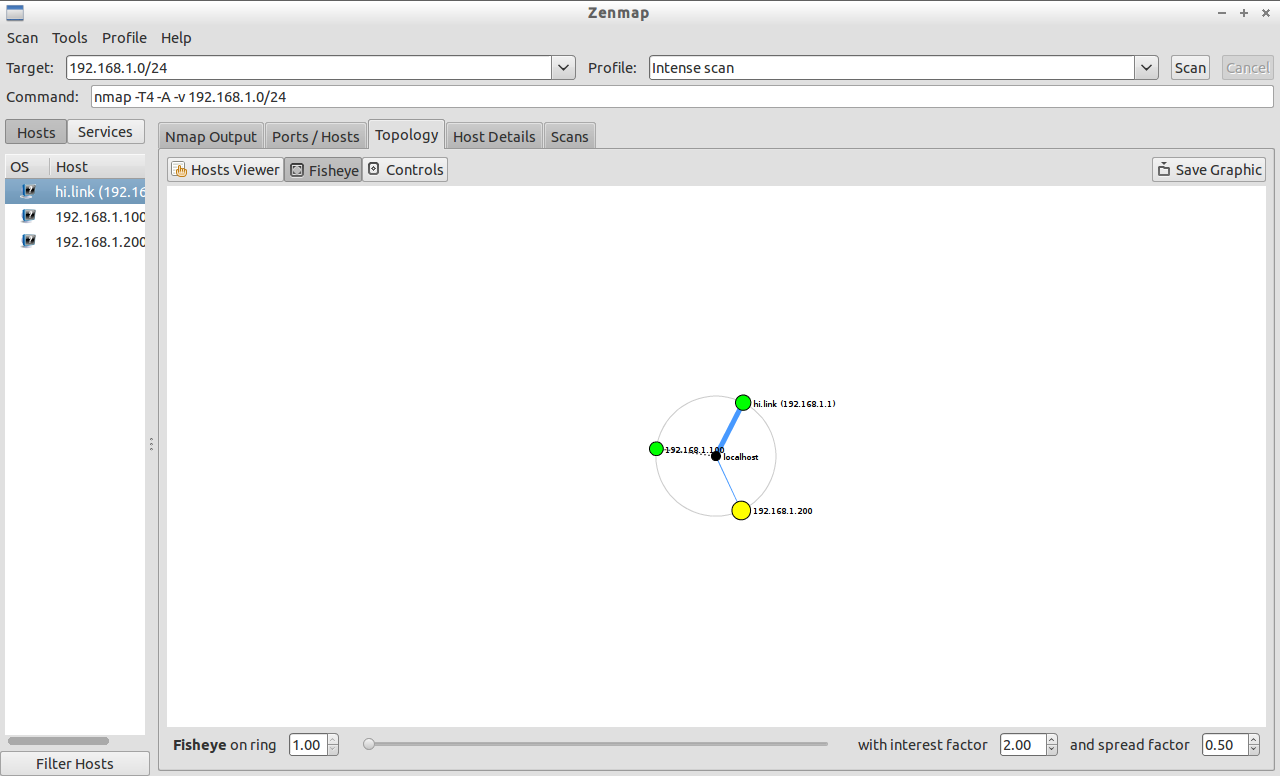
 Also you can view the Topology view of your current network like below. To do that go to Topology tab. You will get the result like shown below.
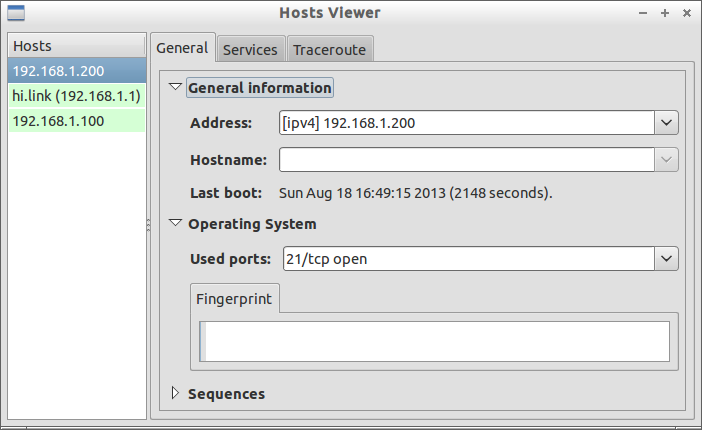
 If you want to view the particular host details in the above entire scan, it’s also possible. Click on the Host Viewer tab in the above result window. Select the corresponding host ip address to view it’s details.
 Compare Results
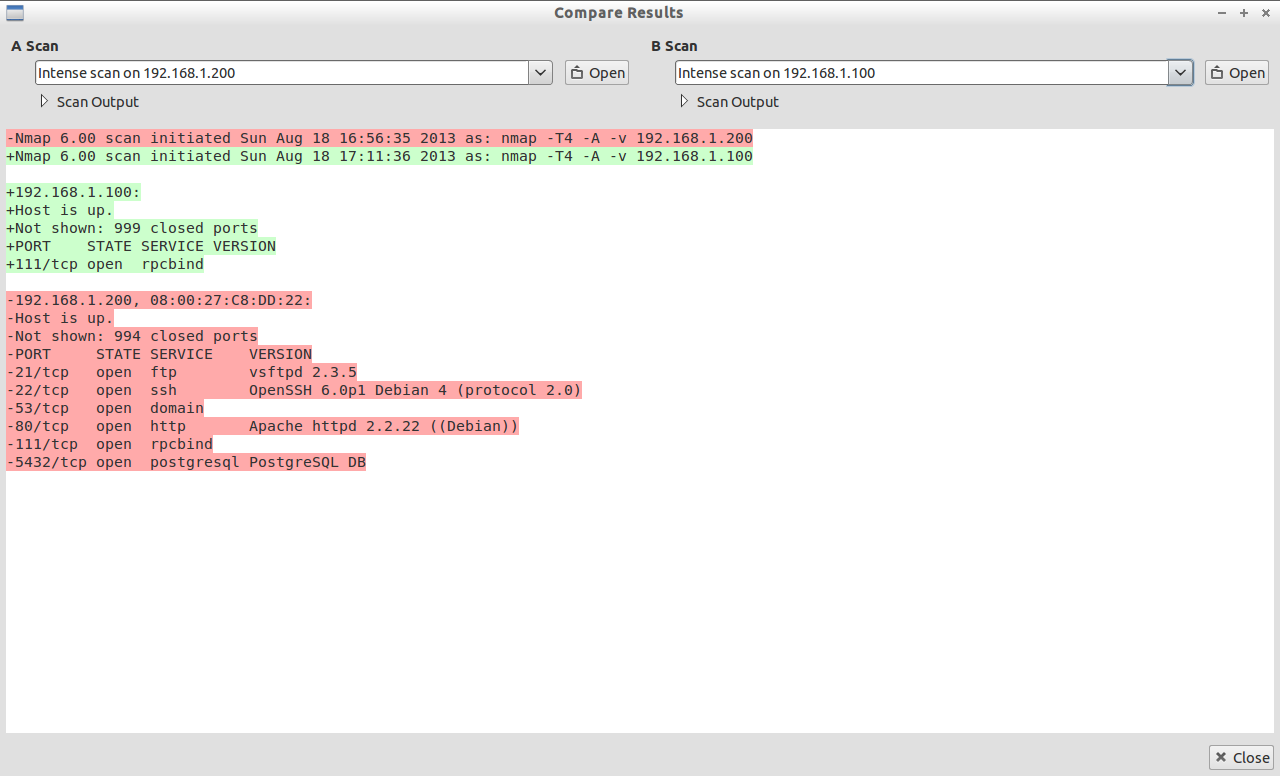
Once you done the scan in one system, start the same in another system. Compare the two host scan details by navigating to Tools -> Compare Results in the Zenmap window. Select the two hosts from A Scan and B Scan drop-down boxes. It will display the result like shown below.
 Apart from these, one more notable feature of Zenmap is Profile editor. You can edit and modify existing scan options of the built-in profiles.
To open Profile Editor, go to Profile -> Edit Selected Profile.
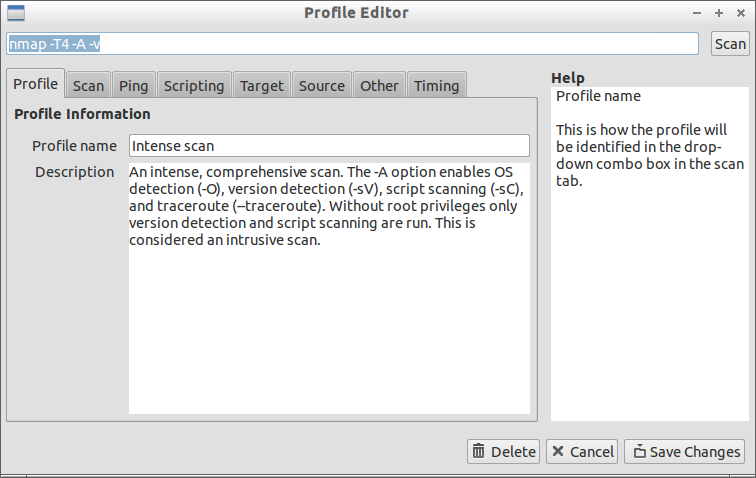 The Profile Editor contains numerous sections such as Profile, Scan, Ping, Scripting, Target, Source, other and Timing. Navigate to each section and modify the scan options as per your requirement.
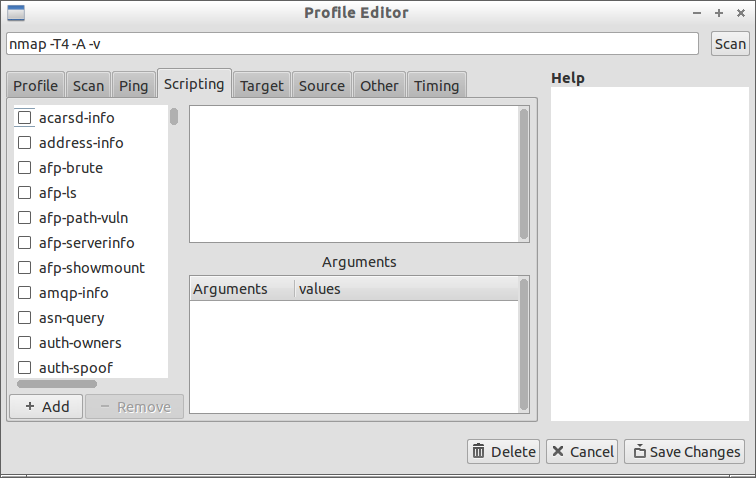 Once you modified all the values that you want to include in Zenmap scan, click on Save Changes. For more information about Zenmap, i suggest you to read the official documentation section.


