
Hello, hope you doing well, Ubuntu 16.04 LTS has been just out and once you have installed a brand new Ubuntu 16.04 Xenial Xerus then first of all you need to do some of its best tweaks. In this article we will try to figure out some of the common services which are required to run on every system depending upon their nature and necessity. So that we have a fully functional and smoothly running Ubuntu 16.04 Desktop for the users users that need their some services applications running before they start working with fresh flavor of Ubuntu 16.04.
Step 1: Applying System Updates
Login to your Ubuntu 16.04 LTS desktop providing with your superuser credentials to make sure your system is upto date to avoid security issues. Let’s run the below command after setting up your Internet connection to update all the packages to latest version by opening the command line command line terminal.
To Update Repository Index:
[cc]$ sudo apt-get update [/cc]
To Update System Packages to Latest Version:
[cc]$ sudo apt-get upgrade[/cc]
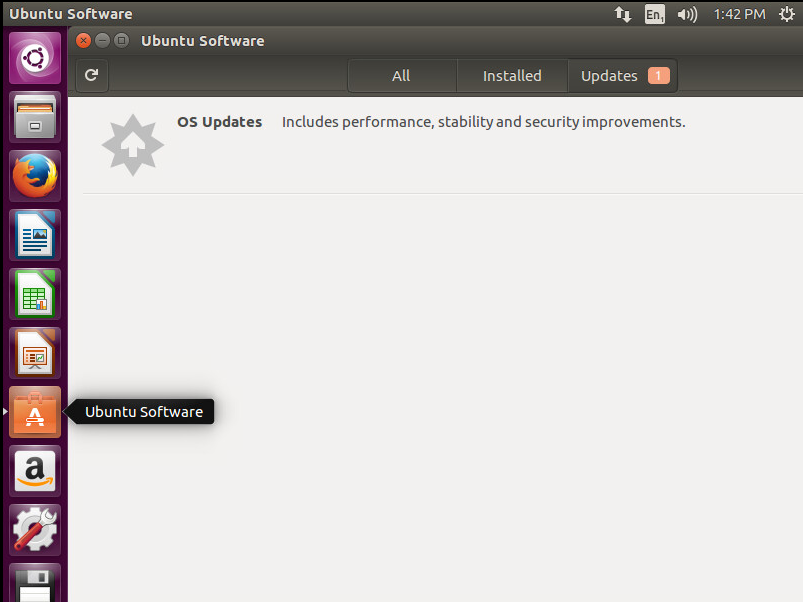
You can do system updates through GUI by hitting the Ubuntu Software >> Updates to check for software updates.
Step 2: Installing Missing Drivers/Packages:
To be able to play most audio and video formats, install Ubuntu Restricted Extras by installing the codecs, Java, and encrypted DVD playbackit using the following command.
[cc] $ sudo apt-get install ubuntu-restricted-extras [/cc]
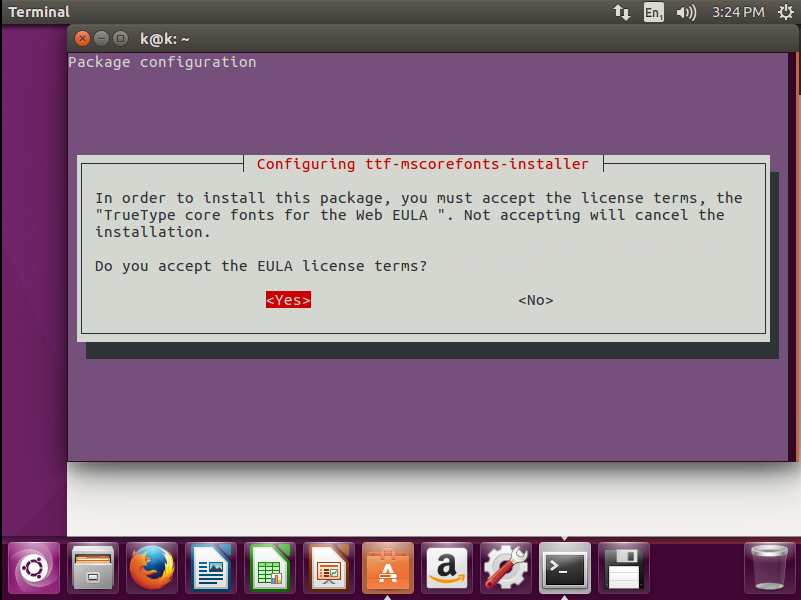
Press ‘Y’ key to confirm the installation to start then you will be asked to accept the License Agreement. Select ‘Yes’ to continue as shown.
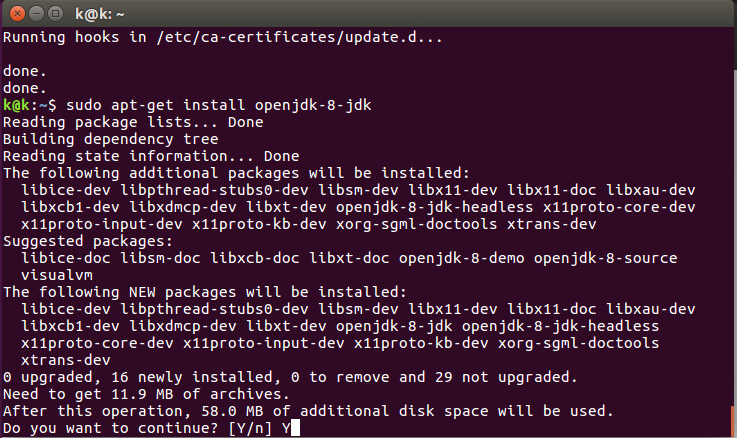
Now you may also need Java, most likely OpenJRE and the Java browser plugin. For development, you’ll also want OpenJDK which you can installed by using the following commands.
[cc]sudo apt-get install icedtea-8-plugin openjdk-8-jre [/cc]
Step 3: Moving Launch Pad to Bottom
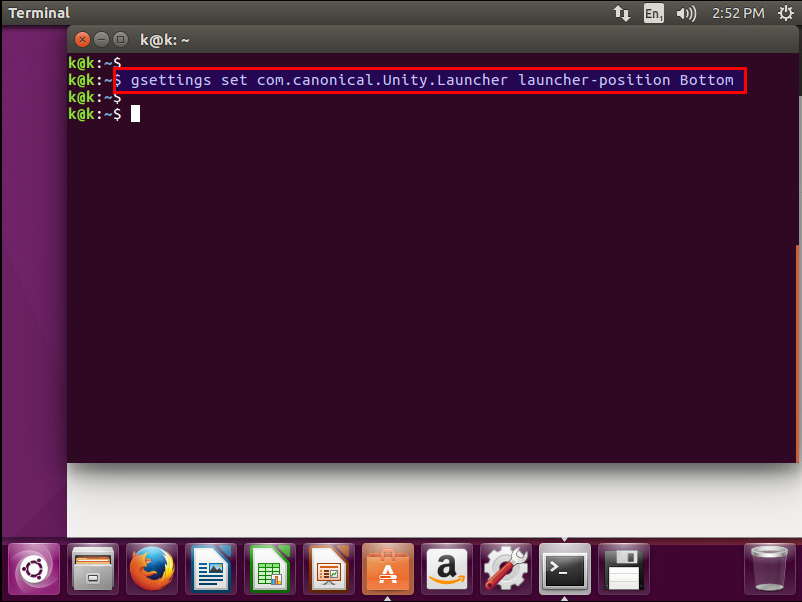
In Ubuntu 16.04 a new feature is introduced that now you can move Unity Launcher to the bottom. There are two ways of doing it, one using a single command and other is using Unity Tweak Tool. Let’s run the below command in your command line terminal to change the Launcher position.
To Move Launcher to Bottom:
[cc]$ gsettings set com.canonical.Unity.Launcher launcher-position Bottom [/cc]
To Move Launcher to Left:
[cc]$ gsettings set com.canonical.Unity.Launcher launcher-position Left [/cc]
Step 4: Removing Guest Session
Ubuntu and some other Linux desktops come with a Guest Session account, which anyone can log into system without password. So, due to security reason we should disable it by using the following command in the terminal.
[Disable Guest Session on Unity]
$ sudo sh -c “echo ‘allow-guest=false’ >> /usr/share/lightdm/lightdm.conf.d/50-ubuntu.conf”
Step 5: Styling Your Desktop
We can Stylish the desktop as per our likeness by changing wallpapers on daily basics, Themes and icon once in a month or whenever we want through Unity Tweak Tool.
Run the command below to Install Unity Tweak Tool.
[cc]$ sudo apt-get install unity-tweak-tool [/cc]
Then Install Variety wallpaper changer by issuing the command below.
[cc]$ sudo apt-get install variety[/cc]
Now we are going to Install Themes & Icon Sets through enabling and updating system repository with the help of below commands.
[cc]$ sudo add-apt-repository ppa:ravefinity-project/ppa[/cc]
[cc]$ sudo apt-get update [/cc]

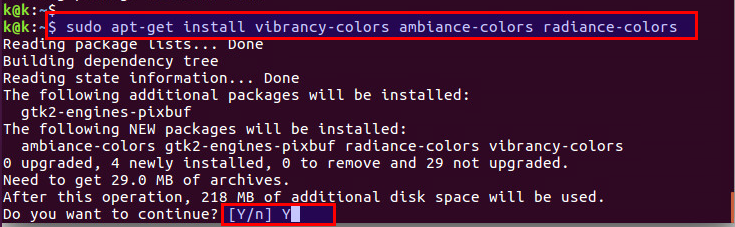
Once the system updates are complete, you can run the command below to install the required packages with below command to make your desktop more colorful.
[cc]$ sudo apt-get install vibrancy-colors ambiance-colors radiance-colors[/cc]
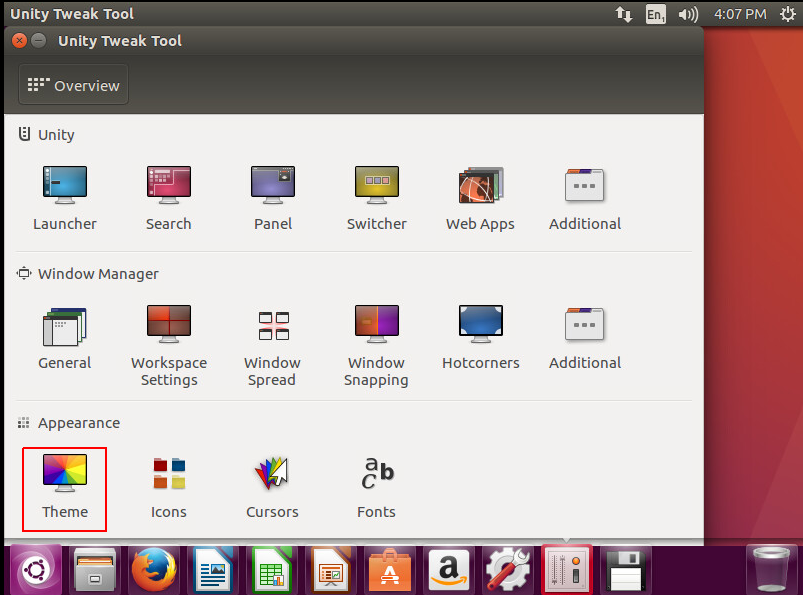
After completion of Installation, Restart your system and Change Icon & Themes by going to the Unity Search >> Unity Tweak Tool >> Theme under Appearance as shown below where you can see all the Icon & themes installed by selection any one.
Step 6: Enabling one-click to minimize feature
While working on the Desktop environment, its quite obvious that you need to open multiple applications and need to minimize by time to time. By default this feature is not enabled but you can do so by simply issuing the following command.
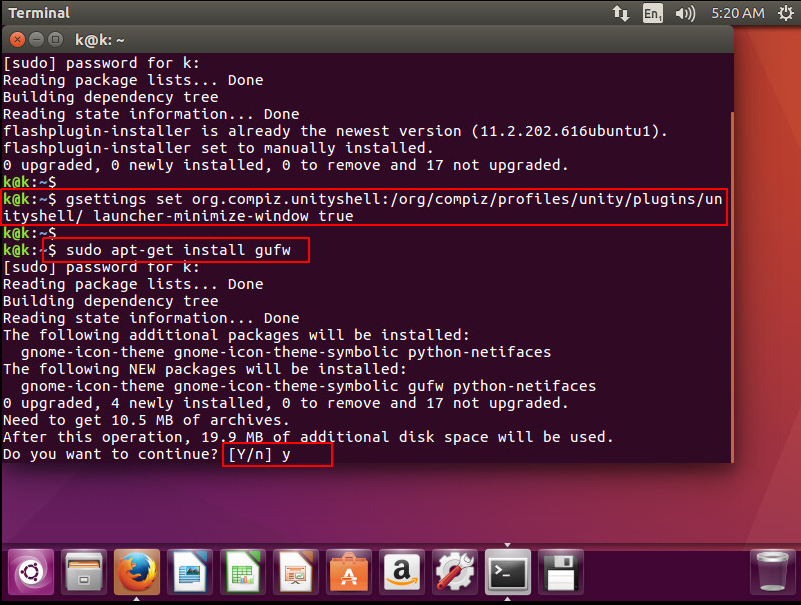
[cc] $ gsettings set org.compiz.unityshell:/org/compiz/profiles/unity/plugins/unityshell/ launcher-minimize-window true [/cc]
After successful execution, now you can easily minimize or maximize by simply doing clicks on the applications in the launch pad.
Step 7: Installing Flash player
By default Flash player is not installed on the fresh Ubuntu which is mandatory to run/view flash media in web browser. You can install flash player by running below command on your terminal.
[cc]$ sudo apt-get install flashplugin-installer [/cc]
Step 8: Installing Your Favorite Apps
There are some useful software application for Ubuntu that are not available from Ubuntu repository but they are easy-to-install by downloading .deb packages. You can install them by simply double-click on to install on your desktop. These are available for most of the following apps.
- Dropbox – Cloud storage service
- Spotify for Linux – Music streaming service
- Google Chrome – Web browser with built-in, up-to-date Flash for Linux
- Nylas N1 – A modern, stylish email client
- Viber – Cross-platform Skype alternative
- Vivaldi – Developer focused web browser
- Lightworks Free – Professional non-linear video editor
To download an Ubuntu installer for the above applications you can go through their official web sites to learn and use these applications.
Step 9: Firewall for Ubuntu:
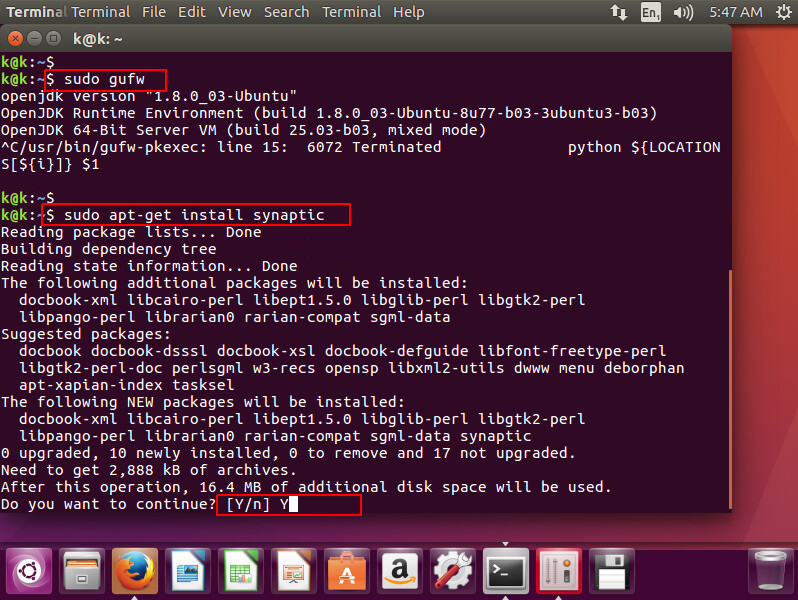
Firewall is very important for any kind of Operating System. In Ubuntu UFW is installed by default but it is command line and disabled by default. You can install best firewall GUFW enable and manage it graphically. Let’s enter following command in terminal to install the graphical firewall.
[cc]$ sudo apt-get install gufw [/cc]
Press ‘Y’ key to continue and after installation Search for ‘GUFW’ to configure it and add new rules.
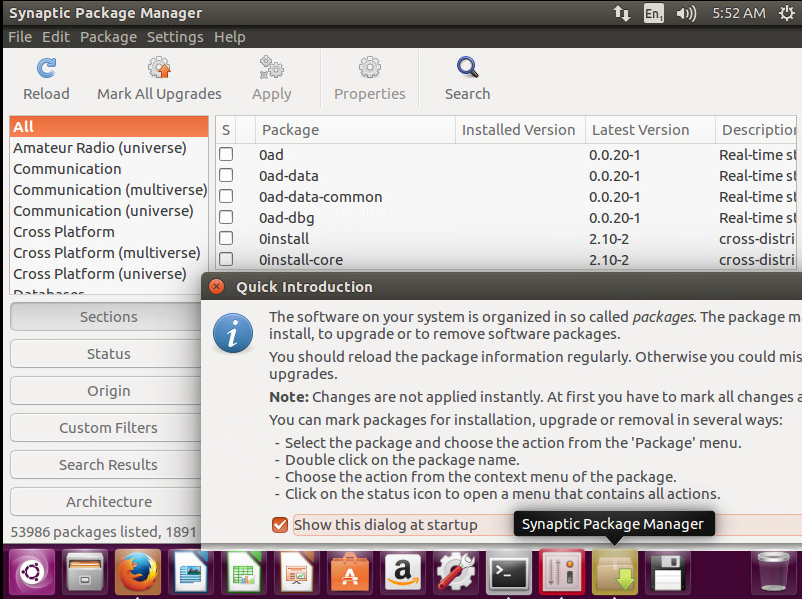
Step 10: Installing Synaptic Package Manager
If you are not familiar in command line the you must nstall Synaptic Package Manager which will help you to install, remove, update packages with its graphical user interface.
[cc]$ sudo apt-get install synaptic [/cc]
Press ‘Y’ key to continue and after installation Search for Synaptic in your Desktop launchpad to start using Synaptic Package Manager. Read the complete introduction to the synaptic usage and then click on the close button. After you will be able to manage all of your system updates, upgrades or downgrades through Synaptic.
Conclusion
Now your fresh Ubuntu 16.04 box become user friendly. Soon we will do more applications and services configurations with Ubuntu 16.04 in our near future articles. So, don’t forget to leave us your valuable comments and suggestions.


