
What is Tonido?
Tonido is a cross platform, free application that allows you to access all files on your computer from a web browser, smartphone, tablet or even DLNA enabled devices. You can access your files from anywhere, and ofcourse you can share them to your friends, family, and colleagues as well. Additionally, you can create a secure private share that only authorized people are allowed to access them. As you’re the only person to access or share your files to others, you have a private and secure Cloud on your hand.
Also using Tonido, you can stream your Media such as Photos, Audios, and Videos to any devices on your network. Tonido will help you to sync files/folders on multiple systems. Tonido works great on almost all platforms and devices such as Linux, Windows, Mac, Raspberry Pi, QNAP and all major mobile phones and tablets including iPhone, iPad, Android, Windows Phone 8 and Blackberry. The good news is you’re free to customize Tonido and use your own logo, branding and Identity.
Installation
Tonido comes in two flavours. Free for SOHO users, and Paid for Enterprise. In this tutorial, We will test the free version in Ubuntu 14.04. You can install Tonido on other Linux platforms such as Fedora, RHEL, CentOS, OpenSUSE, Arch Linux, and Mepis. Find the detailed installation instructions here.
After downloading it, create working directory for Tonido.
sudo mkdir /usr/local/tonido
Go to that directory, and download the free version from the Tonido official download page.
cd /usr/local/tonido/
sudo wget http://www.tonido.com/download.php?tonido64.tar.gz
Extract the tar file.
sudo tar -zxvf tonido64.tar.gz
Now, run Tonido using command:
sudo ./tonido.sh start
Tonido Configuration
After starting Tonido, open your web browser and navigate to http://127.0.0.1:10001/. The following screen should appear.
We have to create a local account now. Enter the account name of your choice, account password, and email Id.
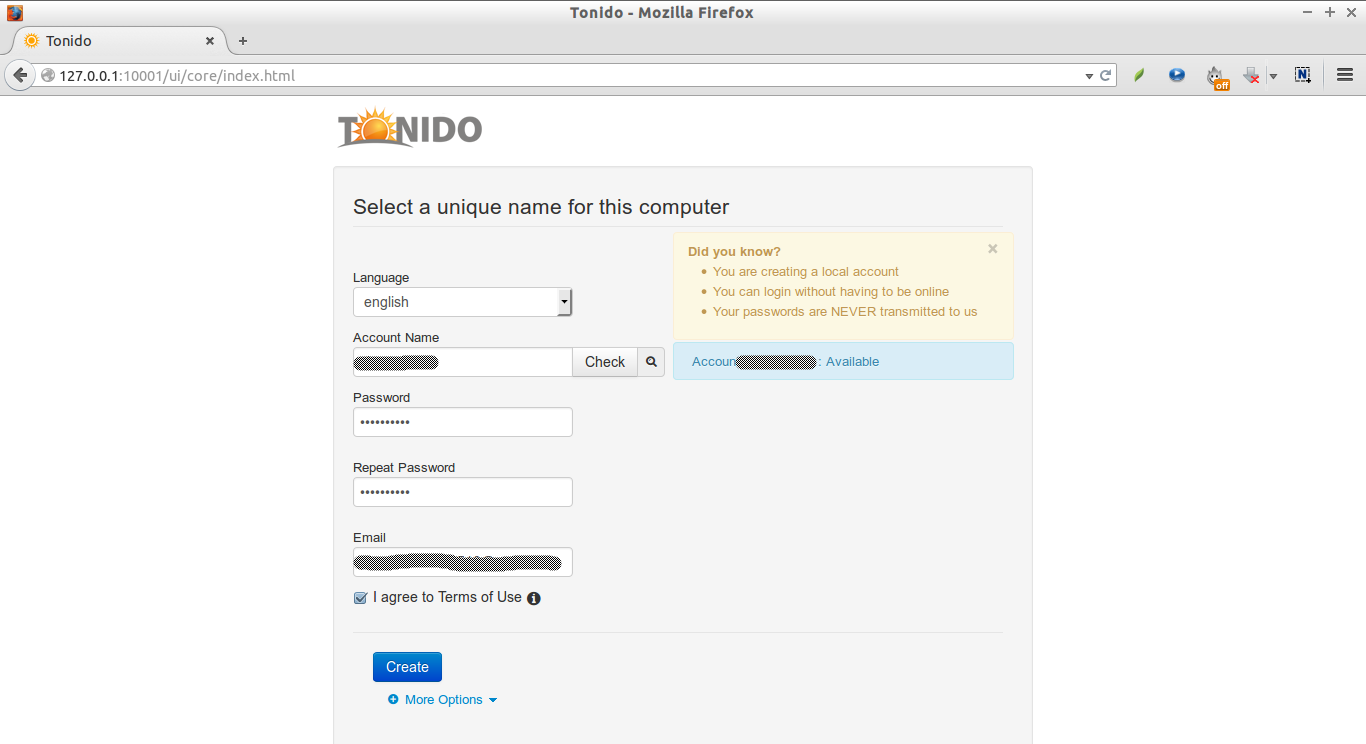
Your remote access server URL will be created now. This URL will look like: http://<account-name>.tonido.com.

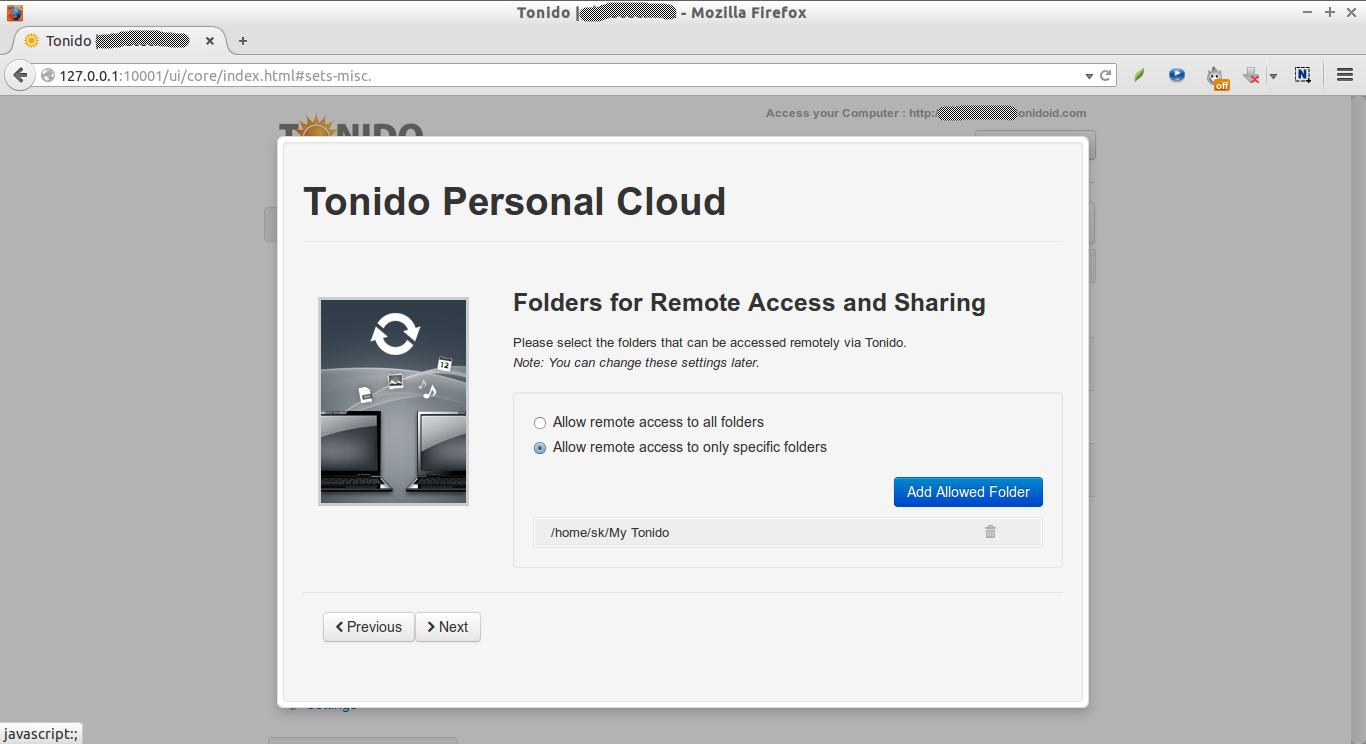
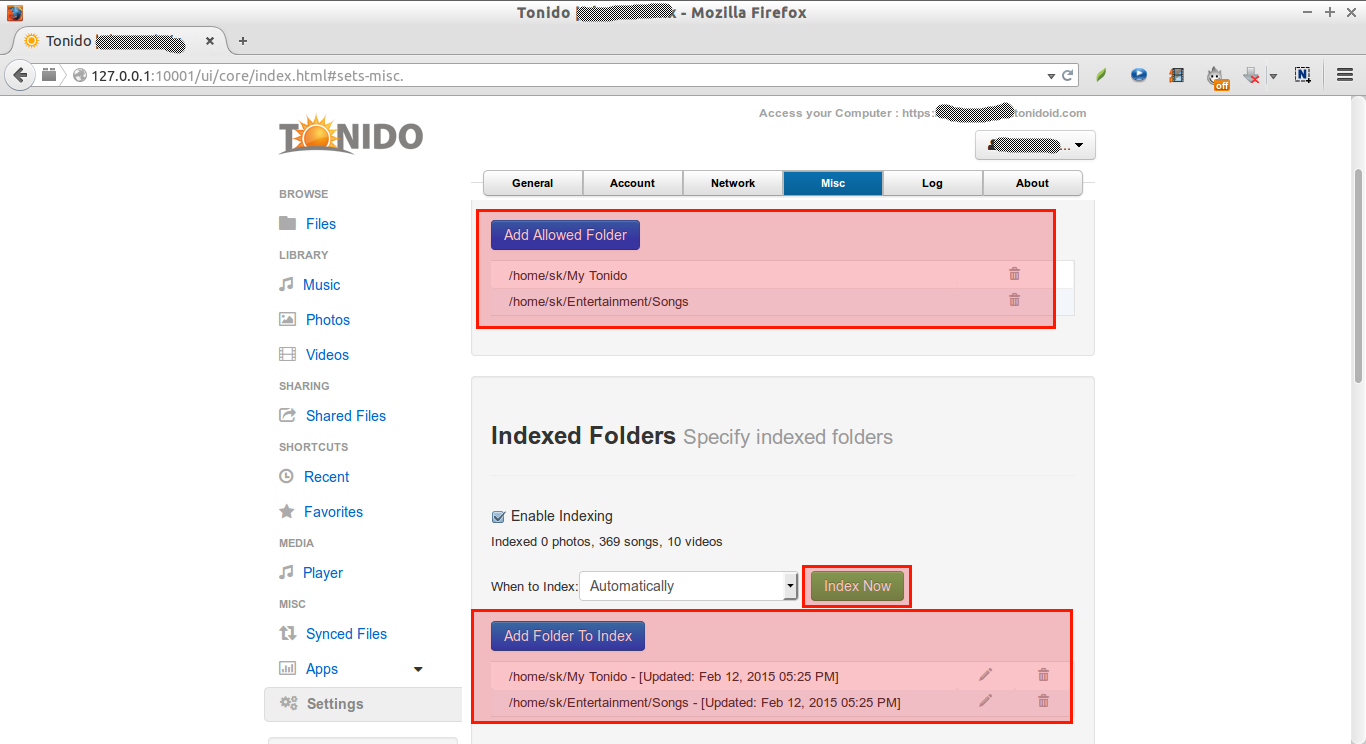
Select the folders that can be accessed remotely via Tonido. You can change this settings later.
Select the folders to index your Music, Photos and Video collection.

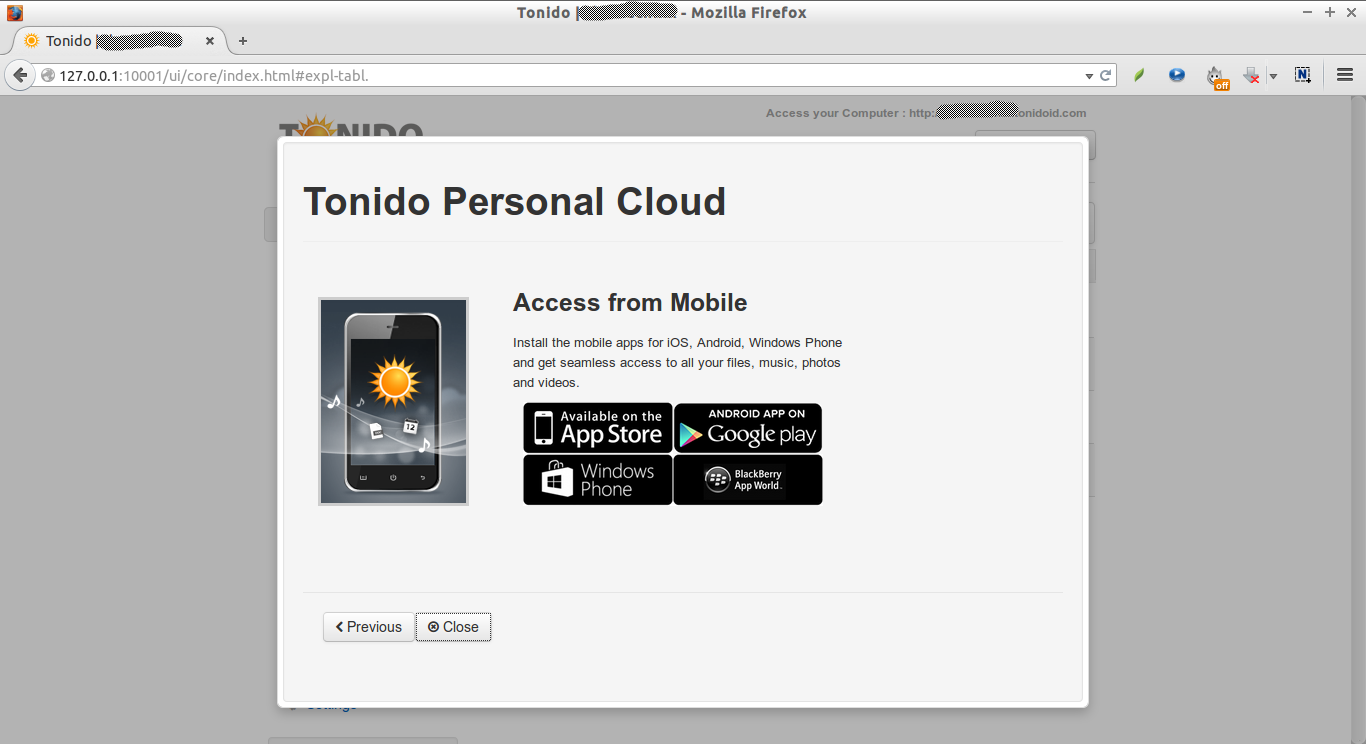
Install the mobile apps for iOS, Android, Windows Phone and get seamless access to all your files, music, photos and videos.
Finally, click Close.
Now, you’ll be redirected to your Tonido dashboard.
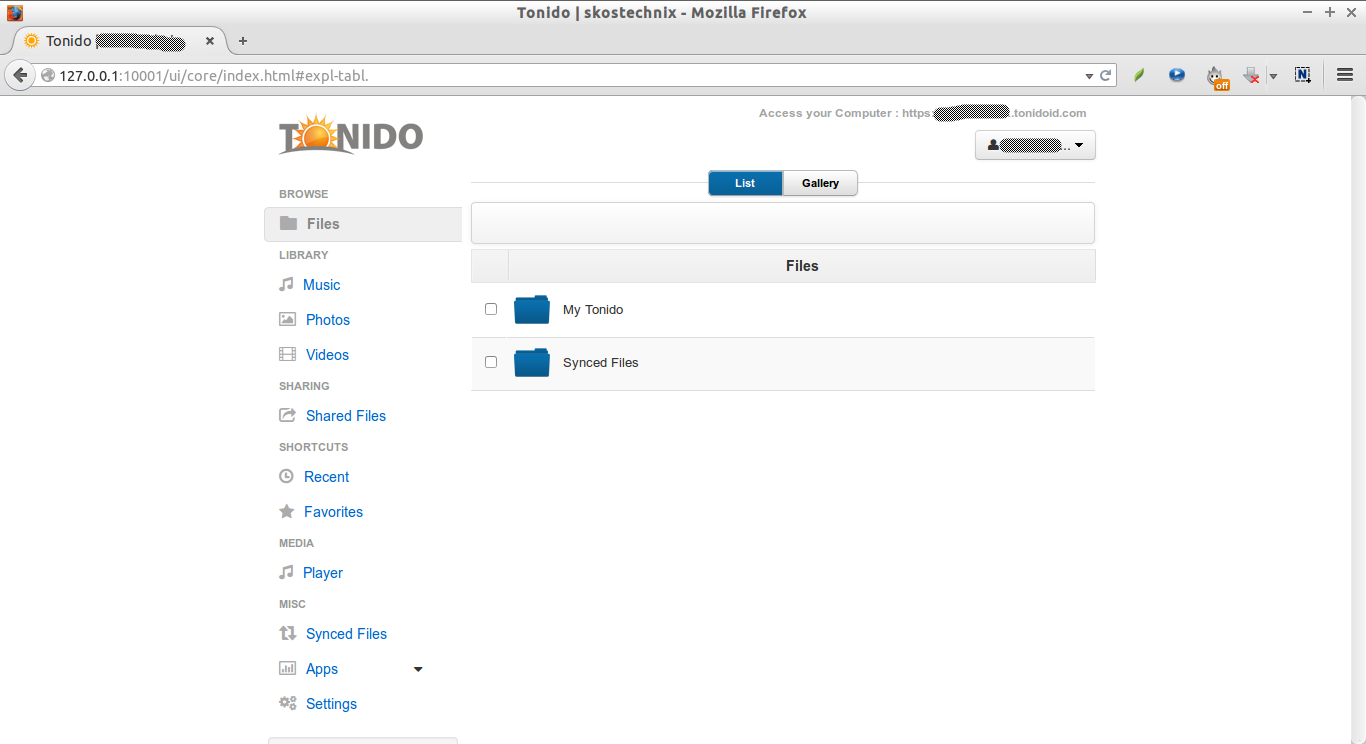
From here, you can store your files/folders, and share them to others if you want.
Adding Media Files
You can add any kind of files like audio/video or images of your choice.
For example, we will add a video file. To do that click on the Videos button on the left.
Select the folder which contains the media files. Once you have selected the folders, click on the Index now button.
Wait for minutes to index all media files. Then, have fun.
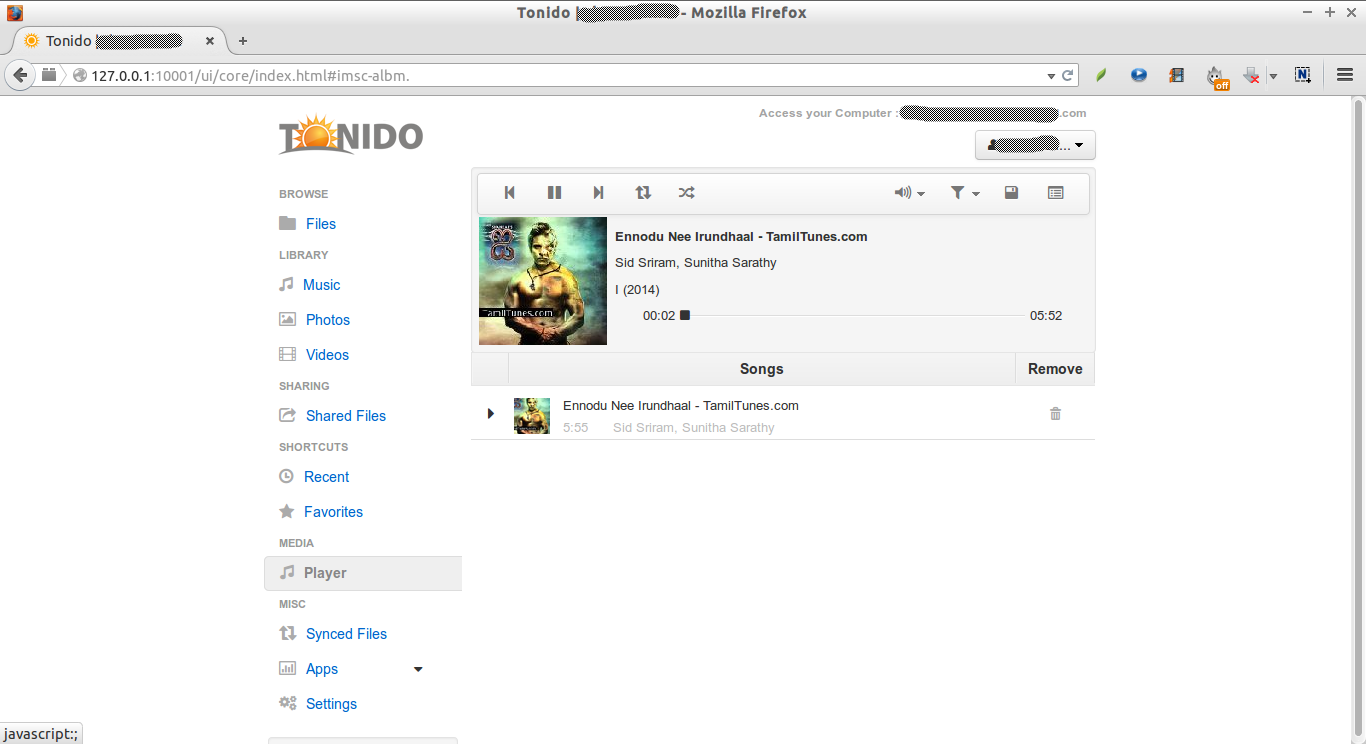
Playing music files:
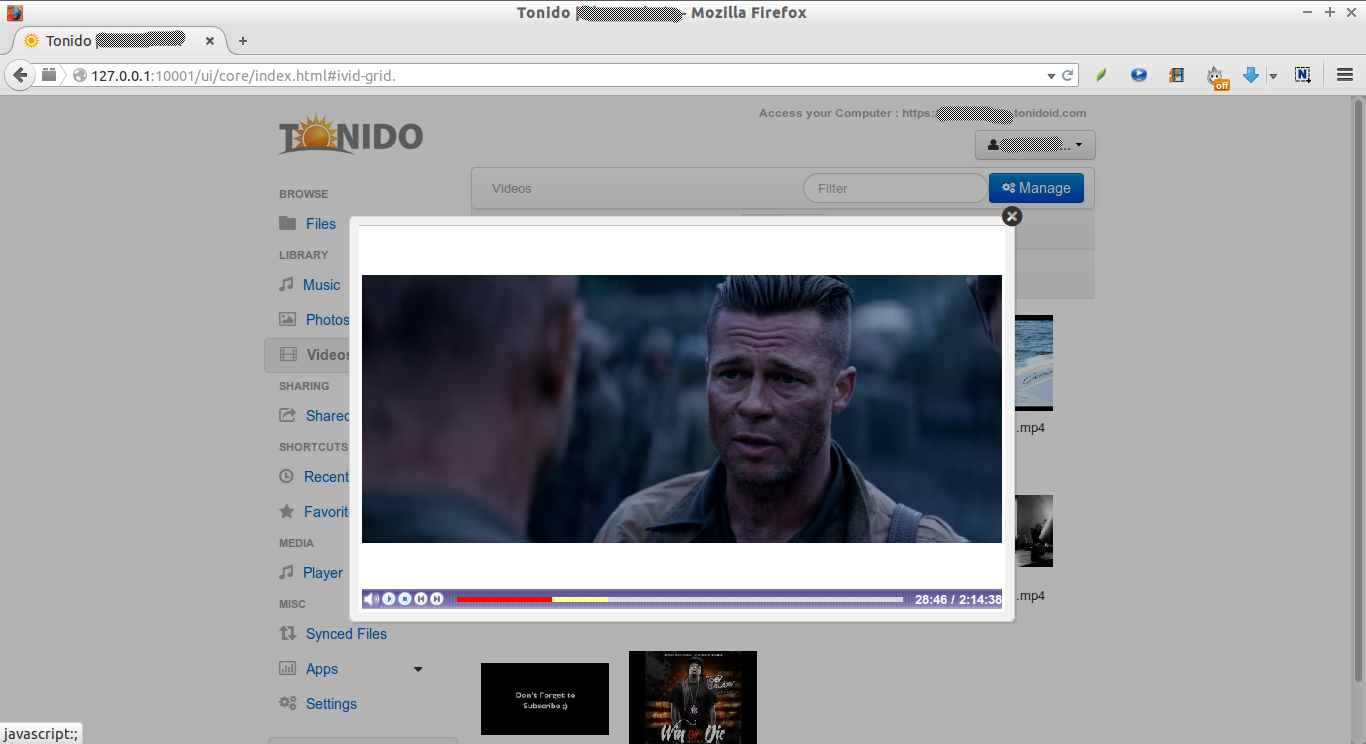
Playing Video files:
Sharing Files
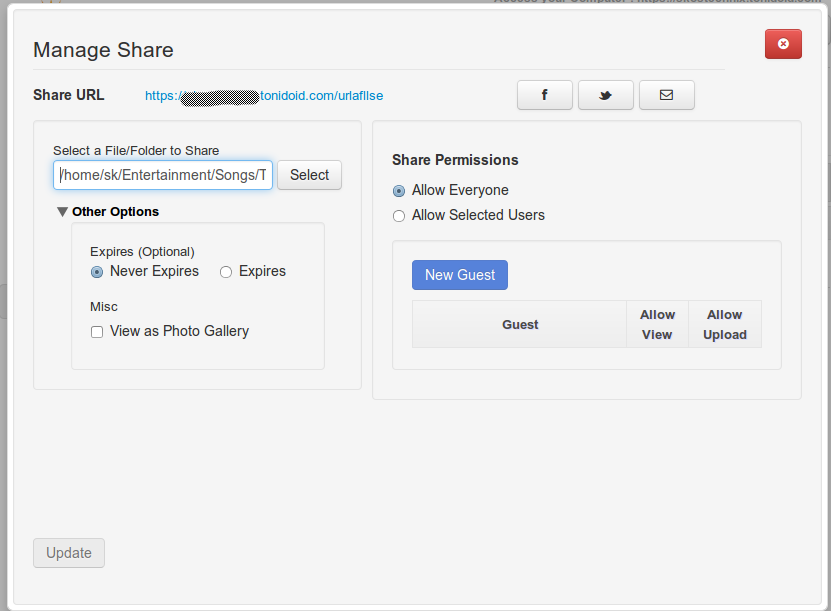
You can share files/folders to your friends, family, and colleagues or to a particular person. To do that, go to Shared files section, and select the folder you want to share.

Also, you can share this folder to a particular person.
Sync Files/Folders
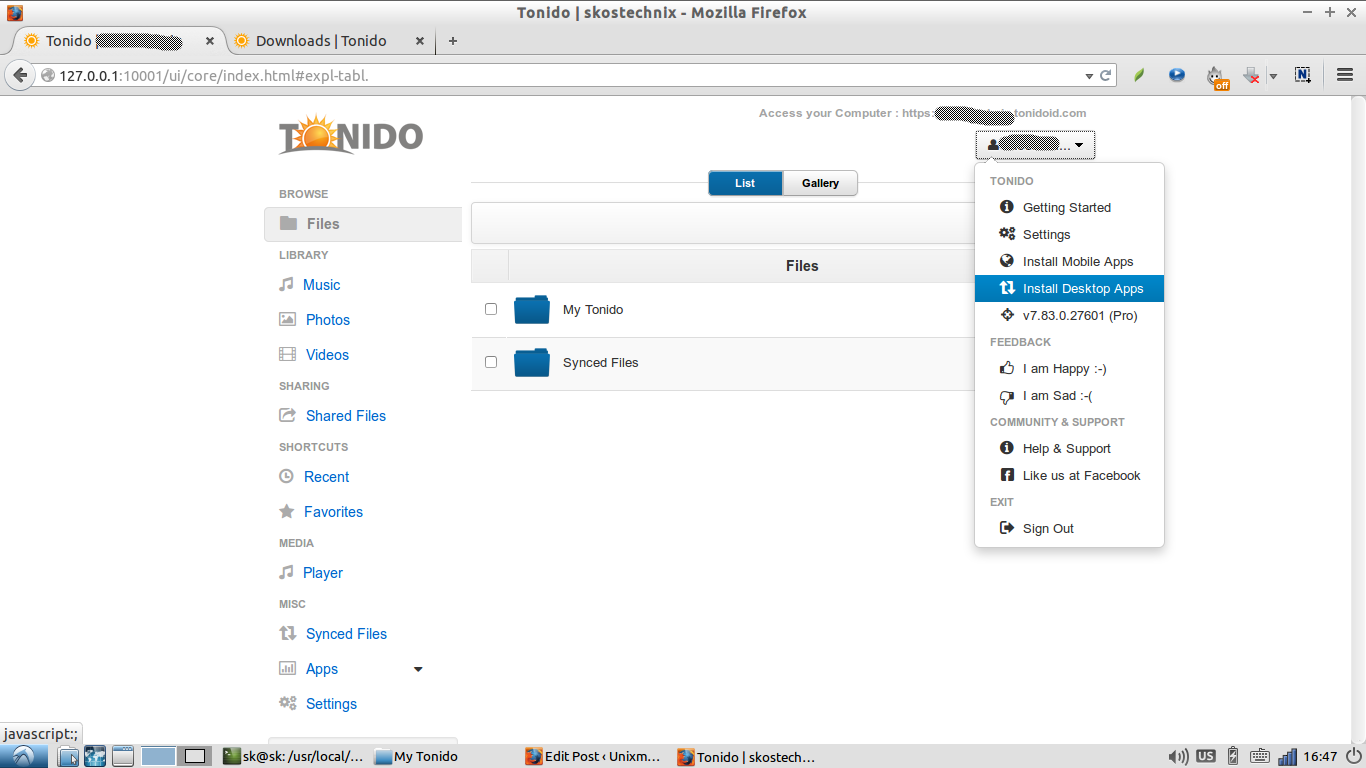
If you want to sync files/folders to multiple systems, you can install the Tonido sync tool. To do that, click the Account name drop-down box, and select Tonido Sync. As I want to use this on my desktop, I selected the Desktop application.
You’ll be redirected to the Tonido sync download page. Select and download the Sync app depending upon your device. For me, I downloaded and installed the desktop version.
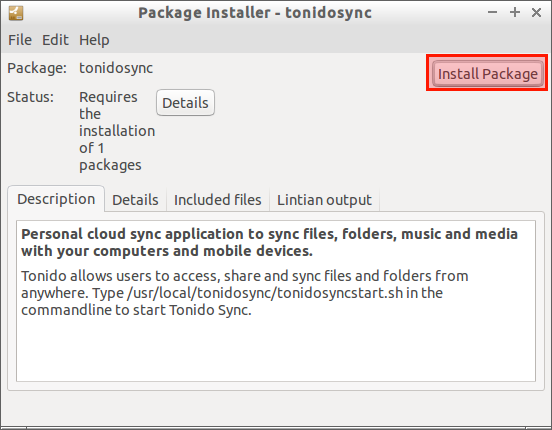
Launch Tonido sync either from the Menu or Unity Dash. Select the folders you want to sync.
Headless Server Configuration
If you are running Tonido on a system without display, you will need to follow the steps below to setup Tonido correctly. First, you will have to change a config setting to create a profile remotely.
Do the following:
- Start Tonido first by running the tonidoconsole binary to let it initialize the config data. Stop Tonido.
- Navigate to the following location: ~/tonido/data
- Open the configex.xml file
- Find the following lines.
<rowentry>
 <name>WebAccess</name>
 <type>string</type>
 <value>local</value>
</rowentry>
<rowentry>
 <name>RemoteAdmin</name>
 <type>bool</type>
 <value>0</value>
</rowentry>
<rowentry>
 <name>WebAccess</name>
 <type>string</type>
 <value>all</value>
</rowentry>
<rowentry>
 <name>RemoteAdmin</name>
 <type>bool</type>
 <value>1</value>
</rowentry>
Start Tonido as a service in Ubuntu
Go to /etc/init.d directory. Create a new script as shown below.
sudo vi tonido_service.sh
#!/bin/bash
su <user> -c "bash -c ' /usr/local/tonido.sh $1'"
sudo chmod 777 ./tonido_service.sh
sudo update-rc.d tonido_service.sh defaults
sudo update-rc.d tonido_service.sh remove
sudo service tonido_service.sh start


