
Introduction
Syncthing is a free, Open Source tool that can be used to sync files/folders between your networked computers. Unlike other sync tools, such as BitTorrent Sync or Dropbox, Syncthing transfers data directly from one system to another system, and It is completely open source, secure and private. All of your precious data will be stored in your system so that you can have full control over your files and folders, and none of them are stored in any third party systems. Also, you deserve to choose where it is stored, if it is shared with some third party and how it’s transmitted over the Internet.
All communication is encrypted using TLS, so your data is very secure from the prying eyes. Syncthing has a responsive and powerful WebGUI which will help the users to easily add, delete and manage directories to be synced over network. Using Syncthing, you can sync multiple folders to multiple systems at a time. Syncthing is very simple, portable, yet powerful tool in terms of installation and usage. Since all files/folders are directly transferred from one computer to another computer, you don’t have to worry about purchasing extra space from your Cloud provider. All you need is very stable LAN/WAN connection and enough disk space on your systems. It supports all modern operating systems, including GNU/Linux, Windows, Mac OS X, and ofcourse Android.
Installation
For the purpose of this tutorial, We will be using two systems, one is running with Ubuntu 14.04 LTS, and another one is running with Ubuntu 14.10 server. To easily recognize these two systems, we will be calling them using names system1, and system2.
System1 Details:
- OS: Ubuntu 14.04 LTS server;
- Hostname: server1.unixmen.local;
- IP Address: 192.168.1.150.
- System user: sk (You can use your own)
- Sync Directory: /home/Sync/ (Will be created by default by Syncthing)
System2 Details:
- OS: Ubuntu 14.10 server;
- Hostname: server.unixmen.local;
- IP Address: 192.168.1.151.
- System user: sk (You can use your own)
- Sync Directory: /home/Sync/ (Will be created by default by Syncthing)
Creating User For Syncthing On System 1 & System2:
Run the following commands on both system to create the user for Syncthing and the directory to be synced between two systems:
sudo useradd sk
sudo passwd sk
Install Syncthing On System1 And System2:
You should do the following steps on both System 1 and System 2.
Download the latest version from the official download page. As I am using 64bit system, I downloaded the 6bbit package.
wget https://github.com/syncthing/syncthing/releases/download/v0.10.20/syncthing-linux-amd64-v0.10.20.tar.gz
Extract the download file:
tar xzvf syncthing-linux-amd64-v0.10.20.tar.gz
Cd to the extracted folder:
cd syncthing-linux-amd64-v0.10.20/
Copy the excutable file “syncthing” to $PATH:
sudo cp syncthing /usr/local/bin/
Now, run the following command to run the syncthing for the first time.
syncthing
When you run the above command, syncthing will generate a configuration and some keys and then start the admin GUI in your browser. You should see something like below.
Sample output:
[monitor] 15:40:27 INFO: Starting syncthing
 15:40:27 INFO: Generating RSA key and certificate for syncthing...
 [BQXVO] 15:40:34 INFO: syncthing v0.10.20 (go1.4 linux-386 default) unknown-user@syncthing-builder 2015-01-13 16:27:47 UTC
 [BQXVO] 15:40:34 INFO: My ID: BQXVO3D-VEBIDRE-MVMMGJI-ECD2PC3-T5LT3JB-OK4Z45E-MPIDWHI-IRW3NAZ
 [BQXVO] 15:40:34 INFO: No config file; starting with empty defaults
 [BQXVO] 15:40:34 INFO: Edit /home/sk/.config/syncthing/config.xml to taste or use the GUI
 [BQXVO] 15:40:34 INFO: Starting web GUI on http://127.0.0.1:8080/
 [BQXVO] 15:40:34 INFO: Loading HTTPS certificate: open /home/sk/.config/syncthing/https-cert.pem: no such file or directory
 [BQXVO] 15:40:34 INFO: Creating new HTTPS certificate
 [BQXVO] 15:40:34 INFO: Generating RSA key and certificate for server1...
 [BQXVO] 15:41:01 INFO: Starting UPnP discovery...
 [BQXVO] 15:41:07 INFO: Starting local discovery announcements
 [BQXVO] 15:41:07 INFO: Starting global discovery announcements
 [BQXVO] 15:41:07 OK: Ready to synchronize default (read-write)
 [BQXVO] 15:41:07 INFO: Device BQXVO3D-VEBIDRE-MVMMGJI-ECD2PC3-T5LT3JB-OK4Z45E-MPIDWHI-IRW3NAZ is "server1" at [dynamic]
 [BQXVO] 15:41:07 INFO: Completed initial scan (rw) of folder default
Syncthing has been successfully initialized, and the Web admin interface can be accessed using URL: http://localhost:8080 from your browser. As you see in the above output, syncthing has automatically created a folder called default for you, in a directory called Sync in your home directory.
By default, Syncthing WebGUI will only be accessed from the localhost itself. To access the WebGUI from the remote systems, you need to do the following changes on both systems.
First, stop the Syncthing initialization process by pressing the CTRL+C. Now, you will be returned back to the Terminal.
Edit file config.xml,
sudo nano ~/.config/syncthing/config.xml
Find this directive:
[...]
<gui enabled="true" tls="false">
 <address>127.0.0.1:8080</address>
 <apikey>-Su9v0lW80JWybGjK9vNK00YDraxXHGP</apikey>
</gui>
[...]
In the <address> field, change 127.0.0.1:8080 to 0.0.0.0:8080. So, your config.xml will look like below.
<gui enabled="true" tls="false">
 <address>0.0.0.0:8080</address>
 <apikey>-Su9v0lW80JWybGjK9vNK00YDraxXHGP</apikey>
</gui>
Save and close the file.
Now, start again the Syncthing initialization on both systems by entering the following command:
syncthing
Access the WebGUI
Now, open your browser http://ip-address:8080/. You will see the following screen,

The WebGUI has two panes. In the left pane, you may see the list of folders to be synced. As I mentioned before, the folder default has been automatically created for you while initializing Syncthing. If you want to sync more folders, you can add using Add Folder button.
In the right pane, you see the number of devices connected. Currently there is only one device, the computer you are running this on.
Configure Syncthing Web GUI
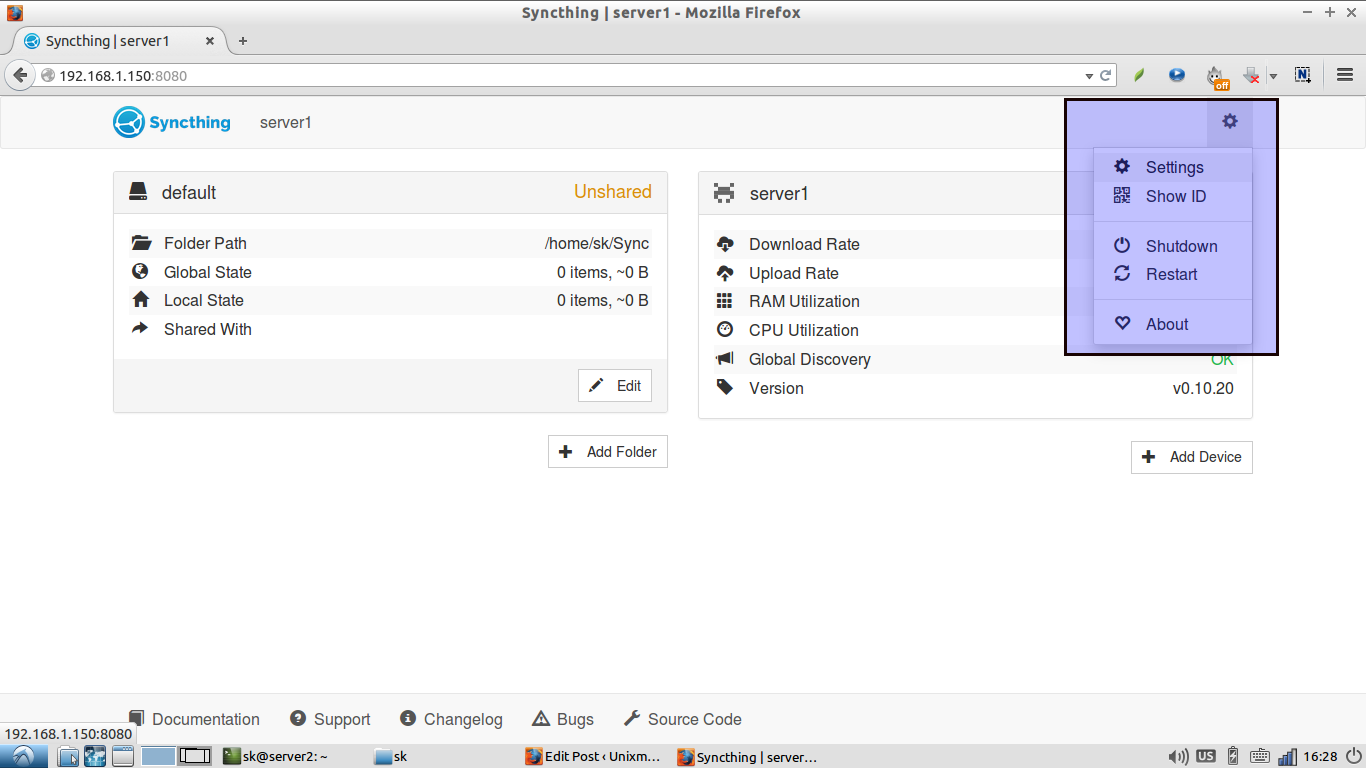
For the security enhancement, let us enable TLS, and setup administrative user and password to access the WebGUI. To od that, click on the gear button and select Settings on the top right corner.
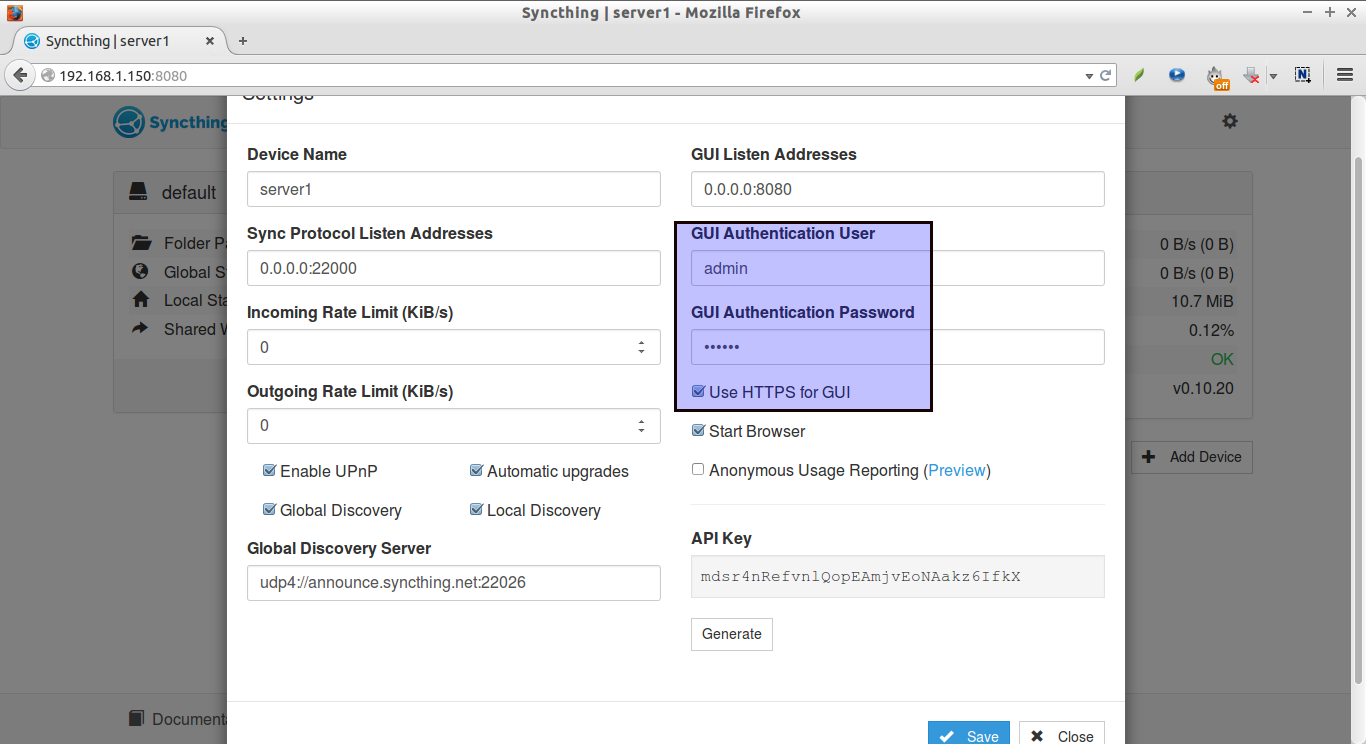
Enter the admin username/password. In my case it is admin/ubuntu. You should use some strong password. And, check the box that says: Use HTTPS for GUI.
Click Save button. Now, you’ll be asked to restart the Syncthing to activate the changes. Click Restart.
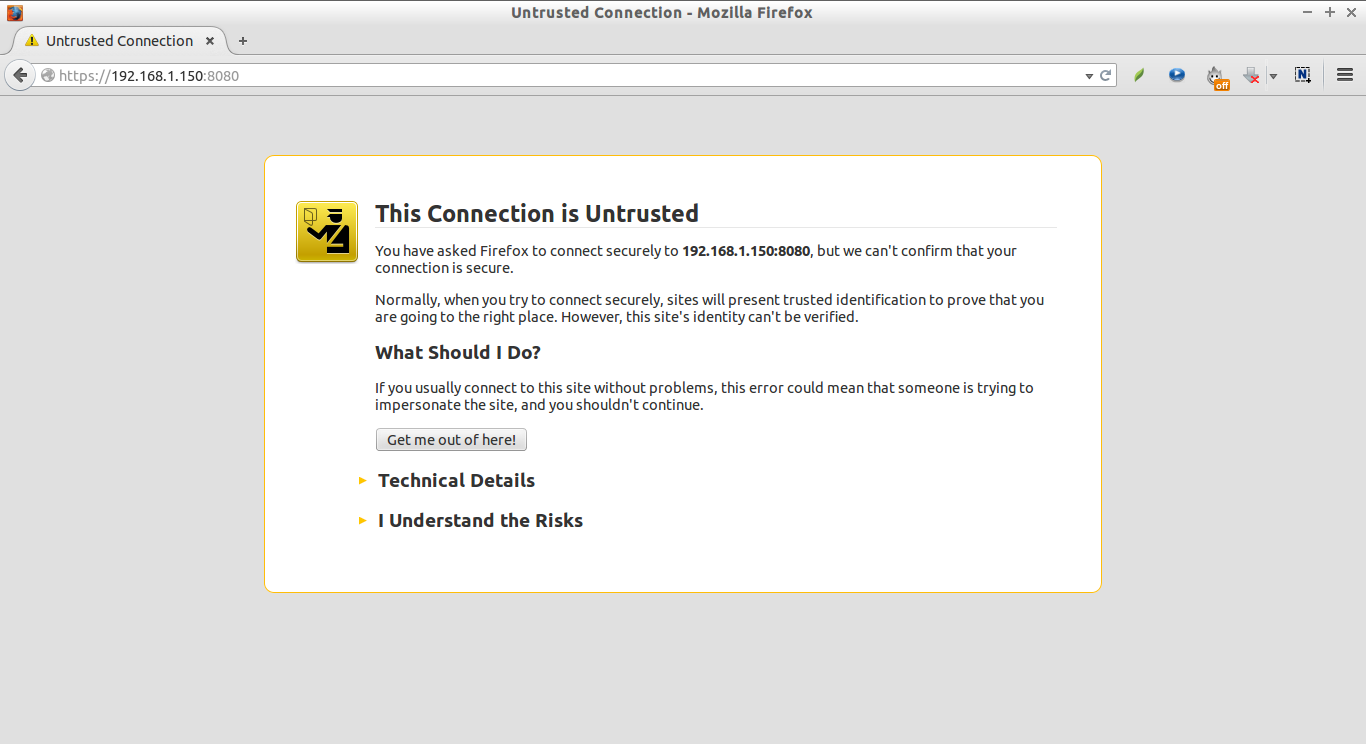
 Refresh you web browser. You’ll see the SSL warning like below. Click on the button that says: I understand the Risks. And, click Add Exception button to add this page to the browser trusted lists.
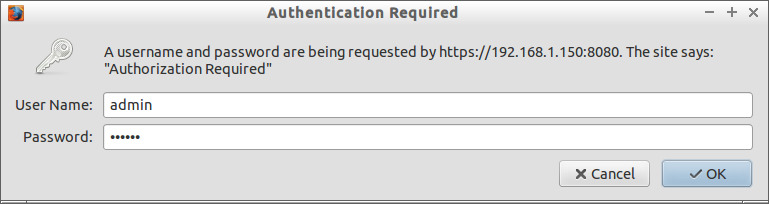
Enter the administrative user and password which we configured in the previous steps. In my case it’s admin/ubuntu.
We have secured the WebGUI now. Don’t forget to do the same steps on both server.
Connect Servers To Each Other
To sync folders between systems, you must told them about each other. This is accomplished by exchanging “device IDs”. You can find it in the web GUI by selecting the “gear menu” (top right) and “Show ID”.
For example, here is my System 1 ID.
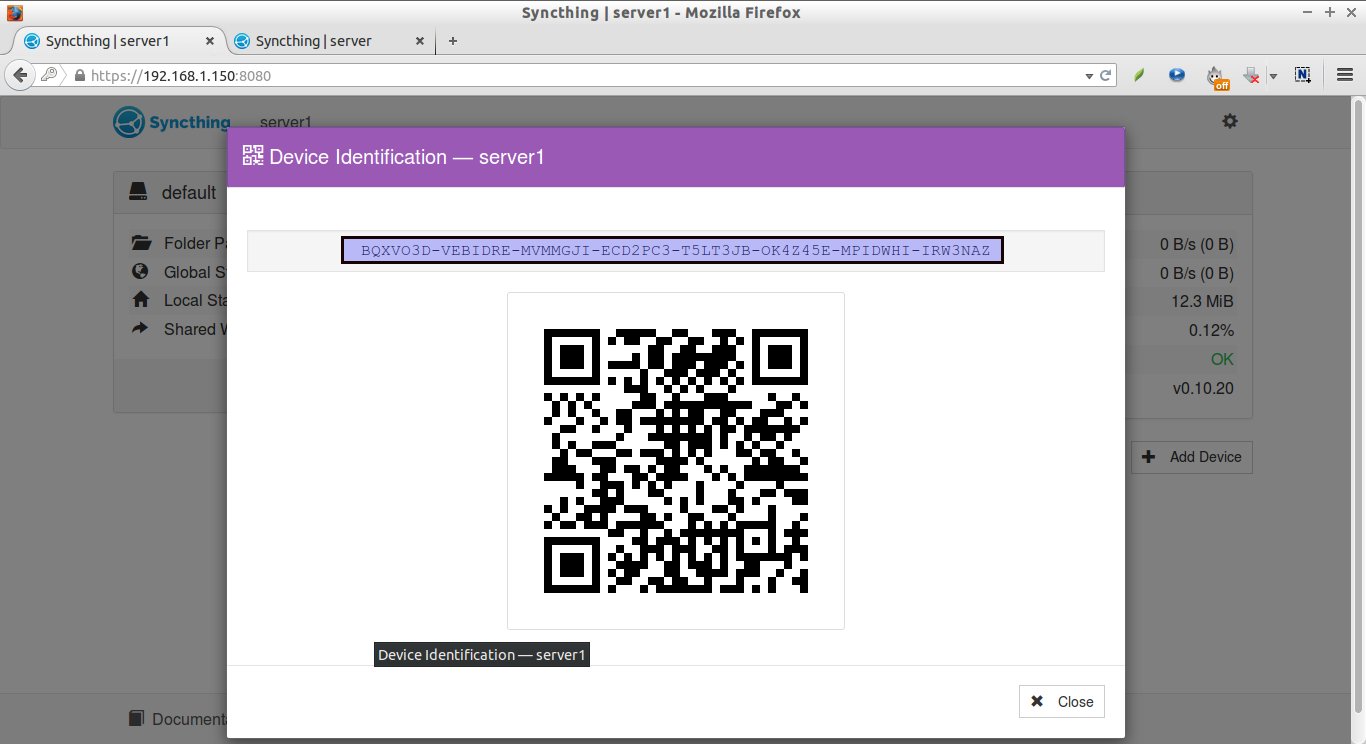
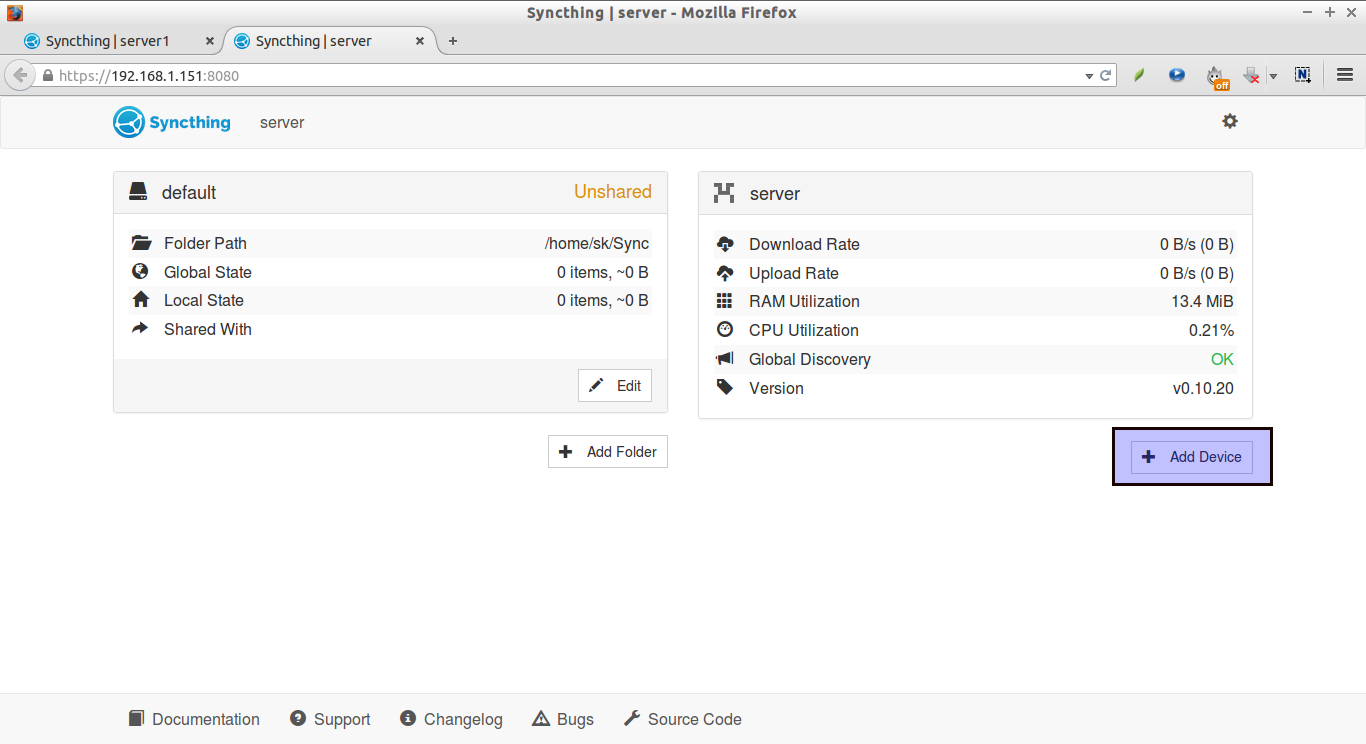
Copy the ID, and go to the another system (system 2) WebGUI. From the second system (system 2) WebGUI window, click on the Add Device on the right side.
The following screen should appear. Paste the System 1 ID in the Device section. Enter the Device name(optional). In the Addresses field, you can either enter the IP address of the other system or leave it as default. The default value is dynamic. Finally, select the folder to be synced. In our case, the sync folder is default.
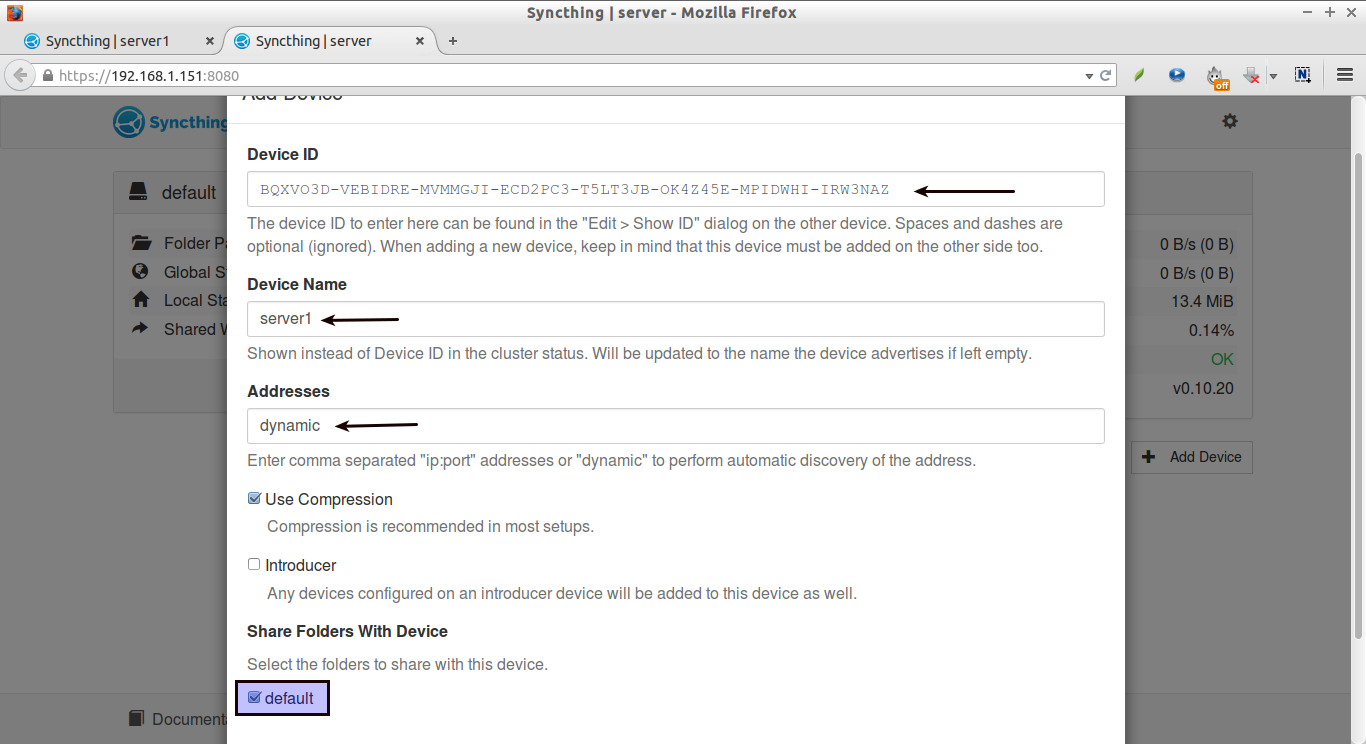
Once you done, click on the save button. You’ll be asked to restart the Syncthing. Click Restart button to activate the changes.
Now, go to the System 1 WebUI, you’ll see a request has been sent from the System 2 to connect and sync. Click Add button. Now, the System 2 will ask the System 1 to share and sync the folder called “default”. Click Share button.

Next restart the Syncthing service on the System 1 to activate the changes.

Wait for few seconds, approximately 60 seconds, and you’ll see the two systems have been successfully connected and synced to each other.
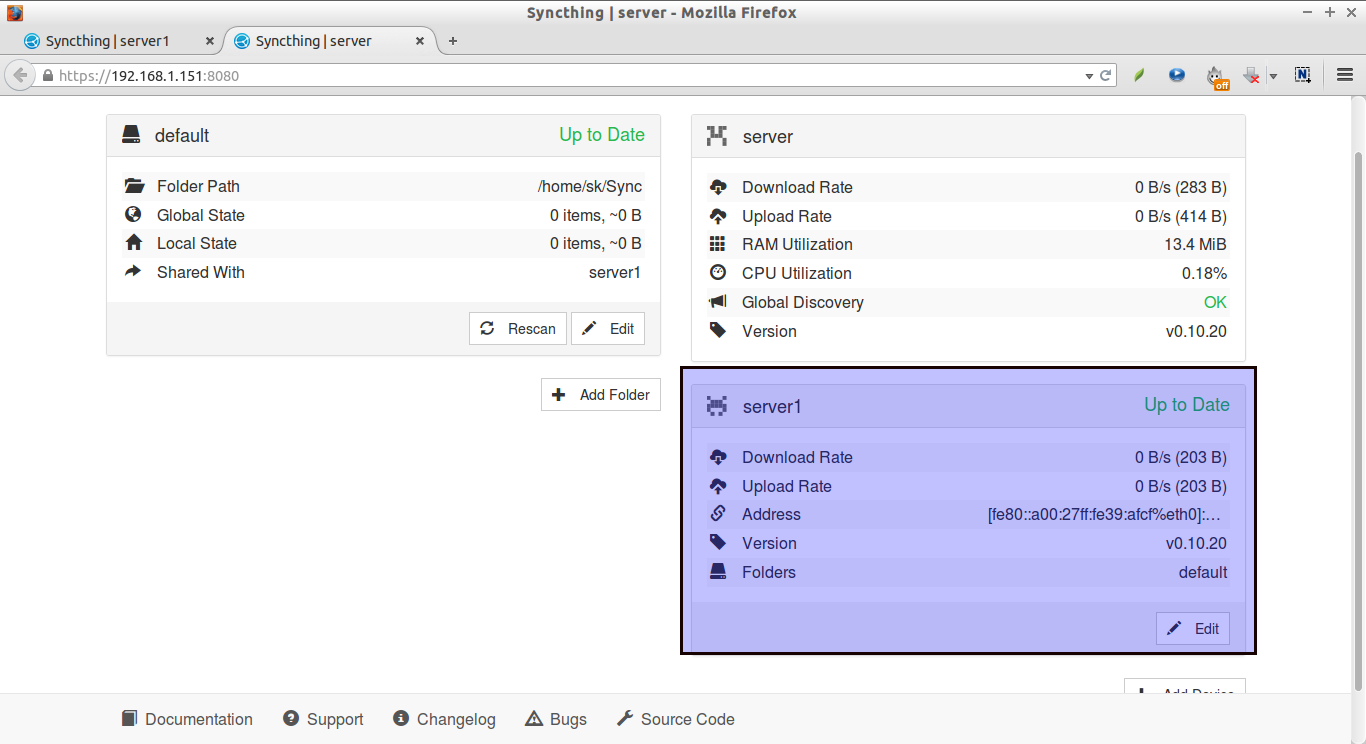
You can verify it under the Add Device section of the WebGUI.
System 1 WebGUI console after adding System 2:
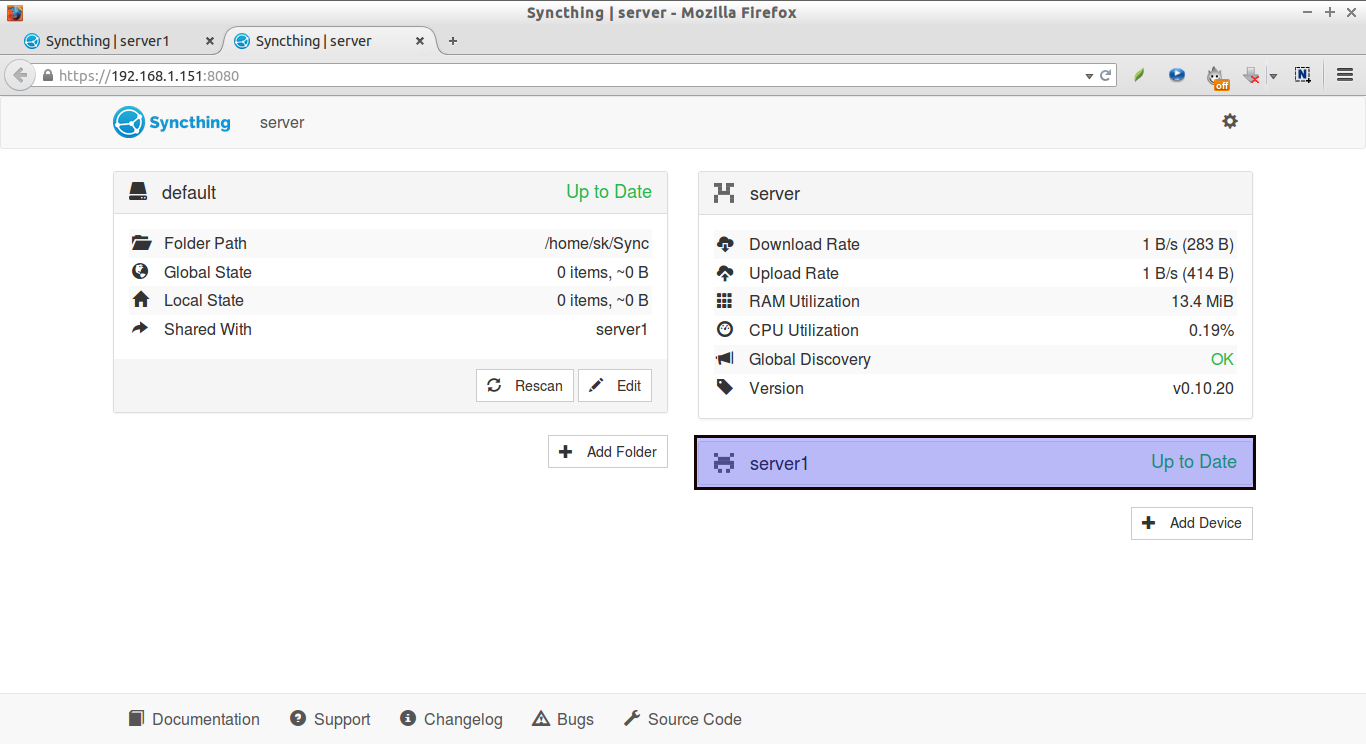
System 2 WebGUI console after adding System 1:
Now, put any file or folder in any one of the systems “default” folder. You may see the file/folder will be synced to the other system automatically.
That’s it! Happy Sync’ing!!
Cheers!!!
Reference:


