
Let us say, you are out of the office. You got a call from your office, and you are asked to fix an important issue in the Linux server. All you have is just your Android smartphone with Internet connection. What will you do in such kind of hectic situation? No worries, there is an all in one Terminal client called JuiceSSH for Android operating systems. It includes SSH, Local Shell, Mosh and Telnet support. Just install the app, and control and manage the Linux systems from any Android devices on the fly.
JuiceSSH is available as free and pro version (Pro version has some extra features. See the features section below). In this brief tutorial, let us see how to Install and use JuiceSSH to control and manage the Linux systems from any Android tablets or smartphones.
Features
JuiceSSH has lot of important features.
Here is the complete list of features for the free version.
- Full colour terminal / ssh client ;
- Popup keyboard with all those normally hard to find characters ;
- Change font size using the volume keys ;
- External keyboard support ;
- Gestures for irssi, weechat, tmux and screen ;
- Community and third party plugins ;
- Official Mosh support ;
- Telnet support ;
- Local Android terminal support ;
- Support multiple themes, including Dark, Light, 80’s hacker, Molokai, Solarized Dark and Solarized Light terminal color themes ;
- Click URLs to open in a browser ;
- Copy & Paste within sessions ;
- Save and Share SSH transcripts to Dropbox / Evernote / Email & SD card ;
- UTF-8 character support ;
- Easily organise your connections by group ;
- Keep multiple SSH sessions running in the background ;
- Seamlessly connect ‘via’ other SSH connections with one click ;
- Immediate access when you open the app to your frequently used connections ;
- IPv6 support ;
- Password & OpenSSH private key support (ECDSA, RSA and DSA) ;
- RSA key generator (encryption supported) ;
- SSH key agent forwarding ;
- Support for two-factor authentication (eg: Google Authenticator) ;
- Identities (users / password / keys) are abstracted from connections. Instead of updating every connection when you change your password – just update the identity and any connections linked to it will use the new password/key ;
- zlib compression to improve SSH sessions on high latency connections.
Pro Features (optional in-app purchase).
- Quick and easy port forwards that can be connected to via the app or widget and can automatically open in a browser if required ;
- Integrate with Amazon AWS / EC2, synchronise connections and automatically group servers based on their class or security groups ;
- Securely keep everything in sync between multiple devices ;
- Automated AES-256 encrypted backups of all of your connections and settings ;
- A beautiful widget for fast access to either your frequently used connections, or a specific group (Android 3.0+) ;
- Team collaboration. Share your groups of connections with team members and start working together instead of separately ;
- Handy snippets library for quick access to your frequently used commands ;
- Security lock to automatically protect JuiceSSH after a period of inactivity.
Install JuiceSSH
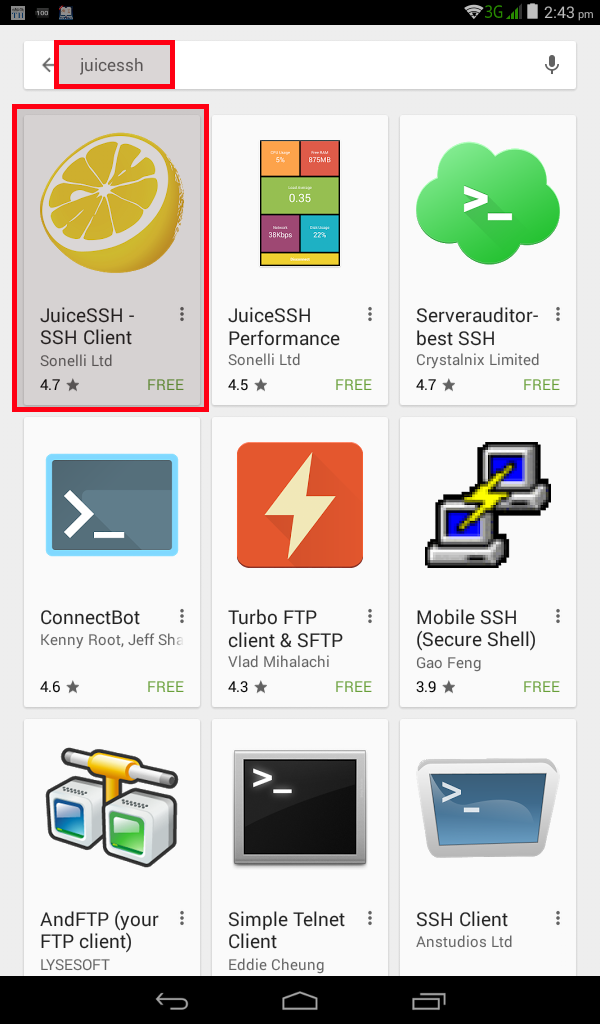
Open Google play store and search for JuiceSSH.
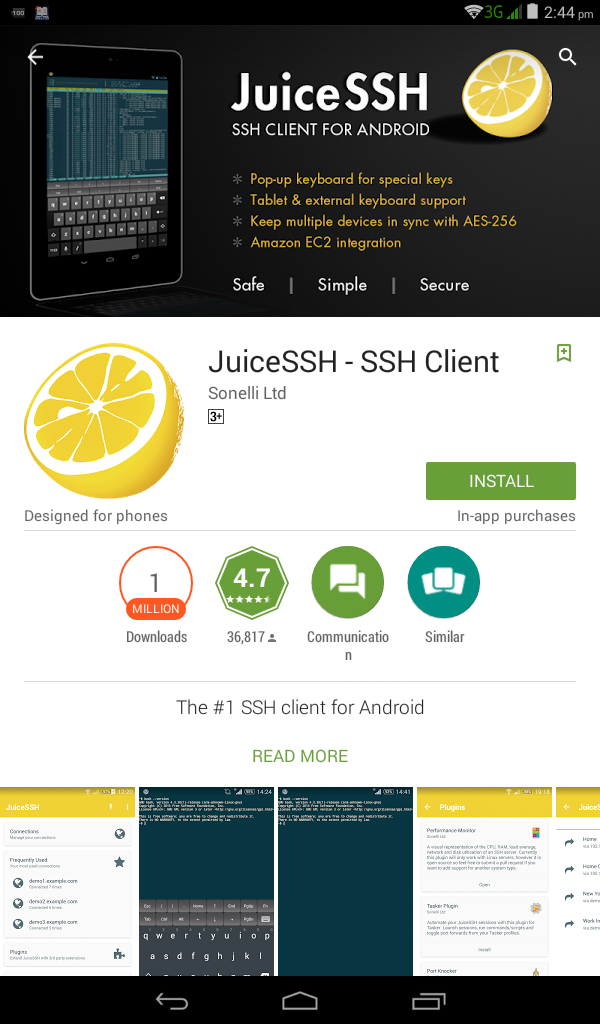
Click Install.
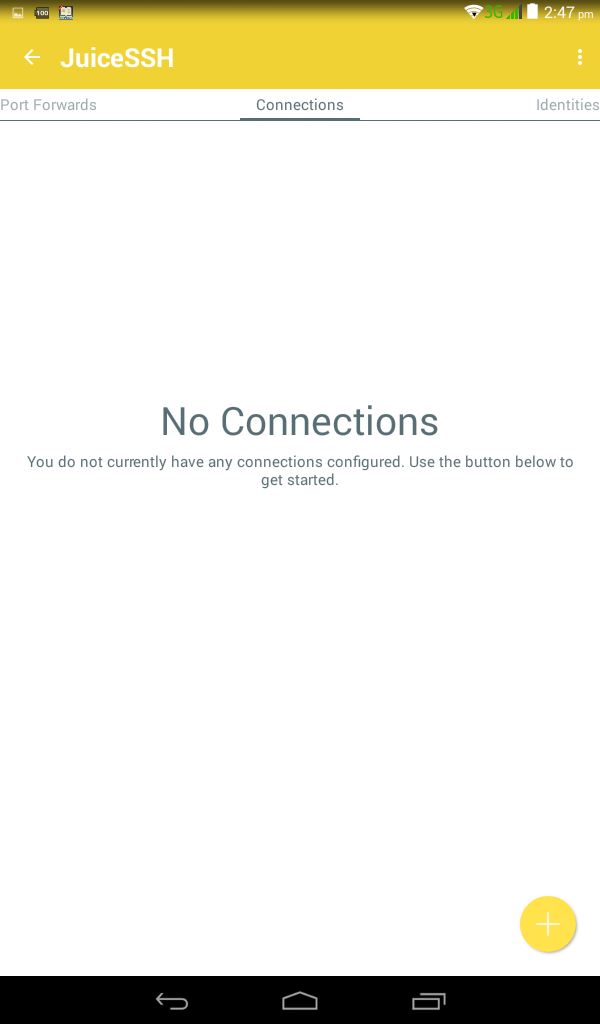
Once you installed JuiceSSH, launch it. Here is how the default interface of JuiceSSH looks like.

You are not connected to any servers yet. So, click on the Connections tab on the top. In the next window, click the plus (+) sign to add servers that you want to SSH from the Android device.
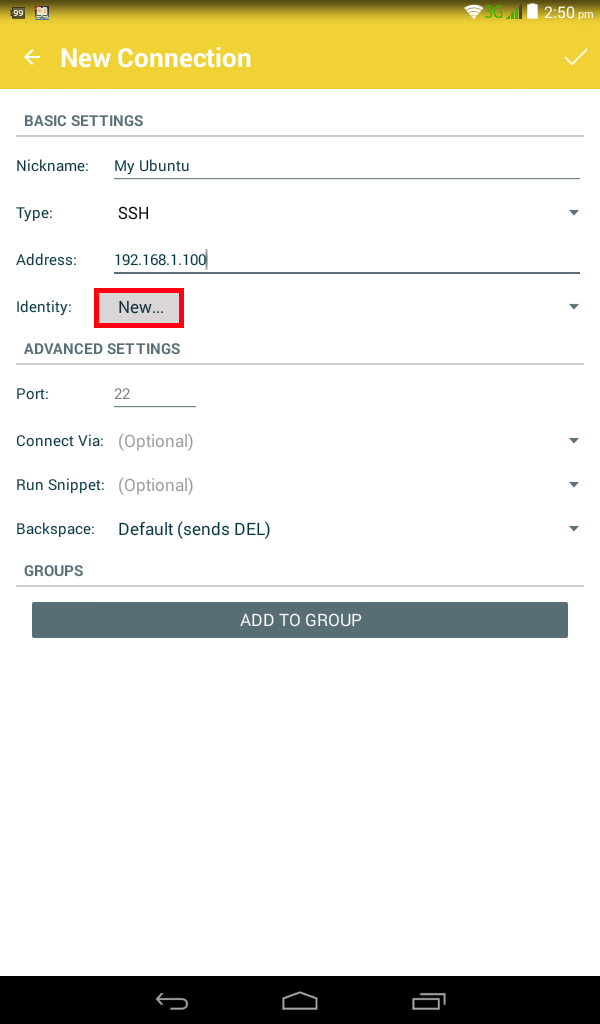
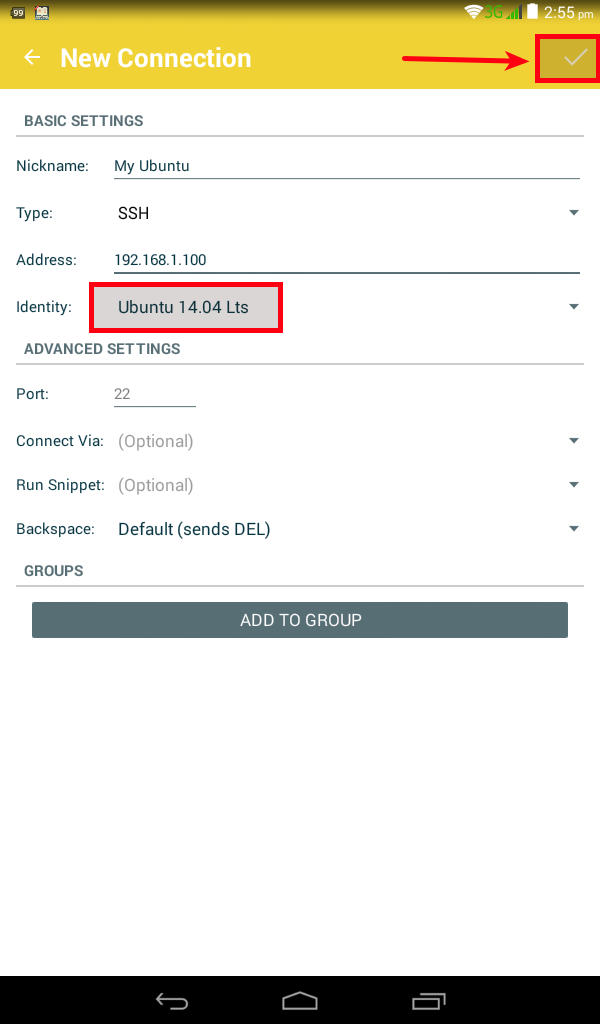
In the next window, Enter your Linux system’s name, IP address. Make sure you selected SSH in the ‘Type’ drop down box. Next, we need to enter the user name and password for the Linux server. To do that, select ‘New’ from the Identity drop down box.
 A new window will open. Enter your remote system’s nick name, username, and password in the respective fields. Once you entered all required details, click tick sign on the top right corner.

You’ll now see the Identity is changed. Finally, click the tick sign on the top to save the changes.
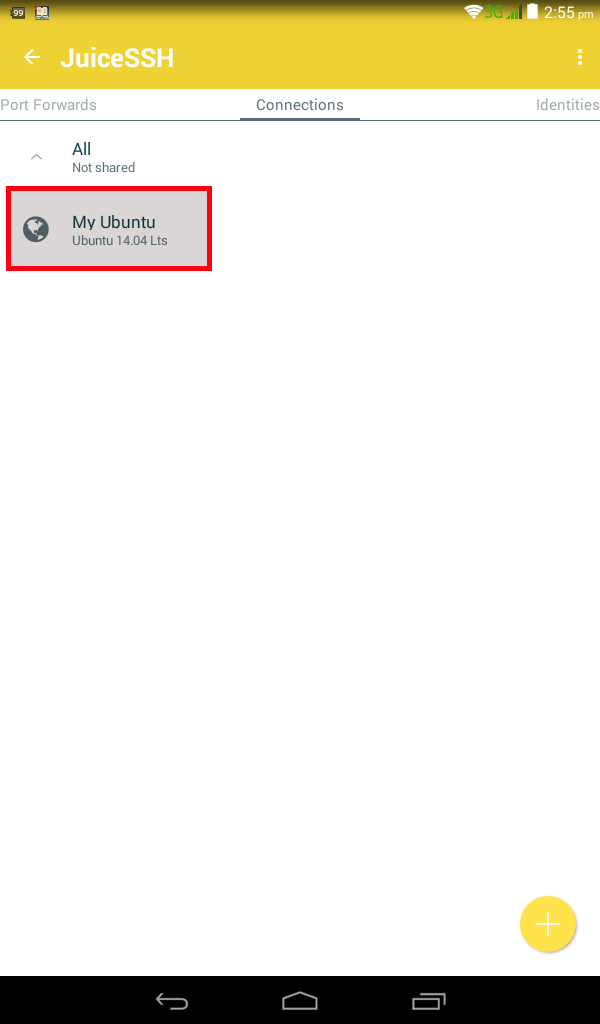
That’s it. Our Linux system has been added. Similarly, you can add any number of devices that you want to manage from the Android devices.
After adding the Linux system, Tap on it from the Connections tab to start the SSH session from the Android device.
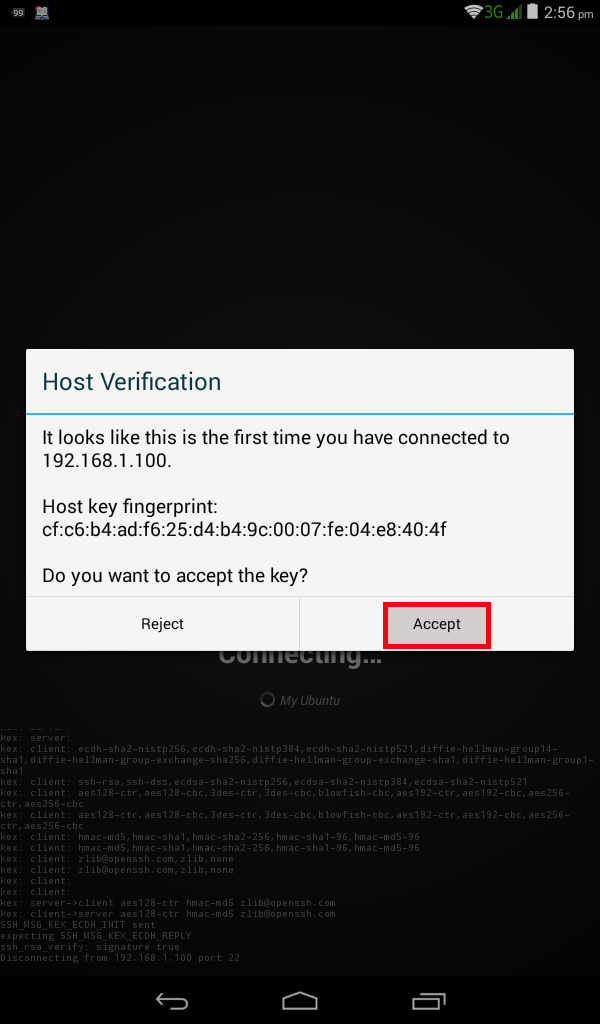
Click Accept to host verification’s key:
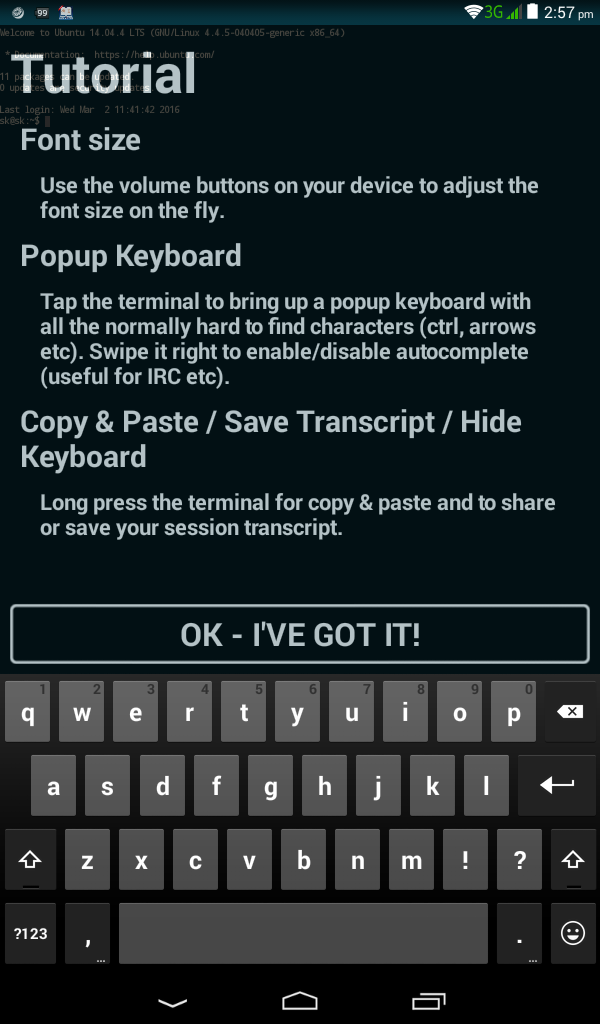
That’s it. Start managing your remote Linux systems right from the Android device. At first time, you’ll see a little help guide that describes how to use JuiceSSH. You can use volume buttons of your Android device to increase or decrease the font sizes.
Tap the Terminal to bring up the a pop-up keyboard. Swipe it right to enable or disbale autocomplete. To copy / paste the texts, long press the texts. Click OK to close the help guide.
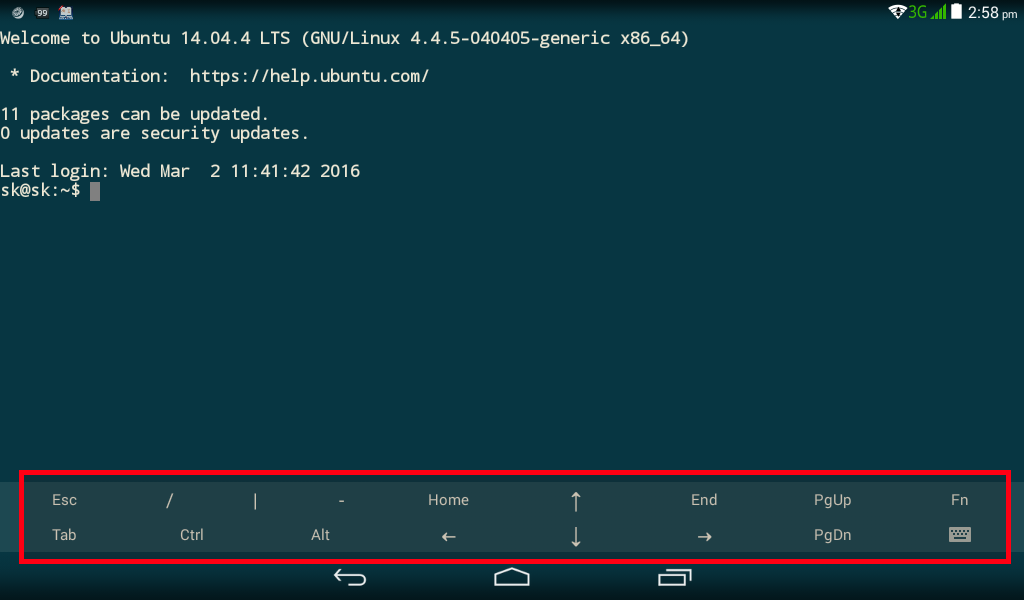
Here is the SSH session of my remote Ubuntu 14.04 LTS system. You can use the JuiceSSH interface as the way you use the normal SSH session from any computer.
At the bottom of the JuiceSSH window, you’ll see the list of standard keys from the normal keyboard. To open the Keyboard, just tap on the keyboard icon. To autocomplete a command, tap on the tab icon. To view the command history, tap up/down arrows.
Let us try to ping a host. For example, ping unixmen.com:
Sample output:
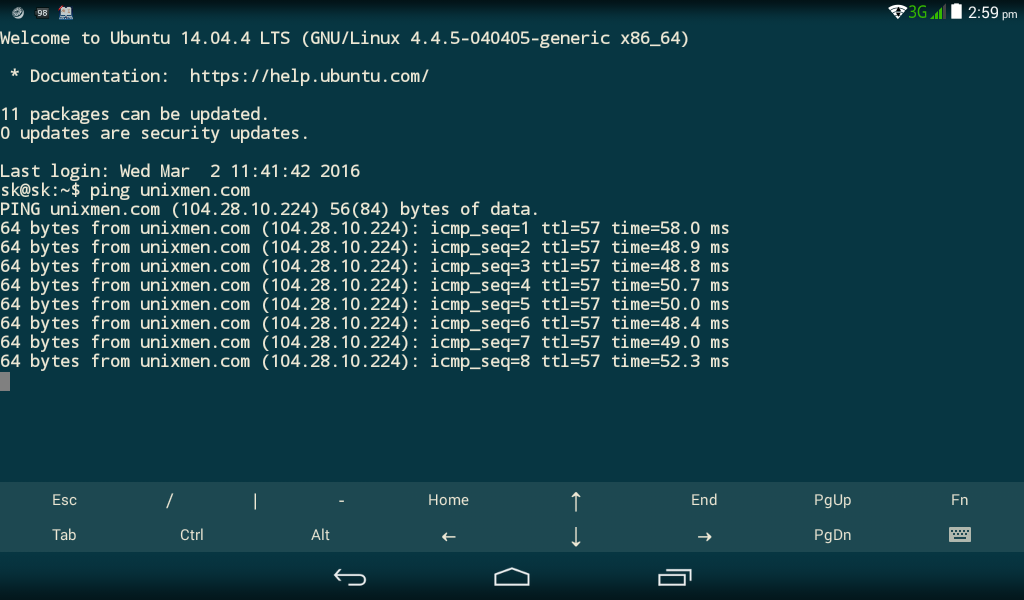
To exit the ping process, just tap ctrl button in the above window, and press ‘c’ from Android device keyboard.
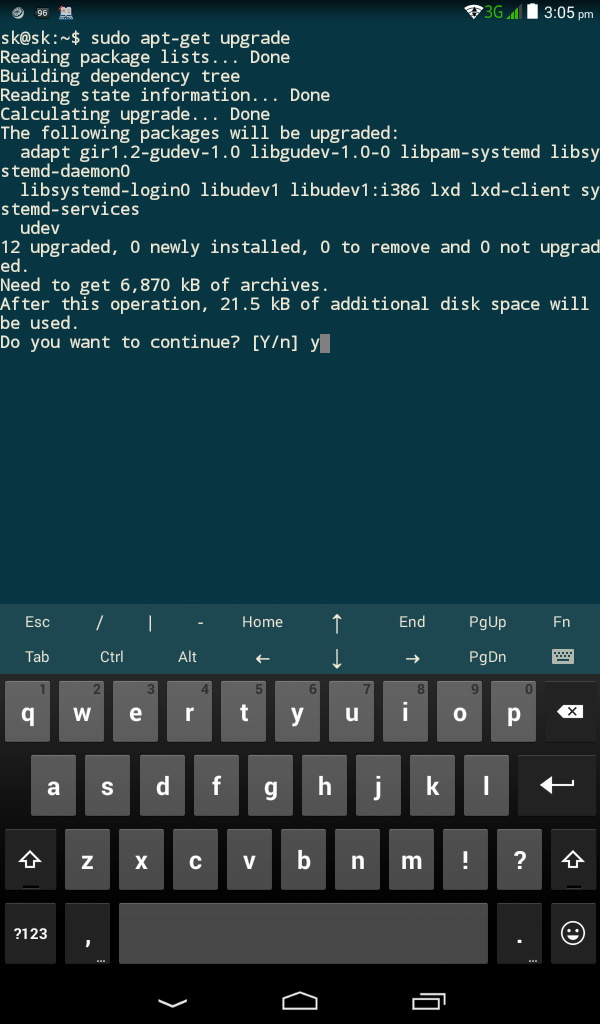
We can install, upgrade, update packages as the way we do in the normal Linux system.
To exit from the SSH session, type exit in the Terminal.
That’s all for now. As far as I tested, JuiceSSH worked like a charm. I didn’t encounter even a single issue while testing. Give it a try, you won’t be disappointed.
If you like our tutorial, please share it with your contacts and support us.
Cheers!
Source & Reference links:


