
ownCloud is a free Open Source software, used to setup your own personal cloud for file sharing, Calender, Contact and Bookmark sharing and Personal Audio/Video Streaming. It is pretty easy to setup and manage.
Prerequisites
In this tutorial i am using CentOS 6.5 minimal server to setup ownCloud. My testbox details are given below.
Operating system: CentOS 6.5 Minimal Installation
IP Address: 192.168.1.101/24
While it was tested on CentOS 6.5, it is applicable for all RPM based distros.
Then your server should have a working LAMP stack. Refer the following link to setup LAMP server.
– Install LAMP server on RHEL/CentOS/Scientific Linux
Install following necessary PHP extensions:
# yum install php-mysql php-json php-xml php-mbstring php-zip php-gd curl php-curl php-pdo
Setting up database for ownCloud
Let us create a database called ‘ownclouddb’ and database user ‘ownclouduser’ with passwor ‘centos’.
# mysql -u root -p
Enter password:
Welcome to the MariaDB monitor.  Commands end with ; or \g.
Your MariaDB connection id is 66
Server version: 5.5.34-MariaDB MariaDB Server

Copyright (c) 2000, 2013, Oracle, Monty Program Ab and others.

Type 'help;' or '\h' for help. Type '\c' to clear the current input statement.

MariaDB [(none)]> CREATE DATABASE ownclouddb;
Query OK, 1 row affected (0.04 sec)

MariaDB [(none)]> GRANT ALL ON ownclouddb.* TO ownclouduser@localhost IDENTIFIED BY 'centos';
Query OK, 0 rows affected (0.01 sec)

MariaDB [(none)]> flush privileges;
Query OK, 0 rows affected (0.01 sec)

MariaDB [(none)]> exit
Bye
Getting owncloud
Switch to your apache root folder and download ownCloud latest version
Goto to Apache root document folder and download the latest version of owncloud.
# wget http://download.owncloud.org/community/owncloud-6.0.0a.tar.bz2
Extract the tar package using command:
# tar xvf owncloud-6.0.0a.tar.bz2
Move the extracted folder to your apache root folder (i.e /var/www/html/)
# mv owncloud/ /var/www/html/
Set the ownership and permissions to the following folders:
# chown -R apache:apache /var/www/html/owncloud/
# chmod 777 /var/www/html/owncloud/config/
Enable apache rewrite mode.
Edit file “/etc/httpd/conf/httpd.conf”,
# vi /etc/httpd/conf/httpd.conf
Find the following section and Change AllowOverride None to Allowoverride All.
[...]
     AllowOverride All
[...]
Finally, restart the apachehttpd and mysql services.
# service mysql restart
# service httpd restart
Begin ownCloud Installation
Navigate to http://ip-address/owncloud or http://domain-name/owncloud from your web browser.
Note: If encountered with any permission errors, disable SELinux and try again.
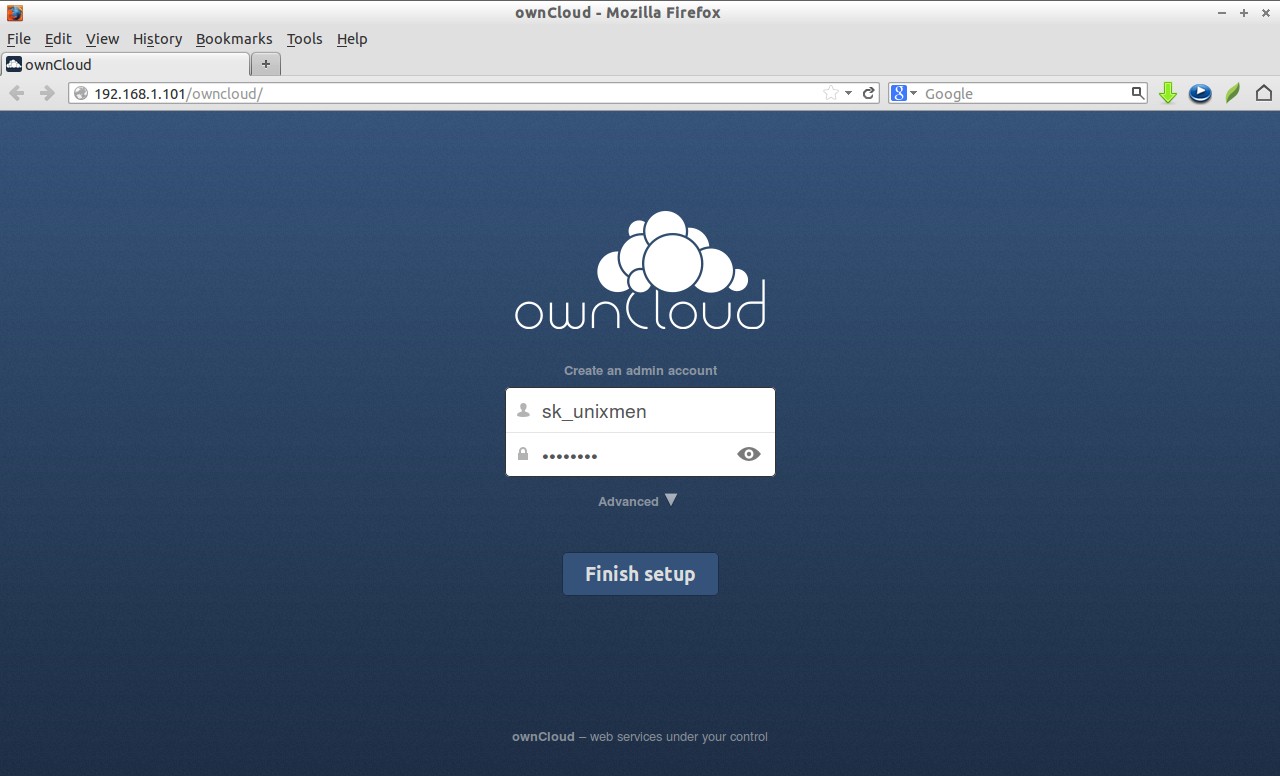
The index page of own cloud will shown up. You will asked be to create a new admin account. Enter the admin account details.
Then, Click on the Advanced drop-down box, select mysql and enter the mysal database name, database user name and password. Finally click Finish setup to complete installation.
 This is how my ownCloud dashboard looks:
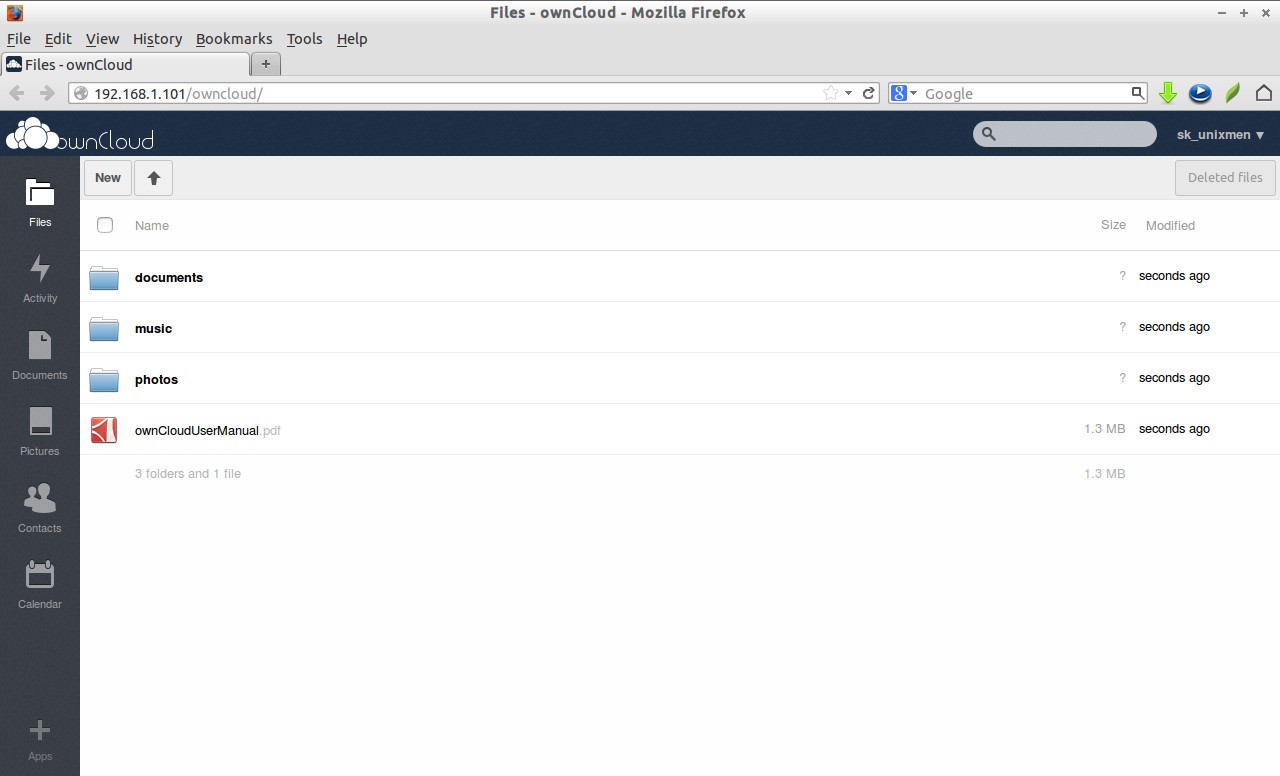 Thats it. Our cloud server is ready. From here, you can upload/download your images, files, Audio, Video and also can access them from your client systems over LAN/WAN.


