
Piwigo is a free and open source photo gallery software for the web. It is similar to Flickr, a well known photo sharing website that allows us to share photos to our family, friends or to the public. If you have large collection of photos of your family or friends and want to share/store in your own server, then Piwigo is the best choice.
Prerequisites
This how-to was tested in CentOS 6.5, although it should work on RHEL, Scientific Linux 6.x versions as well.
Hence it’s web-based tool, we need a working LAMP stack. To install and configure LAMP server on CentOS, refer the following link.
– Install LAMP Server On CentOS / RHEL / Scientific Linux
Make sure you have installed the following php extensions.
# yum install php-gd php-mysql
Edit php.ini file and set your time zone,
# vi /etc/php.ini
Uncomment the following and set your timezone.
date.timezone = Asia/Kolkata
Create database for Piwigo
Log in to your mysql server.
# mysql -u root -p
Create a database called “piwigodb” and assign full permission to “piwigouser” over the database.
mysql> create database piwigodb DEFAULT CHARACTER SET = 'utf8';
Query OK, 1 row affected (0.02 sec)

mysql> GRANT ALL ON piwigodb.* TO piwigouser@localhost IDENTIFIED BY 'centos';
Query OK, 0 rows affected (0.00 sec)

mysql> flush privileges;
Query OK, 0 rows affected (0.00 sec)

mysql> exit
Bye
Getting Piwigo
Go to the Piwigo download page and get the latest version.
Extract the downloaded zip file and move the extracted contents to your web root folder.
# unzip piwigo-2.6.1.zip
# mv piwigo/ /var/www/html/piwigo
Set full permissions to the following folders. If they didn’t exist, create them.
# chmod -R 777 /var/www/html/piwigo/_data/
# chmod -R 777 /var/www/html/piwigo/upload/
# mkdir /var/www/html/piwigo/local/watermarks
# chmod -R 777 /var/www/html/piwigo/local/watermarks/
Begin Piwigo Installation
Open your web browser and point to http://(ip-address or domain-name)/piwigo.
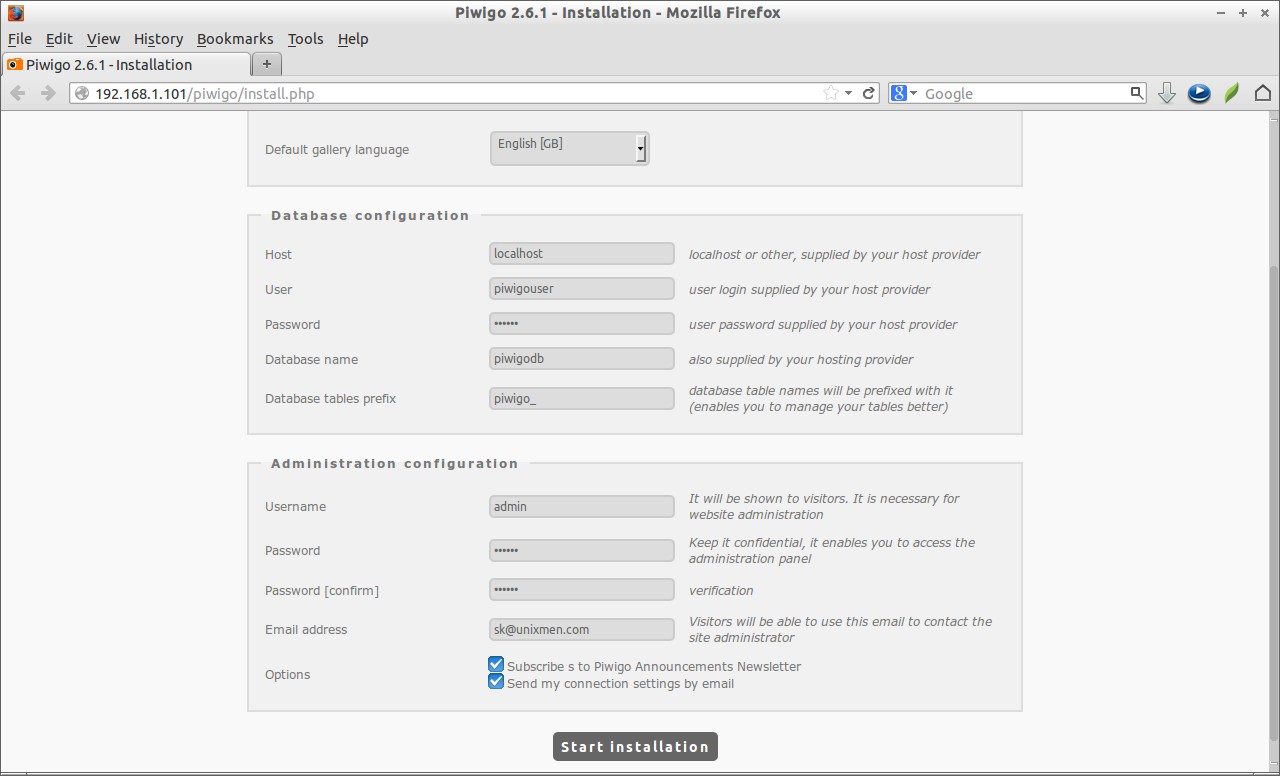
Enter your database details which we created earlier and setup administrative user and password. Finally click Start Installation.
Congratulations! Piwigo has been installed.
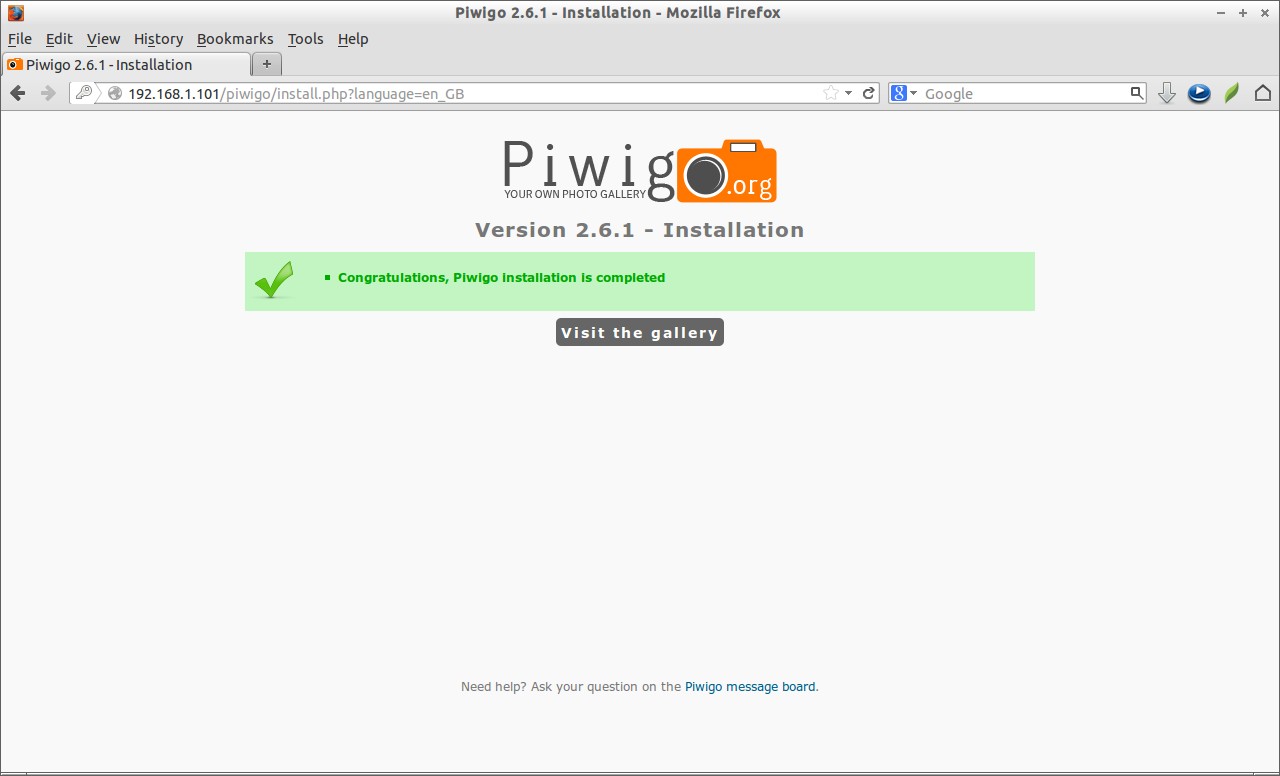
Click on the Link that says: Visit the gallery or navigate to http://(ip-address or domain-name)/piwigo to visit the main page. Enter the username and password that you created in the previous steps.
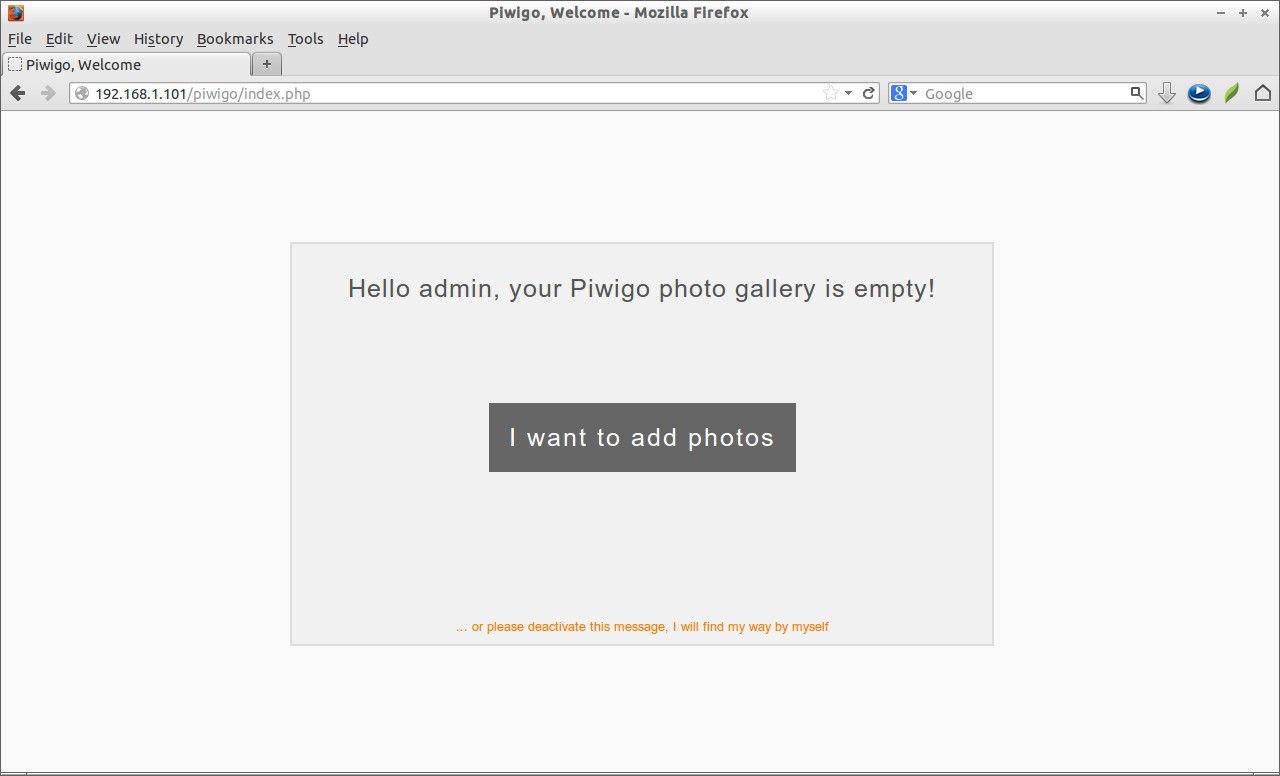
Initially, we don’t have any images. So let us upload some photos first. Click on the link that says: I want to add photos.
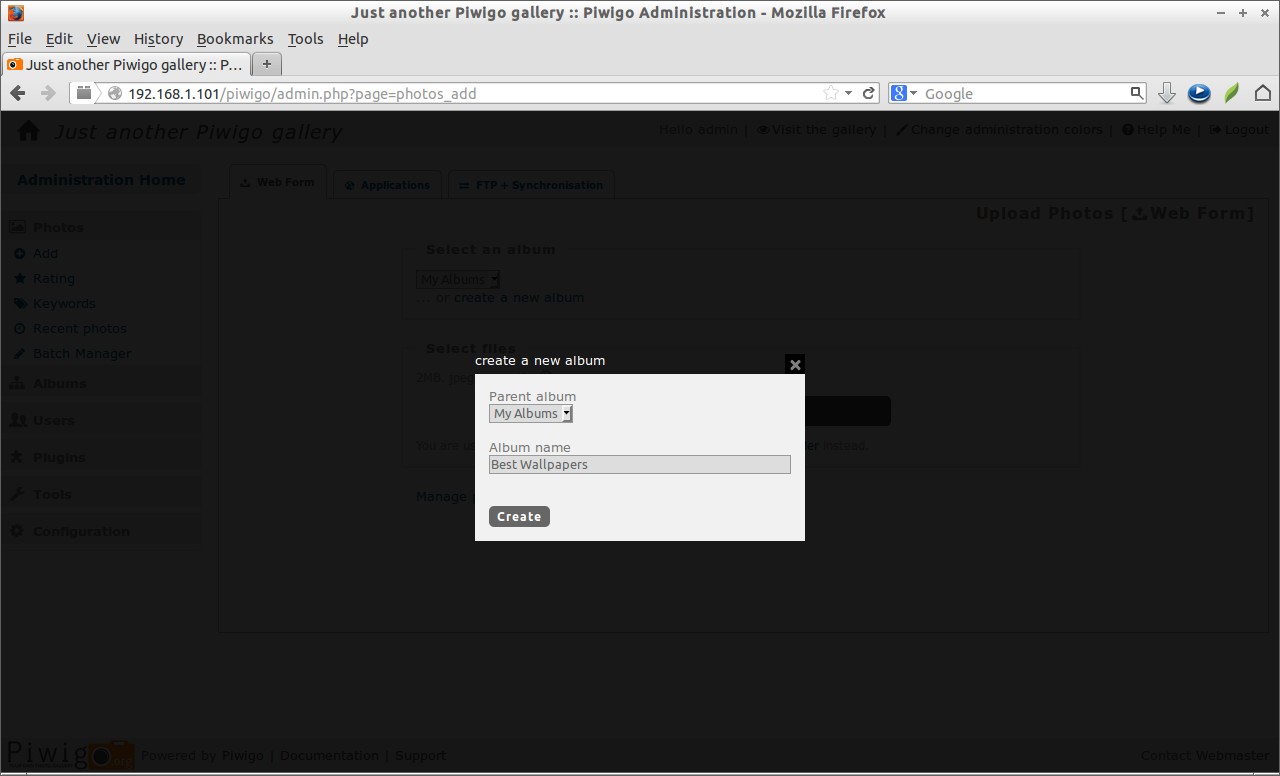
Create Albums
We can directly add images to our account or create one or more Albums to organize your photos. Make sure you’ve logged-in as the administrative user to create/edit/delete albums.

Like this way you can create as many as albums you want. Also it’s possible to create unlimited sub albums under one album.
Once the albums are created, let us upload some images to the albums. We can upload photos with the web form, any FTP client or a desktop application like digiKam, Shotwell, Lightroom, iPhoto, Aperture. iPhone/Android applications.
To upload photos, select the album from the Select an album drop-down box and click on the link Select files. Select the images you want to upload to your album and click Start Upload button.
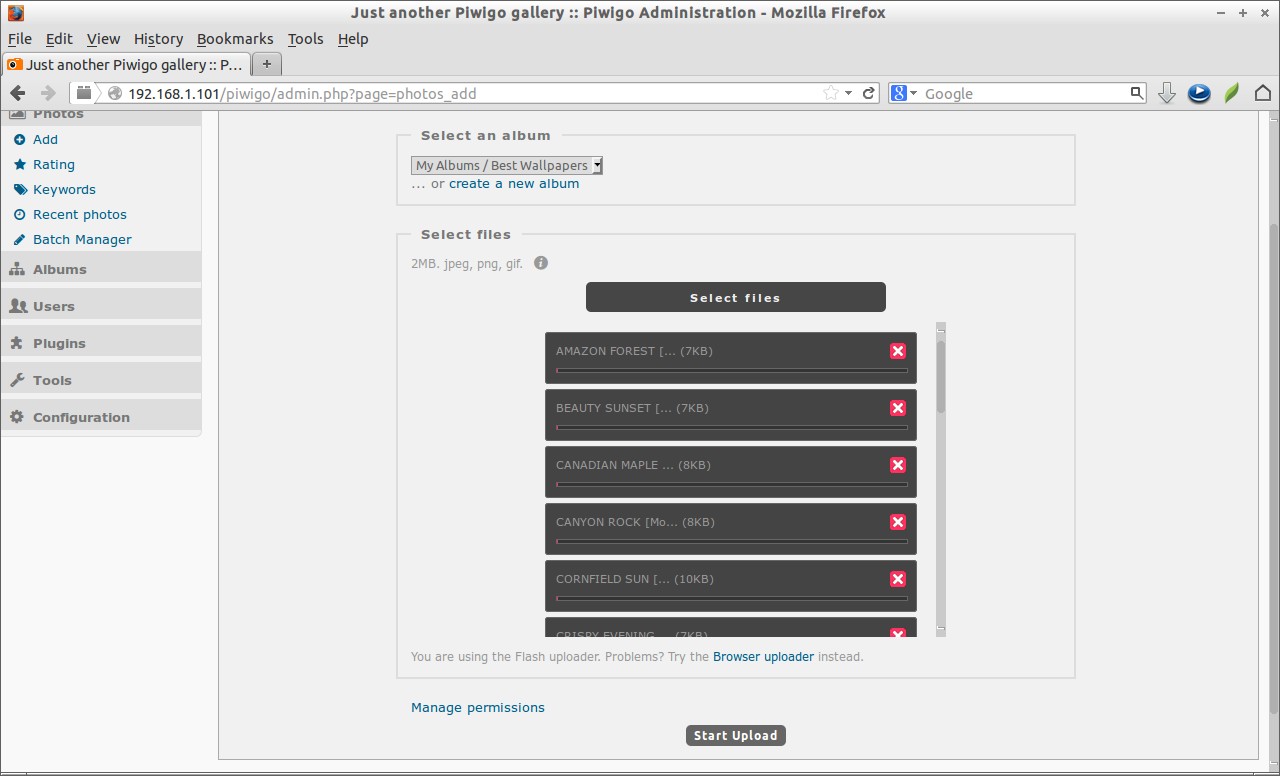
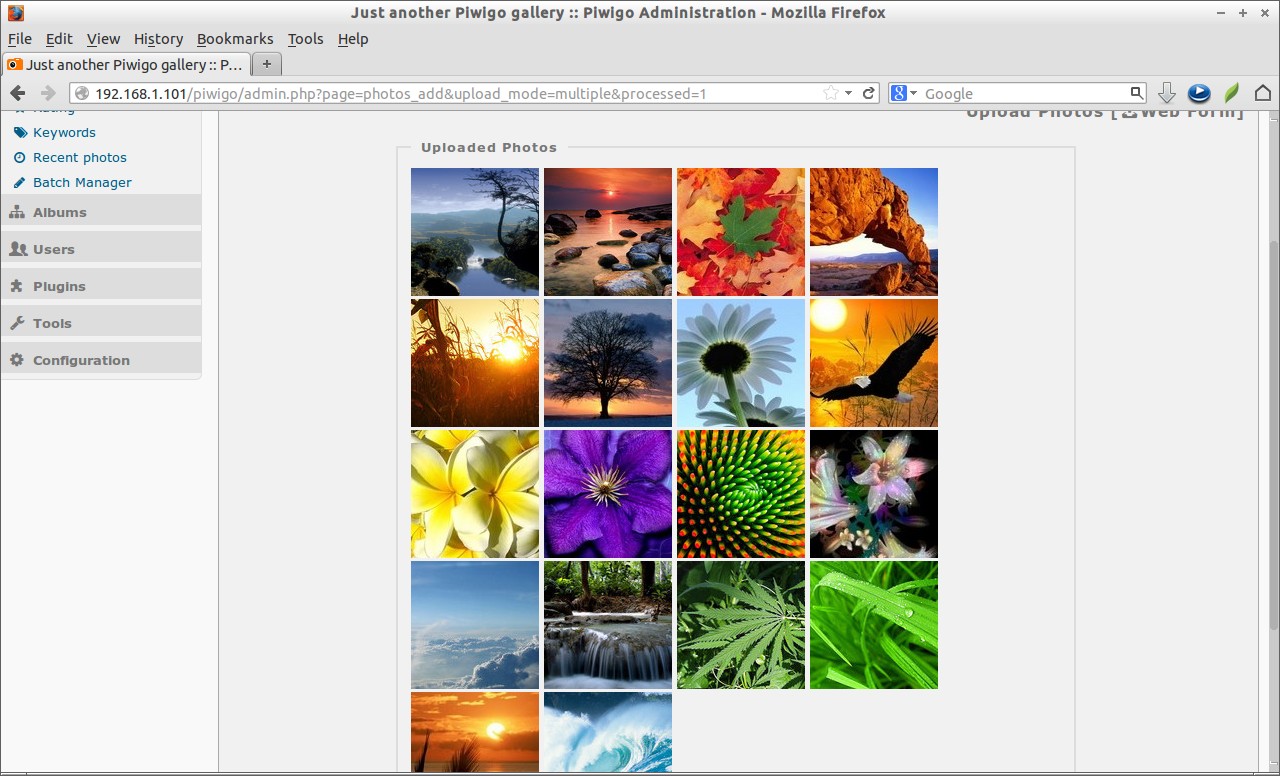
Now you’ll see the selected images will be uploaded into your album.
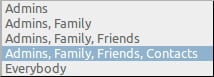
Also you can make your photos private and decide who can see each of them using the Manage Permissions link under the Select files section. You can set permissions on albums and photos, for groups or individual users.
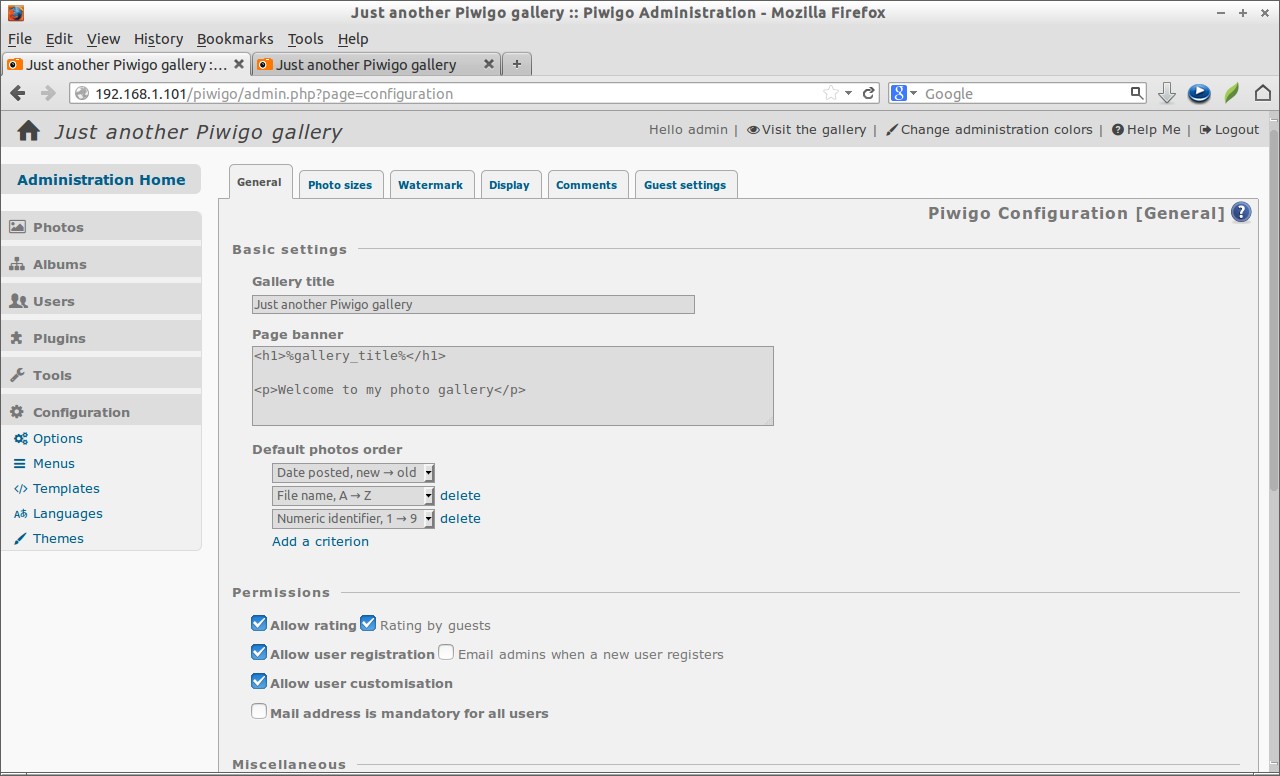
If you want to change your Piwigo site name, image sizes, themes and can enable watermark options in the Configuration section.
Once you done photo uploading and all necessary configurations, log out from the admin user.
Register New users
Go to your piwigo site (ex. http://domain-name/piwigo). Click on the link Register on the left pane.
Enter you name, password and mail id and you’re done!
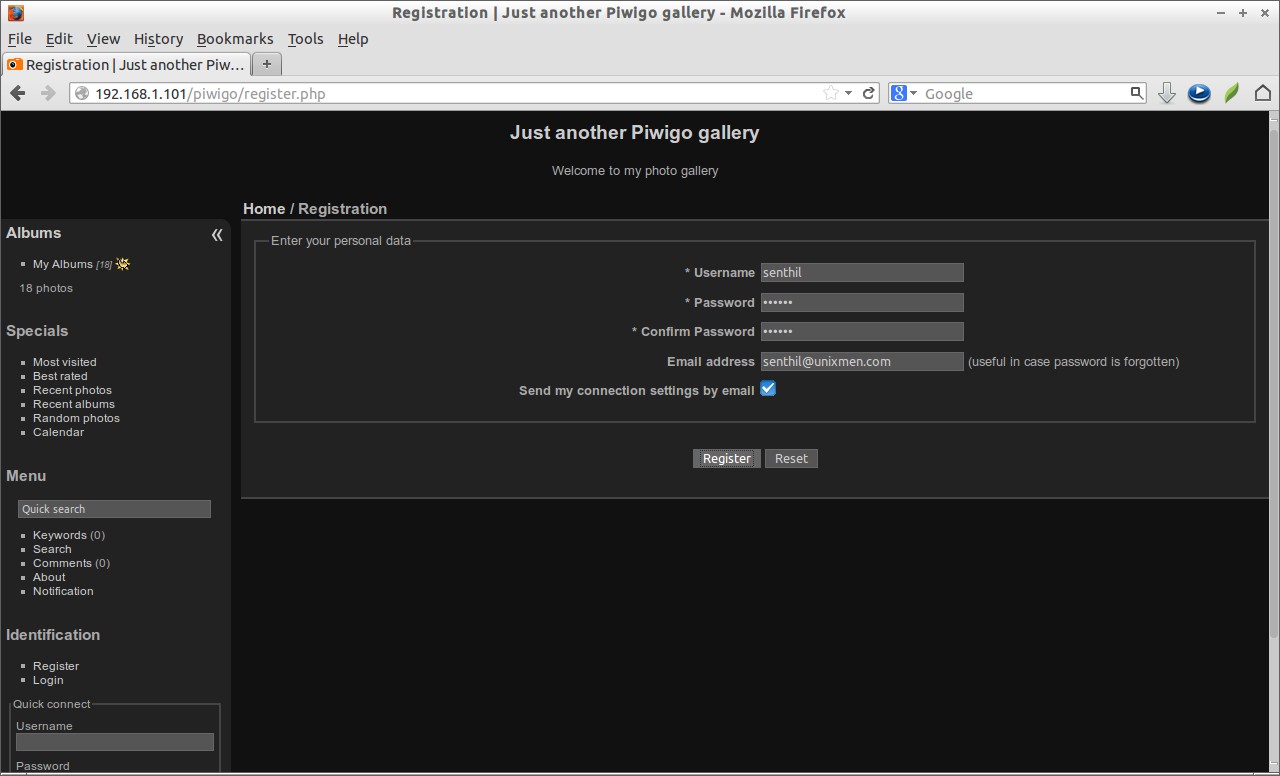
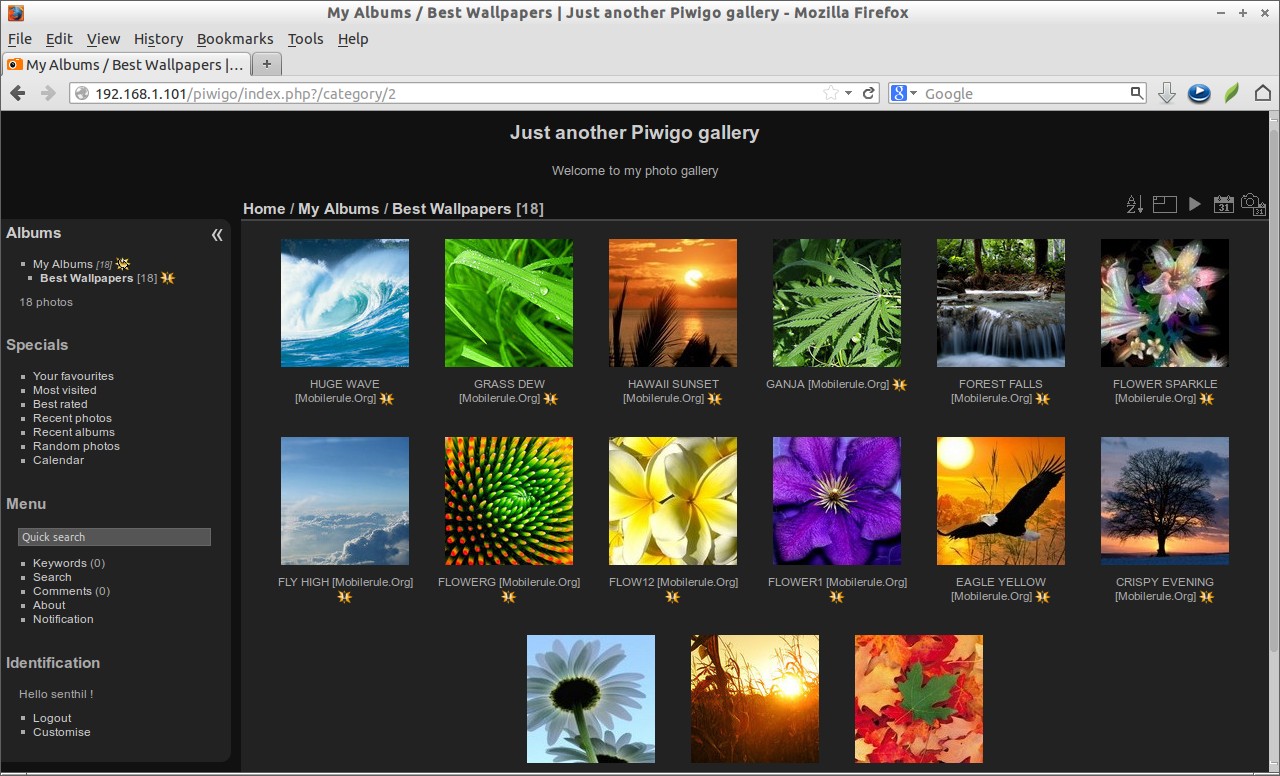
Now the new user will be able to see the uploaded images.
Conclusion
As far as i know, Piwigo is the best choice for those who want to self host a website like Flickr or Picasa. If you don’t want to put your family memories on a third party servers, Piwigo will certainly help you out to place all your precious images in your own server with full control over them.
Reference Links:


