
Bacula is an open source network backup solution that permits you to backup and restore the data’s from a local or group of remote networked computers. It is very easy in terms of installation and configuration with many advanced storage management features.
In this tutorial, let us see how to install and configure Bacula on Ubuntu 14.04 server. My test box IP address is 192.168.1.250/24, and hostname is server.unixmen.local. Well, now let me get us into the tutorial.
Install Bacula
Bacula uses an SQL database to manage its information. We can use either MySQL or PostgreSQL database. In this tutorial, I use MySQL server.
Enter the following command to install MySQL server.
sudo apt-get update
sudo apt-get upgrade
sudo apt-get install mysql-server
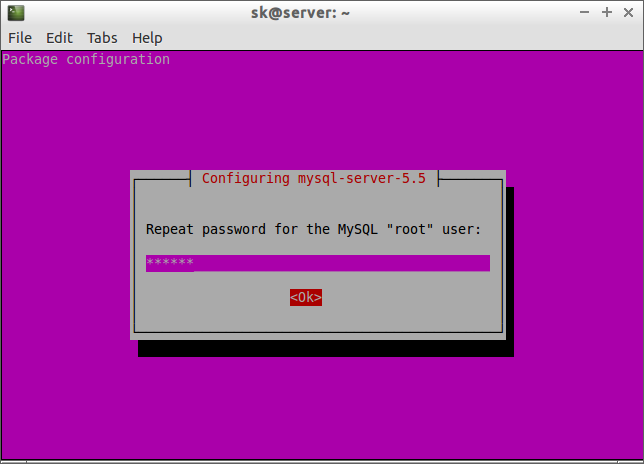
During MySQL installation, you’ll be asked to set the database administrator password. Enter the password and click Ok.

Re-enter the password:
Now, let us install bacula using the following command:
sudo apt-get install bacula-server bacula-client
By default, Bacula uses Postfix MTA. During installation, you’ll be asked to configure Postfix.
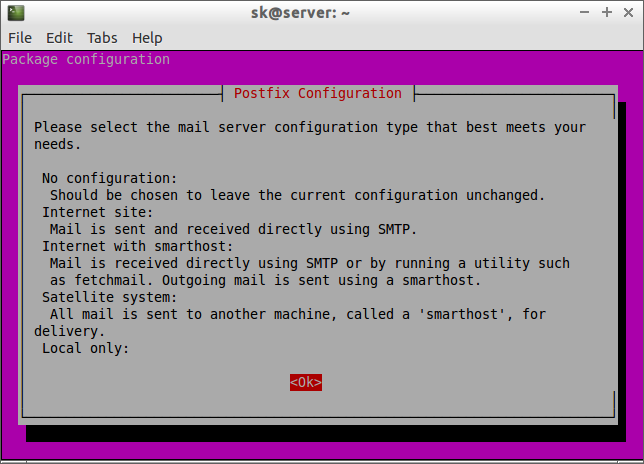
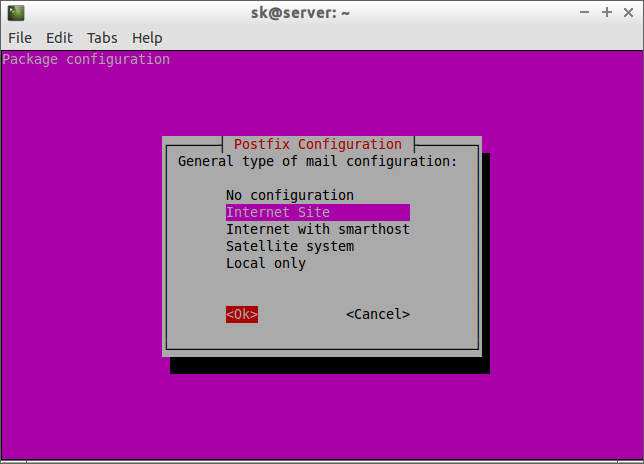
Select Internet Site and click Ok.
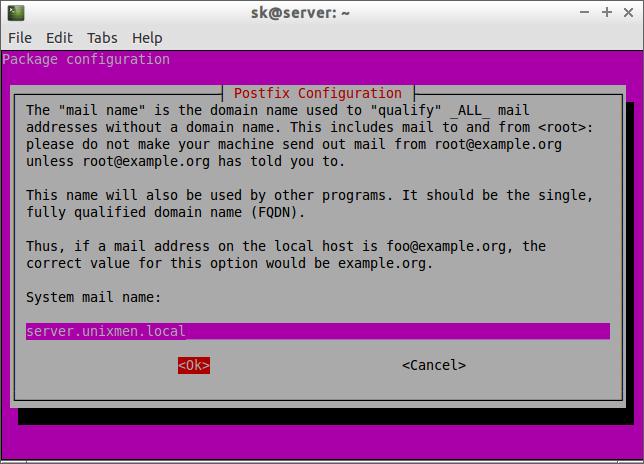
Enter server fully qualified name(FQDN):
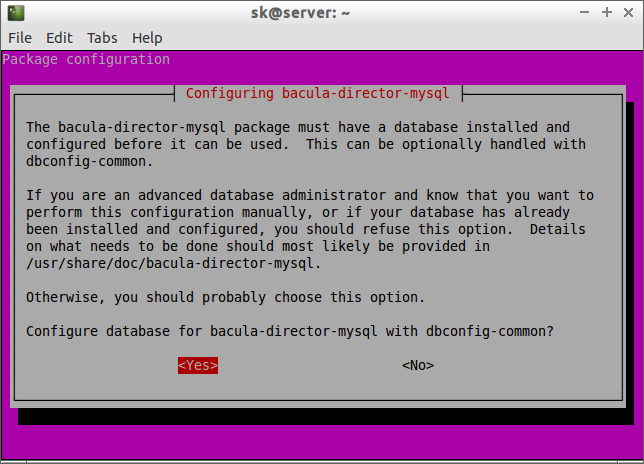
Now, select Yes to configure database for Bacula with dbconfig-common.
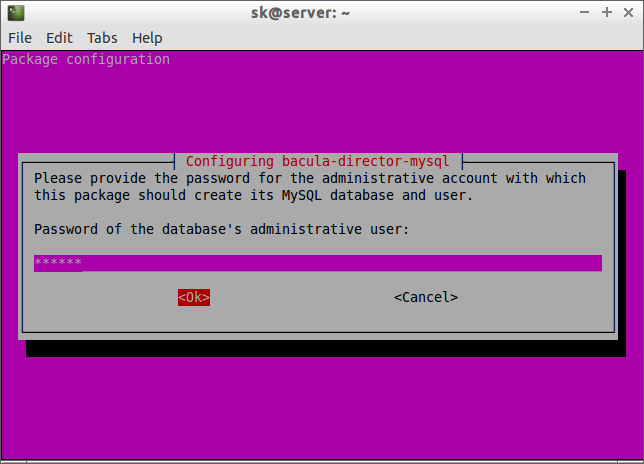
Enter the MySQL database administrator password:
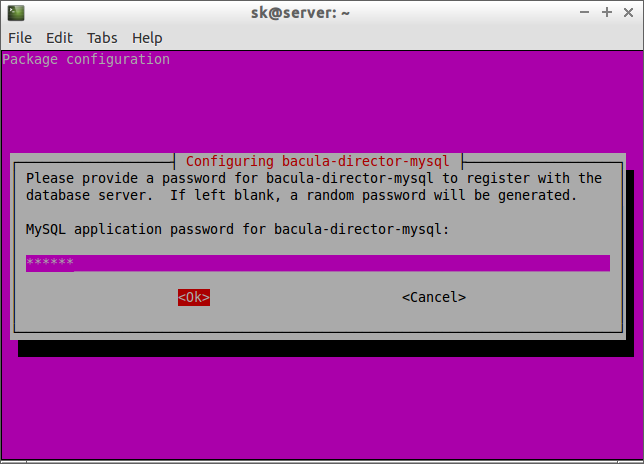
Set password for bacula-director-mysql to register with the database server. If left blank, a random password will be generated.
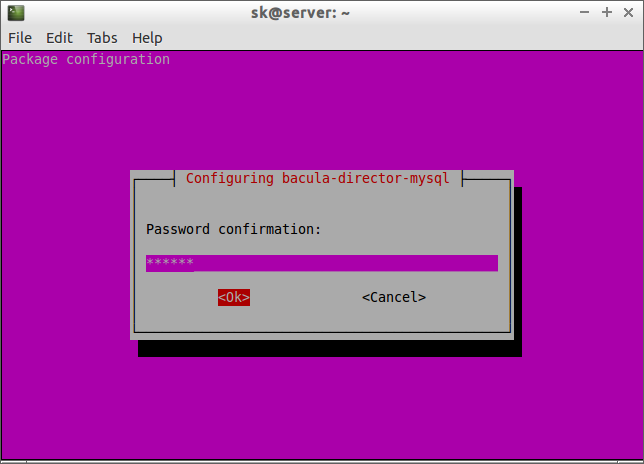
Re-enter the password:
Create Backup and Restore Directories
Now, let us backup and restore directories.
sudo mkdir -p /mybackup/backup /mybackup/restore
Set permissions and ownership to the above directories:
sudo chown -R bacula:bacula /mybackup/
sudo chmod -R 700 /mybackup/
Configure Bacula
Bacula has many configuration files which we have to configure.
Update Bacula Director configuration:
sudo vi /etc/bacula/bacula-dir.conf
Find the following section, and update the restore path. In our case, /mybackup/restore is my restore location.
[...]
Job {
  Name = "RestoreFiles"
  Type = Restore
  Client=server-fd
  FileSet="Full Set"
  Storage = File
  Pool = Default
  Messages = Standard
  Where = /mybackup/restore
}
[...]
Scroll down to “list of files to be backed up” section, and set the path of the directory to backup. For this tutorial, I want to backup the “/home/sk” directory. So, I included this directory path in the “File” parameter.
[...]

#  By default this is defined to point to the Bacula binary
#    directory to give a reasonable FileSet to backup to
#    disk storage during initial testing.
#
    File = /home/sk
  }
[...]
Scroll down further, fins the section Exclude section. Set the list of directories to be excluded from the backup. Here, I excluded the backup folder /mybackup directory from being backed up.
[...]

# If you backup the root directory, the following two excluded
#   files can be useful
#
  Exclude {
    File = /var/lib/bacula
    File = /nonexistant/path/to/file/archive/dir
    File = /proc
    File = /tmp
    File = /.journal
    File = /.fsck
    File = /mybackup
  }
}
[...]
Save and close file.
Update Bacula Storage Daemon settings:
Edit /etc/bacula/bacula-sd.conf,
sudo vi /etc/bacula/bacula-sd.conf
Set the backup folder location. i.e /mybackup/backup in our case.
[...]

Device {
  Name = FileStorage
  Media Type = File
  Archive Device = /mybackup/backup
  LabelMedia = yes;                   # lets Bacula label unlabeled media
  Random Access = Yes;
  AutomaticMount = yes;               # when device opened, read it
  RemovableMedia = no;
  AlwaysOpen = no;
}
[...]
Now, check if all the configurations are valid as shown below. If the commands displays nothing, the configuration changes are valid.
sudo bacula-dir -tc /etc/bacula/bacula-dir.conf
sudo bacula-sd -tc /etc/bacula/bacula-sd.conf
Once you done all the changes, restart all bacula services.
sudo /etc/init.d/bacula-director restart
sudo /etc/init.d/bacula-fd restart
sudo /etc/init.d/bacula-sd restart
That’s it. Now, bacula has been installed and configured successfully.
Manage Bacula Using Webmin
Managing and working with Bacula via command line is bit difficult. So let use a graphical system administration tool called “webmin” to ease our tasks.
Follow the below link to install Webmin on Ubuntu 14.04.
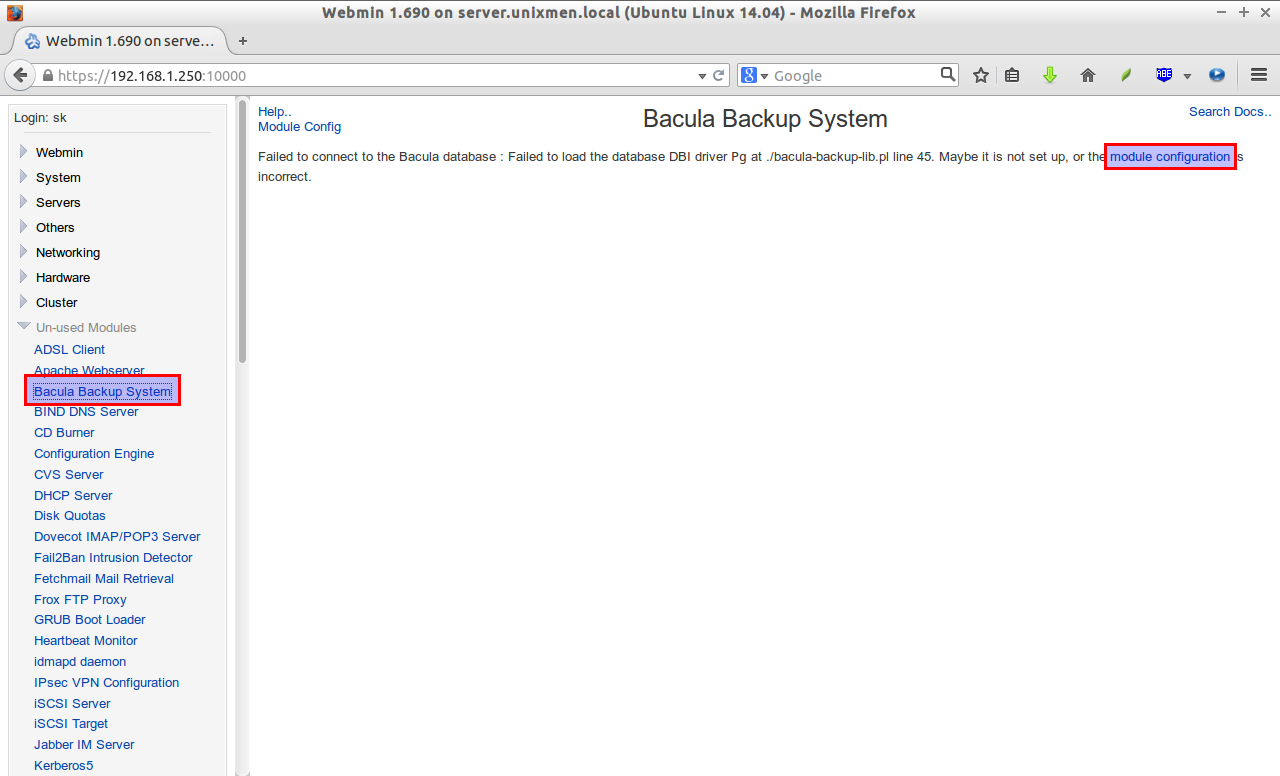
Now, go to the Webmin interface using URL https://ip-address:10000. Go to the System tab on the left pane and click on the Module configuration link. If it not found under system, search it from the unused modules section.
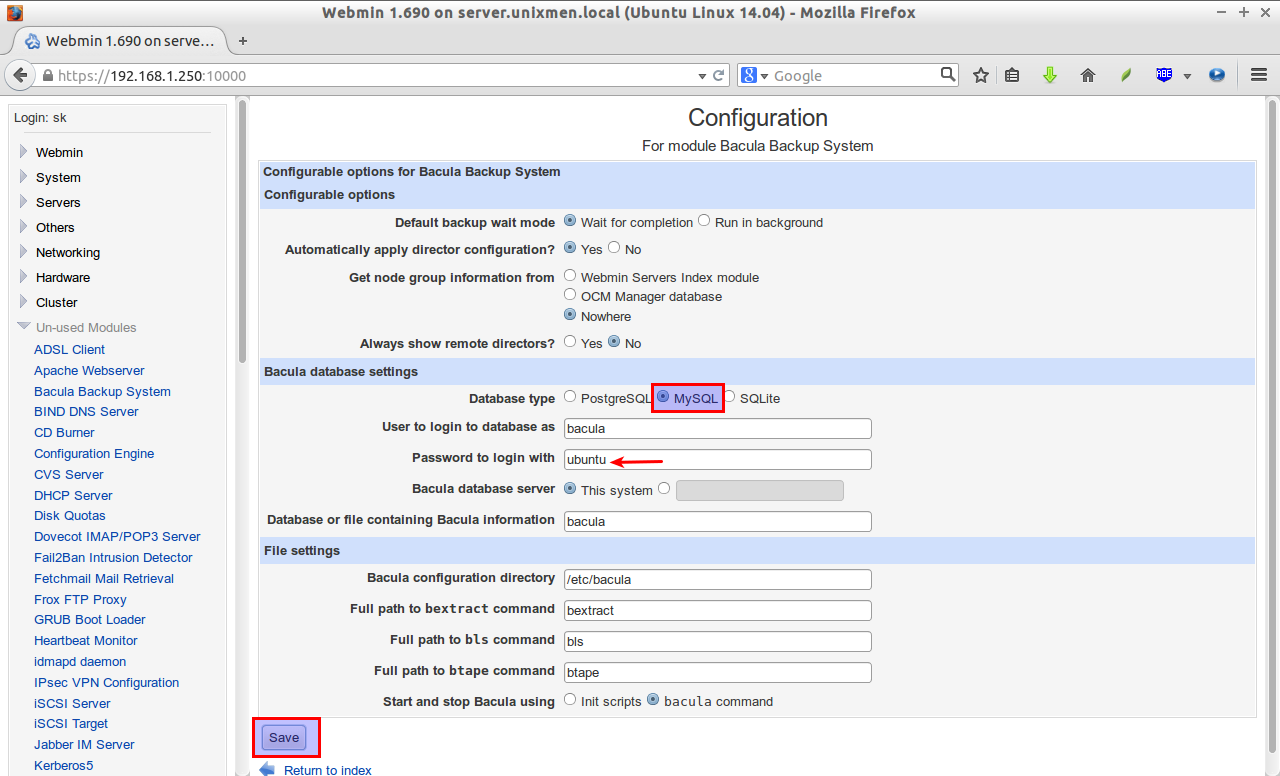
Select MySQL in the database section. Enter the MySQL database administrator password, and click Save button.
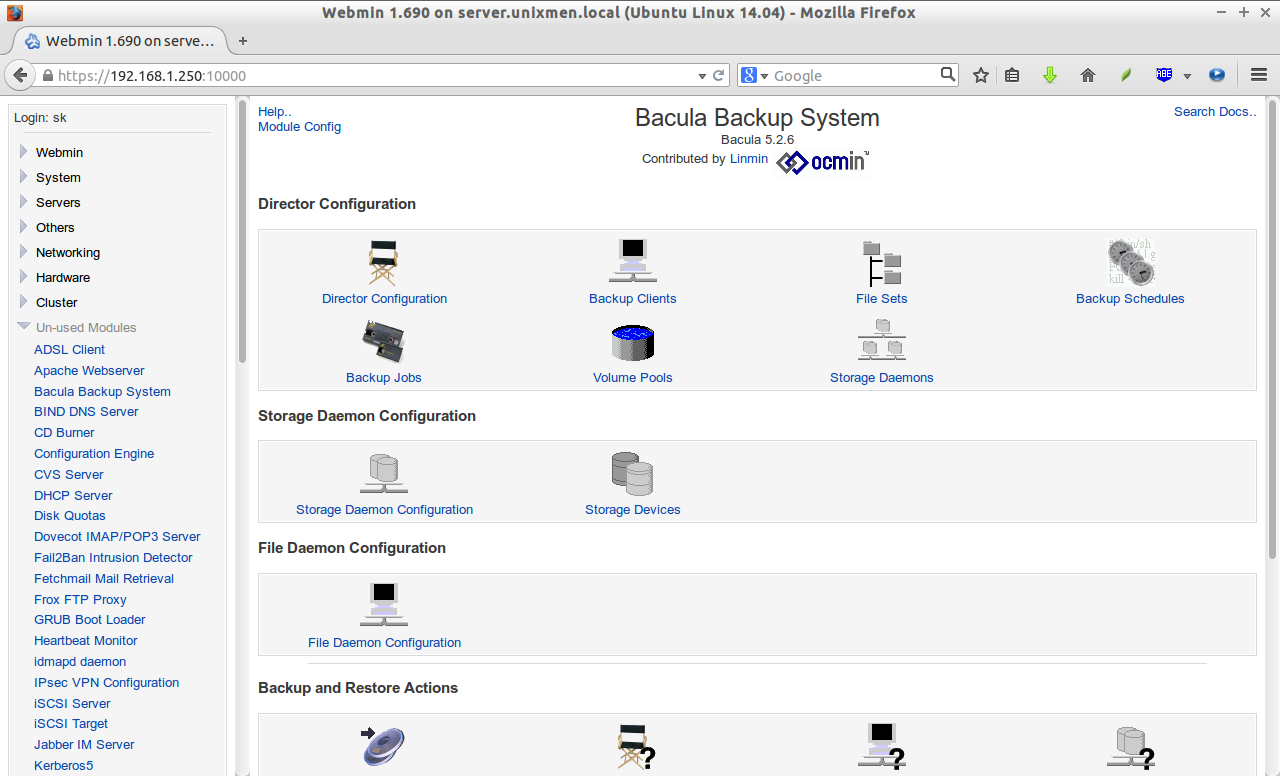
That’s it. Now you’ll be able to configure Bacula from webmin easily. Start adding backup clients, volumes and schedule the jobs.
Cheers!


