
About NethServer
NethServer is a free, Open Source, CentOS based all-in-one Linux server distribution, specially designed for small offices and medium-size enterprises. NethServer offers number of built-in modules that can be used to turn any systems into a mail, Web, Proxy, DNS, FTP, Cloud, IDS, Samba, or VPN servers instantly within few minutes. Just forget the step by step and comprehensive installation steps, because we can install the modules of our choice with a ‘single click’. It comes with a built-in powerful and modern web interface that simplifies the common administrative tasks. Since it is based on popular CentOS distribution, NethServer is very powerful, solid, secured distribution. We can regularly get security fixes, updates from the official CentOS repositories as well.
Features
NethServer has number of features, including:
- Web-filter – Filters both HTTP and HTTPS traffic with Squid with or without authentication. Also, It comes ClamAV antivirus.
- Mail server – Postfix+Dovecot+Roundcube with Antivirus support
- File server – SAMBA server, Primary Domain controller.
- Web server – Multi-domain support with ready made LAMP stack
- Firewall – Built-in Shorewall
- VPN – Host2Net and Net2Net VPNs based on OpenVPN and L2TP. Compatible with Linux, Windows, Android and iOS.
- Groupware – Based on SOGo
- Private Cloud – OwnCloud
- Web-based console for administering NethServer
- And many
NethServer Editions
NethServer comes in two flavours as stated below.
- Community Edition – free for personal use
- Enterprise Edition – Paid version
You can find the features comparison of both editions in the following link.
Install NethServer
Minimum hardware requirements are:
- 64 bit CPU
- 1 GB RAM
- 8 GB disk space
- Fast Internet connection
- CD/DVD or Usb drive
We can install NethServer in two methods:
- Using NethServer ISO.
- Using NethServer YUM repository.
1. Installing from ISO:
This method is easy for new users. All you need is to download the NethServer from the following link, burn it to CD/DVD or USB drive and install it as the way you install CentOS.
As of writing this tutorial, the latest version was NethServer 6.6.
2. Installing from YUM
The second method is best option for those who already have servers/VPSs that pre-installed with CentOS distribution.
First, update your system:
yum update -y
Add NethServer repositories using command:
yum localinstall http://mirror.nethserver.org/nethserver/nethserver-release-6.6.rpm -y
Then, install NethServer base system using command:
nethserver-install
Sample output:
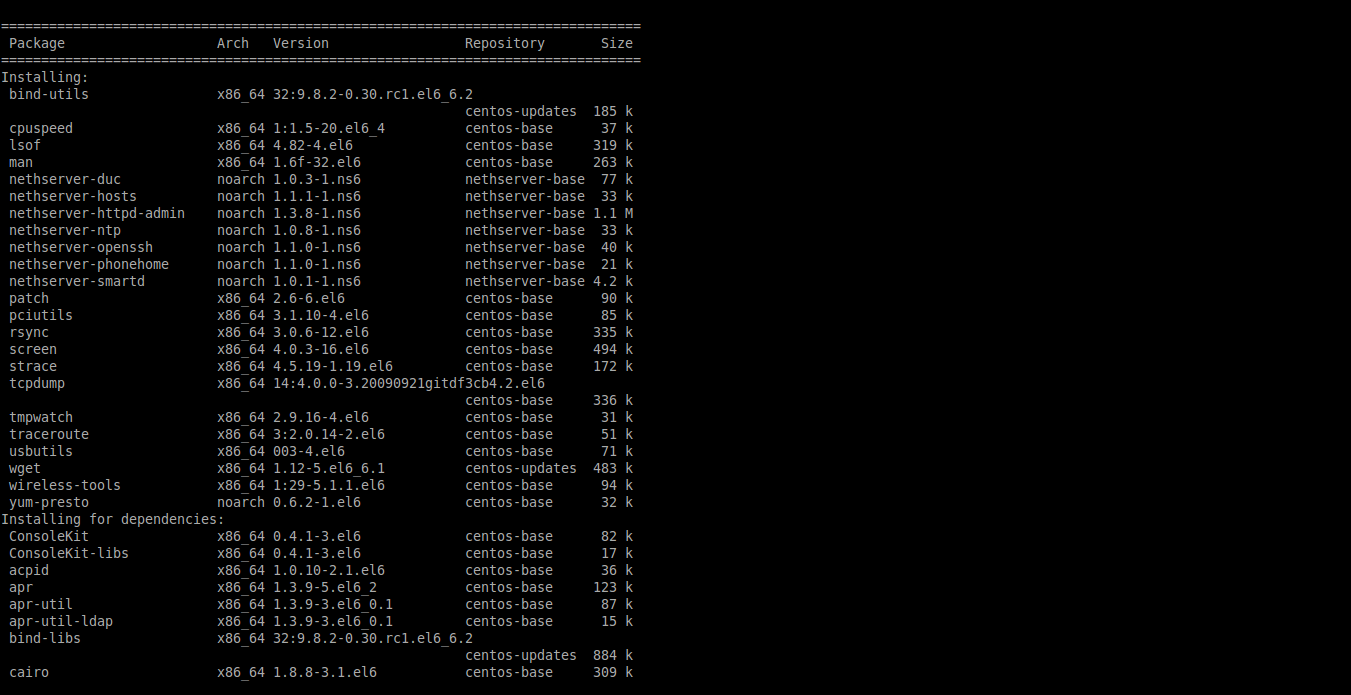
The above command will desperately download and install all packages in your server. It will take a while depending upon your Internet connection speed. Just be patient and have a cup of Coffee.
Alternatively, to install base system and additional modules at once, include the name of the module along with NethServer installation script as show below.
nethserver-install nethserver-mail nethserver-nut
After installation completed, you will see the following message.
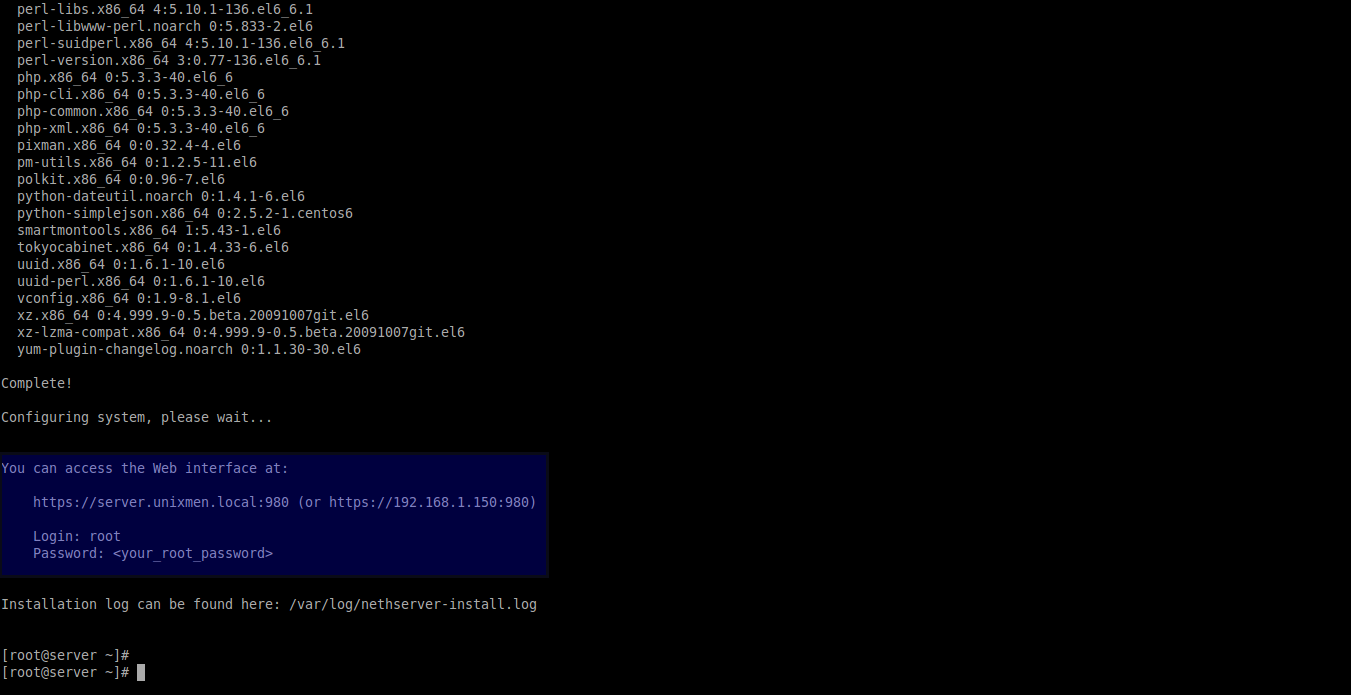
Note down the URLs to access the NethServer Web UI later.
Access NethServer Web UI
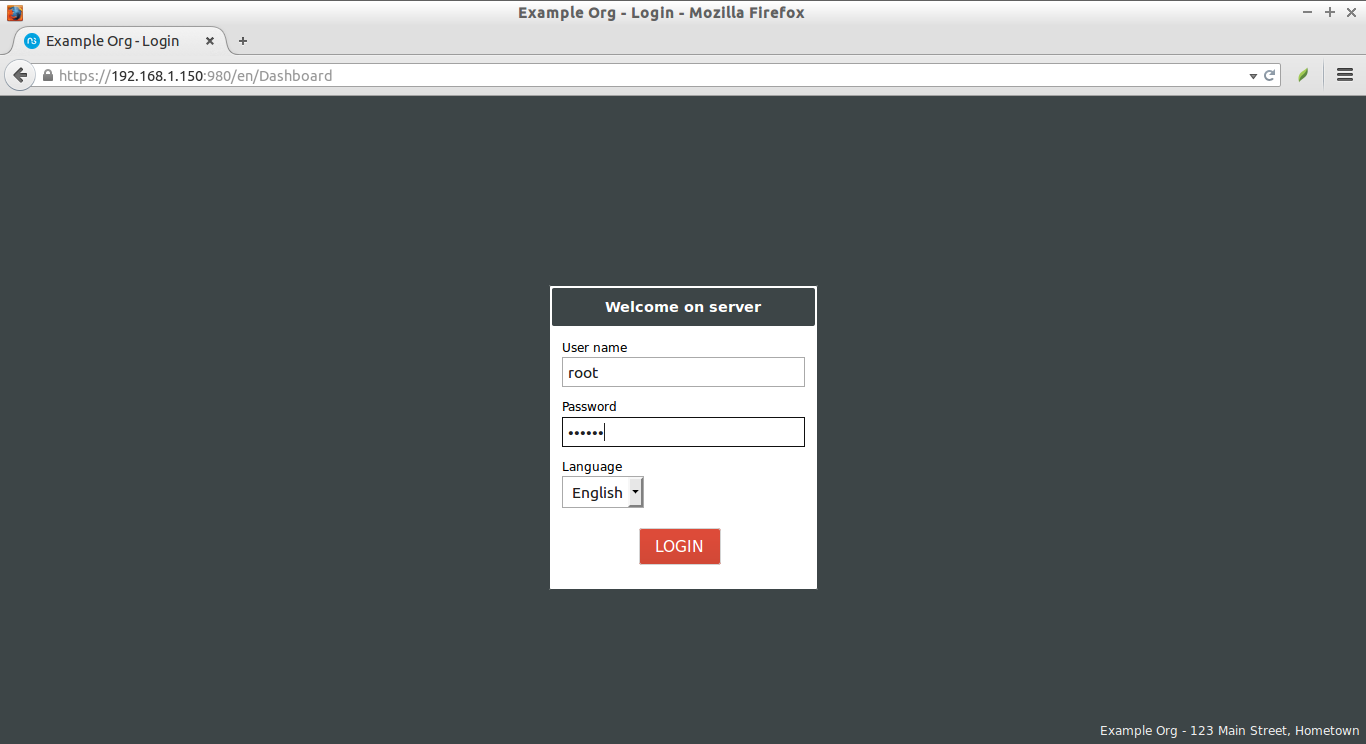
NethServer can be configured using the Server Manager web interface. Open up web browser and type: https:IP-Address:980 in your browser’s address bar.
If the web server module is installed, you can also access the web interface using URL: https://server_name/server-manager.
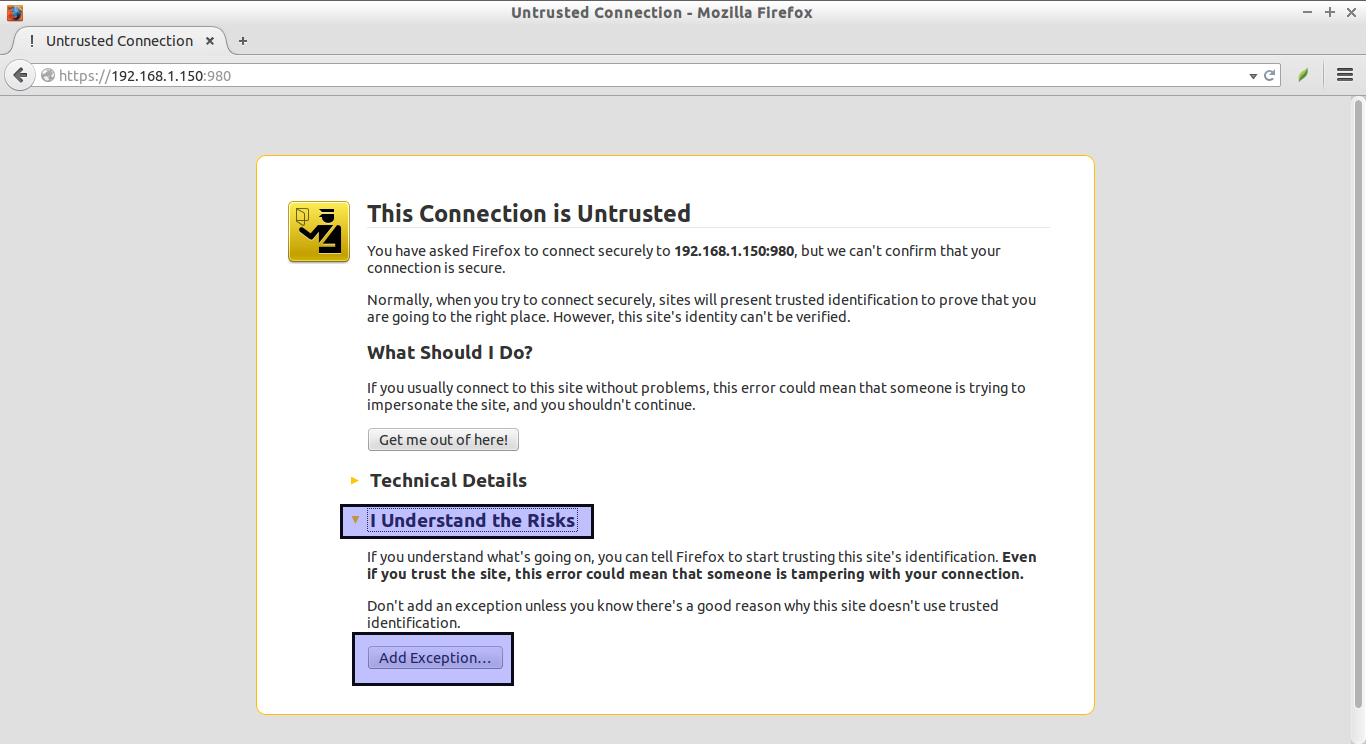
Accept the Untrusted connection.
Enter the user name and password.
- Username: root
- Password: <your_root_password>
Note: if you install NethServer using ISO, the default user name and password might be:
- Default user name: root
- Default password: Nethesis,1234
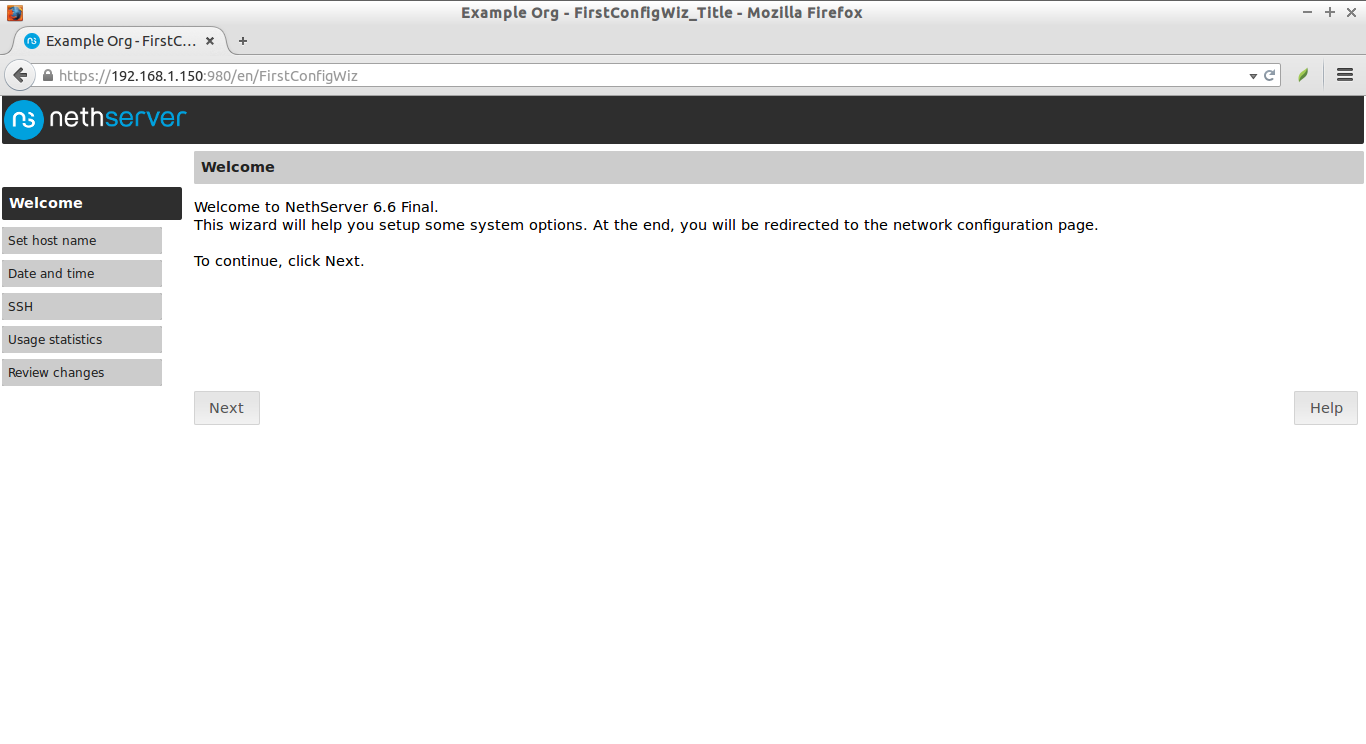
We’re not finished yet. Click Next to continue.
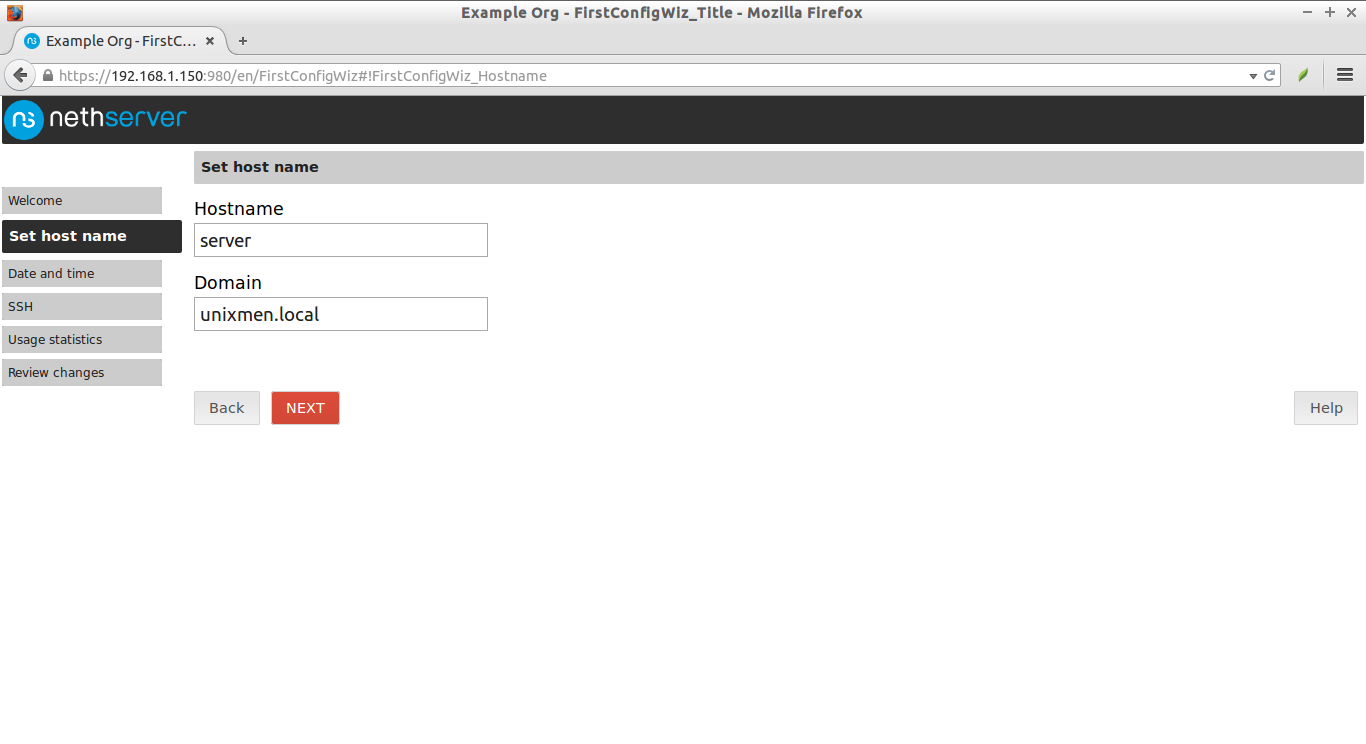
Enter Hostname and Domain name. Click Next.
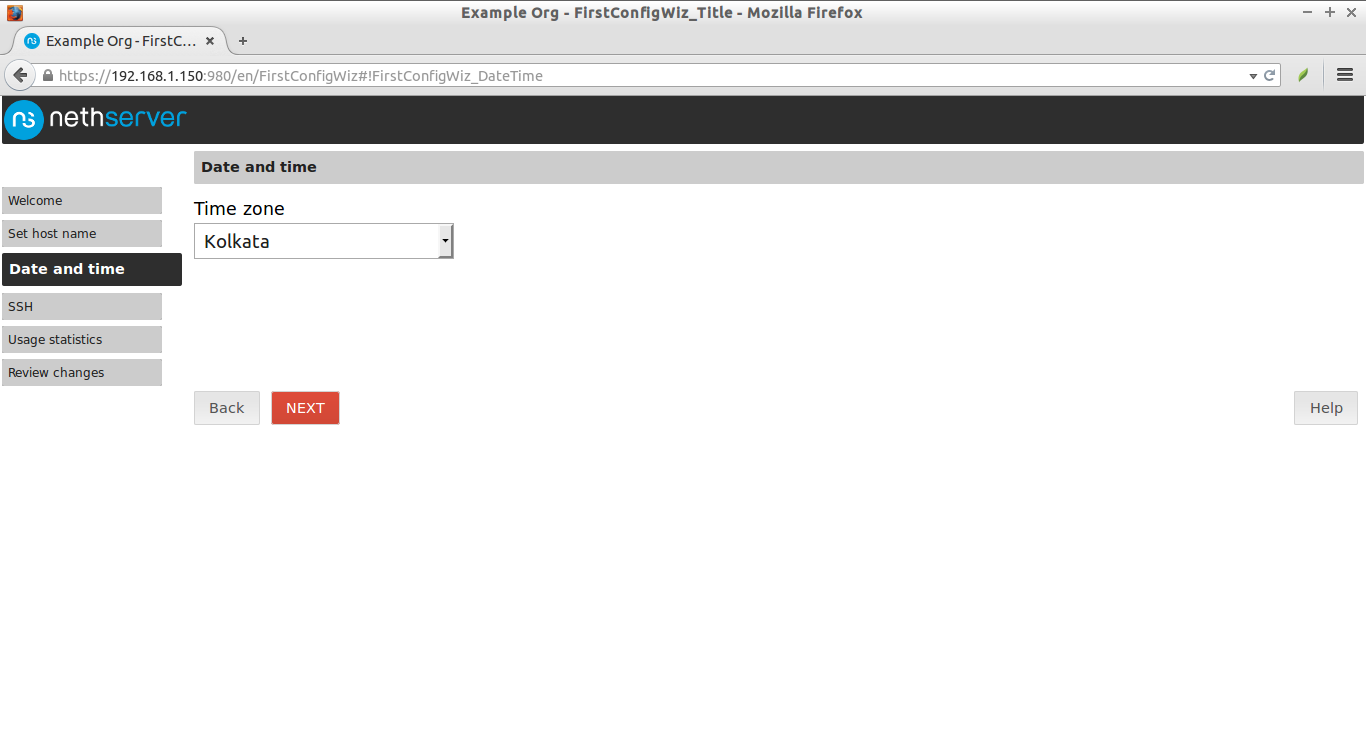
Select Timezone and click Next.
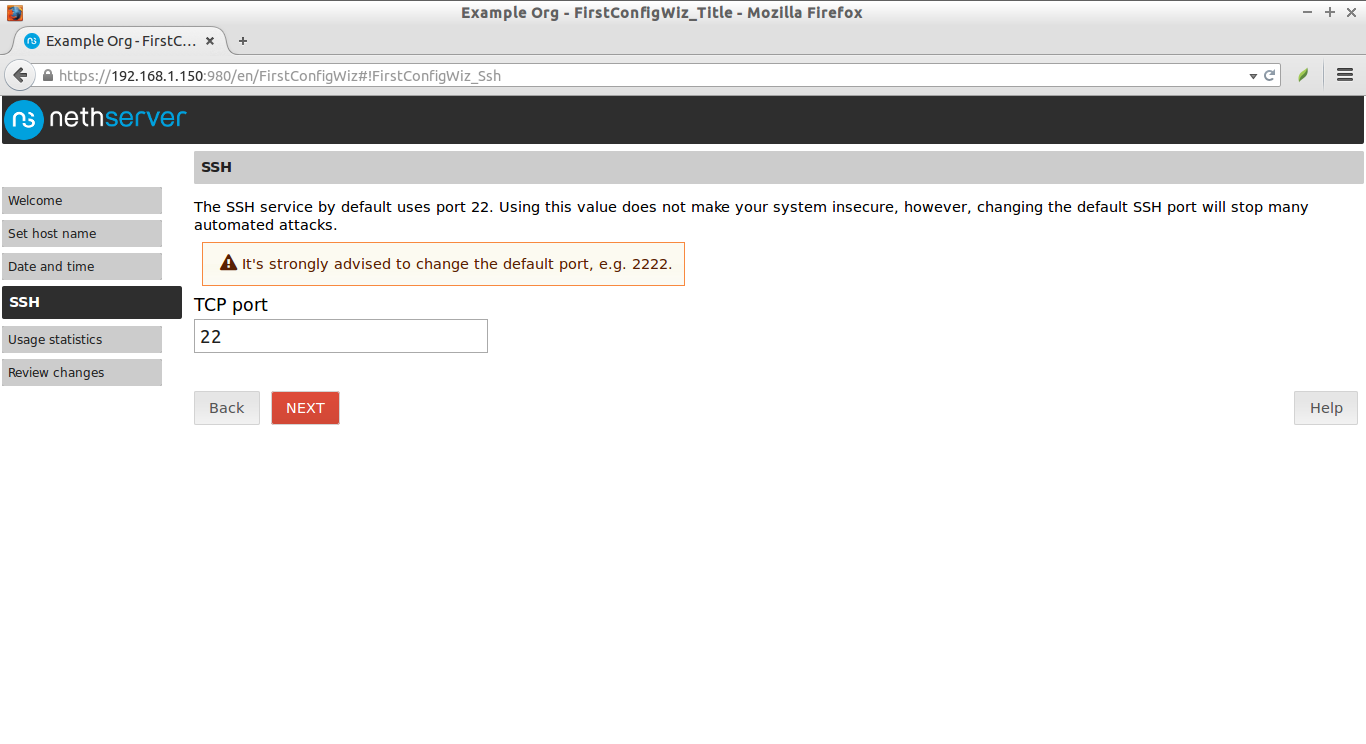
Change default SSH port and click Next. I go with the defaults.
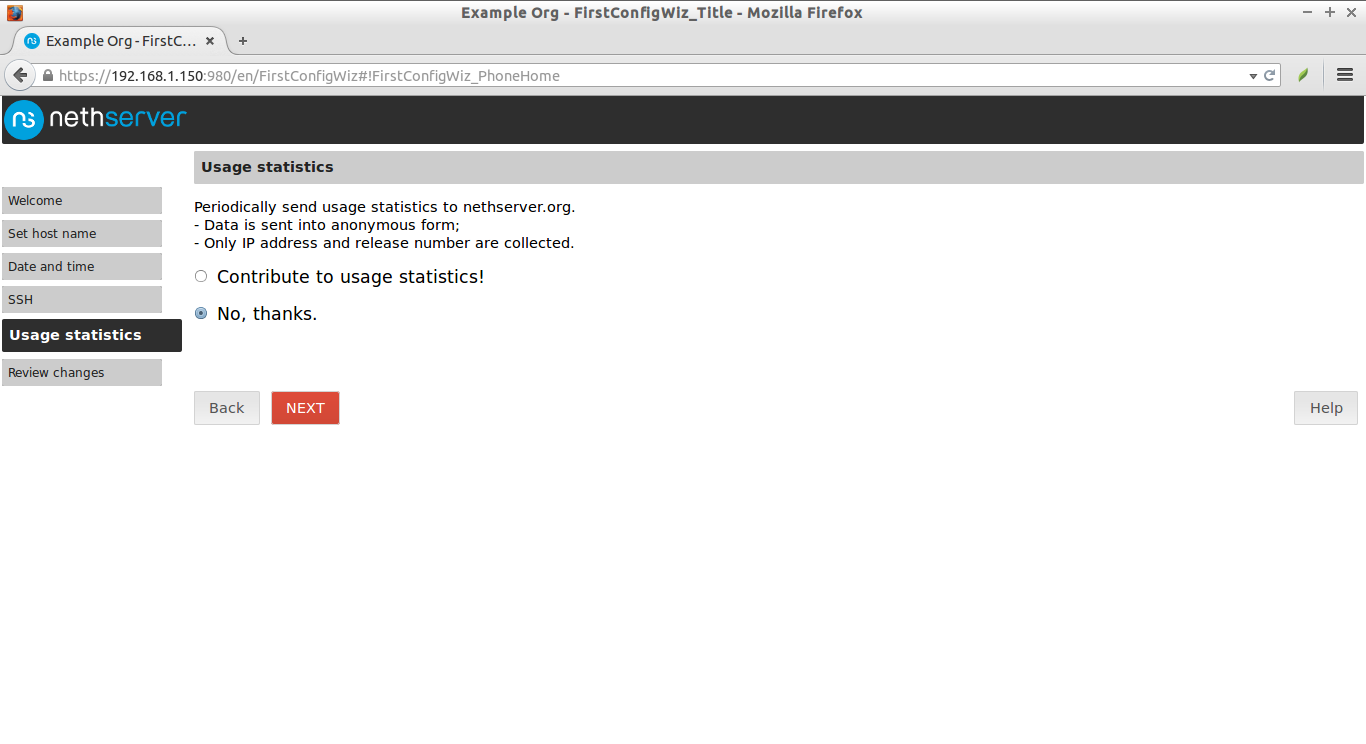
Click Next.
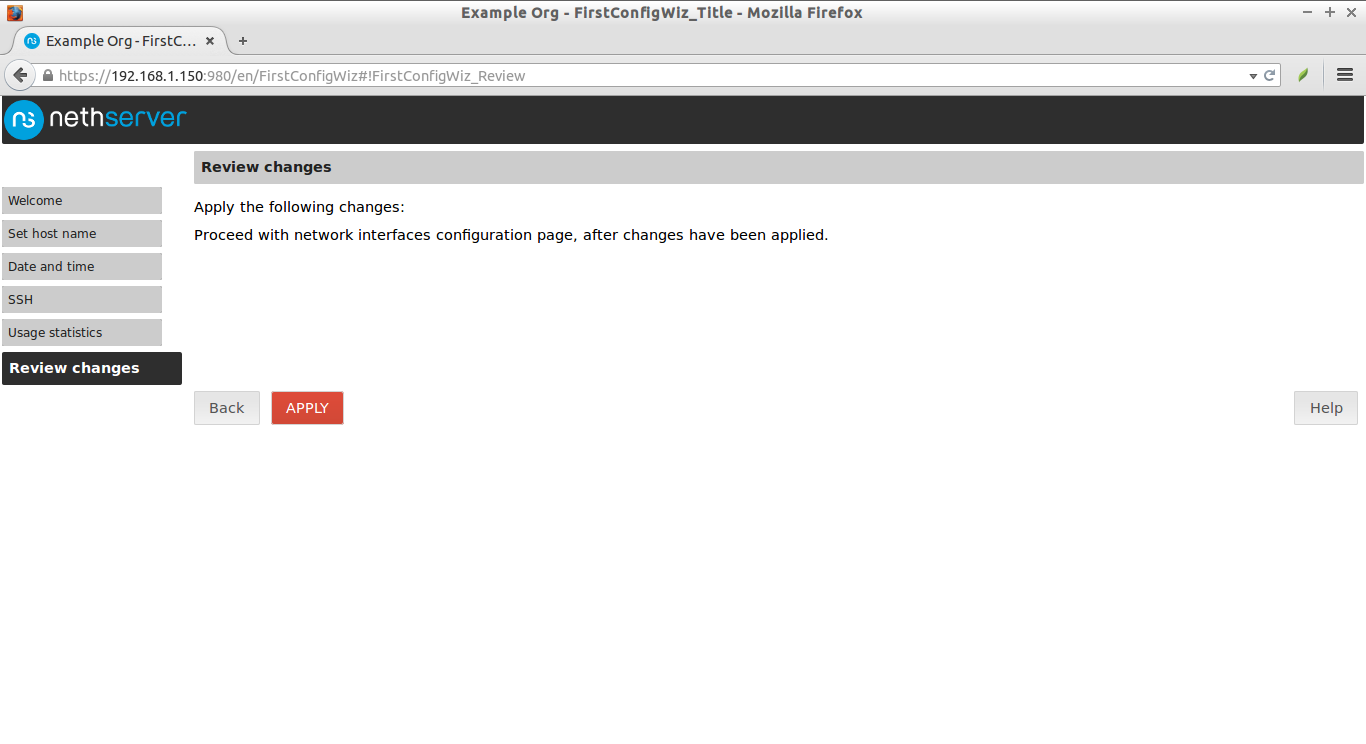
Click Apply to save and proceed to next step.
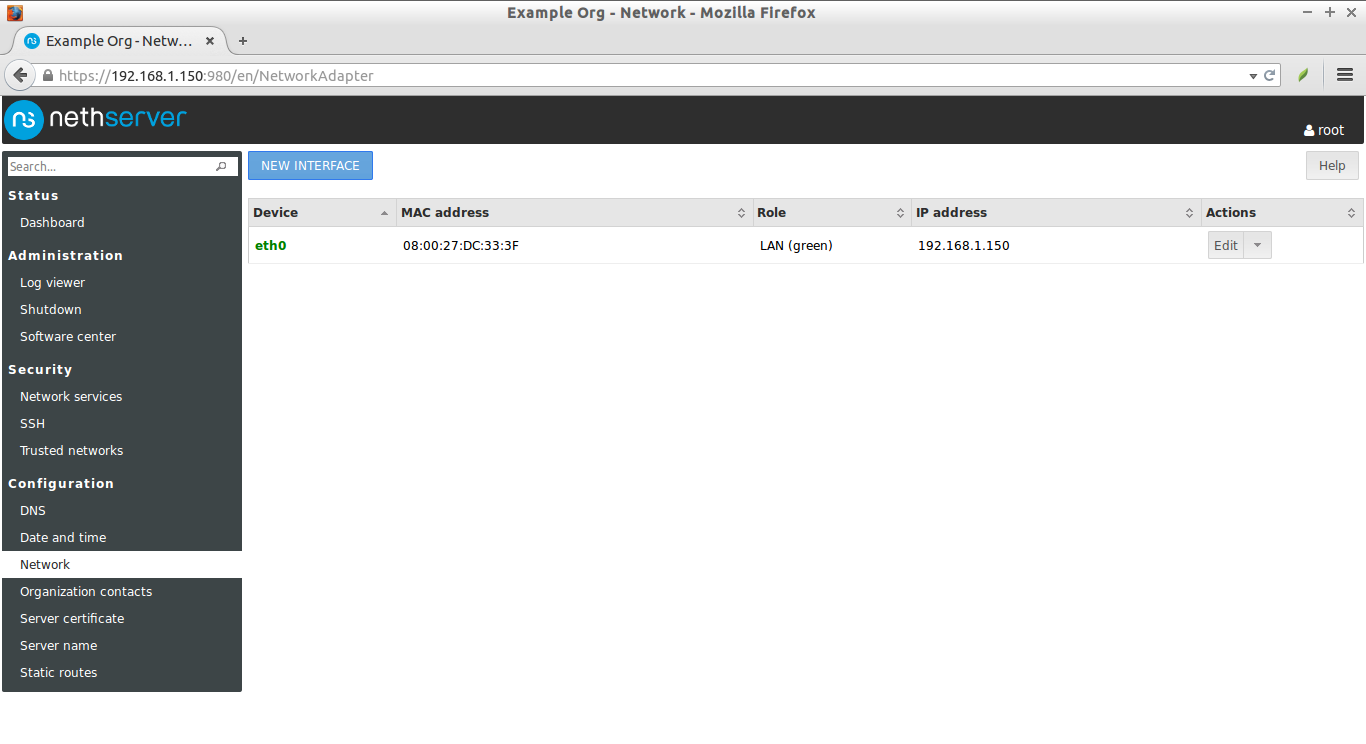
Here is the important part. The Network page configures how the server is connected to the local network (LAN) or other ones (i.e. Internet). If the server has firewall and gateway functionality, it will handle extra networks with special function like DMZ and guests network. NethServer supports an unlimited number of network interfaces.
You can assign network interface cards to a particular zones. Here is the list of supported zones by NethServer.
- green: local network. Hosts on this network can access any other configured network
- blue: guests network. Hosts on this network can access orange and red network, but can’t access to green zone
- orange: DMZ network. Hosts on this network can access red networks, but can’t access to blue, orange and green zones
- red: public network. Hosts on this network can access only the server itself
As I have only one NIC in my server, I left this part as default.
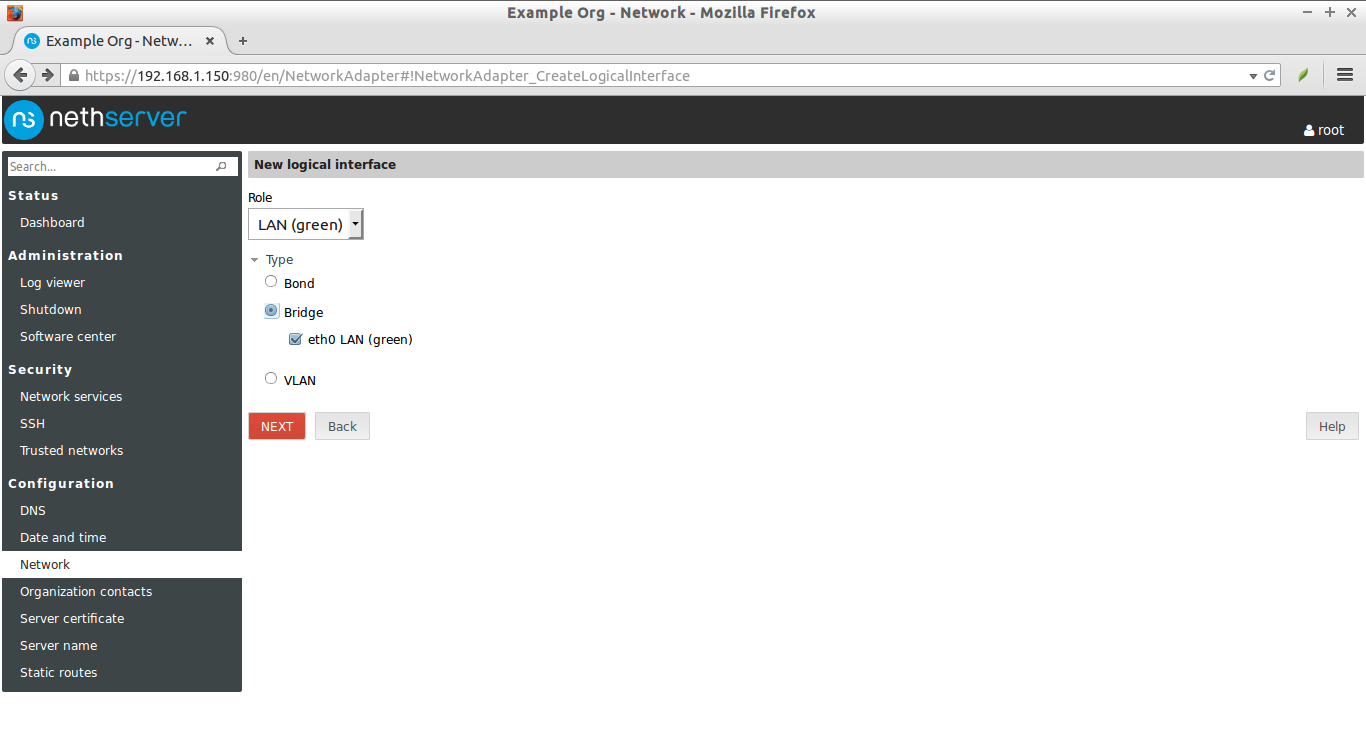
Click NEW INTERFACE button to create logical interfaces.
The list of available logical interfaces are:
- alias: associate more than one IP address to an existing network interface. The alias has the same role of its associated physical interface
- bond: arrange two or more network interfaces, provides load balancing and fault tolerance
- bridge: connect two different networks, it’s often used for bridged VPN and virtual machine
- VLAN (Virtual Local Area Network): create two or more physically separated networks using a single interface
As I have only one NIC, I will assign my NIC to bridge mode.
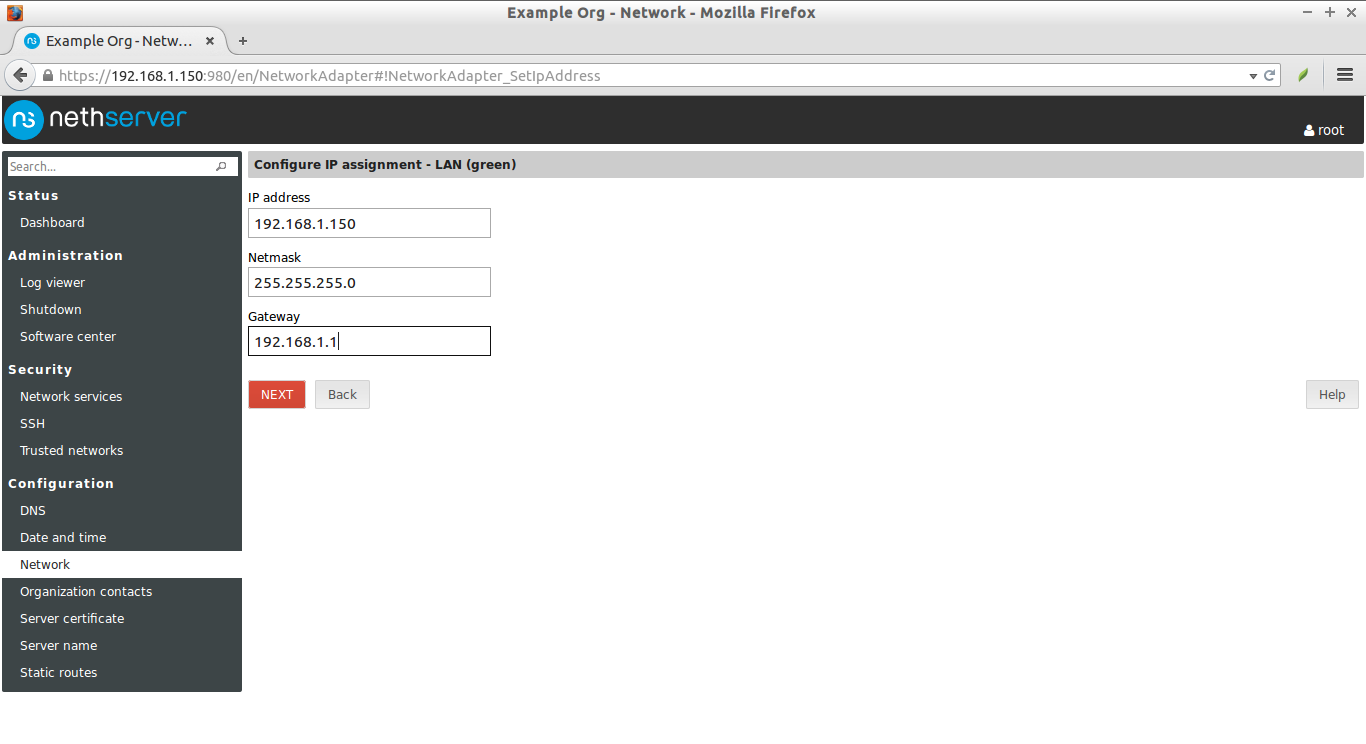
Enter IP address, Subnet, and Gateway etc. Click Next to proceed.
That’s it. We have created logical interface.
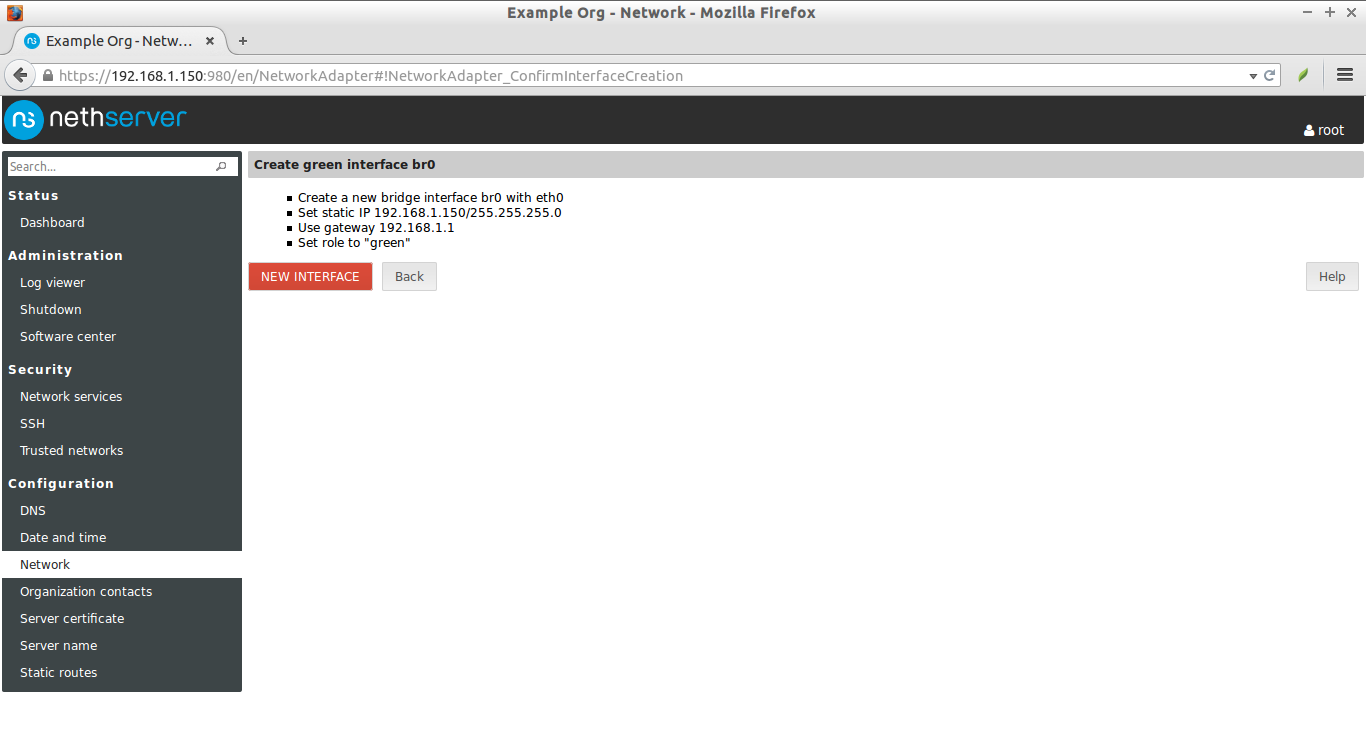
If you want to create another one, click on the ‘NEW INTERFACE’ button and follow the onscreen instructions.
This is how my NethServer’s dashboard looked:
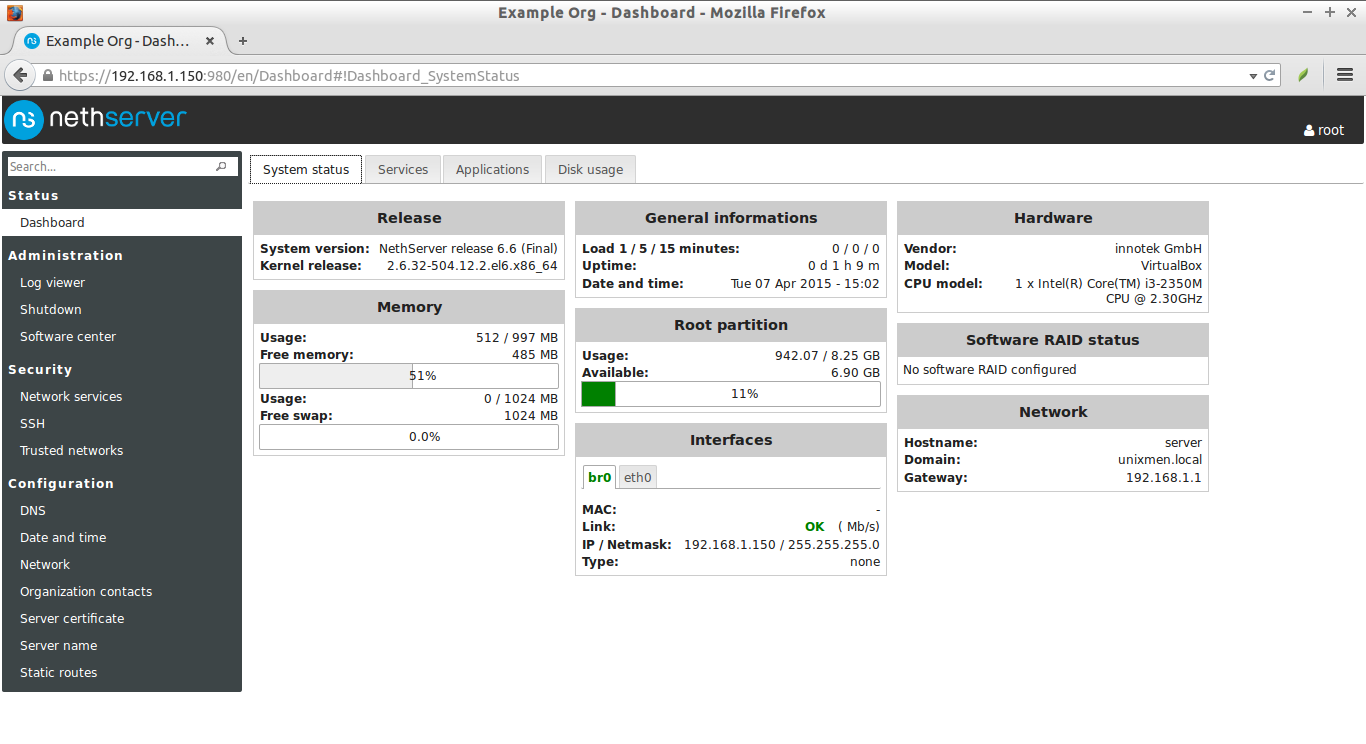
From now on, you can install any modules ( FTP, Mail, or Web Server etc.) directly from the Web UI.
NethServer Software center
We have installed NethServer’s base system. Now, we will install the modules.
NethServer’s Software center allows us to install and remove modules. it shows the all available and installed (checked) modules. The view can be filtered by category.
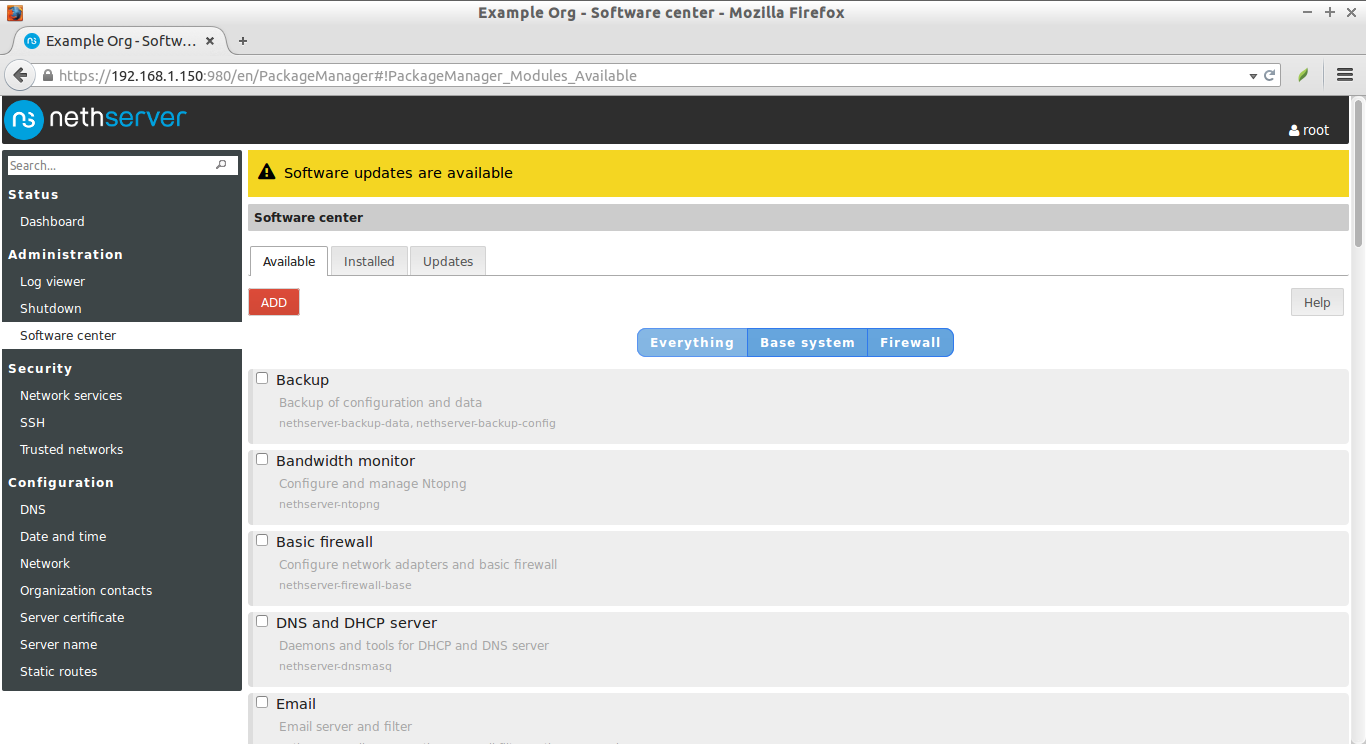
Here is the list of available modules.
NethServer Modules:
- Backup
- Users and groups
- Webmail
- POP3 connector
- POP3 proxy
- Shared folders
- Windows network
- Chat
- UPS
- Fax Server
- IAX Modem
- Web proxy
- Web content filter
- Firewall and gateway
- IPS (Snort)
- Bandwidth monitor (ntopng)
- Statistics (collectd)
- DNS
- DHCP and PXE server
- VPN
- FTP
- ownCloud
- Phone Home
- WebVirtMgr
Like I said before, we can install any module with a ‘single click’. If you want to install a module, just check the corresponding box and click Add button.
Installing ownCloud Module:
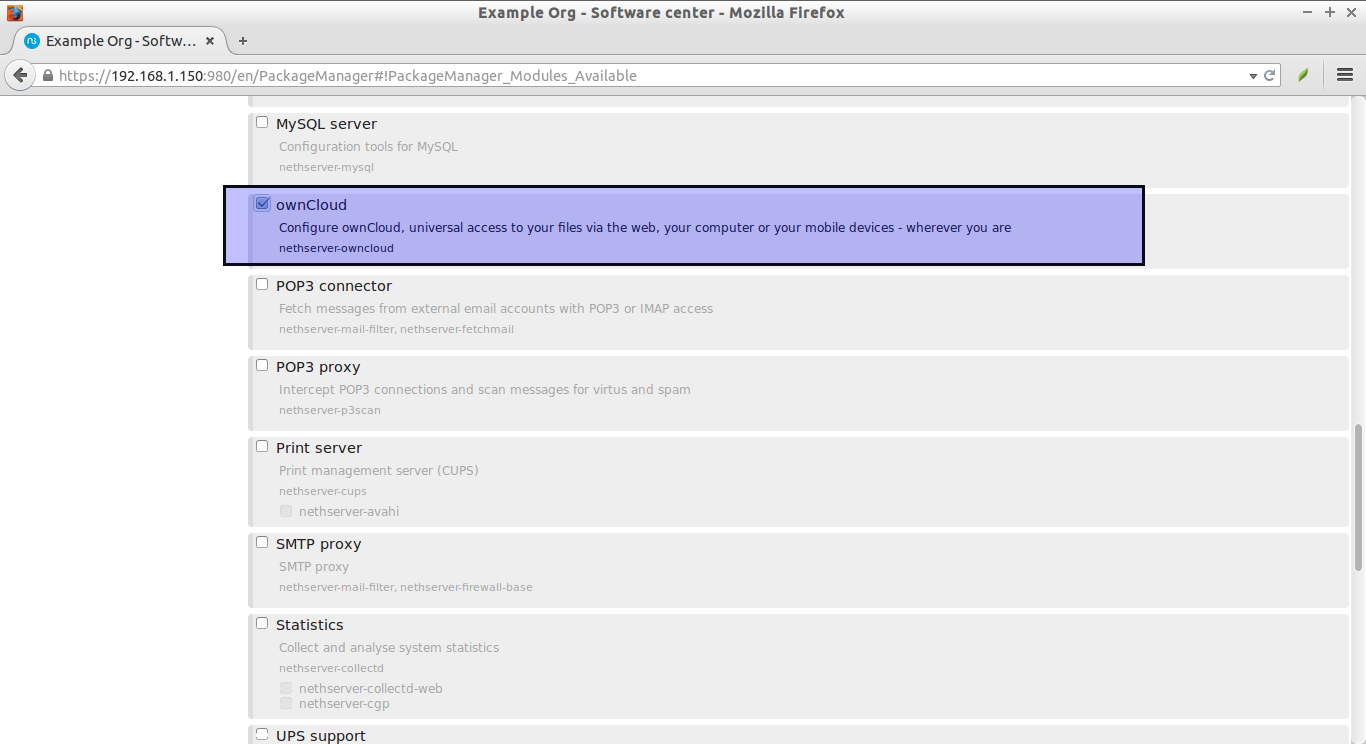
For example, here I will show you how to install ownCloud module.
Scroll down and find the ownCloud module. Check the ownCloud checkbox and click Add button at the end.
Then. click APPLY CHANGES button.
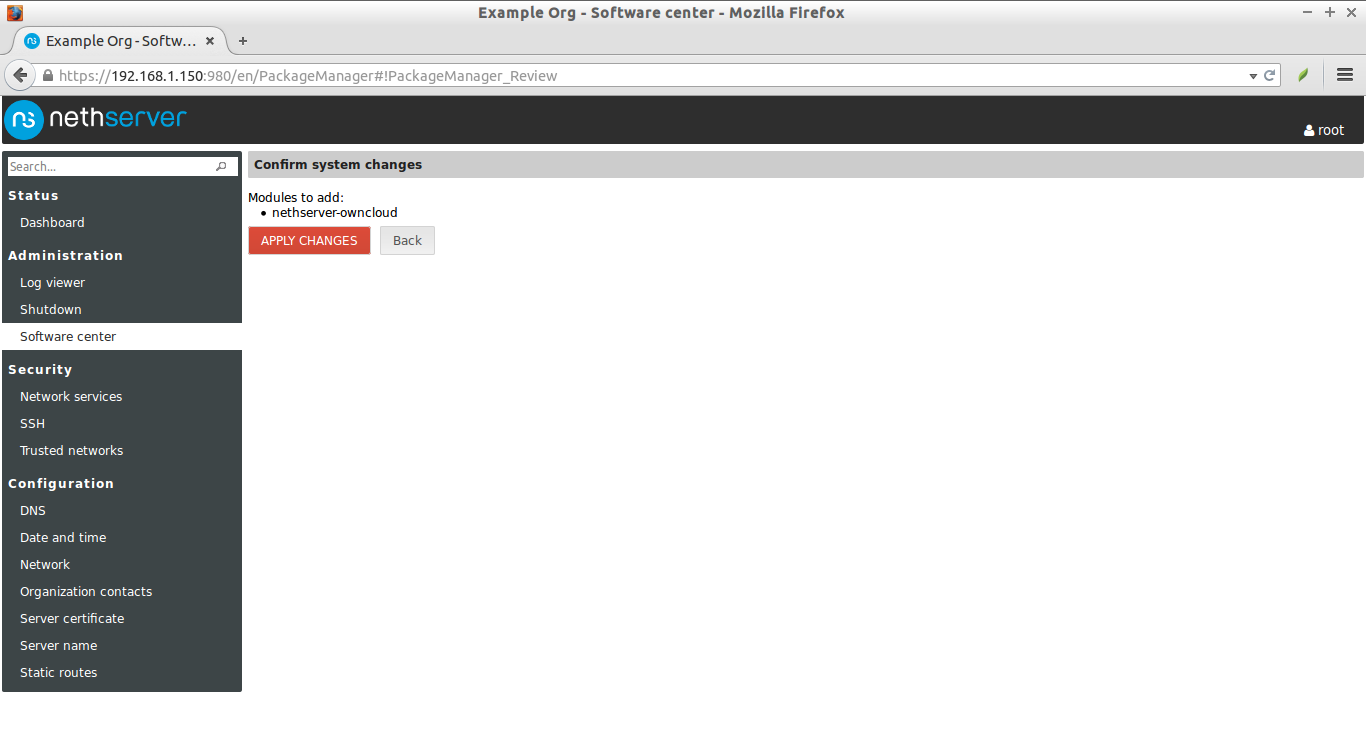
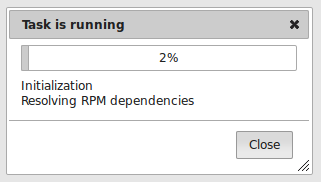
Once you clicked the APPLY CHANGES button, NethServer will automatically download, install and configure ownCloud along with all it’s dependencies.
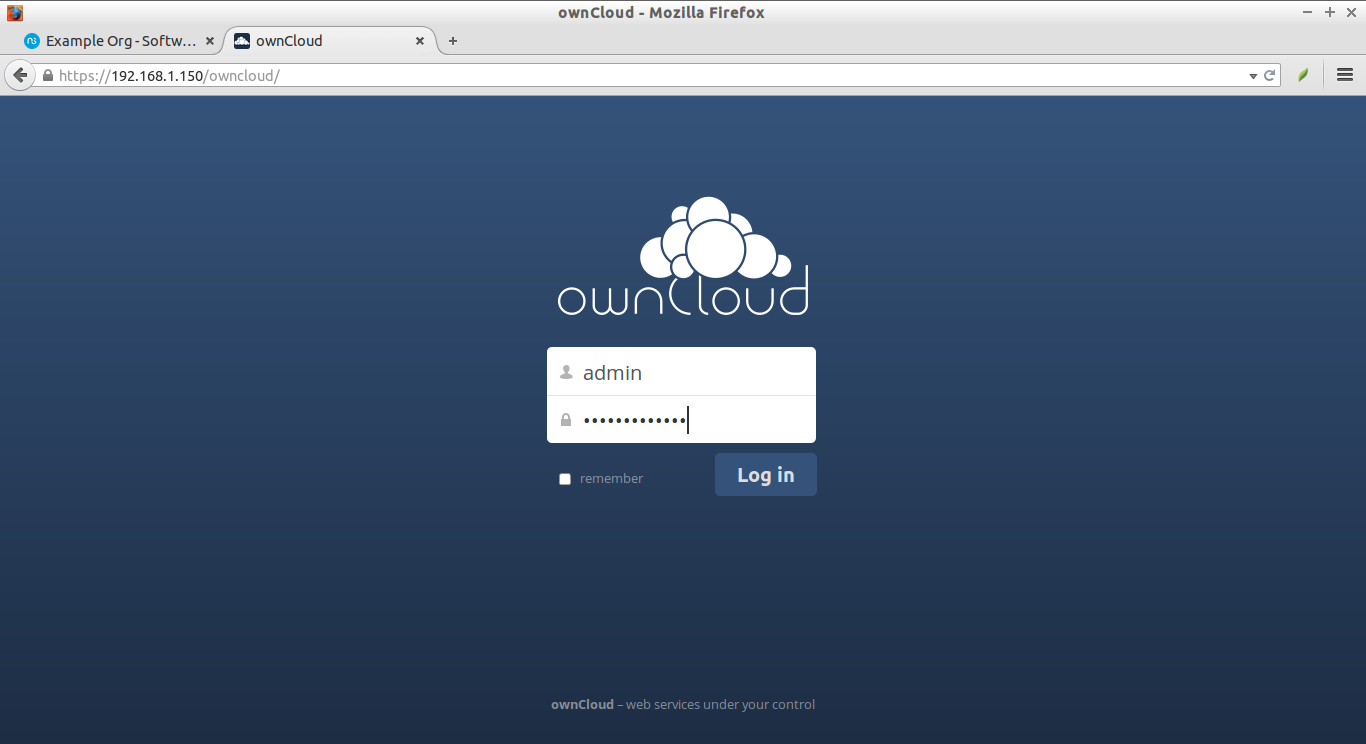
Once the installation completed, open a new tab and enter the URL: https://IP-Address/owncloud in your web browser to access your ownCloud dashboard.
- use admin/Nethesis,1234 as default credentials
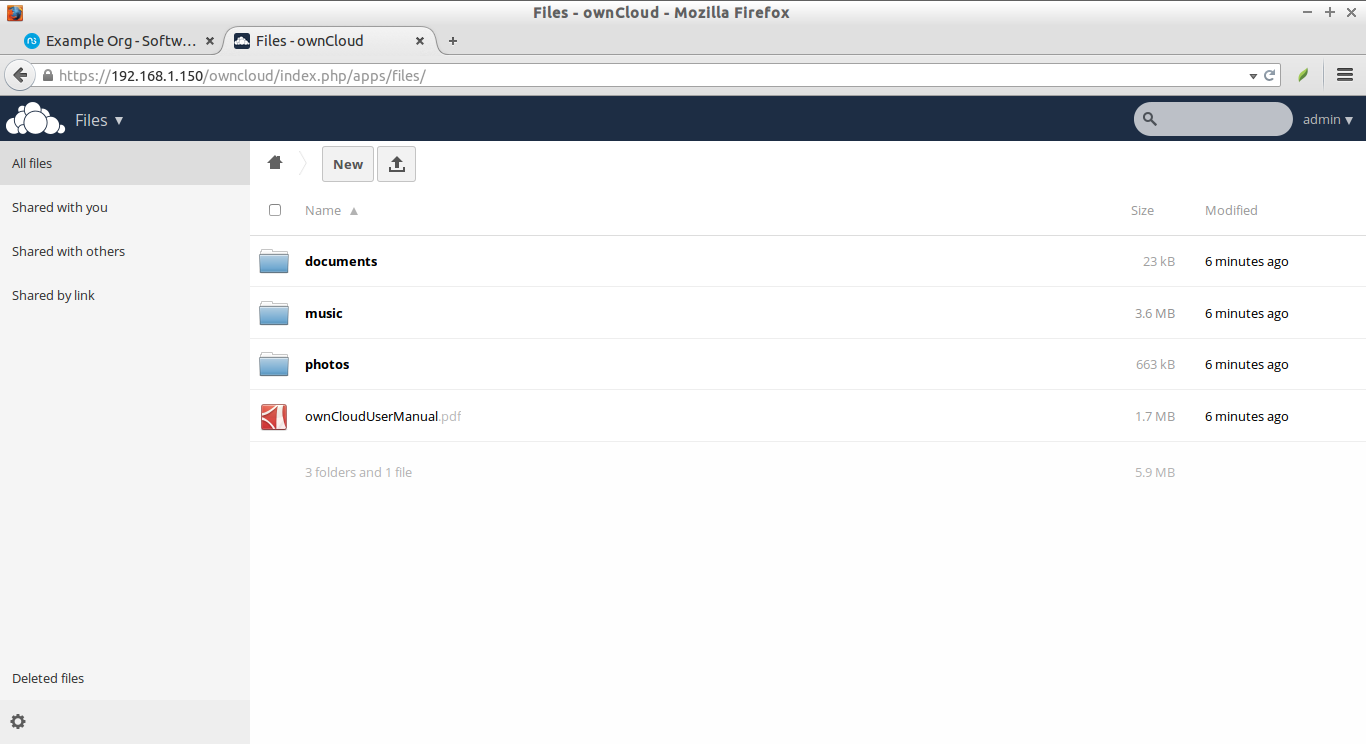
Voila! We have installed ownCloud in our server. How easy, isn’t it?
This is how ownCloud dashboard looked at first log in.
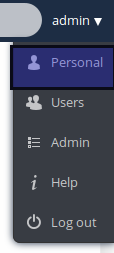
Change the ownCloud Admin user password to something stronger. To do that, Click on the admin user on the top right corner.
Then, select Personal.
Enter your current and new password. Finally, click on Change password button.
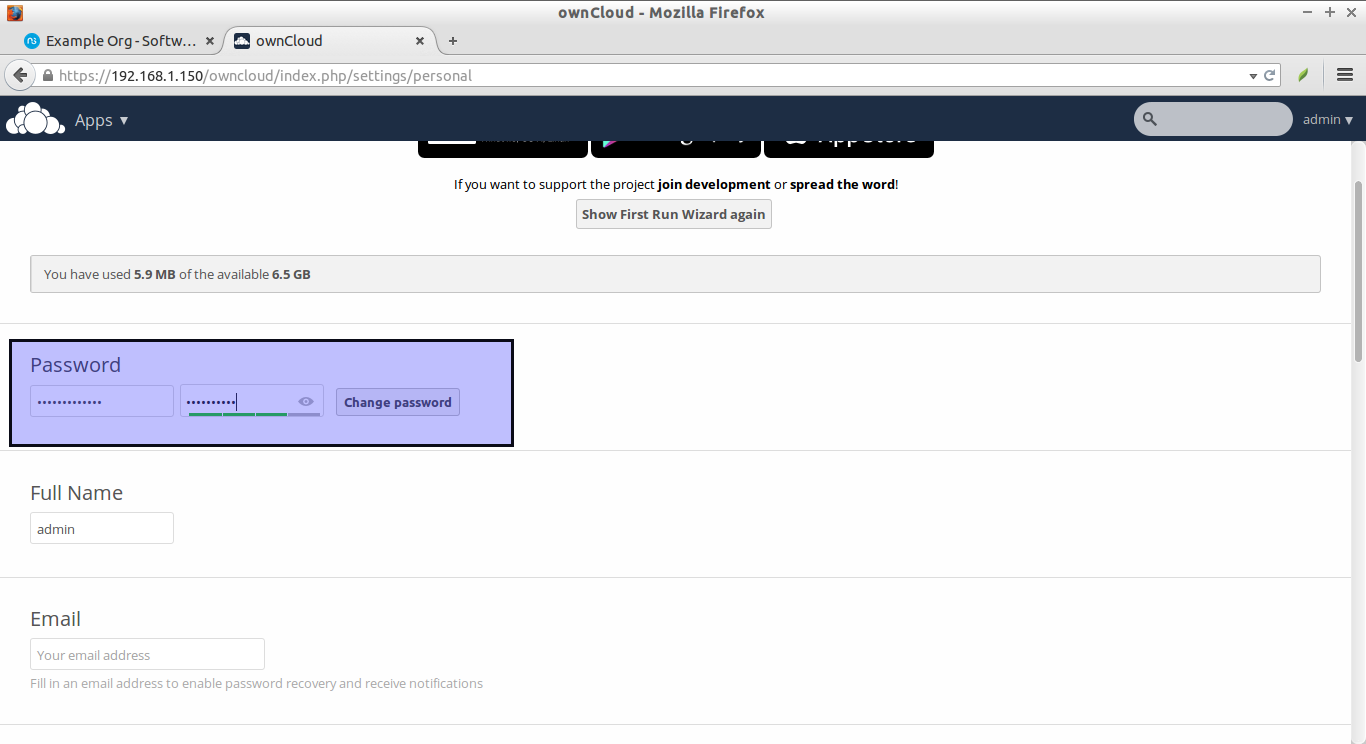
That’s it. Log out and log in back to your ownCloud’s dashboard using the new password.
Similarly, you can install any modules of your choice.
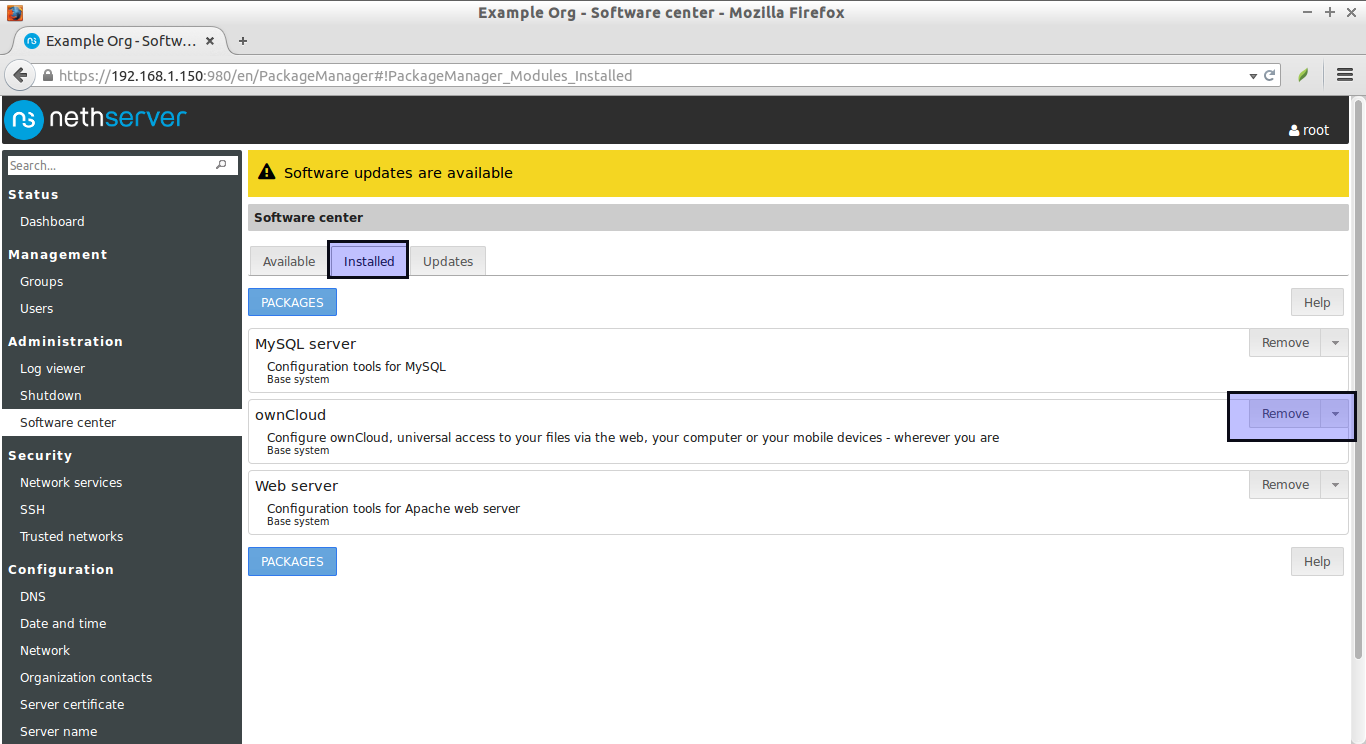
Removing modules:
Go to the section called “Installed” in the software center and click the Remove button to uninstall any modules.
Conclusion
In this tutorial, we have seen how to install and configure NethServer, and how to install a module from the software center. I must say that the NethServer is definitely a worth distribution to deploy in your organization. Though, the Community edition has some limited features, It is capable of installing all major components such as FTP, Mail, Squid proxy, Or Web server. If you want to add specific modules which are not available in the Community edition, you can purchase and try them from the Enterprise edition. Whether you want to deploy a mail server or VPN server or anything, you can just install them in a couple of mouse clicks easily using the NethServer’s software center.
To know more about NethServer, I suggest you to have a look at the NethServer’s official documentation page.
Cheers!
Source and Reference:


