
About Mail-in-a-Box
Mail-in-a-Box is a free, Open Source, mail server solution developed by Joshua Tauberer. Using Mail-in-a-Box, anyone can easily turn a fresh cloud system into a Mail server in few hours. It can host mail for multiple users and multiple domain names. Mail-in-a-Box is based on Ubuntu 14.04 LTS 64-bit and includes automatic DNS configuration, spam filtering, greylisting, backups to Amazon S3, static website hosting, and easy SSL certificate installation.
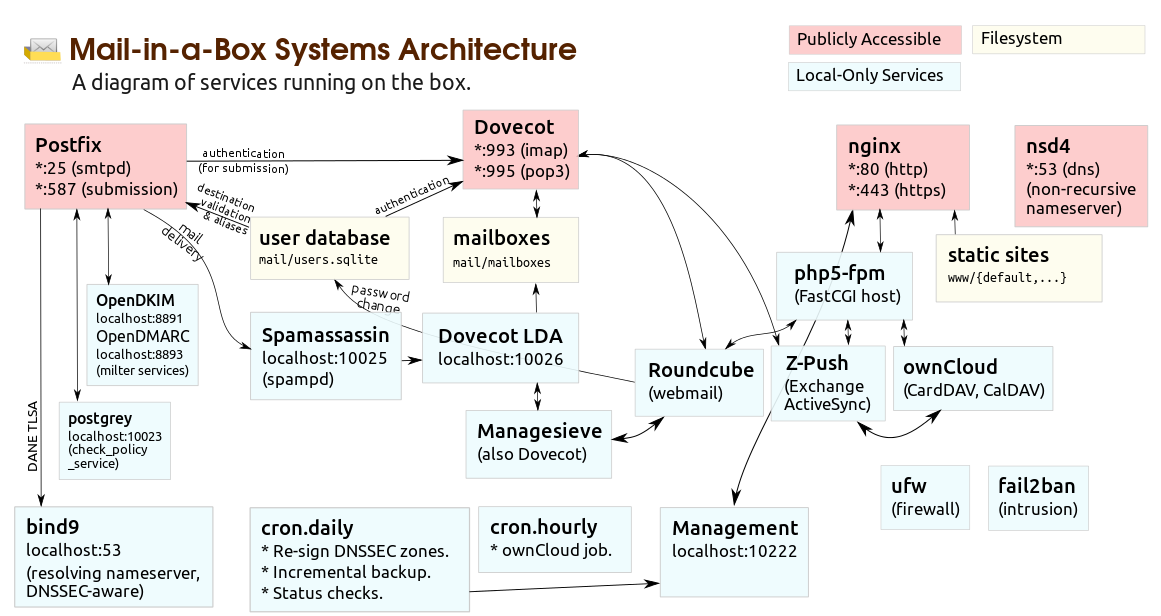
The architecture of Mail-in-a-Box:
Install Mail-in-a-Box on Ubuntu 14.04
Requirements
To setup Mail server using Mail-in-a-Box, you must have the following requirements.
- Ubuntu 14.04 64bit VPS (Fresh installation).
- 768MB RAM or more. 1GB is recommended.
- 30GB or more Hdd free space.
- Add proper MX records in your DNS server.
- If your mail server is behind a firewall/Router, you should allow the following ports: 22 (SSH), 25 (SMTP), 53 (DNS; must be open for both tcp & udp), 80 (HTTP), 443 (HTTPS), 587 (SMTP submission), and 993 (IMAP).
Mail-in-a-Box Limitation:
Mail-in-a-Box must be installed on a fresh machine that will be dedicated to Mail-in-a-Box, and you cannot modify the box after installation (configuration changes will get overwritten by the box’s self-management). If you are looking for something more advanced, try iRedMail, Sovereign, or Modoboa.
Well, now let us setup Mail-in-a-Box in Ubuntu 14.04 server.
First update your server:
sudo apt-get update
sudo apt-get upgrade
Then, run the following command to install Mail-in-a-Box
curl -s https://mailinabox.email/bootstrap.sh | sudo bash
Sample output:
Installing git . . .
Selecting previously unselected package liberror-perl.
(Reading database ... 55887 files and directories currently installed.)
Preparing to unpack .../liberror-perl_0.17-1.1_all.deb ...
Unpacking liberror-perl (0.17-1.1) ...
Selecting previously unselected package git-man.
Preparing to unpack .../git-man_1%3a1.9.1-1ubuntu0.1_all.deb ...
Unpacking git-man (1:1.9.1-1ubuntu0.1) ...
Selecting previously unselected package git.
Preparing to unpack .../git_1%3a1.9.1-1ubuntu0.1_amd64.deb ...
Unpacking git (1:1.9.1-1ubuntu0.1) ...
Processing triggers for man-db (2.6.7.1-1ubuntu1) ...
Setting up liberror-perl (0.17-1.1) ...
Setting up git-man (1:1.9.1-1ubuntu0.1) ...
Setting up git (1:1.9.1-1ubuntu0.1) ...

Downloading Mail-in-a-Box v0.13b. . .

Installing packages needed for setup...
[...]
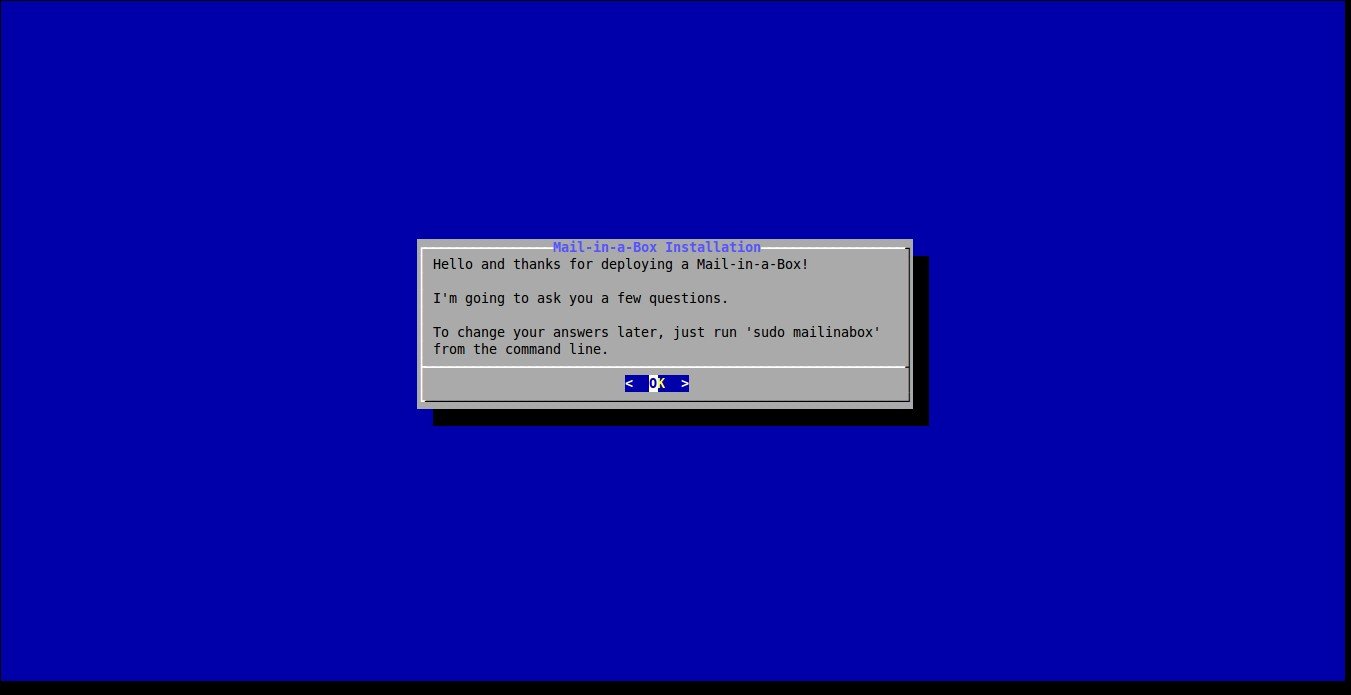
After a few minutes the following introductory message will appear. Press Enter to continue.
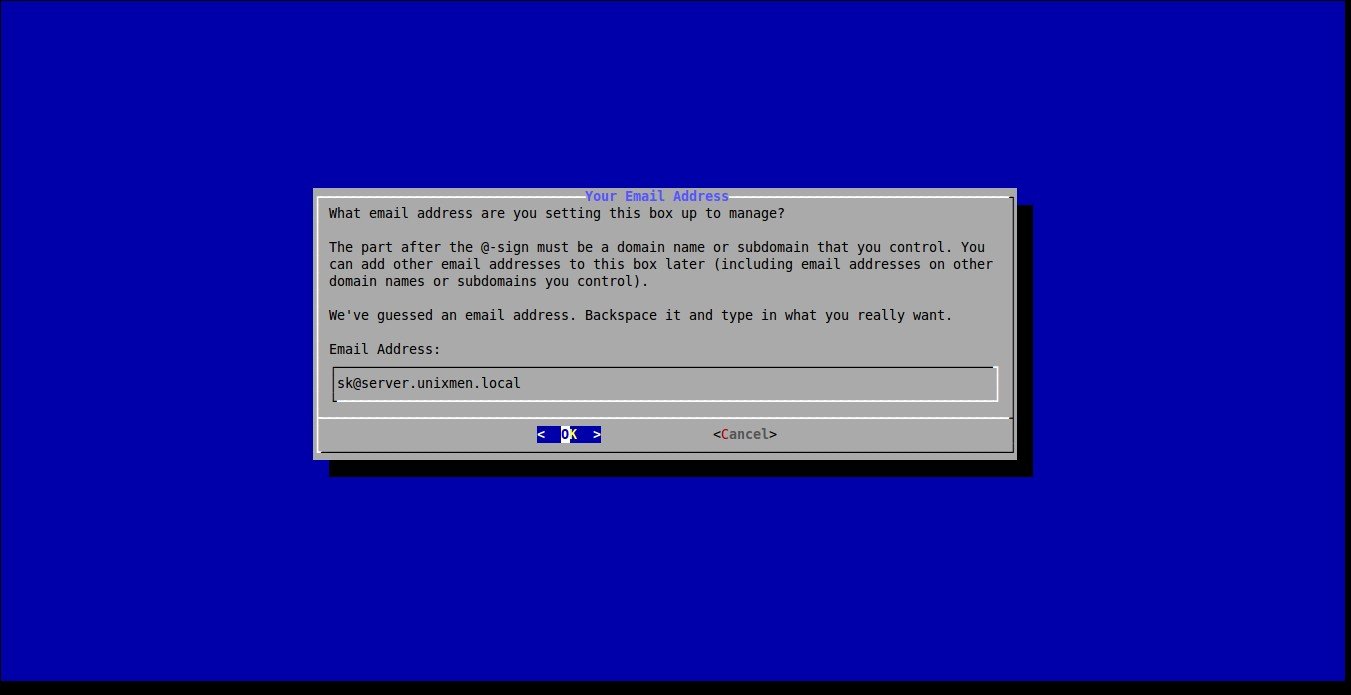
Enter a mail ID which will need to manage your Box later. This account will also have access to the box’s admin control panel.
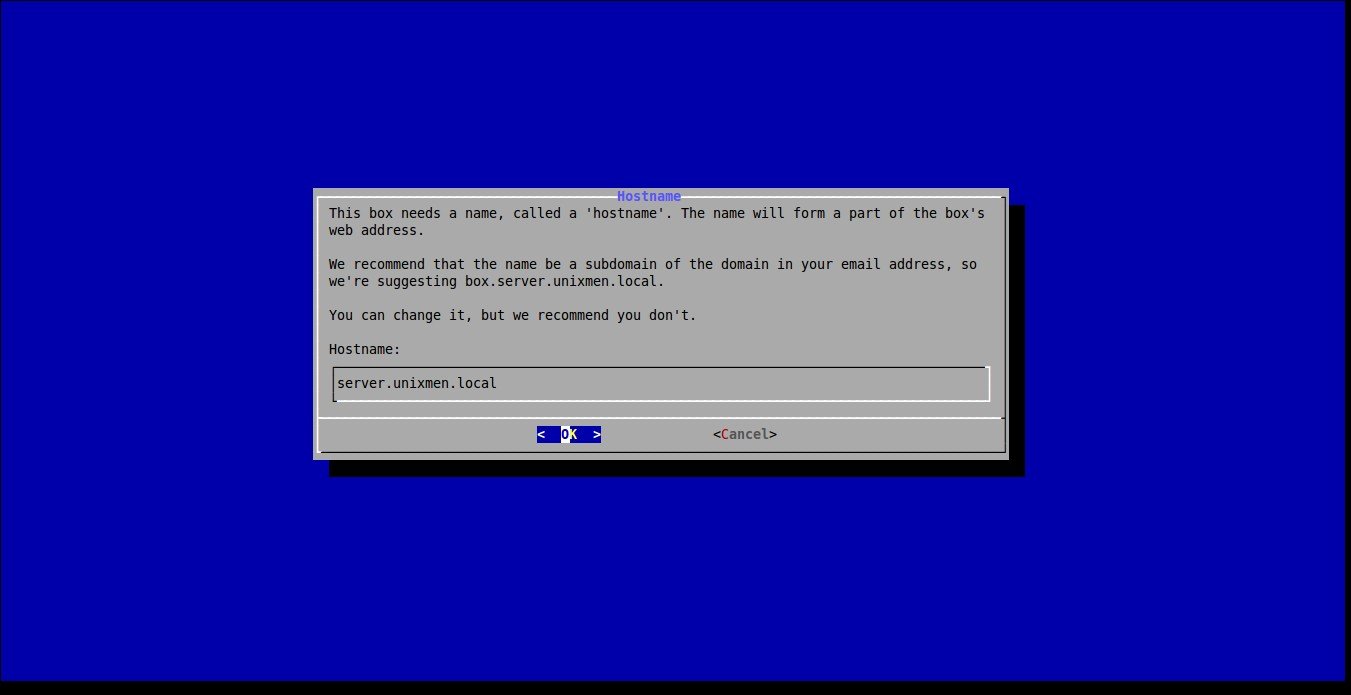
Enter your FQDN name.
Select the Country where you live or where your organization is based.

Now, sit back and relax. It will take a while to download and install all necessary packages. During the installation, you’ll be asked to setup Mail-in-a-Box administrative account. For example in my case, my administrative account is sk@server.unixmen.local
Finally, you’ll see the following installation completed message:
Sample output:
Primary Hostname: server.unixmen.local
Public IP Address: xxx.xxx.xx.xx
Private IP Address: 192.168.1.101
Mail-in-a-Box Version: v0.13b

Updating system packages...
Installing system packages...
Firewall is active and enabled on system startup
Creating initial SSL certificate and perfect forward secrecy Diffie-Hellman parameters...
Generating DH parameters, 2048 bit long safe prime, generator 2
This is going to take a long time
....................................+............+....................................................................................................................................................................................................................+.............+..........................................................................................................................+..................................................................+........+........................................................................+....................................................................................................+....+...........................................................................................................................................................+..............................................................+..................................................+.......+............................................................................................................................................................................+...................................................................................................................................................................................................+.......+............+....................................................................+...............................................++*++*
Installing nsd (DNS server)...
Generating DNSSEC signing keys. This may take a few minutes...
Installing Postfix (SMTP server)...
Installing Dovecot (IMAP server)...
Creating new user database: /home/user-data/mail/users.sqlite
Installing OpenDKIM/OpenDMARC...
Installing SpamAssassin...
Installing Nginx (web server)...
Installing Roundcube (webmail)...
Installing ownCloud (contacts/calendar)...
creating sqlite db
ownCloud is already latest version
Installing Z-Push (Exchange/ActiveSync server)...
Installing Mail-in-a-Box system management daemon...
Installing Munin (system monitoring)...
updated DNS: server.unixmen.local
web updated

Okay. I'm about to set up sk@server.unixmen.local for you. This account will also
have access to the box's control panel.
password:  ## Enter the password to administrative account password
 (again):  ## Enter the password again

mail user added


-----------------------------------------------

Your Mail-in-a-Box is running.

Please log in to the control panel for further instructions at:

https://xxx.xxx.xx.xx/admin

You will be alerted that the website has an invalid certificate. Check that
the certificate fingerprint matches:

AC:15:B9:14:9B:BD:C6:B2:FD:98:94:75:E4:0T:14:B0:D5:F2:0G:5A

Then you can confirm the security exception and continue.
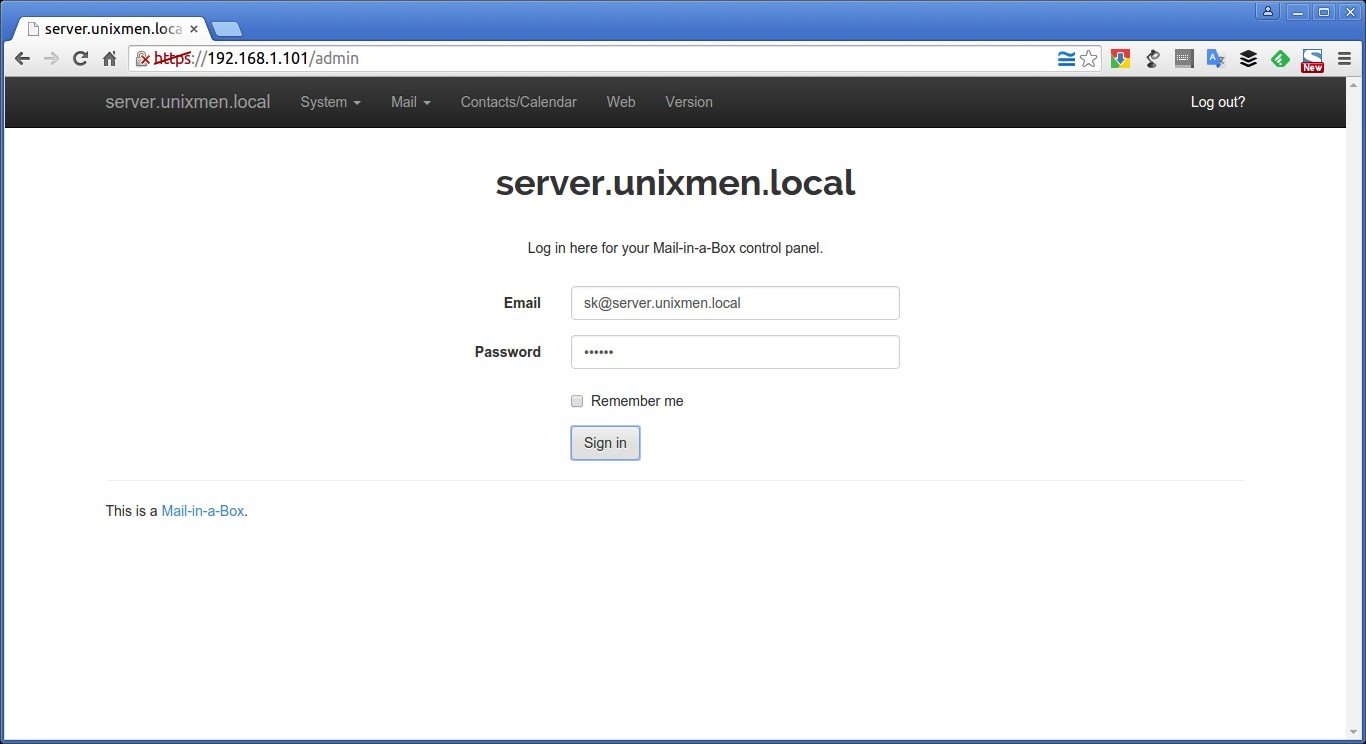
Now, let us access Mail-in-a-Box admin control panel.
Access Mail-in-a-Box Control Panel
Open up your web browser and navigate to: https://domain-name/admin or https://IP-address/admin.
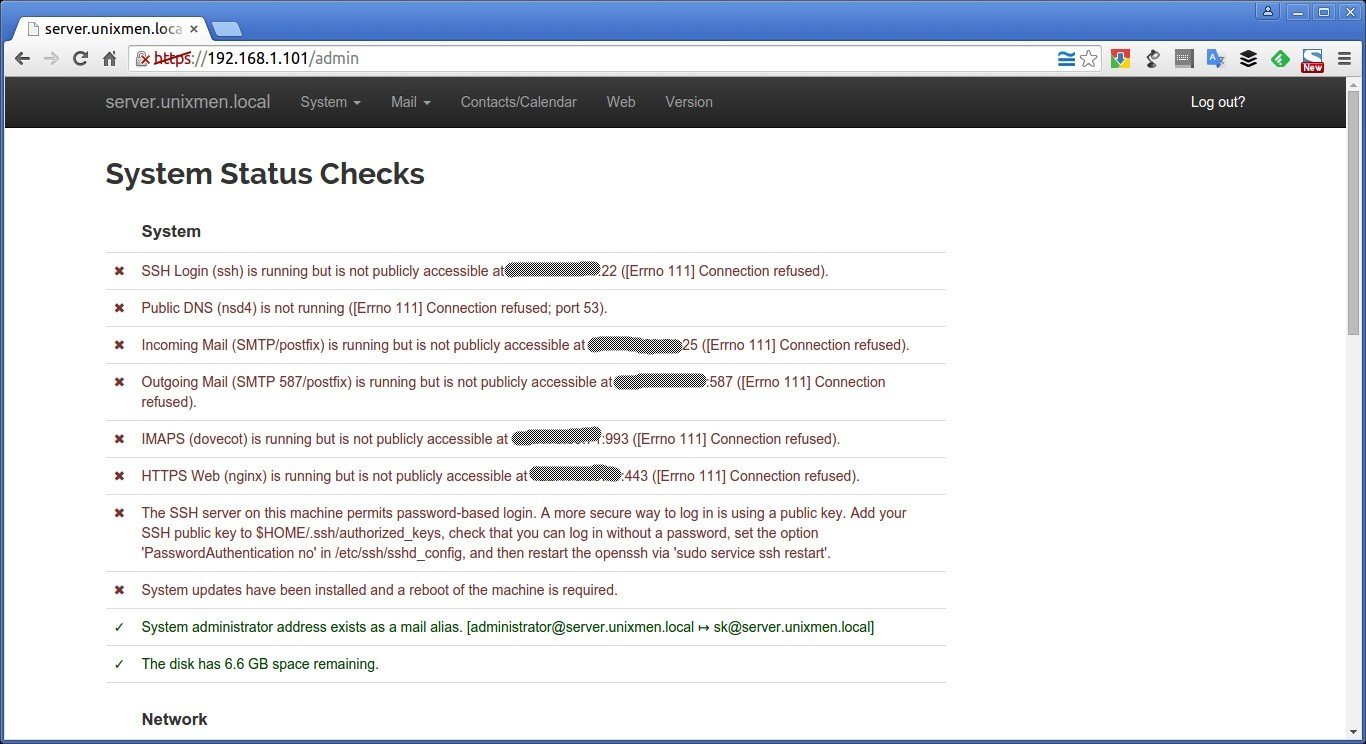
In the next window, the series of system status checks will be initiated. The System status checks will analyze all configuration including DNS Glue records, SSH public keys, and domain name etc. If everything Ok, all outputs will be shown in Green.
Note: As you see in the below screenshot, There are many issues in my setup. Because, I have setup the Mail server in my local system and haven’t add any Glue records or any firewall rules to allow the important ports. If you follow the same steps in your Cloud system with a public IP, you won’t get any issues as shown below.
Creating users
To create a new user, go to Mail > Users.
The following screen should appear. Enter the username (Ex. senthil@server.unixmen.local) and it’s password.
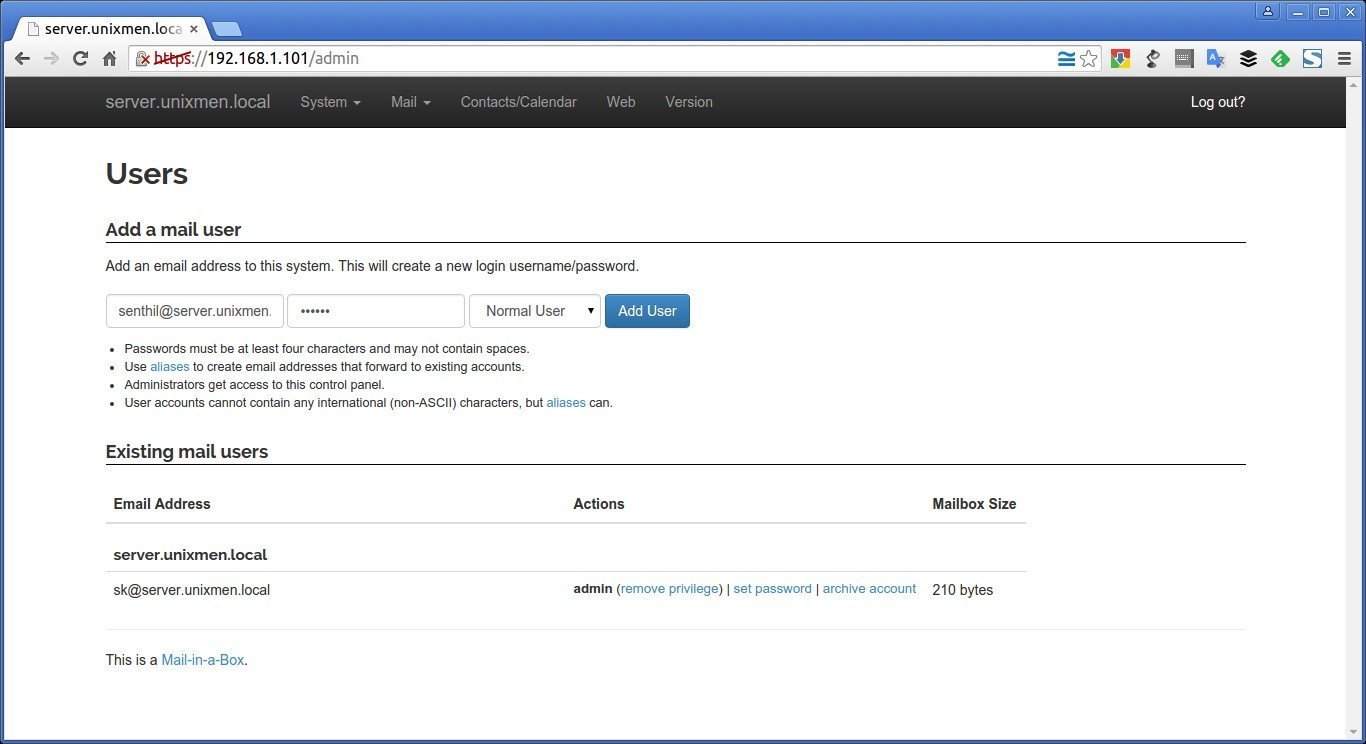
Similarly, you can add as many users as you want.
To add an additional user to a new domain, go to Mail > Users in the admin control panel and create mail users for your new domain. If the email address of new user is at a new domain, Mail-in-a-box will automatically add appropriate new settings for it. Also, don’t forget to add proper DNS records for the New domain.
To see the current DNS settings, go to System > External DNS. To add your own entries, navigate to System > Custom DNS.
Contacts & Calendar
Mail-in-a-Box can hold your contacts and calendar, just like it holds your email.
To access Contacts, navigate to https://domain-name/cloud/contacts.
To access Calendar, navigate to https://domain-name/cloud/calendar.
Make sure you have added your Domain name in the trusted domain list.
Configure the “trusted_domain” setting in config/config.php. An example configuration is provided in config/config.sample.php.
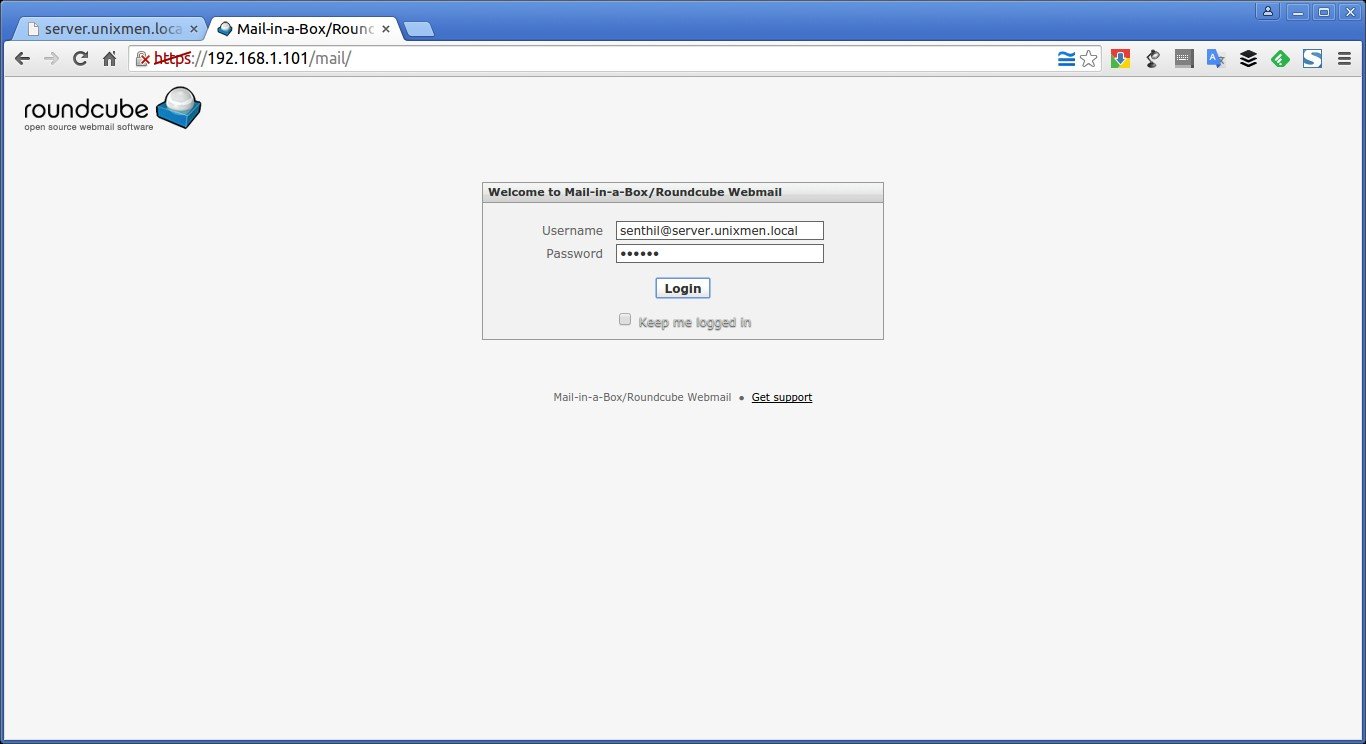
Access Mail-in-a-Box Webmail
To access the Mail-in-a-Box web mail, navigate to: https://domain-name/mail.
The following screen should appear. Enter yhe username and it’s password which we created in the Control panel.
This is how the user’s mail box looks.
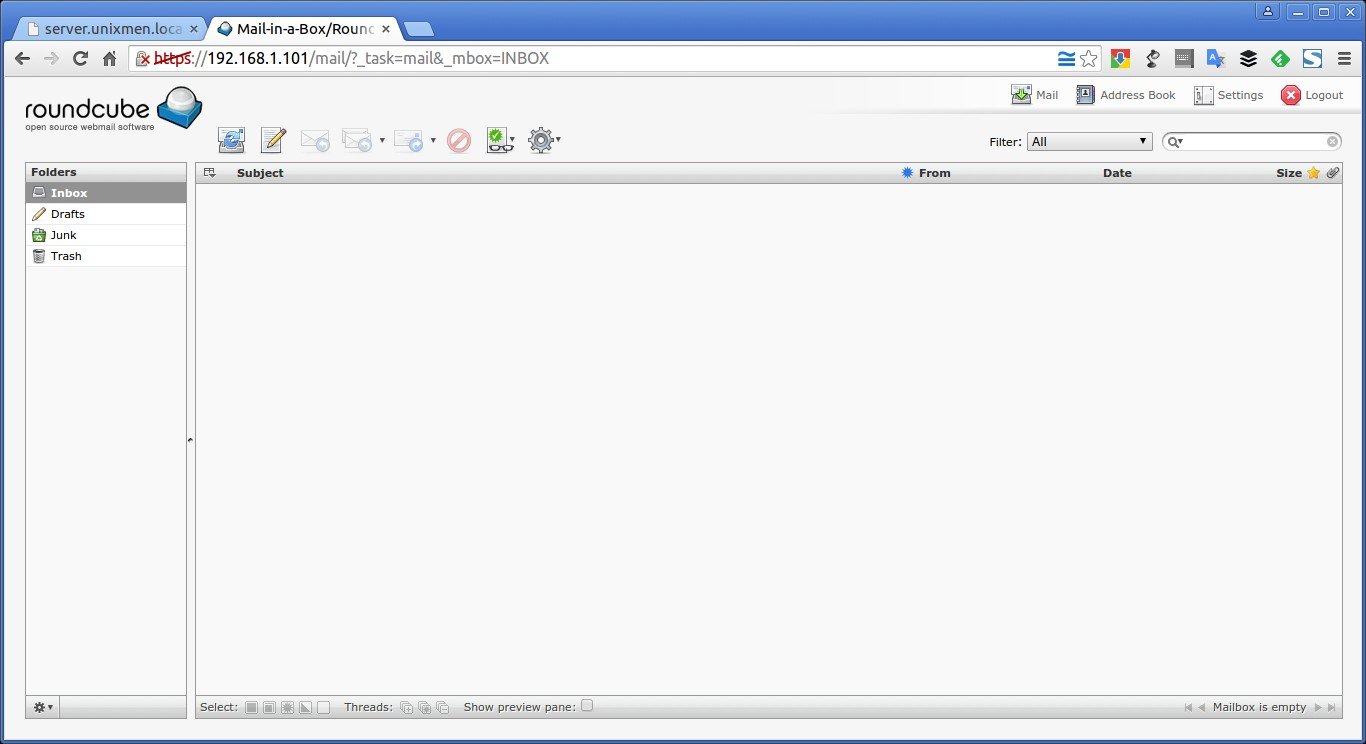
Mail-in-a-Box uses Roundcube mail app as it’s default mail client. Now, you can send/receive mails as the way do in the Gmail, Yahoomail accounts.
That’s for now.
For more details, refer the official Setup guide and Maintenance guide.
Also, the project founder has uploaded a video tutorial in Youtube.
Cheers!


